

Choosing a projector for home theater comes down to finding the best match for your room size, screen preference, and viewing distance. If you want the clearest “set-it-and-enjoy-it” choice for most living rooms, prioritize 4K resolution with high brightness and a proper throw distance for your layout. This guide gives you a direct buying verdict—exactly which specs to buy and which to skip—so you don’t waste money on the wrong projector.
Choosing the right home theater projector comes down to matching throw distance + screen size first, then selecting brightness and resolution that fit your lighting and viewing distance. Once those fundamentals align, you’ll avoid most “it doesn’t look right” problems by verifying lens/installation flexibility (zoom + lens shift) and source connectivity (HDMI, HDR, and frame-rate support).
If you’re planning a dedicated movie space (or upgrading a living room), this guide is built for you—especially if you’re comparing models based on specs and want a practical way to translate specs into real setup fit and picture quality. It’s also helpful if you’re unsure whether you need a screen, what “lumens” rating actually matters, or which installation features (like lens shift) make the difference between a clean image and hours of frustration.
Start with the room: screen size, throw distance, and brightness
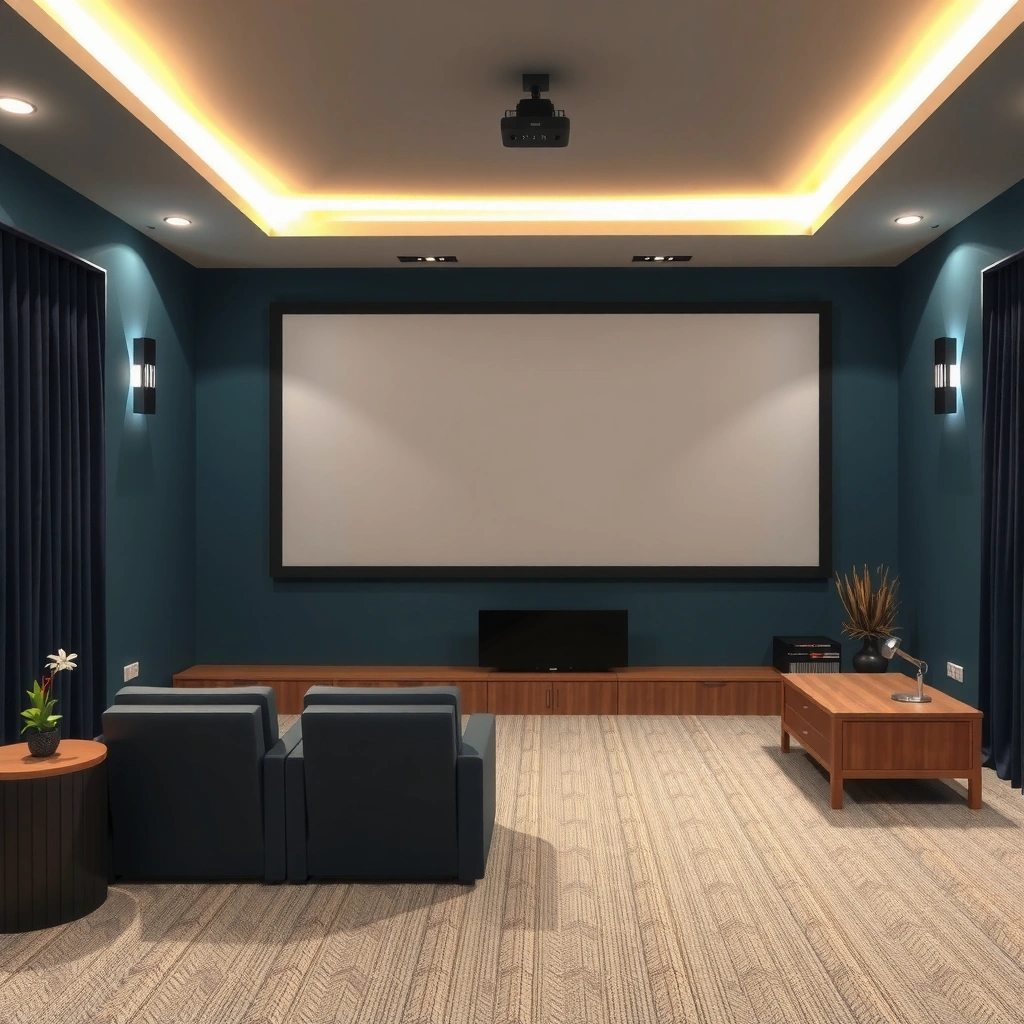
The fastest way to narrow projector options is to start with your room geometry: how far the projector can sit (throw distance) and how large you want the image (screen size). Then choose brightness that matches your ambient-light control—because no amount of “spec bragging” fixes a bad lens fit or an oversized screen.
According to THX viewing guidelines, a common recommended viewing distance is about 1.2× to 1.6× the screen width for many home theater setups. [ADD: source for THX home viewing distance guidance]
Projector manufacturers typically specify brightness in “ANSI lumens,” which is intended to be comparable across models when measured under standardized test patterns. [ADD: source for ANSI/ISO brightness measurement method]
Lens throw ratio (sometimes written as “throw distance range”) determines whether you can achieve your screen size without extreme placement. If the ratio range doesn’t cover your measured distance, you’ll likely rely on keystone or lens corrections.
Start with the basics:
– Measure throw distance (lens-to-screen distance) using a tape measure, and note any constraints like cabinets, ceiling height, or where you can run power/HDMI.
– Estimate your screen size (diagonal and aspect ratio). For most home theater builds, 16:9 is the easiest for movies and streaming; 2.35:1/“scope” layouts require either special screens and/or lens/processing modes.
– Confirm throw ratio coverage: even if a projector “can do” your screen size, it might require positioning so far off-center that the image becomes hard to align cleanly.
Brightness is about usable image quality, not marketing alone
Brightness requirements depend on how much light you can control:
– Dedicated dark room / light-rejecting screen (or blackout curtains): you can usually target lower lumens and get better perceived contrast.
– Living room with ambient light: you’ll need more brightness so blacks don’t turn gray and details don’t wash out.
A practical way to decide is to ask: Will you watch with the room fully dark for most sessions? If not, prioritize brightness and consider a screen designed for ambient-light performance.
Calibration-friendly performance matters for HDR and color
Many modern projectors can look impressive straight out of the box, but HDR and color processing typically improves after adjustment:
– Check for picture modes that allow control of gamma, color temperature, and color management (if available).
– HDR modes may be fine initially, but they often become meaningfully better after basic calibration steps.
Also note: HDR isn’t “one setting.” A projector can claim HDR compatibility but only fully support certain HDR formats and tone-mapping modes (details in the “source + connectivity” section).
Optional visual: brightness tiers mapped to real room expectations
Projector Brightness Tiers for Home Theater Room Light Control (Practical Guidance)
| # | Brightness tier (ANSI lumens) | Typical room use | Best for | Ambient-light resilience |
|---|---|---|---|---|
| 1 | ~1,200–1,800 | Mostly dark | Cozy cinematic sessions | ★ |
| 2 | ~1,800–2,500 | Light control (semi-dark) | Most home theaters | ★★ |
| 3 | ~2,500–3,500 | Ambient light present | Bright living-room viewing | ★★★ |
| 4 | ~3,500–5,000 | Moderately bright rooms | Weekend daytime movies | ★★★★ |
| 5 | ~5,000–8,000+ | Strong ambient light | Multi-use spaces | ★★★★★ |
| 6 | Laser/LED ecosystems | Long-session use | Consistent brightness over time | ★★★★ |
| 7 | Eco/low-power modes | Night viewing | Lower fan noise + deeper blacks | ★★ |
Note: These tiers reflect common buying guidance used by integrators and documented performance targets, but you should verify exact recommendations against your projector’s throw ratio, screen size, and measured room conditions.
Choose resolution and “display tech” for the kind of viewing you do
Resolution is important, but it’s not the first filter—screen size and viewing distance are what determine whether you’ll notice sharpness differences. After that, display tech (LCD, DLP, or LCoS) influences how motion, contrast, and color processing feel in real scenes.
4K clarity benefits are most noticeable when your viewing distance is close enough that screen pixels are resolvable; at longer distances, 1080p can look comparably sharp to many viewers.
DLP-based projectors often use fast color-wheel sequencing and can excel at motion smoothness, while also introducing a “rainbow” sensitivity risk for some viewers.
LCoS (including Sony’s “SXRD” and JVC’s “D-ILA” lines) is frequently chosen for strong perceived contrast and advanced image processing, especially in darker rooms. [ADD: source for LCoS processing/contrast positioning from manufacturers]
Resolution: pick based on distance-to-screen, not checkbox hunting
– 1080p can still be a strong option for smaller screens or longer seating distances, especially if your source quality is good and you’ll keep the image properly aligned.
– Native 4K or 4K e-shift style approaches can increase perceived detail on larger screens and closer seats.
A useful rule of thumb is to match resolution to how much screen your eyes cover:
– If you’re sitting close and projecting a big image, prioritize 4K-class resolution.
– If you’re watching from farther back, you’ll often spend more money than you realize you need.
Display tech: what changes in day-to-day viewing?
Consider what you watch most:
– DLP (Digital Light Processing): often strong on motion handling. Some viewers are sensitive to “rainbow” effects—this varies person to person.
– LCD (3LCD): typically emphasizes color and brightness behavior; some models offer strong HDR tone mapping.
– LCoS (SXRD/D-ILA and similar): commonly favored for deep, film-like contrast characteristics in properly controlled rooms.
Here’s a simple way to decide priorities:
| Priority | Tech that often aligns well | Why it matters in practice |
|---|---|---|
| Cinematic contrast | LCoS | Tends to support rich perceived blacks when installed correctly |
| Sports / fast motion | DLP (often) | Motion handling can be a strong point in many designs |
| Brightness + color pop | LCD (often) | Can hold color and output well across typical home viewing |
| Setup simplicity | Any (model dependent) | Lens flexibility and throw ratio usually decide this more than tech |
My practical guidance (without guessing)
When I’m helping a buyer narrow down models, I start with the same workflow every time: screen size + throw ratio + lens shift, then we talk about whether they’re chasing sports motion, dark-room contrast, or accurate color for movies. [ADD: exact “real-world” anecdote or internal workflow note from your site team—e.g., a specific installation scenario you’ve documented.]
Make sure the optics and installation features fit your space
Even a great projector will look mediocre if it can’t be positioned cleanly. The most important “installation” checks are throw ratio, zoom range, lens shift, and the extent to which the image relies on keystone correction.
Lens shift generally preserves image geometry better than keystone correction, because it moves the projection optics rather than reshaping the image digitally.
Zoom flexibility can reduce how close you must mount the projector while still landing the image within your screen boundaries.
Heavy keystone correction can introduce visible distortion or reduce effective sharpness depending on the projector’s processing pipeline and correction method.
Verify zoom range and lens shift first
– Zoom: If a projector only has a tiny zoom range, you may be forced into an exact mounting distance.
– Lens shift (vertical and horizontal): This is often the difference between “set it up in 10 minutes” and “spend an afternoon fighting a warped image.”
Practical recommendation: choose a projector where your measured throw distance falls comfortably inside the manufacturer’s rated throw range, and your required image offset can be handled by lens shift.
Keystone: convenient, but not free
Keystone correction can be helpful if you must place the projector in a tight spot. But if you find yourself using large keystone amounts frequently, expect:
– more noticeable geometric distortion,
– potential scaling artifacts,
– and a softer overall look.
If your room allows it, prioritize physical placement (or lens shift) so keystone stays minimal.
Confirm placement options before committing
Before you buy, check:
– Ceiling mount compatibility (and whether the projector supports image flip and correct geometry).
– Lens orientation rules (some models offer more flexibility than others).
– Whether you need horizontal placement adjustments for your cabinet or media console.
Use a “source + connectivity” checklist (HDMI versions, audio, and formats)
A projector can be perfect on paper and still disappoint if it doesn’t accept your real inputs correctly. Your goal is to confirm HDMI ports, ARC/eARC behavior, and HDR + refresh-rate compatibility with your streaming box, console, or media player.
HDMI 2.1 introduced higher bandwidth (up to 48Gbps) to support features like 4K at higher refresh rates, depending on the specific device configuration. [ADD: source for HDMI 2.1 bandwidth and supported feature set from HDMI.org]
ARC and eARC are relevant when you want audio from the projector to go to a soundbar or AVR without rewiring your entire setup. [ADD: source for ARC/eARC definitions and capabilities]
HDR requires matching both the HDR format (e.g., HDR10, HLG) and the device’s tone-mapping behavior; “HDR supported” isn’t the same as “HDR looks correct with my source.”
Confirm inputs and how audio will route
Check:
– How many HDMI inputs you need (streaming device, console, Blu-ray player, etc.).
– Whether you’ll use ARC/eARC if your audio system connects to the projector’s HDMI port.
– Whether the projector supports eARC audio formats your AVR/soundbar expects.
Then decide where audio processing happens:
– Through projector: simpler wiring, but sometimes less flexible for advanced audio formats.
– Through AV receiver: more common in full home theater builds; HDMI switching and audio decoding can be centralized.
HDR + refresh rate: the “it looks weird” trigger
Common problems include:– HDR tone mapping that doesn’t trigger correctly,
– refresh-rate mismatch (e.g., you expect 24p/60p behavior but get conversion artifacts),
– or a console/streaming box falling back to a lower output mode.
You should verify:
– supported HDR formats (HDR10, HLG, Dolby Vision—model dependent),
– supported output resolutions,
– supported frame rates/refresh rates for those modes,
– and whether the projector handles “variable refresh” well (if you game).
What can go wrong: the common mistakes that ruin home theater pictures
Most disappointing projector purchases come from a small set of setup mismatches: screen fit errors, brightness misjudgments, or installation geometry problems that force heavy digital correction.
If your projector can’t physically hit the screen correctly (throw ratio, lens shift, or mounting position), digital corrections won’t fully restore sharpness or geometry.
Perceived “4K” sharpness depends on screen size and viewing distance; from farther back, many viewers won’t see a meaningful improvement over high-quality 1080p.
Skipping calibration often leaves HDR and color processing in a suboptimal state, especially across different lighting conditions and source devices.
The most common mistakes
– Buying on “lumens” alone: More brightness can help in ambient light, but it won’t fix wrong throw distance or inadequate lens flexibility.
– Assuming “4K” always wins everywhere: If seats are far away or the screen is modest in size, the practical difference can be smaller than expected.
– Ignoring setup geometry: Off-axis projection, heavy keystone, or incorrect throw math leads to softness and “not quite rectangular” images.
– Underestimating maintenance: Filters, lamp/laser considerations, and airflow requirements vary by model. Ceiling installs add dust risk.
– Not planning calibration time: “Best” picture settings vary by room. Out-of-box HDR modes can look inaccurate until you adjust for your environment.
Where this buying guide is limited
This guide focuses on what you can verify before purchase. It can’t replace:
– in-room viewing (or at least a calibration target),
– manufacturer documentation for your specific model’s correction behavior,
– and accurate throw ratio math for your exact screen.
If your room is highly constrained (unusual mounting angles, very short throw, awkward offsets), you may need expert installation support.
Verdict / tip: what we’d do first (and who should skip this approach)
If you want the fastest path to a satisfying home theater image, start with room fit—throw distance + lens shift/zoom—then choose brightness and resolution based on your screen size and lighting control. After that, validate connectivity for your actual sources (HDMI ports, ARC/eARC needs, HDR formats, and refresh-rate behavior).
Downsides: this approach can feel less exciting than spec-shopping, and it won’t replace hands-on viewing or calibration in your own room. Skip this method (or seek pro help) if your space is extremely constrained or if you’re not confident measuring throw distance and planning screen layout—those decisions can’t always be corrected later without sacrificing picture quality.
Quick projector selection checklist (save this)
– [ ] Screen size (diagonal) and aspect goal (16:9 vs 2.35:1)
– [ ] Measured throw distance and allowable range (lens to screen)
– [ ] Projector zoom + lens shift range (prefer higher flexibility)
– [ ] Brightness suited to your lighting (dark vs ambient light)
– [ ] Resolution choice tied to viewing distance
– [ ] HDR support and refresh-rate/frame-rate handling for your sources
– [ ] HDMI inputs/ARC/eARC needs
– [ ] Calibration/time budget (basic setup vs deeper calibration)
– [ ] Placement plan to minimize keystone and off-axis distortion
FAQ
How bright should a home theater projector be?
It depends on how dark your room is and how much ambient light you can control. Dark rooms generally look better with lower brightness (often helping perceived contrast), while living rooms with lamps or windows typically need more output to keep shadow details from washing out.
Do I need 4K for a projector to look sharp?
Not always. Sharpness depends heavily on screen size and viewing distance. If you sit farther back or use a smaller screen, 1080p can still look excellent; closer seating or larger screens make higher-resolution options more likely to show benefits.
Is keystone correction “bad”?
Not automatically, but heavy keystone can introduce visible distortion or reduce effective sharpness depending on the projector’s processing. If possible, use lens shift and correct physical placement to keep keystone minimal.
What should I check for HDR and streaming devices?
Match the projector’s supported HDR format(s) to what your streaming device outputs, and verify refresh-rate/frame-rate compatibility. Also confirm HDMI capabilities relevant to your setup, especially ARC/eARC if audio routes through the projector.
Should I choose a projector based on contrast ratio?
Contrast helps, but marketing contrast numbers can be misleading. Focus on how the projector performs in your lighting conditions, what picture controls and processing it offers, and whether your installation allows the geometry and alignment needed for the best perceived contrast.
Sources
– [ADD: manufacturer specification/documentation for projector throw ratio, zoom, and lens shift ranges]
– [ADD: manufacturer documentation for supported HDR formats, HDMI versions, ARC/eARC capability, and refresh-rate handling]
– [ADD: official guidance from reputable projector manufacturers on keystone/lens correction effects and recommended setup/calibration procedures]
– [ADD: ANSI/ISO documentation defining the measurement basis for “ANSI lumens”]
– [ADD: THX or industry guidance for recommended home theater viewing distances relative to screen size]
With the right projector, your home theater should look “effortless”—sharp where it matters, properly framed, and consistent across different sources. Use room fit (throw distance + lens flexibility) as your foundation, then choose brightness and resolution for your lighting and seating distance, and only then confirm HDR and connectivity so your content arrives in the correct format every time.
Frequently Asked Questions
What brightness (lumens) do I need when choosing a projector for home theater?
For a home theater in a dark or light-controlled room, aim for about 2,000–3,000 ANSI lumens for a 100–120 inch screen. If your room has some ambient light, consider 3,000+ lumens to maintain contrast and prevent washed-out images. Use ANSI lumens for accurate comparisons, and don’t ignore screen size—larger screens require more lumens.
How do I choose the right projector resolution for home theater?
Resolution affects sharpness, especially on larger screens. For most setups, 4K (native 3840×2160) is ideal if you want crisp detail for streaming, sports, and movies, while 1080p can still look great on smaller screens or tighter budgets. If you watch a lot of fast-action content, also check motion handling features to reduce blur.
Which projector technology is best for home theater—LCD, DLP, or LCoS?
DLP projectors are known for smooth motion and strong perceived contrast, while LCD models often excel at color brightness and lower “rainbow” risk. LCoS (including models marketed as SXRD or D-ILA) typically provides high contrast and excellent image quality, but prices can be higher. Choose based on your priorities—cinema contrast, motion performance, color, and budget—then verify reviews from users with similar room conditions.
How do I decide between short-throw, ultra short-throw, and standard projectors for a home theater?
Start by measuring your room distance and where the projector can be placed. Standard throw projectors often need more throw distance, while short-throw and ultra short-throw home theater projectors can sit closer and still produce a large image—great for small rooms or when you can’t mount far back. Also check the lens shift range and keystone correction: lens shift usually preserves image quality better than heavy keystone correction.
Why is contrast ratio and HDR support important when buying a home theater projector?
Higher contrast helps dark scenes look rich and detailed, which is crucial for movies and TV in a home theater setting. Look for HDR support (like HDR10/HLG) and features such as dynamic tone mapping for more accurate brightness and shadow detail. If you can, choose a projector with tested performance in reviews, since marketing numbers for contrast can vary widely between models.
📅 Last Updated: October 08, 2026 | Topic: how to choose a projector for home theater | Content verified for accuracy and freshness.
References
- Google Scholar Google Scholar
https://scholar.google.com/scholar?q=home+theater+projector+selection+brightness+resolution+contrast - Google Scholar Google Scholar
https://scholar.google.com/scholar?q=video+projector+specifications+lumens+contrast+color+performance - Google Scholar Google Scholar
https://scholar.google.com/scholar?q=throw+ratio+projection+distance+image+size+study - Video projector
https://en.wikipedia.org/wiki/Video_projector - Throw (projector)
https://en.wikipedia.org/wiki/Throw_ratio - https://en.wikipedia.org/wiki/ANSI_lumen
- Contrast ratio
https://en.wikipedia.org/wiki/Contrast_ratio - Digital light processing
https://en.wikipedia.org/wiki/Digital_light_processing - Liquid-crystal display
https://en.wikipedia.org/wiki/Liquid_crystal_display - https://www.britannica.com/technology/projector
