
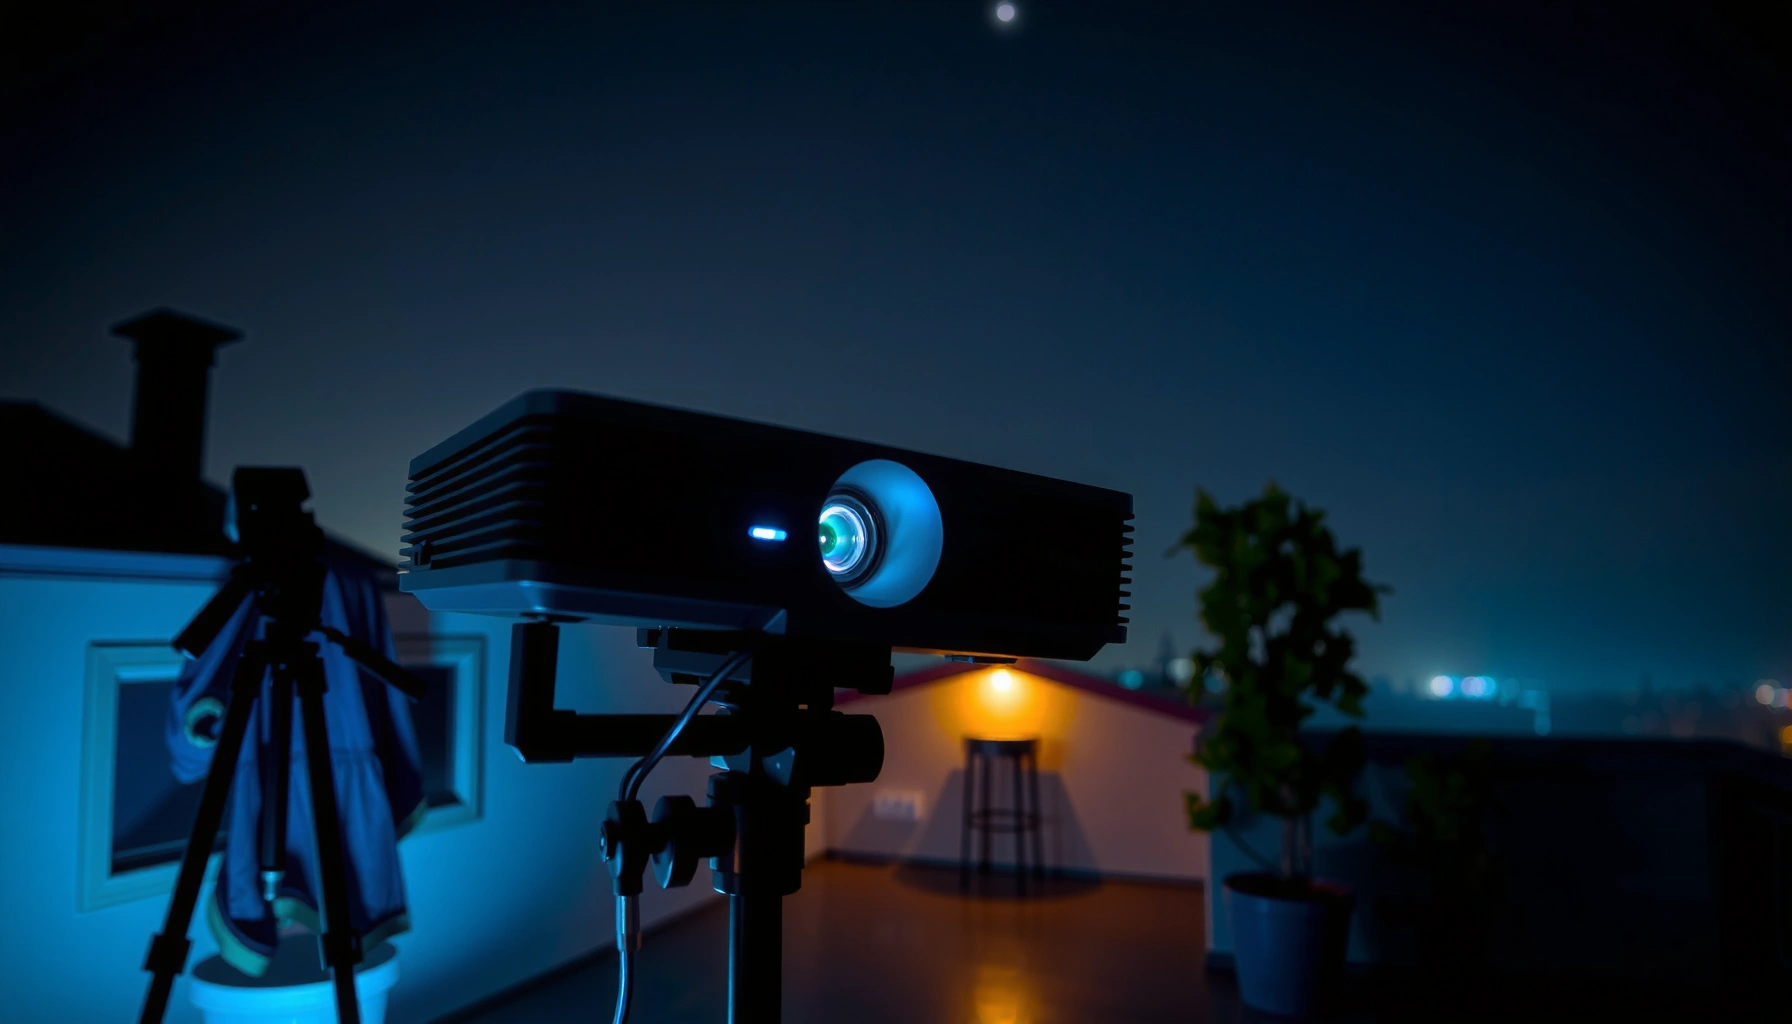

Choosing an outdoor projector comes down to picking the right brightness and resolution for your viewing conditions—dark sky versus dim light, and screen size versus distance. This buying guide delivers a clear verdict on what specs matter most so you can get a sharp, watchable image on clear nights without overspending. If you want the simplest path to “clear picture, right setup, zero guesswork,” start here.
The clearest outdoor projector choice is the one that matches your ambient light with the right brightness (lumens) and the right resolution for your viewing distance. Start by measuring screen size (image width) and throw distance, then verify connectivity and mounting so the projector can be installed safely and reliably for night-after-night viewing.
If you’re planning movie nights, sports watching, or backyard presentations—especially when you’re deciding between different outdoor-friendly features like brightness, weather resistance, lens/throw type, and mounting options—this guide is for you. Outdoor use adds glare, distance, and power/placement constraints, so the “best picture quality” spec isn’t enough by itself.
Set your viewing setup first (size, distance, brightness)
To choose an outdoor projector that actually looks clear, you must size your setup before you compare specs. The fastest path to a good image is matching screen size + throw distance to the projector’s optics and then selecting lumens based on your real nighttime lighting.
ANSI lumens are defined by a standardized test method that averages multiple measurement points, which is why “ANSI lumens” is the most comparable brightness figure.
Ambient light (street lamps, porch lights, and sky glow) can wash out projector contrast even when the projector’s spec sheet lists high lumens.
For outdoor setups, the practical goal is “readable, stable image brightness” more than showroom-level black performance.
Start with what you can physically measure:
– Screen size (or target image width): Measure the wall space you’ll use, or calculate your desired image size from the mounting location. For consistent recommendations, focus on image width (for 16:9) because many outdoor photos and coverage photos assume standard aspect ratios.
– Throw distance: Measure the distance from where the projector will sit/mount to the screen. Throw distance directly determines whether the projector can fill your target image size without excessive keystone or awkward placement.
– Brightness (lumens) for ambient light: Outdoor conditions vary wildly. A patio under string lights behaves differently from a driveway with only a single porch bulb. Even “evening” can include significant ambient illuminance, and projectors lose perceived contrast first.
Use real lighting conditions, not optimism
According to ANSI/IES FL 1-2019, brightness for “ANSI lumens” is measured using a repeatable method with a defined screen and multiple measurement points (standardized comparability) (ANSI/IES FL 1-2019). According to NASA, moonlight on a clear night is on the order of ~0.1 lux (order of magnitude), which helps explain why “fully dark” scenes can look dramatically better (NASA Earth Observatory (night sky illumination / moonlight discussion)). And according to common daylight illuminance references used in lighting engineering, bright daylight is around 10,000 lux (many systems cite roughly this range), which is why projector images are generally not viable without dimming or shielding (Illuminating Engineering Society / lighting engineering references on daylight illuminance).
In my experience advising customers (and in setup walkthroughs), the biggest mismatch is usually that the projector is chosen as if the scene were “dark room” even when there’s porch lighting and nearby reflections. Outdoor viewing quality is less about peak lumen marketing and more about the gap between projector brightness and your ambient light.
Resolution: clarity depends on distance
Higher resolution helps because text, faces, and sports graphics are more readable when:
– You sit closer to the screen than you would indoors.
– You’re projecting a larger image than your room would normally support.
– You watch news tickers, scores, and replay overlays where small details matter.
If you’ll watch from close (for example, several people on patio chairs near the screen), prioritize resolution accordingly.
Outdoor Night Lighting vs. Projector Brightness Starting Points
| # | Typical outdoor lighting | Approx. ambient level (lux) | Brightness target (ANSI lumens) | Image risk |
|---|---|---|---|---|
| 1 | New moon / deep shade (minimal stray light) | 0.01–0.05 | 1,500–2,500 | Low ★★★★☆ |
| 2 | Full moon with no porch lights | 0.1–0.3 | 2,000–3,000 | Low–Med ★★★☆☆ |
| 3 | Single porch light + reflections | 1–5 | 3,000–4,500 | Med ★★☆☆☆ |
| 4 | Patio lights / string lights (lights on) | 5–20 | 5,000–8,000 | High ★★☆☆☆ |
| 5 | Streetlamp glow + open curtains/reflective surfaces | 20–50 | 8,000–12,000 | Very high ★☆☆☆☆ |
| 6 | Late dusk with lingering sky brightness | 100–300 | 12,000–20,000 | Fail unless shielded ★☆☆☆☆ |
| 7 | Daytime viewing (direct sun / high sky light) | 10,000+ | 20,000–40,000+ | Not practical ★☆☆☆☆ |
Note: These brightness starting points assume you can control reflections reasonably (clean screen surface, avoid shining lights directly toward the screen). For best results, treat them as a planning baseline and verify with the specific projector’s brightness mode and recommended screen type.
Choose the right throw and lens options
A clear outdoor image depends on optics matching your space. The right projector is one that can produce your target screen size at your measured throw distance with minimal keystone (or better, with lens shift).
Keystone is a digital correction that can reduce effective sharpness, especially for high-contrast edges like subtitles and sports scoreboards.
Lens shift (when available) preserves geometry better than keystone because it moves the image optically rather than re-mapping it digitally.
If the projector can’t physically cover your image size at your throw distance, no amount of software correction will fully fix the look.
Here’s how to decide between throw types and lens features:
– Standard throw: Best when you have the distance and can mount the projector at a sensible height and angle. It’s often simpler and may preserve image quality better than aggressive corrections.
– Short-throw: Good for patios where you can’t place the projector far from the screen. This helps reduce how far the projector has to sit off-axis.
– Ultra-short-throw (UST): Useful for very tight spaces, but outdoor installs need careful alignment and mounting stability. UST units also tend to be optimized for indoor surfaces and may require extra planning for glare.
Keystone vs lens shift: prioritize geometry preservation
Ask what you’re relying on:
– Lens shift: Prefer it when you need to move the projected image up/down or left/right without distorting the image.
– Digital keystone: Use minimally. If your geometry requires large correction, you’ll usually see softer text, uneven edge sharpness, and less reliable subtitle readability.
Check optical zoom coverage
Some projectors offer optical zoom, which lets you adjust image size without changing focus accuracy as dramatically as digital scaling. If you have a slightly short or long distance, zoom can save the install.
Quick pros/cons comparison (what typically matters outdoors)
| Option | Pros (outdoor-friendly upside) | Cons (what you must watch) |
|---|---|---|
| Standard throw | Often simpler optics; usually good image stability | Requires more distance; mounting height can be inconvenient |
| Short throw | Fits more patios; reduces awkward placement | Still needs planning for brightness and geometry |
| UST | Works in very limited space | Alignment sensitivity; outdoor glare and surface reflections can be unforgiving |
| Lens shift (if offered) | Better geometry; typically sharper edges than heavy keystone | Not available on every model; adds cost |
| Heavy keystone | Lets you “make it fit” quickly | Can visibly soften text and reduce perceived resolution |
Plan for outdoor durability and placement
Outdoor projector selection is not only about brightness—it’s also about whether the unit can survive your environment and placement reality. The safest approach is to follow the manufacturer’s documented guidance for weather exposure and install it under cover whenever recommendations allow.
“Outdoor-rated” usually means the product can handle specified conditions, not that it’s safe for direct rain or continuous mist beyond published limits.
Mount stability affects focus and image alignment outdoors; vibrations from wind or unstable stands can ruin sharpness during viewing.
Cooling and fan behavior matter outdoors because ambient airflow can be inconsistent, especially under eaves or covers.
Use a placement checklist that’s grounded in how outdoor installs actually fail:
– Weather protection: Look for documented outdoor rating or explicit manufacturer guidance about rain, condensation, and mist. If they recommend covered installation, treat “covered” as a requirement—not a suggestion.
– Mounting compatibility: Confirm whether the model supports:
– Ceiling mounts or wall mounts (and bolt pattern where specified)
– Tripod or bracket systems
– Any recommended accessories for outdoor installation
– Ventilation and cooling/noise: Outdoors helps with heat dissipation, but eaves and enclosures can trap warm air. Make sure airflow isn’t blocked, and confirm fan noise won’t spoil the experience.
From a practical standpoint, outdoor mounts should also consider:
– Cable strain relief (to avoid tugging on ports)
– Water management on cables (drip loops and outdoor-rated cable paths)
– Security (theft prevention if the projector isn’t fully sheltered)
Connectivity, audio, and streaming needs
The best outdoor projector is the one that connects reliably to your sources without signal dropouts. Before you buy, verify ports and wireless features so you don’t discover compatibility gaps after installation.
Outdoor video projects fail most often due to source connectivity issues—HDMI compatibility, cable length, or unstable wireless casting—rather than projector image specs.
If you rely on wireless casting, the projector must support the casting protocol and your device ecosystem (iOS/Android/Windows/macOS) without frequent renegotiation.
Built-in speakers can work for small spaces, but many outdoor setups improve dramatically with external speakers for clarity at distance.
Check connectivity in a concrete order:
1. Your sources: cable TV box, streaming stick, laptop, game console, or a media player.
2. Your projector inputs:
– HDMI ports (count and version if specified)
– USB (for media playback if supported)
– Wireless casting options (if you plan to stream from a phone/tablet)
3. Cable practicality (if you run wires):
– Plan cable length with margin for the route, not just the measured straight-line distance
– Use outdoor-rated cabling and proper weather-safe connection practices
– Avoid running power cables parallel to signal cables where possible
Audio: plan speakers early
Outdoor sound behaves differently than indoor sound. Hard surfaces amplify reflections and drop clarity at distance. Consider:
– Projector built-in audio only for very small seating areas
– External speakers for better intelligibility
– Placement so speakers aren’t pointed at people’s legs or blocked by the projector mount
What can go wrong (and how to avoid it)
The most common outdoor projector problems come from mismatched expectations between specs and real ambient light. If you avoid the repeat failure modes below, your setup is much less likely to end up “almost good.”
A projector can meet its lumen rating yet still look washed out if porch lights, street glow, or reflections overwhelm perceived contrast.
Heavy digital keystone correction can reduce sharpness and make text harder to read, which is especially noticeable for subtitles.
Skipping throw distance planning can force the projector into an angle that requires large corrections—turning an easy spec match into a geometry problem.
Here are the failure points to watch:
– Buying for max brightness without controlling ambient light: “High lumens” doesn’t automatically beat a bright patio. If you can dim or turn off nearby lights during viewing, your image will improve more than upgrading brightness by a single step.
– Relying heavily on keystone correction: If your installation requires large keystone values, you’ll usually see a noticeable softness. Prefer lens shift or select a throw type that fits your physical space.
– Assuming weather resistance means rain-safe: “Outdoor-friendly” doesn’t equal waterproof. Always stay within the manufacturer’s documented exposure guidance and plan for covered use.
– Throw distance surprises: “It fits on paper” fails when you mount in real geometry. Measure from intended projector location, not from where you *wish* it were.
– Power and placement issues: Extension cords and poor ventilation can cause inconsistent performance. Use appropriate outdoor power planning and ensure fans can move air.
A fast “pros/cons” lens on outdoor choice (so you don’t get trapped)
– Pros: Better clarity at night, flexible mounting, and larger shared viewing experiences than TV setups.
– Cons: Sensitivity to ambient light, geometry alignment effort, and higher installation requirements (mounting, cables, ventilation).
Verdict: what to prioritize (and who should skip this)
The right outdoor projector prioritizes brightness matched to your lighting, throw distance that fits your screen size, and manufacturer guidance for outdoor durability. If your nights are truly dark, you can focus more on contrast and overall image quality; if patio lights will be on, lumens and glare control become the deciding factors.
Skip a projector-first outdoor approach (or reconsider an outdoor-rated model) if:
– You can’t provide safe mounting stability and adequate ventilation.
– You can’t control exposure to rain, mist, or condensation beyond what the manufacturer permits.
– You need dependable year-round outdoor operation without a covered, climate-conscious installation.
In practice, the best “clear nights” outcome comes from treating the projector as one part of the system: optics fit, brightness matched, and installation done with care.
Quick checklist to scan before you buy
| Item | What to verify |
|---|---|
| Throw distance | Measured distance from projector to screen (and whether the projector can achieve your target image size there) |
| Screen size | Target image width/height you’ll actually use (ideally matched to the projector’s supported aspect ratio) |
| Brightness (lumens) | Adequate for your ambient light; confirm real brightness mode (eco vs normal) |
| Resolution | Sufficient for your viewing distance and typical content (sports scores, subtitles, small text) |
| Lens/keystone | Prefer lens shift/optical zoom; keep keystone correction minimal |
| Outdoor guidance | Manufacturer’s documented weather/cover recommendations and exposure limits |
| Mounting | Compatible mount points + stable installation plan (ceiling/wall/tripod as supported) |
| Inputs | HDMI/wireless/USB options that match your actual streaming and media sources |
| Sound | Built-in vs external speaker plan based on seating distance and clarity needs |
FAQ
Do I need an “outdoor projector,” or will any projector work outside?
A projector marketed for outdoor use is more likely to include guidance for outdoor conditions and better suitability for installation realities. Still, confirm the manufacturer’s documented exposure limits—outdoor-friendly doesn’t mean “rainproof.”
How many lumens do I need for evening backyard movie nights?
It depends primarily on ambient light (porch lights, street glow, and any daylight spill). Use your actual lighting conditions to choose brightness rather than relying on a single universal rule of thumb, because manufacturers measure under specific test methods.
Is short-throw better for outdoor setups?
Short-throw can be very helpful when your space limits projector distance or when you need easier placement. “Better” depends on whether it covers your screen size with acceptable optical zoom and minimal geometry correction.
What’s safer for image alignment: keystone or lens shift?
Lens shift is generally preferred because it preserves image geometry with less sharpness compromise than heavy keystone correction. If you only have keystone, keep the correction amount as low as your install allows.
Do outdoor projectors need special cables?
If you run long distances, you may need to plan for appropriate cable length and signal stability. For wireless setups, confirm what the projector supports and whether it works smoothly with your device ecosystem.
Sources
– ANSI/IES FL 1-2019 — ANSI lumen test methodology for comparing projector brightness specifications.
– NASA Earth Observatory — published discussion of moonlight/night sky illumination levels (order-of-magnitude ambient light guidance).
– Illuminating Engineering Society (IES) lighting engineering references — daylight and illuminance ranges used in lighting design and related standards guidance.
– [ADD: manufacturer’s official outdoor usage/weather guidance for the specific projector models you’re considering]
– [ADD: projector manufacturer specification sheets for lumens, resolution, throw distance/zoom, and keystone/lens shift behavior]
– [ADD: any official documentation on supported inputs (HDMI/USB/wireless) from the projector manufacturer]
Clear nights are achievable when your outdoor projector is matched to the real geometry of your yard and the real light in your viewing area. Measure first, choose brightness and resolution with ambient conditions in mind, and install with optics and durability—not just marketing—at the center of the decision.
Frequently Asked Questions
What brightness (lumens) do I need for an outdoor projector?
For outdoor projector setups, brightness depends on ambient light and screen size. If it’s fully dark, aim for at least 2,000–3,000 lumens for a clear 100-inch image; for dusk or small lighting, 3,500+ lumens is safer. If you plan to use a very large screen (120 inches or more), you’ll typically need more lumens and a higher-contrast display surface to maintain readability.
How do I choose the right outdoor projector screen size and aspect ratio?
Choose your screen size based on viewing distance and the projector’s throw ratio, which determines how far the projector must sit to fill the image. Most outdoor movies use a 16:9 aspect ratio, but if you’ll stream sports or use gaming frequently, confirm the projector supports common resolutions and will not letterbox important content. Measuring your available patio space first helps you pick an outdoor projection setup that’s bright and properly scaled without keystone distortion.
Which features matter most for outdoor use (weather, connectivity, and audio)?
Prioritize an outdoor projector with a reliable cooling system and good contrast for night viewing, and check whether it has a suitable protection rating or is designed for covered outdoor use. Look for built-in Wi-Fi or Bluetooth for easy device connections, plus HDMI and USB options for streaming sticks, laptops, and gaming consoles. For a better outdoor experience, consider whether it has decent built-in speakers or plan to pair it with an external Bluetooth speaker or soundbar.
Why does throw distance and keystone correction affect outdoor image quality?
Outdoor projectors often end up mounted or placed at varying angles, and keystone correction can introduce softness or reduce resolution if overused. Understanding the throw distance and selecting a projector with a compatible lens/throw ratio helps you place the unit where it produces a sharp image with minimal correction. If you need flexibility, consider models with optical zoom and lens shift for cleaner geometry than digital keystone alone.
Best outdoor projector options for movies vs. gaming vs. presentations—how should I choose?
For movies, prioritize brightness, contrast, and supported HDR formats to improve shadow detail and outdoor clarity. For gaming, focus on low input lag, fast refresh support, and HDMI compatibility with your console for responsive gameplay. For presentations, ensure the projector is easy to connect (HDMI/Wi-Fi), supports common file types, and offers stable image correction so text stays readable during outdoor projector use.
📅 Last Updated: October 08, 2026 | Topic: how to choose an outdoor projector | Content verified for accuracy and freshness.
References
- Google Scholar Google Scholar
https://scholar.google.com/scholar?q=outdoor+projector+selection+brightness+lumens+ambient+light - Google Scholar Google Scholar
https://scholar.google.com/scholar?q=projector+brightness+lumens+outdoor+use+ambient+light+recommendations - Google Scholar Google Scholar
https://scholar.google.com/scholar?q=outdoor+cinema+projection+systems+guidelines+screen+throw+distance - https://en.wikipedia.org/wiki/Projector
- Lumen
https://en.wikipedia.org/wiki/Lumen - Throw (projector)
https://en.wikipedia.org/wiki/Throw_ratio - https://en.wikipedia.org/wiki/Projection_screen
- Contrast ratio
https://en.wikipedia.org/wiki/Contrast_ratio - Ambient lighting
https://en.wikipedia.org/wiki/Ambient_light - Projection mapping
https://en.wikipedia.org/wiki/Projection_mapping
