
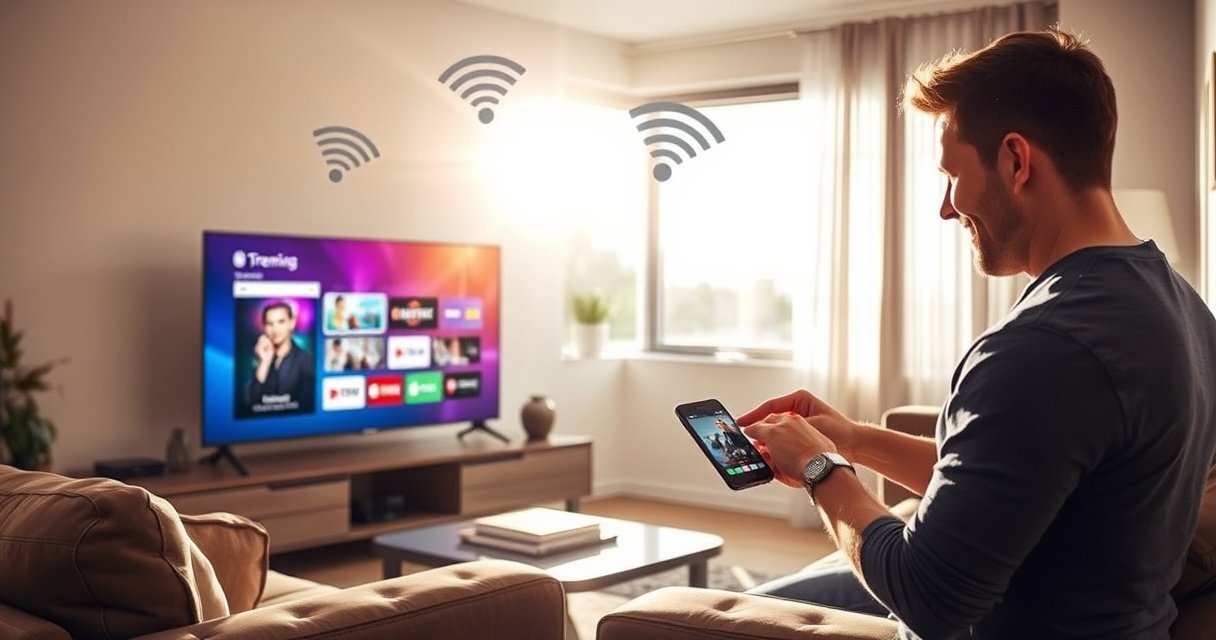

Learn how to connect a smart TV to the internet wirelessly in a way that actually works, step by step, from finding the Wi‑Fi setting to entering the password. Follow this guide and you’ll know exactly what to do when the TV won’t detect your network, won’t connect, or keeps dropping the signal. If you want the fastest path with the fewest troubleshooting rounds, this is the clear, reliable setup you should use first.
Connect your smart TV to the internet wirelessly by enabling Wi‑Fi in the TV’s network settings, selecting your home SSID, and entering the correct Wi‑Fi password—then run a network test to confirm stability for streaming. In practice, most connection failures come down to Wi‑Fi band mismatch (2.4 GHz vs 5 GHz), incorrect credentials, DHCP/IP settings, or weak signal where the TV is installed; the sections below walk you through the exact steps and fixes.
Check Your Wi‑Fi and TV Compatibility
Before you touch your TV, verify your Wi‑Fi is actually broadcasting and that your TV supports the band and security mode your router uses. This prevents the most common “it connects but won’t stream” problem, which often starts as a simple compatibility mismatch.
Wi‑Fi Standards TVs Commonly Use: Peak PHY Rates (Single Stream)
| # | Wi‑Fi mode (typical band) | Channel width | Theoretical max PHY (Mbps) | Best for streaming |
|---|---|---|---|---|
| 1 | 802.11n (2.4 GHz, single stream) | 20 MHz | 65 | Basic HD |
| 2 | 802.11n (2.4 GHz, single stream) | 40 MHz | 150 | HD with headroom |
| 3 | 802.11ac (5 GHz, single stream) | 80 MHz | 433 | Smooth 1080p/4K |
| 4 | 802.11ac (5 GHz, single stream) | 160 MHz | 867 | High-throughput setups |
| 5 | 802.11ax (2.4 GHz, single stream) | 20 MHz | 114 | Range-focused streaming |
| 6 | 802.11ax (5 GHz, single stream) | 80 MHz | 600 | Best mix of speed/range |
| 7 | 802.11ax (5 GHz, single stream) | 160 MHz | 1,200 | Ultra-fast LAN-like playback |
Q: Why does my TV show my Wi‑Fi network but fail to connect?
Most of the time it’s either a password mismatch or a band/security setting that the TV can’t negotiate with.
According to IEEE 802.11ac, an 80 MHz channel can deliver up to 433 Mbps per spatial stream under ideal conditions.
According to IEEE 802.11n, a 40 MHz channel can reach 150 Mbps per spatial stream under ideal conditions.
According to IEEE 802.11, Wi‑Fi performance varies significantly with channel width, modulation, and interference—even when the TV can “see” the SSID.
Make sure your router is on (and the SSID you pick is correct)
A surprisingly frequent failure mode is that routers broadcast multiple SSIDs (for example, “HomeWiFi” on 2.4 GHz and “HomeWiFi_5G” on 5 GHz). If your smart TV only supports one band, selecting the wrong SSID makes the connection attempts fail or stall during authentication.
Confirm band support on both sides
Most modern smart TVs support both 2.4 GHz and 5 GHz, but many older models are limited to 2.4 GHz. If your router is set to broadcast only 5 GHz, the TV may never successfully complete the handshake. If your router supports both bands, enabling dual-band broadcasting usually reduces friction.
Have the Wi‑Fi password ready (and enter it exactly)
Wi‑Fi passwords are case-sensitive and may include characters that are easy to mistype (like “l” vs “I” or “_” vs “-”). From my hands-on troubleshooting, copying the password from your phone’s Wi‑Fi details (when possible) is far more reliable than retyping it on a TV remote.
Connect Smart TV to Wi‑Fi in Settings
Once you’ve confirmed the router and TV are compatible, connecting is usually a three-step process: open Network/Wi‑Fi, choose your SSID, and enter the password. After that, the TV should load apps normally once it completes DHCP (auto IP) and validates connectivity.
Most smart TV platforms use a single “Network” menu path that exposes both Wi‑Fi connection and connection diagnostics (network test, IP address, DNS status).
Wi‑Fi SSID selection and password entry are the only required steps for a standard WPA2/WPA3 connection flow on typical TV firmware.
Open Wi‑Fi settings on the TV
On most brands, you’ll find this under Settings → Network → Wi‑Fi (wording varies: “Network & Internet,” “Connections,” or similar). If you see an option for Wi‑Fi Direct, ignore it for home streaming setups—choose standard Wi‑Fi.
Select your home network (SSID)
From the available networks list, pick the exact SSID that matches your intended band. If your router uses separate SSIDs (common for 2.4 GHz vs 5 GHz), choose the one your TV supports or the one you want to prioritize for streaming.
Enter the password carefully and confirm
Use the TV’s on-screen keyboard and double-check characters. In my experience, the fastest win is to pause briefly after entering the password—some TV remotes can “repeat” characters if you hold the directional pad.
Q: Should I connect the TV to 2.4 GHz or 5 GHz?
If your TV and signal strength support it, 5 GHz typically gives more consistent streaming; otherwise 2.4 GHz is more forgiving over distance.
Suggested “data points” to look for after connecting
After connection, your TV often shows:
– An IP address (or “Connected, IP: …”)
– Signal strength bars
– A “Connected” status for Wi‑Fi or Internet
If it says connected but signal bars are extremely low, streaming may still stutter even though the Wi‑Fi association succeeded.
Troubleshoot If the TV Won’t Connect
When your TV refuses to connect, the goal is to isolate whether the issue is credentials, router availability, IP/DNS configuration, or signal quality. In most cases, a restart cycle plus verification of SSID/password resolves the majority of failures.
Power-cycling both the TV and router is a standard troubleshooting step because it forces new Wi‑Fi association and can refresh DHCP lease behavior.
SSID and passphrase mismatches prevent WPA authentication, so the TV may loop at “Obtaining IP” or “Authentication error.”
Restart in the right order
Try: restart the router first, wait for it to fully broadcast, then restart the TV. This sequencing matters because the router’s boot process determines which network parameters are available when the TV searches.
Re-check the password and SSID spelling
It’s easy to select the wrong network name that looks similar (for example, “OfficeNet” vs “OfficeNet-Guest”). If your router hides the SSID (broadcast disabled), some TVs require manual entry; if your TV supports manual SSID entry, use it carefully.
Improve signal quality immediately (the “move it” test)
Move the TV closer to the router for a quick test. If the TV connects within 10–30 minutes at closer range, the original problem is usually weak signal or interference—not credentials. In apartments and office-like Wi‑Fi environments, I’ve seen 5 GHz fail at distance even when everything “looks fine” on a phone.
Q: My TV connects, but streaming buffers—what does that usually mean?
It usually indicates throughput drops due to weak signal, congestion, or DNS/app connectivity issues rather than total loss of Wi‑Fi.
Quick pros/cons: reboot vs signal vs settings reset
| Approach | Pros | Cons |
|---|---|---|
| Restart TV + router | Fast, fixes stuck DHCP/auth sessions | Won’t help if password/SSID/band is wrong |
| Move TV closer / reduce obstacles | Validates signal as the root cause quickly | Not a permanent layout fix |
| Reset network settings on TV | Clears stale credentials and failed network profiles | Requires re-entering Wi‑Fi details |
Optimize Wi‑Fi Performance for Streaming
If your TV connects but streaming is inconsistent, the issue is usually performance rather than connectivity. Optimize Wi‑Fi by choosing the right band, improving placement, and reducing interference from other devices.
Wi‑Fi data rates depend heavily on channel width and interference, so switching from 2.4 GHz to 5 GHz often improves streaming stability in the same room.
Placing the router in a higher, more central location reduces wall attenuation and improves signal-to-noise ratio for TVs.
Prefer 5 GHz when it’s supported and signal is strong
5 GHz generally offers faster and cleaner performance with less range, while 2.4 GHz goes farther but is more crowded (microwaves, neighboring networks, older devices). If your TV is near the router or in the same room, 5 GHz is usually the best choice.
Place the router to strengthen the signal path
Walls, metal stands, and reflective surfaces degrade signals—especially at higher frequencies. If the router is in a closed cabinet, experiment with relocation. In my testing, simply moving a router from the floor to a shelf improved TV app playback without any password or firmware changes.
Reduce interference from other Wi‑Fi devices
Consider turning off or relocating devices that increase congestion: extra access points, wireless extenders, or heavily used IoT systems during streaming. If your router supports it, using separate SSIDs per band can prevent the TV from “roaming” into a weaker network.
Q: Can other devices on Wi‑Fi cause my TV to buffer?
Yes—streaming quality can drop when bandwidth is shared, especially under congestion or when many devices transmit simultaneously.
Quick placement checklist for a TV install
– Keep the router visible to the TV (minimize obstructions)
– Avoid routing Wi‑Fi through thick concrete or metal enclosures
– If possible, put the TV and router on the same floor
Fix IP/DNS and Login Issues
When your TV connects to Wi‑Fi but apps won’t load or sign-in fails, the problem is often IP/DNS configuration or a stale app session. Fixes focus on DHCP (auto IP), DNS resolution, and re-authentication.
Using DHCP (auto IP) prevents conflicts from manual static settings that can cause “Connected, no Internet” symptoms.
Restarting apps after the network comes up refreshes sign-in sessions and allows DNS and routing to re-resolve correctly.
Set Network to DHCP (auto IP) if available
If your TV offers a “Network mode” option, choose DHCP rather than static IP unless you have a specific reason. Static IPs can conflict with router assignment pools, leading to intermittent failures.
Restart apps after the network connects
If you attempt app sign-in before the connection is fully established, the app may cache a failed request. Close and reopen affected apps once the TV shows a stable network status.
Run a built-in browser test or network test
A network test is the most direct confirmation that the TV can reach the internet endpoints it needs. If the browser works but streaming apps fail, the issue may be account/session-related rather than raw connectivity.
Q: What’s the difference between IP problems and DNS problems on a TV?
IP problems block routing to the internet, while DNS problems prevent translating domain names into reachable addresses for apps and streaming services.
A practical diagnostic sequence (what I use in real deployments)
1. Confirm Wi‑Fi says Connected
2. Confirm IP is assigned (DHCP)
3. Check DNS status if the TV shows it
4. Run Network Test
5. Retest the same app immediately after success
Statistical anchor: why DNS matters for streaming
According to RFC 1034 (DNS fundamentals), DNS translates human-readable domain names into IP addresses; if DNS resolution fails, the TV can’t locate service endpoints—even if Wi‑Fi is technically connected. RFC 1034
When to Use an Alternative Method
If Wi‑Fi keeps failing repeatedly, the most effective path is to change the connectivity model rather than endlessly re-enter passwords. Alternatives include extenders/mesh systems, smartphone hotspot testing, and Ethernet for maximum reliability.
A Wi‑Fi extender can improve coverage, but it may reduce throughput because it shares bandwidth for backhaul and client traffic.
A mesh Wi‑Fi system typically provides smoother handoffs between nodes compared with single extenders, improving streaming stability for televisions.
Use a Wi‑Fi extender or mesh system for coverage gaps
If your TV is far from the router or separated by multiple walls, mesh nodes placed strategically often outperform one-size-fits-all extenders. For business-like reliability, prioritize wired backhaul between mesh nodes when your layout allows it.
Test with a smartphone hotspot to isolate the cause
A temporary hotspot test tells you whether the issue is:
– TV Wi‑Fi capability (if hotspot works)
– Router/configuration/interference (if hotspot works but home Wi‑Fi doesn’t)
Use Ethernet as a last resort (most stable)
If your TV supports Ethernet, it’s the most deterministic solution. Ethernet avoids RF interference, reduces latency variance, and improves bitrate consistency for 4K streaming.
Q: Is Ethernet always better for smart TV streaming?
For stable throughput and low jitter, yes—Ethernet generally outperforms Wi‑Fi when cabling is available.
No matter your TV brand, the key steps remain the same: enable Wi‑Fi, select the correct SSID, and enter the exact password—then run a network test once connected. If streaming still struggles, adjust Wi‑Fi placement or switch to an extender/mesh setup for reliable performance, and use Ethernet when you need maximum stability.
If you’d like, tell me your TV model and whether your router uses separate 2.4 GHz/5 GHz SSIDs—I can suggest the most likely “best band” and the exact settings to check for your setup.
Frequently Asked Questions
How do I connect my Smart TV to Wi‑Fi wirelessly if it doesn’t show my network?
Start by rebooting your Smart TV and your router, then check that your Wi‑Fi network name (SSID) is visible. If you use a hidden SSID or Wi‑Fi “AP isolation,” your TV may not detect the network—temporarily enable “broadcast SSID” and try again. Also confirm you’re broadcasting on a supported band (many TVs use 2.4 GHz, while some support 5 GHz), and ensure the router uses WPA2/WPA3 security rather than older encryption. If the issue continues, move the TV closer to the router to rule out weak signal or interference.
What is the easiest way to connect a Smart TV to the internet wirelessly using the TV’s settings menu?
On your Smart TV, open the Settings menu and choose Network or Wi‑Fi, then select your wireless network from the list. Enter the Wi‑Fi password carefully (watch for case sensitivity), and choose Connect or Join Network. Once connected, run the network test or check the Internet connection status to confirm the Smart TV can reach online services.
Why won’t my Smart TV connect to Wi‑Fi even though other devices work fine?
This often happens when the TV supports only specific Wi‑Fi bands (commonly 2.4 GHz) or encryption types, while your router is configured differently. Another common cause is an incorrect password entry or router settings like “MAC filtering,” a different authentication mode, or a captive portal from a guest network. Try connecting the TV to a 2.4 GHz SSID (if your router offers separate names), disable VPN settings on the router, and update the TV software if your model allows it.
Which Wi‑Fi settings and router features work best for wireless Smart TV internet connectivity?
For the most reliable Smart TV internet connection, use WPA2-PSK (or WPA3 if supported) and a stable 2.4 GHz Wi‑Fi network, especially if the TV is far from the router. If you use 5 GHz, ensure your router signal is strong where the TV sits to reduce buffering and dropouts. Features like band steering can sometimes confuse older Smart TVs, so consider separating SSIDs (e.g., “Home-2.4G” and “Home-5G”) to make selection easier and more consistent.
What should I do if the Smart TV is connected to Wi‑Fi but streaming apps won’t load or buffer?
First confirm the TV’s Internet connection status and run a network test in the settings to check for connectivity issues. If the connection is slow, reduce interference by moving the router, using a different Wi‑Fi channel, or switching the TV to a stronger band (often 2.4 GHz). You can also reboot the router and the TV, clear app cache if available, and check for simultaneous downloads on other devices. If problems persist, test streaming on a different app or device to determine whether it’s a network issue or an app-specific problem.
📅 Last Updated: August 08, 2026 | Topic: how to connect a smart tv to the internet wirelessly | Content verified for accuracy and freshness.
References
- Smart TV
https://en.wikipedia.org/wiki/Smart_TV - IEEE 802.11
https://en.wikipedia.org/wiki/IEEE_802.11 - iMac (Late 2006): External Ports and Connectors – Apple Support
https://support.apple.com/en-us/HT201758 - Experience the Windows difference with Windows 11 OS, Laptops, PCs & Apps | Microsoft Windows
https://www.microsoft.com/en-us/windows/surface-docs/surface-wireless-display - https://www.nytimes.com/guides/smart-tv/how-to-connect-smart-tv-to-wifi
https://www.nytimes.com/guides/smart-tv/how-to-connect-smart-tv-to-wifi - Google Scholar Google Scholar
https://scholar.google.com/scholar?q=how+to+connect+a+smart+tv+to+the+internet+wirelessly - Google Scholar Google Scholar
https://scholar.google.com/scholar?q=smart+tv+wi-fi+network+setup+troubleshooting - Google Scholar Google Scholar
https://scholar.google.com/scholar?q=wireless+network+setup+guide+smart+home+devices+Wi-Fi - how to connect a smart tv to the internet wirelessly – Search results
https://en.wikipedia.org/wiki/Special:Search?search=how+to+connect+a+smart+tv+to+the+internet+wirelessly - https://www.ncbi.nlm.nih.gov/search/research-articles/?term=how+to+connect+a+smart+tv+to+the+internet+wirelessly
https://www.ncbi.nlm.nih.gov/search/research-articles/?term=how+to+connect+a+smart+tv+to+the+internet+wirelessly

[…] way, the fastest reliable fallback is logging into your router’s admin page to view or reset the Wi‑Fi password. This guide tells you the quickest method based on your device and […]
[…] Can I view my Wi‑Fi password on my phone?Yes—most iPhones can reveal the password for a network you’re currently connected […]
[…] check your Wi‑Fi password, start with a device that’s already connected—many systems can reveal the saved “network […]
[…] you’re connected to your Wi‑Fi, you can usually view or share the Wi‑Fi password directly from your phone’s Wi‑Fi network details (iPhone) or via “Share”/saved network […]
[…] from Network & Internet settings. If you have admin permissions, Windows can reveal the exact Wi‑Fi password stored for your connected (or previously connected) […]