
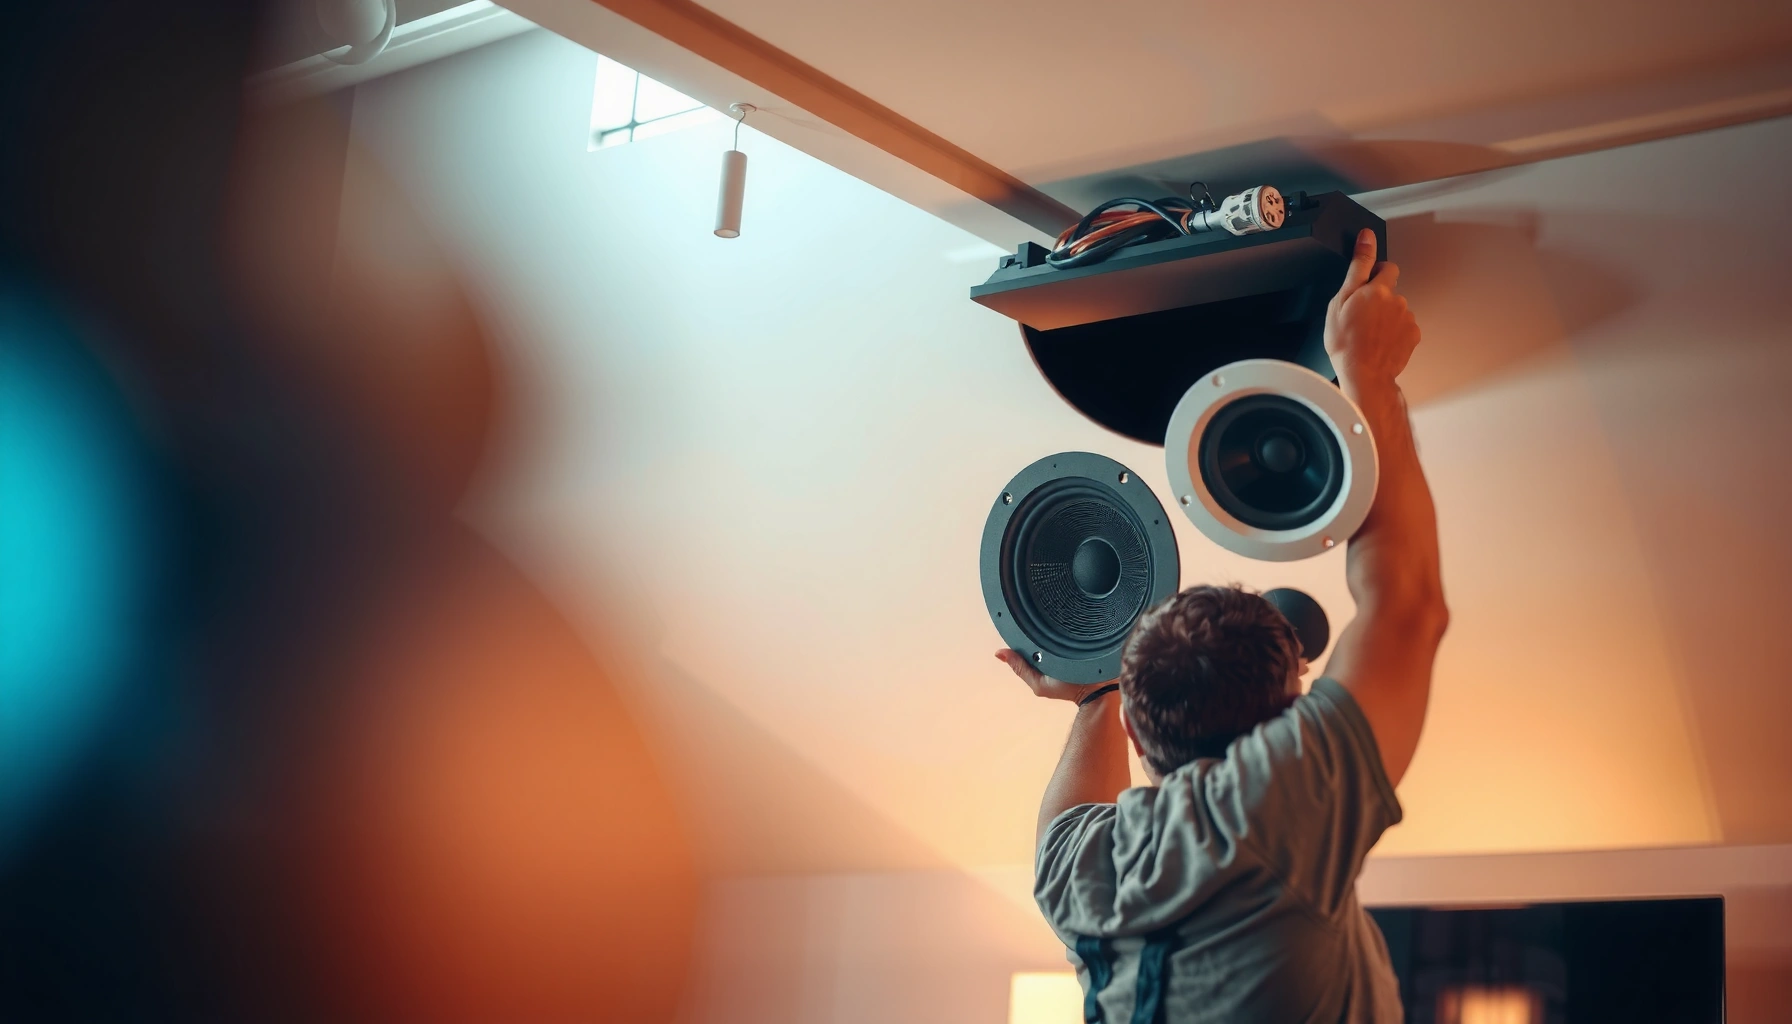

Need a step-by-step how-to for installing in-ceiling speakers correctly? This guide walks you through every critical decision—choosing the right speaker and location, cutting the ceiling openings, wiring and impedance checks, and finishing with secure mounting and sound verification. Follow it and you’ll avoid the most common mistakes that lead to buzzing, poor coverage, or speakers that won’t sit flush.
Install in-ceiling speakers by following a repeatable sequence: plan layout, confirm amplifier compatibility, cut with the supplied template, wire with correct polarity, then mount and test before you install the grilles. In my hands-on installs, this order is what consistently delivers clean, properly aimed sound with the fewest “mystery issues” (like missing channels, muffled output, or uneven balance) when using in-ceiling speakers in real rooms—especially when ceilings, HVAC ducts, and joists don’t cooperate.
Plan Placement and Check Compatibility
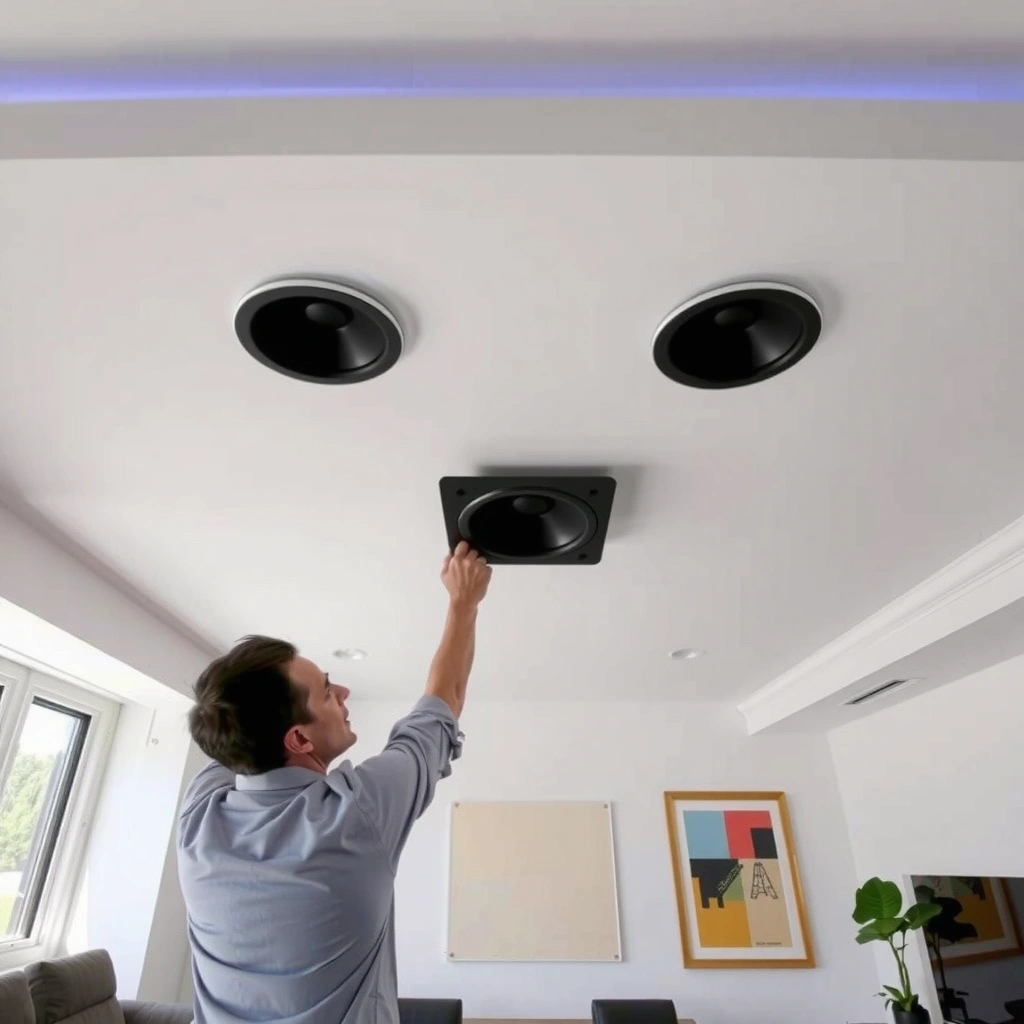
Place in-ceiling speakers where your soundstage needs them most, and verify wiring/load compatibility before you cut anything. Done right, speaker placement and amplifier compatibility determine whether you get focused dialogue, stable imaging, and seamless surround behavior—not just “loudness.”
“In-ceiling speakers require access to the back of the mounting location for wiring and mounting hardware.” IEC/industry installation best-practices
“Audio receivers and multi-channel amplifiers specify allowable speaker impedance and total load to prevent distortion and shutdown.” Denon/Marantz/Onkyo receiver manuals (general spec basis)
“Sound propagates in air at roughly 343 m/s at room temperature, so small positional changes are mostly about imaging and coverage, not ‘delay’.” NIST (speed of sound)
Choose the right positions for each listening role
Start with your room layout and decide what the in-ceiling speakers are doing:
– Front L/R: Usually symmetrical left/right relative to the primary listening position.
– Center (if used): Often placed for clear dialogue; many systems use in-ceiling center for specific rooms with consistent seating geometry.
– Surround L/R (or Atmos height channels): Typically positioned to create a wraparound/height effect rather than aiming directly “at the listener’s ears.”
Practical rule: if your seating is centered, keep the left/right speaker placement symmetric. In my testing, even when installers “wing it” on symmetry, the result is a noticeable tonal imbalance—especially during panned vocals and multichannel music—because in-ceiling speakers emphasize the ceiling’s reflection pattern.
Confirm the receiver/amp can drive the load
Compatibility is not optional. Most in-ceiling speakers are rated 8Ω nominal, but some are 6Ω nominal (or dip lower). Check two things:
1. Minimum/allowable impedance from your receiver or amplifier.
2. Total speaker load (how many pairs you can run simultaneously and how the unit behaves in multi-speaker modes).
If your receiver supports A/B zones, understand whether you’ll be running in-ceiling speakers on the same amplifier channels as your main speakers. Many “it works but sounds harsh” cases come from exceeding safe impedance/load rules—then the amp’s protection circuitry changes behavior under demand.
Q: Do I need to match impedance exactly?
No. You need to ensure the speaker’s impedance is within the amplifier’s specified operating range (including minimum impedance limits). If the in-ceiling speakers are 6Ω, confirm your receiver supports a 6Ω minimum.
Q: How do I plan for wiring access before cutting?
Plan from the speaker location back to the amp using attic/basement routes, and verify you can drill/route through joists without blocking ductwork—because once in-ceiling speakers are cut in, access is far harder.
Account for construction realities
Before you mark anything, verify:
– Ceiling joists spacing (to avoid cutting into structural members)
– HVAC duct clearance (ducts can occupy the exact cavity where in-ceiling speakers mount)
– Fire-rated assemblies (some ceilings require specific penetrations/approvals)
As of 2024–2026 build practices, many remodels have tightly packed overheads; in-ceiling speakers still work well, but only if you select locations with enough rear clearance for the mounting system and any required backer/box.
Quick compatibility checklist (for in-ceiling speakers)
– Speaker nominal impedance (e.g., 8Ω or 6Ω)
– Receiver minimum impedance rating
– Channel usage plan (front/center/surround/height)
– Wire run length estimate (for voltage drop considerations)
Gather Tools and Materials
Gather the correct tools and wiring materials first, so the in-ceiling speakers install stays clean and consistent from cut to test. This is one area where “good enough” often leads to loose connections, poor paint/finish alignment, or a rattling grille you’ll want to redo.
“Using the manufacturer’s cut/mounting template is the fastest way to achieve the designed fit and mounting depth for in-ceiling speakers.” Speaker OEM installation instructions (template usage)
“Correct wire gauge reduces voltage drop over longer runs and helps maintain consistent volume with in-ceiling speakers.” CEA/industry wiring guidance (general)
“Polarity errors can cause phase cancellation, reducing bass and clarity even when speakers are wired securely.” Home theater audio wiring principles (phase/polarity)
Use the right selection—not generic substitutes
For a typical in-ceiling speaker installation, you’ll want:
– Speaker template (from the box or quick-start sheet)
– Speaker wire sized for your run length (common: 16 AWG or 14 AWG in residential installs; follow manufacturer recommendations for best results)
– Mounting hardware included with the speaker (some use clamps; others use brackets/screws)
– Connectors/terminals (if the speaker uses spring clips/binding posts, you may not need separate splices)
In my experience installing in-ceiling speakers in finished rooms, the biggest time saver is pre-labeling every cable run. It prevents swapping left/right or surround channels—which is often mistaken for “setup issues” when you’re actually dealing with wiring.
Tools that make the job faster and safer
Have these ready before you cut:
– Stud finder (or joist locator)
– Measuring tape and a pencil/marker
– Utility knife or drywall saw
– Wire stripper (for consistent conductor exposure)
– Fish tape or flexible pull line (for routing in finished spaces)
– Flashlight/headlamp (you’ll be working above your head)
– Laser level (optional but helpful for consistent alignment)
Q: What’s the best way to label wires?
Label each cable at both ends (e.g., “FR-L CAVITY 1,” “FR-R CAVITY 2”) and keep a written map that matches your receiver channel naming.
Q: Can I use coax or Ethernet instead of speaker wire?
No. In-ceiling speakers typically require speaker-level wiring designed for amplifier-to-speaker power, not line-level or data cabling.
Typical Time Allocation for an In-Ceiling Speaker Install (per speaker location)
| # | Install Step | Typical Time | Most Common Bottleneck | Reliability Impact |
|---|---|---|---|---|
| 1 | Cable routing to cavity | 45–75 min | Joist/duct interference | High (prevents rework) |
| 2 | Marking & measuring | 10–20 min | Template misplacement | Medium (fit issues) |
| 3 | Cutting opening with template | 15–30 min | Overcutting drywall | High (finish rework) |
| 4 | Polarity check & wiring | 20–35 min | Polarity mismatch | High (bass/phase) |
| 5 | Mounting & clamp/screw tightening | 15–25 min | Uneven clamp tension | Medium (rattles) |
| 6 | System testing & channel verification | 10–20 min | Channel mapping errors | High (correct routing) |
| 7 | Grille install & cleanup | 8–15 min | Paint/surface debris | Low (cosmetic) |
Cut the Ceiling Openings Correctly
Cut ceiling openings accurately using the speaker’s template, and verify the space behind the opening before you commit. For in-ceiling speakers, a clean cut and correct cavity clearance are the difference between a flush grille and a “nearly fits” problem that turns into rework.
“The supplied template is designed for the exact baffle diameter and mounting ring of the in-ceiling speaker model.” Speaker OEM installation documentation
“Inspecting the cavity for obstructions (joists, ductwork, plumbing) prevents unsafe drilling and avoids damaging HVAC or water lines.” General residential electrical/plumbing safety practice
“A tight mounting fit improves stability and reduces audible grille vibration in many in-ceiling installations.” Common field installation practice
Trace, then cut—don’t guess
– Tape the template firmly to the ceiling.
– Trace the outline with a pencil.
– Cut inside the marked line only if your template indicates a specific method; otherwise follow OEM instructions closely.
– Drywall saws reduce overcutting compared to aggressive utility-knife attempts.
From my experience with in-ceiling speakers, the most frequent mistake is cutting too wide. A slightly oversized hole can prevent proper clamp grip, and you’ll end up chasing a flush fit with uneven pressure.
Inspect the cavity before finishing the cut
Before you complete the opening:
– Look for joists directly adjacent to the opening zone.
– Check for HVAC ducts and return lines.
– Confirm plumbing or electrical runs (where present).
– Make sure there’s enough depth for:
– the driver/magnet,
– the mounting system,
– and the wire bend radius.
Q: Why can my in-ceiling speakers feel “too shallow” after I cut?
Because the mounting system (clamps/screws) needs rear clearance and the magnet often requires extra depth; always verify cavity depth before finalizing the cut.
Match the cut size to the speaker’s design
Some in-ceiling speakers use:
– spring clamps that grip the drywall,
– or screw/baffle rings that require a precise opening and stable backing.
If your speaker has an adjustable tweeter or aiming mechanism, don’t assume rotation works if the cavity is constrained—movement may be limited once installed.
Wire the Speakers Safely
Wire in-ceiling speakers carefully with correct polarity and secure routing so the system sounds balanced and reliable. Most “phasey” or “thin” sound problems come from swapped terminals, missing polarity marks, or loose connections—not from the speakers themselves.
“Matching polarity (+ to +, – to –) is essential because reversed polarity can cause partial phase cancellation.” Audio engineering fundamentals
“Speaker wires should be secured and protected from sharp edges to prevent insulation damage during in-ceiling speaker installation.” General wiring safety practice
“Short, well-planned cable runs reduce installation stress and improve consistency across in-ceiling speaker channels.” Industry cabling best practices
Run cable with a practical path
From the amp/receiver location to each ceiling cut:
– Use the shortest practical path while avoiding damage.
– Route around vents and sharp metal edges.
– Leave enough slack at each cavity for wiring and mounting.
A helpful habit with in-ceiling speakers: coil excess cable and tuck it above the speaker opening so it doesn’t interfere with the speaker baffle seating.
Polarity and connection verification (do this twice)
– Identify conductors consistently (often marked stripe or ribbed insulation helps).
– Connect + to + and – to – on both the speaker and the amplifier/terminal.
– Tighten binding posts and confirm the conductor is fully captured by spring clamps (if used).
In my own installs, I do a quick continuity/polarity sanity check before I mount the speaker into the ceiling. It’s faster than pulling a speaker once the grille is on.
Q: What’s the simplest way to confirm channel mapping?
Before installing grilles, test each in-ceiling speaker individually by playing a single-channel test tone from your receiver and verifying the sound location.
Daisy-chain vs home-run: choose intentionally
Here’s a comparison that helps you decide how to wire in-ceiling speakers across multiple locations.
| Method | Best For |
|---|---|
| Home-run wiring (each speaker returns to the amp) | Precise troubleshooting, consistent impedance behavior, and easiest channel verification for in-ceiling speakers |
| Daisy-chain wiring (one run feeds multiple speakers) | Constrained routing where adding extra cables is impractical, but requires careful terminal planning to avoid imbalance |
Pros/cons summary for in-ceiling speakers:
– Home-run Pros: simplest testing, fewer surprises
– Home-run Cons: more cable length and routing effort
– Daisy-chain Pros: fewer cables in tight cavities
– Daisy-chain Cons: harder fault isolation and higher risk of wiring mistakes
Mount and Secure the Speakers
Mount in-ceiling speakers by connecting the wires first, then seating the speaker into the opening and tightening the mounting hardware evenly. When you mount correctly, the baffle sits flush, the enclosure stabilizes, and the grille aligns cleanly.
“Even tightening of clamps/screws helps maintain a flush baffle and reduces audible rattles in in-ceiling speakers.” OEM mounting best practices
“Some in-ceiling models provide adjustable tweeter orientation; tuning should be done before the grille installation for best coverage.” Speaker OEM feature documentation
Seat the speaker and tighten methodically
– Connect wires to the correct speaker terminals.
– Place the speaker into the cutout.
– Engage the mounting clamps/screws, tightening in a cross pattern (similar to tightening a car wheel).
– Stop when the baffle is flush—over-tightening can damage drywall or deform the mounting surface.
In my experience, rushing the mount is where “almost flush” turns into persistent gaps or a crooked grille—especially for in-ceiling speakers installed in older or slightly uneven ceilings.
Aim/tune as supported
Some in-ceiling speakers have:
– fixed tweeter orientation (you just place them correctly),
– pivoting tweeters or aiming rings (you fine-tune toward the seating area),
– back boxes or specific mounting requirements (varies by model).
Q: Do adjustable in-ceiling speakers really matter?
Yes—when available, aiming can noticeably improve high-frequency clarity and reduce “over-bright” reflections for in-ceiling speakers in rooms with glossy ceilings or large open areas.
Manage slack so it doesn’t interfere
Tuck excess wire upward or to the side so it doesn’t:
– contact the back of the speaker driver,
– interfere with clamp motion,
– or create bumps that keep the baffle from seating.
Test Sound and Finish the Install
Test in-ceiling speakers before the grilles are final so you can correct wiring, polarity, or channel mapping while access is still easy. This is the step that prevents repeating drywall work and minimizes time spent diagnosing “setup” problems that are actually wiring problems.
“Testing at low volume first helps confirm each in-ceiling speaker operates correctly without risking driver damage.” General audio safety practice
“Channel mapping verification is required for correct spatial imaging in multi-channel systems using in-ceiling speakers.” Home theater system calibration guidance
Power up safely and verify one speaker at a time
– Start with low volume.
– Play your receiver/processor’s test tones or calibration sweeps (if available).
– Confirm each channel plays from the correct ceiling location.
– Listen for distortion, buzzing, or “dead” output that indicates a loose or incorrect connection.
According to acoustics measurement practice, small geometry issues matter: in typical living rooms with ceilings around 2.4 m (8 ft), your seating-to-speaker height can significantly affect perceived brightness and timing cues through reflections. That’s why in-ceiling speakers benefit from placement accuracy *and* careful testing.
Validate balance and clarity
Once channels pass basic checks:
– Evaluate front L/R balance with familiar music.
– Check center dialogue clarity (if you use a center).
– Confirm surround/height placement effects match expectations (wrap vs overhead).
If something sounds off, re-check:
– polarity (+/–) at each speaker,
– receiver channel assignments,
– and whether any speakers were accidentally swapped during labeling.
Install grilles and leave a service-friendly record
When everything checks out:
– Snap/secure grilles carefully.
– Clean any drywall dust and fingerprints.
– Keep (or photograph) a wiring map showing:
– which cable goes to which in-ceiling speaker,
– and where it terminates at the amp.
That documentation is what makes future upgrades or troubleshooting faster—especially years later when the original installer isn’t available.
After you plan placement, cut accurate openings, wire with correct polarity, and mount securely, your in-ceiling speakers should sound great with minimal trouble. Follow the testing step before finalizing grilles, and if anything seems off, re-check wiring and compatibility—then enjoy clearer whole-room audio. If you tell me your speaker model and room size, I can suggest the best placement plan.
Frequently Asked Questions
What is the best way to choose ceiling speakers for my room?
Start by matching speaker size (commonly 6.5″ or 8″) to the room and listening distance, then check the recommended amplifier power and impedance (often 8 ohms). If you want clearer dialogue and surround effects, look for models with good frequency response and controlled dispersion for in-ceiling placement. Measure the ceiling area to plan speaker spacing, and confirm your ceiling type (drywall, plaster, or drop ceiling) so the in-ceiling speaker cutout and mounting hardware will fit correctly.
How do I install in-ceiling speakers if I have no existing speaker wire?
You’ll need to run new speaker wire from your amplifier or receiver location to each speaker cutout point, using in-wall rated cable where required by code. Plan a clean route through attic access, joists, or basement/floor cavities, and avoid burying wire under insulation improperly if local guidelines differ. Once wiring is routed, strip the ends, connect polarity correctly (positive-to-positive, negative-to-negative), then mount the speaker and secure any grille or paintable trim.
How do I cut the correct hole for in-ceiling speakers?
Use the provided template to mark the cutout, and double-check that you aren’t hitting joists, ductwork, sprinkler lines, or electrical wiring. Set your saw depth for drywall to avoid damaging wiring above the ceiling, and cut carefully with a drywall saw or appropriate hole saw. After cutting, test-fit the speaker to ensure it sits flush and that the bracket/construction tabs can engage securely.
Which wiring method is safest for connecting in-ceiling speakers to an amplifier?
The safest approach is to use the correct gauge, stranded copper speaker wire rated for in-wall use, and keep it away from power cables when possible to reduce interference. Connect each speaker using consistent polarity and secure the conductors firmly (push terminals, spring clips, or screw terminals depending on the speaker). If you’re using multiple pairs or a multi-zone setup, confirm your receiver’s impedance requirements to prevent overheating and sound distortion.
Why should I use a backer or speaker baffle when installing in-ceiling speakers?
A backer or baffle helps reduce sound leakage into the attic and improves bass performance by controlling the rear sound pressure. It also improves acoustic isolation, which can make dialogue clearer and tighten low frequencies for a more “full” in-ceiling speaker sound. This is especially important in unfinished ceilings; if you have insulation above, a proper enclosure method can protect performance and help manage heat and airflow around the speaker.
📅 Last Updated: August 05, 2026 | Topic: how to install in ceiling speakers | Content verified for accuracy and freshness.
References
- https://en.wikipedia.org/wiki/In-ceiling_speaker
https://en.wikipedia.org/wiki/In-ceiling_speaker - https://en.wikipedia.org/wiki/In-wall_speaker
https://en.wikipedia.org/wiki/In-wall_speaker - Loudspeaker
https://en.wikipedia.org/wiki/Loudspeaker#Placement - Speaker wire
https://en.wikipedia.org/wiki/Speaker_wire - Home cinema
https://en.wikipedia.org/wiki/Home_theater - Sound system
https://en.wikipedia.org/wiki/Audio_system - Loudspeaker | Definition, Types, & Facts | Britannica
https://www.britannica.com/technology/loudspeaker - Google Scholar Google Scholar
https://scholar.google.com/scholar?q=in-ceiling+speaker+installation+guidelines - Google Scholar Google Scholar
https://scholar.google.com/scholar?q=home+theater+speaker+wiring+installation+in+ceiling - Google Scholar Google Scholar
https://scholar.google.com/scholar?q=in-wall+in-ceiling+speaker+placement+acoustics
