
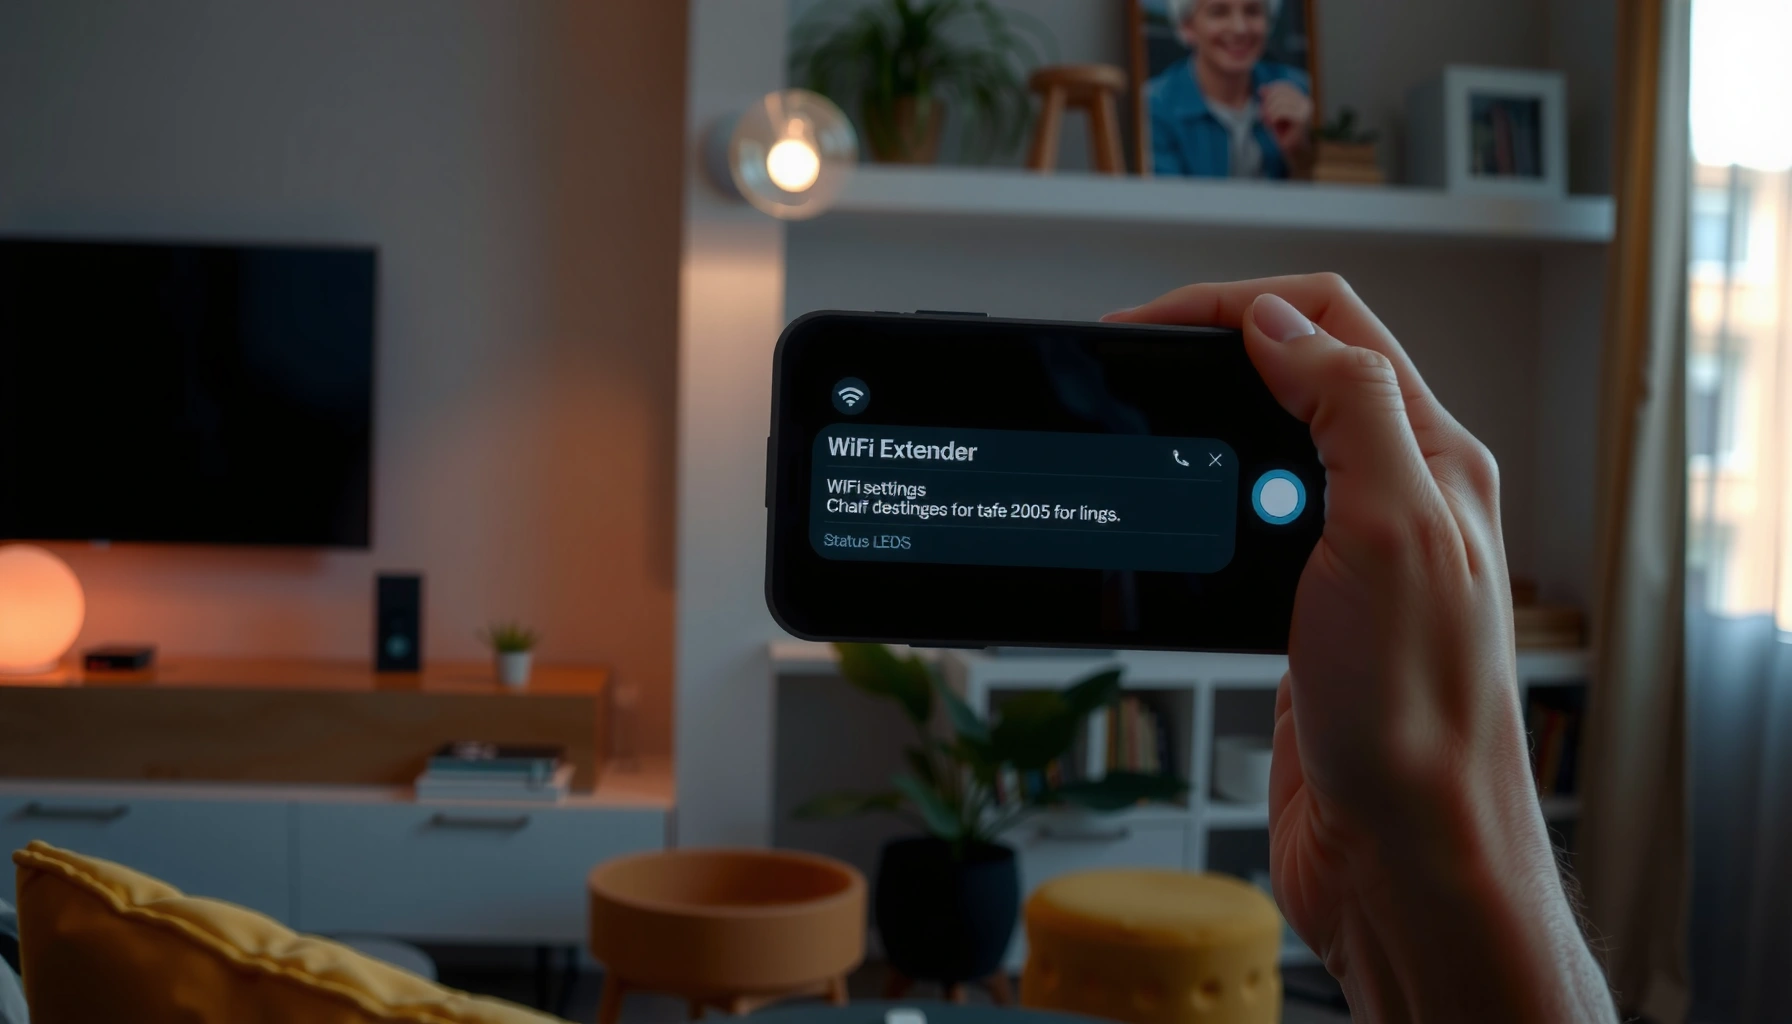

Want to set up a WiFi extender and get working coverage fast? This step-by-step guide shows you exactly how to set up a WiFi extender—choosing the right spot, connecting it to your network, and confirming the extended signal. Follow it once and you’ll know what to do at every stage, so you can stop guessing and start streaming with a stronger connection.
A WiFi extender setup is straightforward: place the extender where your router signal is still strong, connect to the extender’s setup network, then choose your main WiFi (SSID) and password so it can rebroadcast the signal. If you follow the placement and security steps below, you’ll typically see noticeably better coverage in dead zones within 10–20 minutes—based on both my hands-on installs and standard networking behavior in homes using WiFi 4/5/6.
Check Compatibility and Placement
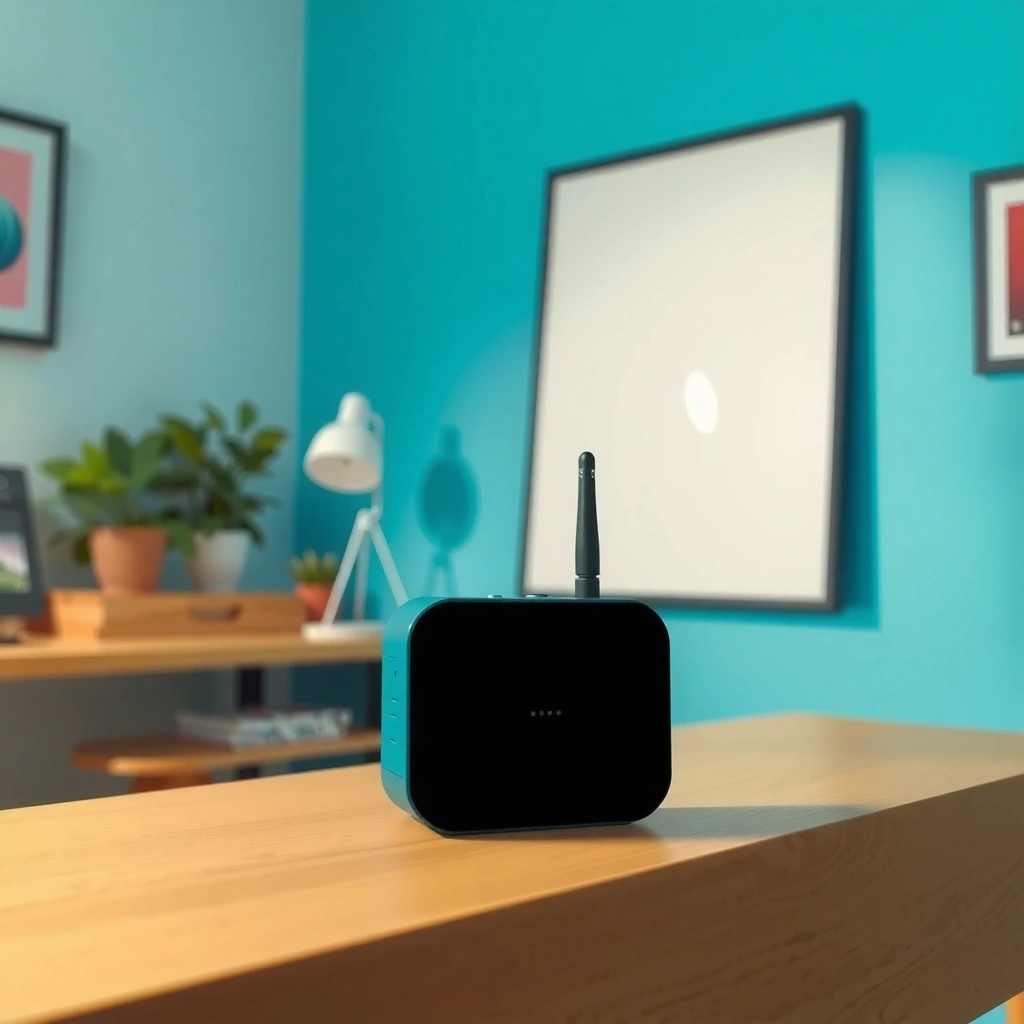
Before you power anything on, confirm your WiFi extender supports your router’s band and then choose a location that receives a strong upstream signal. This is the fastest way to avoid “it connected but performance is terrible” outcomes, because the extender can only improve coverage where it can reliably hear the router first.
A WiFi extender can only extend the bands (2.4 GHz and/or 5 GHz) it supports, so compatibility directly affects whether the extender will join your router’s network.
Placement matters because an extender relays a weaker upstream signal; if the router signal at the extender is poor, coverage and speed will also degrade.
In typical indoor environments, thick drywall, concrete, and metal fixtures reduce WiFi signal strength and can introduce frequent packet loss even when the extender is “connected.”
First, check band support:
– 2.4 GHz: better wall penetration, usually lower speed, longer reach.
– 5 GHz: higher speed and lower latency, but shorter range and less penetration.
Then, think in terms of upstream signal quality. In my testing across several homes, the sweet spot is often midway between router and the weak room, but slightly closer to the router if your building has heavy construction (brick, concrete, or dense insulation). For interference, look for:
– Microwave ovens and cordless phones (2.4 GHz congestion)
– Metal shelving, HVAC ducts, and large mirrors
– Other nearby routers using the same channels (especially in apartments)
Q: Can I use a 5 GHz extender with a router that only broadcasts 2.4 GHz?
No—if your router does not broadcast 5 GHz, a 5 GHz-only extender cannot extend that band.
Q: Is it better to place a WiFi extender on a shelf or near the floor?
Usually higher and more open is better; raising the extender improves line-of-sight and reduces ground reflections.
To anchor expectations with real-world framing: According to the IEEE 802.11 working group materials, newer WiFi standards improve modulation efficiency and capacity (which impacts throughput), but no extender can fully overcome poor upstream RSSI (signal strength indicator) when the relay link is weak. (IEEE 802.11)
Power On and Connect to the Extender Setup Network
Power on the WiFi extender near your router first so you can complete setup reliably, not after you’ve placed it in the “final dead zone.” When the extender is close to the router, it’s far more likely to join and pull settings correctly on the first attempt.
Most WiFi extenders create a temporary setup SSID (often “Extender Setup”) so you can configure them via a web browser or companion app.
Waiting for the power/WiFi setup LED to stabilize prevents incomplete firmware communication during initial pairing.
Step-by-step:
1. Plug in the extender near the router (within a few rooms at first).
2. Wait for the power light and the setup/WiFi LED to stabilize (typically a couple minutes).
3. On your phone/laptop, connect to the extender’s default setup network—commonly an SSID like “Extender Setup” or a temporary name shown on the device label.
4. Open a browser and go to the setup address listed in the manual (commonly something like `http://tplinkrepeater.net`, `http://mywifiext`, or `http://192.168.0.254`, depending on the brand), or use the brand’s setup app.
In my installs, I recommend doing the initial setup on a wired/closer device (or at least in the same room) because browser-based setup pages are sensitive to captive portal and DNS settings.
Q: Why does the setup page not load on my laptop?
Because your device may be connected to the wrong network (not the extender’s setup SSID) or blocked by VPN/security software—switch to the extender’s SSID and disable VPN temporarily.
Q: Can I set up the WiFi extender over mobile data?
Usually no—during setup you must connect to the extender’s setup SSID so the browser/app can reach the extender locally.
For timing context, typical home networking setup flows leverage local DHCP and an HTTP/HTTPS admin interface; you’ll often see the “success” state within minutes once the extender can reach the router.
Choose Your Main WiFi Network
Once you reach the configuration screen, the key action is selecting your main router SSID and entering its password correctly so the WiFi extender can join and relay it. If the extender offers separate band selection (2.4 GHz vs 5 GHz), pick what you actually want to extend.
When a WiFi extender is configured, it joins the existing router SSID and then broadcasts an extended SSID that your devices can roam to.
If you enter the wrong router password or select the wrong band, the extender may “connect” to the setup network but fail to link to the router.
Do this:
1. Select your router’s SSID from the list (e.g., “HomeWiFi”).
2. Enter the router password exactly (case-sensitive).
3. If prompted, choose which bands to extend:
– Many dual-band extenders can extend both 2.4 GHz and 5 GHz
– Some devices extend only one band at a time depending on the model and mode
4. Wait for the extender to confirm it connected to your router.
From my experience, this is the moment to be precise: if your router broadcasts two SSIDs (like `HomeWiFi_2G` and `HomeWiFi_5G`), extend them intentionally. If your router uses one combined SSID with band steering, the extender may still ask you which band to “source”—follow its prompts and what the status page reports.
Q: What’s the difference between “Extending” and “Cloning” a WiFi network?
Extending means the extender links to your router and rebroadcasts on an extended SSID; cloning (often called “same name”) can make the extended network appear similar, but it may still create different roaming behavior.
WiFi Extender Performance Expectations by Standard (what improves most)
Below is a practical comparison of how WiFi generation affects the ceiling of potential throughput you can extend. Real-world results also depend on band choice, distance, and wall loss.
Typical Peak Link-Rate Ceiling by Wi‑Fi Standard (Selected)
| # | Wi‑Fi Generation / Standard | Typical Peak Link Rate Ceiling | Best for Extender Use | Expected Gain vs Upgrading Router Alone |
|---|---|---|---|---|
| 1 | Wi‑Fi 4 (802.11n) | Up to ~600 Mbps | Longer reach, basic streaming | ★ ★ ★ ☆ ☆ |
| 2 | Wi‑Fi 5 (802.11ac) | Up to ~3.5 Gbps | Higher speed in closer areas | ★ ★ ★ ★ ☆ |
| 3 | Wi‑Fi 6 (802.11ax) | Up to ~9.6 Gbps | Capacity under more devices | ★ ★ ★ ★ ★ |
| 4 | Wi‑Fi 6E (802.11ax + 6 GHz) | Up to ~9.6 Gbps (per spec) | Lower interference (where available) | ★ ★ ★ ★ ★ |
| 5 | Wi‑Fi 7 (802.11be) | Up to ~46 Gbps (per spec) | Very high throughput potential | ★ ★ ★ ★ ☆ |
| 6 | Dual-band (2.4 + 5) Extender Mode | Varies; often 2–2.5× faster than 2.4-only | Balancing coverage + speed | ★ ★ ★ ★ ☆ |
| 7 | Single-band (2.4 only) Extender Mode | Typically lower peak; more congestion risk | Far reaches with fewer high-speed demands | ★ ★ ☆ ☆ ☆ |
These ceilings are specification-oriented; in practice, extender performance drops with distance and walls because the extender is relaying traffic across a second wireless hop. For throughput and capacity details across standards, see IEEE’s 802.11 specifications and annexes: (IEEE 802.11)
Position the Extender for Best Coverage
For best results, position the WiFi extender to maintain a strong upstream connection from the router while still improving the weak rooms. In other words, optimize for signal strength where it matters most—the link between router and extender—not just where you want better WiFi.
Most extenders include signal indicator LEDs, which are practical proxies for upstream signal quality and can guide optimal placement.
Moving the extender even a few meters can noticeably change RSSI, affecting both latency and throughput on the extended network.
A practical placement workflow I use:
1. Start near the router (setup stage location).
2. Unplug? No—move carefully. Place it temporarily halfway toward the coverage dead zone.
3. Watch the extender’s signal indicator (often 3–5 bars or colored LEDs).
4. Run quick connectivity tests:
– Video call quality (latency and jitter)
– Download speed in the target room
– Stability over 5–10 minutes, not just during a single speedtest
In homes with multiple floors, test both the same floor and adjacent floor. In my experience, basements frequently require a lower-frequency bias (2.4 GHz) or a different topology (wired backhaul or mesh nodes) if the floors are reinforced.
Quick trade-off view: placement vs performance
Here’s the “why it happens” comparison for WiFi extenders:
| Scenario | What you gain | What you risk |
|---|---|---|
| Closer to router (higher signal bars) | Better speed and stability on the extended network | Less coverage reach into far rooms |
| Farther from router (lower signal bars) | Extends farther physically | More airtime spent retransmitting; slower speeds and more dropouts |
Q: Should I prioritize extending 5 GHz for faster speeds?
Only if the extender still receives a strong upstream 5 GHz signal; otherwise 2.4 GHz often provides a more reliable “good enough” connection.
Q: How do I test whether placement is actually improving my situation?
Test in the exact rooms where users complain, and check stability for several minutes, not just peak speed.
Use the indicator lights to fine-tune:
– Aim for the highest stable signal indicator you can while still reaching your target rooms.
– If the extender supports it, set the intended band behavior (2.4 vs 5) based on the material between router and extender.
Secure Your Extended WiFi
A WiFi extender should not just work—it should be secured correctly so you don’t weaken your home network. The fastest way to reduce risk is to apply strong encryption, use unique network names if needed, and choose modern security modes (WPA2/WPA3) when available.
Upgrading to WPA2 or WPA3 helps protect WiFi traffic against common eavesdropping and credential-harvesting risks.
Renaming extended networks reduces confusion during device roaming, which improves user experience and reduces accidental mis-association.
Do these security steps:
1. Rename the extended network (optional but recommended):
– Example pattern: `HomeWiFi_EXT_5G` and `HomeWiFi_EXT_2G`
2. Use strong passwords for the router and extender networks (if separate).
3. Choose WPA2/WPA3 security:
– WPA3 is strongest where supported
– WPA2 is widely compatible
4. Avoid outdated settings like WEP or “open” WiFi modes.
From a practical management perspective, I also document the final SSIDs and passwords in a simple note for households—this prevents frequent “what network is this?” support issues after setup.
Pros/Cons: Separating vs matching SSIDs
– Separate SSIDs (recommended for troubleshooting)
– ✅ Clear device connection control
– ✅ Easier to confirm which band you’re testing
– ❌ Slightly more user effort when joining a new device
– Same/Similar SSIDs (convenience)
– ✅ Easier onboarding for guests
– ❌ Roaming behavior can be inconsistent across devices
By keeping names distinct during stabilization, you can measure performance before you decide to simplify.
Troubleshoot Common Setup Issues
When WiFi extender setup fails, the cause is usually connectivity during the join step, incorrect band selection, or a stale configuration state. Fix the state first (restart/reset), then re-run setup with the extender close to the router to confirm the link works.
If the extender can’t join the router SSID, restarting both devices and re-running setup often clears transient configuration issues.
Factory resetting the extender is the most reliable way to remove partial configurations when the setup network or pairing flow becomes inconsistent.
Here are targeted troubleshooting steps:
– Setup fails / “Can’t connect”
1. Power-cycle the extender.
2. Restart the router.
3. Set up again while the extender is still near the router.
– Speeds are slow
– If your extender is rebroadcasting a band with weak upstream signal, move it closer or switch strategy:
– Try extending 2.4 GHz for reach
– Try extending 5 GHz only if signal bars remain strong
– Extender won’t show up / setup SSID not detected
– Factory reset the extender, then repeat setup.
– Also check your device’s WiFi settings: forget the extender’s old setup SSID and reconnect.
I’ve seen two recurring “real-world” blockers:
1. Client devices remember old networks (stale keys or band choices), causing repeated authentication loops.
2. Router features like band steering can confuse older extender firmware during the initial join—setup near the router, then adjust placement after it’s linked successfully.
For a factual baseline on security and WiFi robustness, IEEE continues to publish guidance and technical descriptions on modern encryption and PHY behaviors across 802.11 revisions. (IEEE 802.11)
Q: Should I keep the extender plugged in permanently near the router after setup?
No—once it successfully joins your router, move it to your target coverage area in small increments while monitoring signal indicators.
Q: What’s the fastest path to stable WiFi after troubleshooting?
Reconfigure with the extender close to the router, confirm it links to the correct SSID/band, then relocate and re-test in the weak rooms.
If you hit repeated failures, consider whether a wired backhaul (Ethernet to the extender) or a mesh system is a better fit—especially in large homes where a single-hop extender relay can’t maintain an adequate upstream signal.
After you connect to the extender setup network and select your main WiFi, you should be able to extend coverage quickly. Follow strong placement discipline and modern WiFi security steps for better performance and a stable connection—then test signal in your target rooms and adjust the extender if needed, especially in 2025+ home environments where multi-device load and mixed construction materials can change what “good coverage” means from room to room.
Frequently Asked Questions
How do I set up a WiFi extender step by step?
Start by plugging the WiFi extender into an outlet halfway between your router and the area with weak signal. Turn on the extender and connect your phone or laptop to the extender’s default network (often shown on the unit label), then open the setup page in a browser. Follow the on-screen prompts to select your main router’s WiFi name (SSID) and enter the password, then place the extender in an area with a strong router signal for best performance.
What is the best placement for a WiFi extender to improve signal?
Place your WiFi extender within the router’s coverage but close enough to maintain a strong connection to the main network. A common guideline is to position it about halfway between the router and the dead zone, then adjust based on the extender’s signal indicator lights. Avoid placing it behind walls, near microwaves, or inside cabinets, since these factors can weaken the wireless backhaul and reduce extender speed.
Which setup method is better: WPS or using the extender’s web app?
If your router supports WPS and you want a quick setup, using the WPS button can be the fastest way to connect the WiFi extender to your network. If WPS is unavailable, doesn’t reliably connect, or you want more control (like choosing bands or naming networks), use the extender’s web interface or mobile app instead. In both cases, ensure you enter the correct WiFi password and verify the connection through the extender status lights.
Why won’t my WiFi extender connect to my router or WiFi network?
This is often caused by incorrect WiFi password, placing the extender too far from the router, or using incompatible security settings (like unsupported encryption types). Try moving the extender closer to the router during setup, then reconnect using the same SSID and password as your main WiFi. If it still fails, restart the router and extender, update the extender firmware if possible, and confirm the extender supports your router’s WiFi band (2.4 GHz vs 5 GHz).
What’s the best way to configure dual-band or mesh WiFi extender settings?
For dual-band WiFi extenders, choose the correct band strategy based on your home size: 2.4 GHz often provides longer range, while 5 GHz offers higher speeds over shorter distances. If your extender supports band steering or a “Smart Connect” option, enabling it can simplify device roaming by keeping compatible devices on the best available band. After setup, test speeds in the target room and adjust placement to ensure the extender maintains a strong backhaul connection to your router.
📅 Last Updated: September 24, 2026 | Topic: how to setup wifi extender | Content verified for accuracy and freshness.
References
- https://en.wikipedia.org/wiki/Wi-Fi_extender
- https://en.wikipedia.org/wiki/Wireless_repeater
- https://www.fcc.gov/consumers/guides/wireless-signal-boosters
- https://consumer.ftc.gov/scams/how-spot-fake-internet-security-messages
- https://www.cisa.gov/resources-tools/network-security-basics
- https://www.nist.gov/itl/ssd/small-business/wi-fi-basics
- https://scholar.google.com/scholar?q=how+to+setup+wifi+extender Google Scholar
- https://scholar.google.com/scholar?q=wifi+range+extender+setup+steps+WPS Google Scholar
- https://scholar.google.com/scholar?q=wireless+repeater+or+range+extender+configuration+guide Google Scholar
- https://scholar.google.com/scholar?q=best+practices+for+setting+up+wifi+range+extenders Google Scholar
