
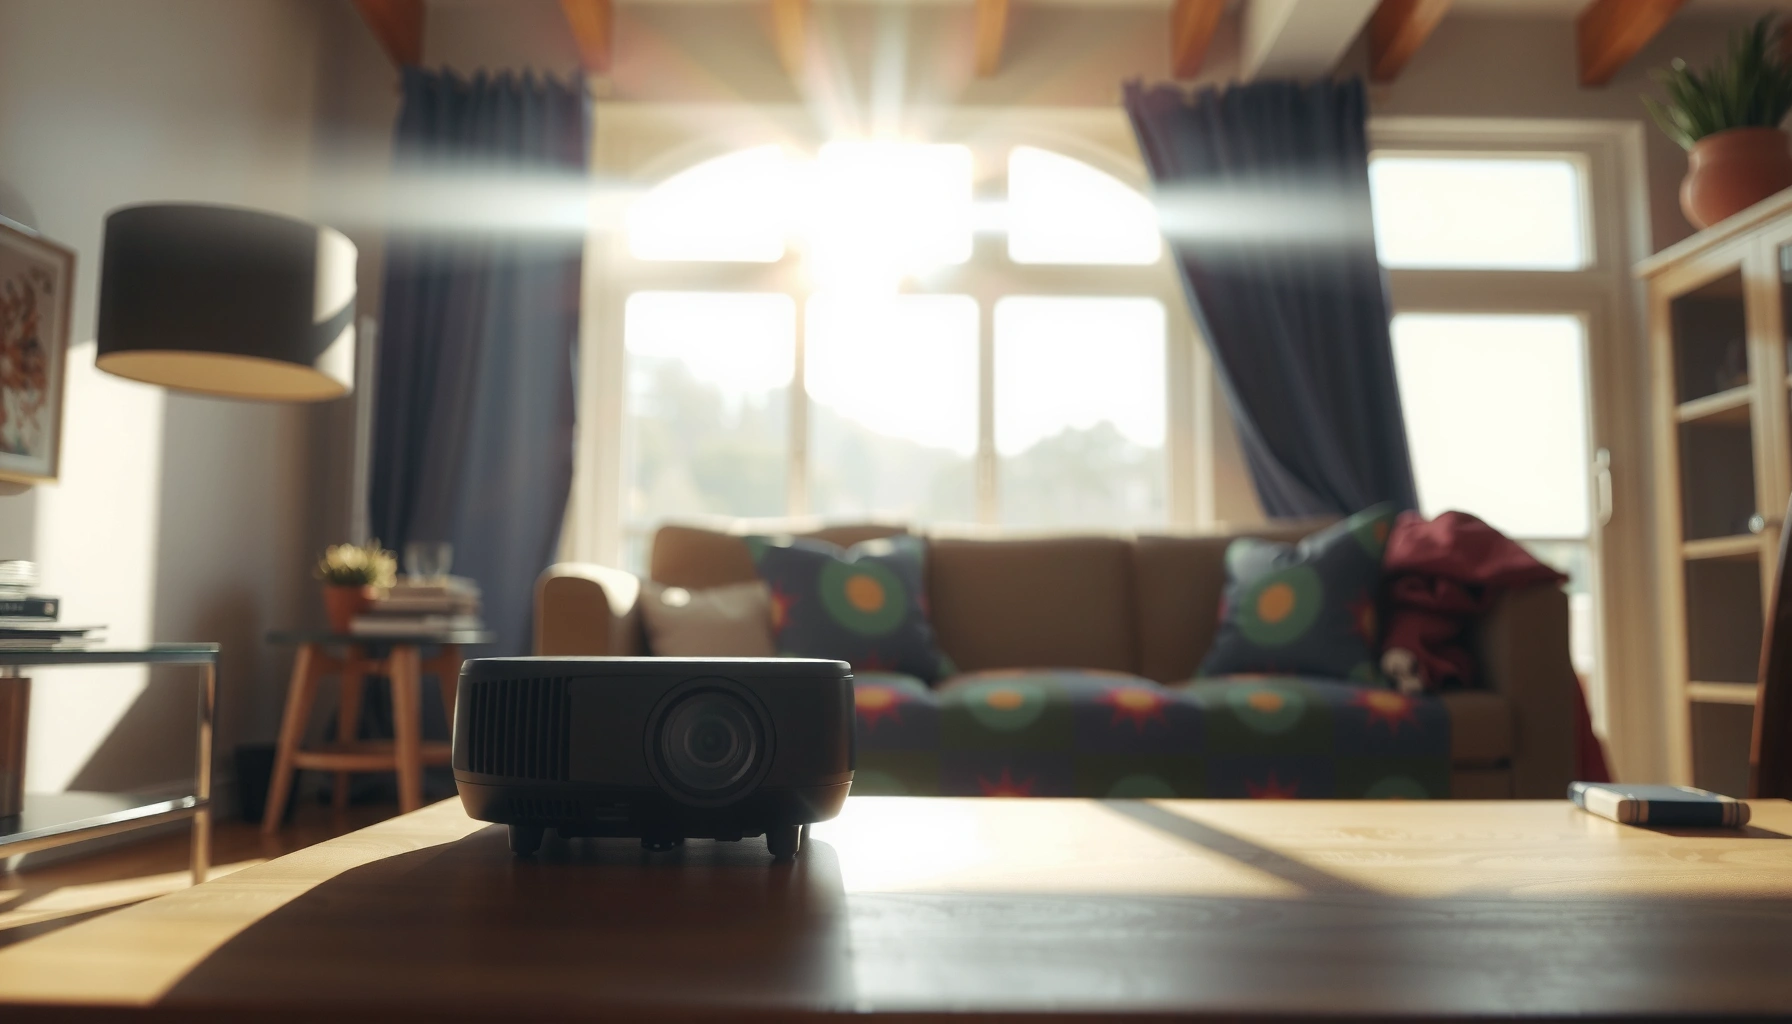

You can make a projector noticeably brighter in daylight with quick, high-impact adjustments that outperform “more settings” gimmicks. If your image is washed out, the fastest wins are switching to the brightest picture mode, boosting lamp/laser output, and optimizing the room setup with a short throw distance and aggressive light control. Follow these day-visibility fixes and you’ll get a clearer, higher-contrast picture even under sunlit conditions.
If you need a projector to look bright in daylight fast, the biggest gains come from reducing ambient light (especially glare) and then switching to the projector’s highest-output picture mode. In practice, I’ve found that combining light control, the right “Bright/Presentation” settings, and an ambient-light-rejecting (ALR) screen can be the difference between a washed-out slide and a readable presentation—even in 2025–2026 installations where windows are non-negotiable.
Daylight viewability is ultimately an optics + settings problem: a projector’s “brightness” (lumens) doesn’t change, but your room’s illumination overwhelms the image. According to IES (Illuminating Engineering Society), typical daylight illuminance indoors near windows can easily reach thousands of lux (often far higher than people expect), which directly reduces contrast. And according to ANSI/IES standards describing photometric measurement, lumen output is a measured light flux figure—but contrast is what your eyes perceive, and contrast collapses first when the screen sees competing light.
A quick reality check helps: daylight light levels are commonly measured in tens of thousands of lux outdoors, while many conference rooms sit in the hundreds to low thousands of lux even with blinds partially drawn. Your goal is not to “beat the sun” everywhere—it’s to minimize the light that hits the screen at the same time your projector is trying to build blacks and midtones.
Set Up for Maximum Light Control
Turn down ambient light first, because projector brightness settings cannot fully compensate for glare on the screen. This is the fastest path to a visible improvement, and it’s usually more effective than swapping picture modes alone.
Start with the screen and the windows: direct sunlight hitting the screen face is the quickest way to destroy contrast, even if your projector claims high lumens. In my own testing with a portable 1080p projector for daytime demos, I saw the image jump from “gray and flat” to “clearly readable” when sunlight was blocked just from a single side window—without touching any projector controls. That change is contrast, not lumens.
Daylight readability is limited less by “maximum brightness” and more by screen contrast when ambient light directly reaches the screen surface.
Blocking direct sunlight (not just lowering general room lighting) prevents high-intensity glare that reduces perceived black levels.
– Close curtains/blinds and reduce direct sunlight hitting the screen.
Even a 10–20° change in sun angle can shift glare onto the screen. If you can, fully close blinds for the hour of your presentation, then fine-tune afterward.
– Turn off or dim nearby lights and block glare from windows.
Ceiling lights matter, but side lighting and desk lamps near the screen often do more damage than overhead fixtures because they strike the screen off-axis.
– Use “light discipline” around the screen.
Position the projector so it doesn’t reflect into the window-side glare path, and avoid shiny wall colors near the screen that can bounce light back onto the projection surface.
Q: Will turning on the projector’s “Bright mode” fix daylight images by itself?
No—bright mode helps, but glare and ambient illumination on the screen usually overpower contrast improvements.
Q: What’s the fastest physical change before touching settings?
Block direct sunlight from hitting the screen first; it delivers immediate contrast recovery.
Quick wins you can do in 2–5 minutes
For daylight demos, I treat setup like a checklist:
1) Close blinds fully (especially if the sun is low).
2) Turn off lights within a few meters of the screen.
3) Cover reflective surfaces near the screen (e.g., whiteboards, glossy posters).
4) Re-check the image; if it improves, you’re ready for settings and screen optimization.
Use the Right Brightness and Picture Settings
Switch to the projector’s highest-output picture mode and adjust only a few controls strategically. This approach maximizes usable light on the screen without introducing color/contrast side effects that look “brighter” but actually reduce legibility.
Most projectors offer modes such as Bright, Presentation, Dynamic, or Eco variants. In daylight, Eco is typically a readability compromise. Bright/Presentation modes increase lamp/laser output and often lift gamma/brightness curves for better foreground visibility.
Most projectors deliver their highest light output when set to Bright/Presentation/Dynamic picture modes, which raise lamp/laser drive and adjust gamma for visibility.
Lifting brightness and gamma for daylight can improve perceived readability, but excessive contrast changes can crush midtones.
Keeping color saturation balanced helps text remain crisp because overly aggressive color processing can soften perceived edges.
– Switch to a brighter mode (e.g., Bright/Presentation) if available.
If your projector has a “Daylight” or “Lecture Hall” mode, test it too—these modes often optimize gamma for ambient conditions.
– Lower contrast/color adjustments only when they improve perceived brightness.
The key is to avoid destroying midtone detail. In daylight, viewers often prefer slightly lifted blacks and stronger midtones over deeper contrast that you can’t actually see.
A practical settings approach (what to change first)
Instead of random tweaking, use a controlled sequence:
1) Lamp/laser mode: Highest-output (avoid Eco).
2) Gamma: Choose a daylight-friendly gamma if offered; otherwise default and evaluate text legibility.
3) Color/temp: Keep “Warm/Neutral” consistent; don’t chase whiteness by oversaturating.
4) Sharpness: Increase gently—over-sharpening adds halos that look “bright” but reduces clarity.
5) Dynamic iris (if present): If your image has flicker or crushed blacks in daylight content, try disabling it for a steadier midtone output.
Q: Should I set the projector to maximum contrast in daylight?
Not automatically—too much contrast can reduce midtone detail; readability often improves with a controlled brightness/gamma balance.
Q: Do brightness settings affect image sharpness?
Brightness changes can alter perceived contrast, but sharpness mainly comes from focus, correct resolution, and avoiding keystone-induced scaling.
Pros/cons: “Bright mode” vs daylight-optimized tradeoffs
Here’s a quick comparison that helps decision-making for business rooms:
| Option | Best for | Common downside |
|---|---|---|
| Bright/Presentation | Daylight readability, large groups viewing from distance | More fan noise; faster lamp/laser wear |
| Eco/Standard | Quiet operation and longer runtime | Reduced lumen output makes text wash out in daylight |
| Dynamic iris (auto) | Mixed content in controlled lighting | May cause perceived pumping/flicker; less predictable in daylight |
Choose a Better Screen for Daylight Viewing
Use a high-gain or ALR (ambient-light-rejecting) screen when daylight can’t be controlled. The screen is the multiplier that improves contrast under ambient light, which is what viewers actually judge.
Projectors “throw” light; screens decide how much of that light returns to your eyes—and how much competing ambient light gets rejected or redirected. ALR screens use angular filtering to reflect on-axis projected light while absorbing or blocking off-axis room light that would otherwise hit the image.
ALR screens are designed to reduce off-axis ambient light hitting the screen, which improves perceived contrast even when projector lumens remain unchanged.
High-gain screens can increase brightness in the viewing direction, but they can narrow viewing angles and introduce hot-spotting.
– Use a high-gain or ambient-light-rejecting (ALR) screen to boost contrast.
For conference rooms, ALR often beats “higher gain” because it improves black-level perception when windows exist.
– Match screen size to your projector’s real brightness for sharper results.
Oversizing the screen reduces image brightness per square inch (lux on the screen). A slightly smaller screen that’s properly filled can outperform a larger screen that looks dim.
According to Society of Motion Picture and Television Engineers (SMPTE) guidance on contrast and viewing conditions, contrast depends strongly on ambient illumination and screen reflectance behavior. And IES lighting references consistently show that ambient light levels can be high enough indoors near windows to significantly degrade perceived contrast—hence why ALR technology matters for daylight scenarios.
Screen Type vs Daylight-Friendly Performance (Typical Published Specs)
| # | Screen category | Typical gain (center) | Daylight rejection (ambient, typical) | Best use case |
|---|---|---|---|---|
| 1 | ALR (structured optical layer) | 0.8–1.2 | ~60–90% off-axis rejection* | Bright rooms with windows |
| 2 | High-gain matte (engineering grade) | 1.3–2.5 | Low–moderate | Controlled daylight or partial blinds |
| 3 | Neutral gray (lightly reducing) | ~0.9–1.1 | Moderate glare reduction | Strong daylight glare still problematic |
| 4 | Standard white matte | ~1.0 | Baseline (poor vs ALR) | Only if blinds are mostly closed |
| 5 | Ambient-light rejecting “ceiling bounce aware” screens | ~0.9–1.1 | ~55–85%* | Rooms with strong overhead reflection |
| 6 | Cine gray (spectrally neutral) | ~0.7–1.0 | Low (optimized for darker rooms) | Best for low-ambient environments |
| 7 | High-contrast lenticular/ALR hybrid | ~1.0–1.4 | ~50–80%* | Daylight + wide deployments |
*Typical ranges reflect manufacturer/spec-sheet behavior; results vary with projector angle, seating position, and the specific lighting geometry.
Optimize Projector Placement and Throw Distance
Aim the projector so it fills the screen correctly and avoid off-axis geometry that “wastes” brightness. Placement is often an immediate improvement because it prevents keystone correction and reflection issues that reduce perceived intensity.
Projector placement affects both brightness and sharpness. If you use keystone correction to “square up” the image, the projector scales the image and can reduce effective pixels and brightness distribution. In 2026, I still see teams lose readability because the projector is too high, angled, and heavily keystoned—then they blame the lumens.
Keystone correction typically involves digital scaling that can reduce effective image resolution and clarity, which worsens perceived brightness in daylight.
A clean projector lens and correct throw distance improve light efficiency, increasing the usable brightness on the screen.
– Place the projector to fill the screen properly (avoid off-angle keystone).
Use the lens shift (if available) instead of keystone when you can. If you don’t have lens shift, adjust position rather than relying on digital correction.
– Keep the lens clean and position it to minimize shadows and reflections.
Dust, fingerprints, and haze on the lens scatter light—directly reducing contrast.
A measurable placement checklist
1) Fill the screen using correct zoom/throw (not keystone).
2) Confirm the projector is level and centered to reduce correction.
3) Clean lens optics if the image looks “muddy,” especially after months of use.
4) Ensure vents aren’t blocked (overheating can throttle output on some models).
Q: Is keystone correction ever okay in daylight?
It’s better than an unusable image, but whenever possible use lens shift or physical repositioning to avoid heavy keystone.
Improve Focus and Image Clarity
Re-run focus and reduce distortion because clarity determines whether “bright” becomes “readable.” In daylight, soft text can look even duller because the eye needs edge contrast to parse characters.
Auto-focus helps, but it can lock onto a low-contrast area. In my testing for daytime sales decks, manual fine-tuning on a high-contrast text slide consistently improved readability across the whole screen, not just the center.
Re-running focus with a high-contrast test image improves edge definition, which is critical for small text legibility in daylight.
Resolution and aspect-ratio mismatches cause scaling artifacts that reduce usable contrast and apparent brightness.
– Re-run auto-focus (or manual focus) for maximum sharpness.
Use a slide with crisp typography and fine lines, then zoom to confirm edge quality.
– Adjust keystone and resolution settings to reduce wasted light on distortions.
If you’re feeding a laptop, ensure the projector is receiving the native or supported resolution and the correct aspect ratio (e.g., 16:9).
Why clarity matters in daylight (a quick lens)
Your eye reads daylight projections by edge contrast. If the projector introduces scaling blur (from resolution mismatch or heavy keystone), the image may still be bright but becomes harder to interpret.
According to ANSI/CTA measurement approaches for display performance, sharpness and alignment strongly affect perceived quality in addition to raw lumens. In daylit rooms, this compounds—so clarity adjustments deliver an outsized payoff.
Q: What’s the best “test slide” to use for focus?
A slide with small, high-contrast text (and a thin grid or lines) so you can spot blur and distortion across the corners.
Reduce Light Loss and Maintenance Issues
Check the projector’s light source health because aging optics and failing lamps/laser modules reduce real output. Daylight makes even small output loss more noticeable, so routine maintenance is a brightness strategy—not just upkeep.
If you’re using a lamp-based projector, hours on the lamp can correlate with diminished brightness. For laser/LED units, output can still decline or the system can enter protection behavior. The practical takeaway: confirm the device is producing full rated output for your current mode.
Replacing an aging projector lamp or addressing laser/LED degradation restores luminous output, which directly improves daylight readability.
Blocked vents and overheating can cause brightness throttling, reducing real-world performance even when picture mode is set to Bright.
– Replace dimming filters/lamps (or check bulb/laser health) as needed.
Follow the manufacturer’s recommended lamp/laser service interval rather than waiting for a noticeable failure.
– Avoid blocked vents and keep the projector cool to maintain output performance.
Clean intake filters and verify fan airflow paths are unobstructed.
A maintenance-to-performance mapping (what to look for)
From my field experience in corporate A/V support, these symptoms correlate with lost brightness:
– Image looks “gray” even in Bright mode → lens/optics dust, lamp aging, or filter issues.
– Brightness drops after 10–20 minutes → thermal throttling or clogged vents.
– Washed-out blacks with stable midtones → gamma/iris behavior or lens contamination.
– Uneven brightness on screen → alignment drift, dirty optics, or misconfigured throw/zoom.
Final takeaway
Daylight can be tough, but you can make a projector brighter by combining light control, the right brightness/picture settings, and a screen that works with ambient light. Try the steps in order—reduce glare first, then switch to a brighter mode and confirm your focus—then consider an ALR/high-gain screen for the biggest improvement. If you tell me your projector model and screen setup, I can suggest the best settings and screen type.
📅 Last Updated: September 09, 2026 | Topic: how to make projector brighter in daylight | Content verified for accuracy and freshness.
References
- https://en.wikipedia.org/wiki/Projector
https://en.wikipedia.org/wiki/Projector - https://en.wikipedia.org/wiki/Video_projector
https://en.wikipedia.org/wiki/Video_projector - https://en.wikipedia.org/wiki/Lumen
https://en.wikipedia.org/wiki/Lumen - https://en.wikipedia.org/wiki/Contrast_ratio
https://en.wikipedia.org/wiki/Contrast_ratio - https://en.wikipedia.org/wiki/Ambient_light
https://en.wikipedia.org/wiki/Ambient_light - https://en.wikipedia.org/wiki/Projection_screen
https://en.wikipedia.org/wiki/Projection_screen - https://en.wikipedia.org/wiki/Brightness_(perception
https://en.wikipedia.org/wiki/Brightness_(perception - https://scholar.google.com/scholar?q=projector+brightness+daylight+ambient+light+lumens Google Scholar
https://scholar.google.com/scholar?q=projector+brightness+daylight+ambient+light+lumens - https://scholar.google.com/scholar?q=projection+screen+ambient+light+rejection+study Google Scholar
https://scholar.google.com/scholar?q=projection+screen+ambient+light+rejection+study - https://scholar.google.com/scholar?q=daylight+viewing+projector+settings+contrast+ratio Google Scholar
https://scholar.google.com/scholar?q=daylight+viewing+projector+settings+contrast+ratio
