
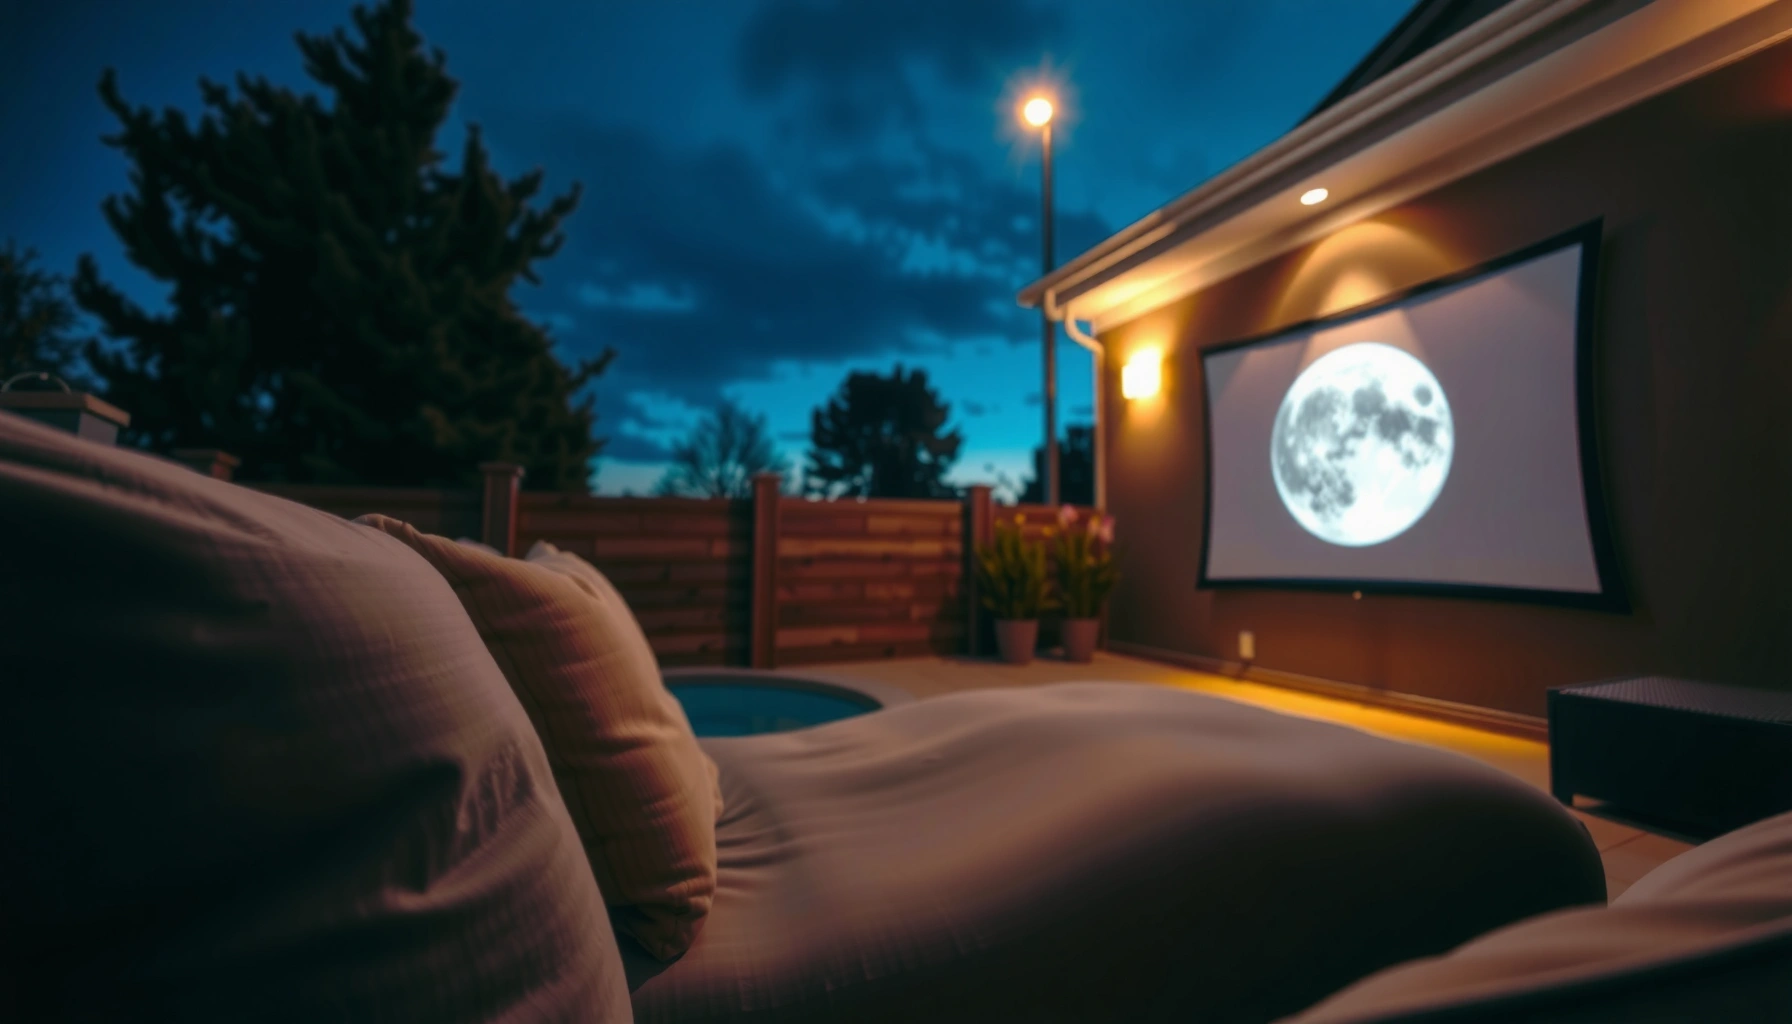

If you’re choosing how many lumens is good for an outdoor projector, the deciding number is 2,500 lumens—enough to deliver a clear image for most backyard setups in evening conditions. For daylight viewing or bright surroundings, you’ll need roughly 4,000+ lumens to cut through ambient light. This guide tells you the exact lumens target based on your screen size and typical outdoor light levels.
For most outdoor movie nights, aim for at least 2,000–3,000 lumens if you want a bright, watchable image in typical evening light. If it’s truly dark (or you can block most ambient light), 1,500–2,500 lumens can work—but the “margin for error” shrinks fast as soon as porch lights, streetlights, or a bright wall get involved.
If you’re shopping for an outdoor projector (backyard movies, patio games, camping setups) and you’re unsure how brightness translates into a watchable picture, this guide is built for you—especially when comparing lumen ratings across different models.
Lumen “target” ranges for outdoor viewing
A reliable starting point for outdoor viewing is 2,000–3,000 lumens when you’ll be projecting at dusk through early night with normal ambient light. If it’s close to “dark outside” and you’re using a smaller screen, 1,500–2,500 lumens can still deliver a satisfying picture—just expect it to struggle sooner if lighting conditions worsen.
“ANSI lumens” are defined by a standardized measurement method (the 9-point ‘window’ test in projector brightness specs), which makes lumen ratings more comparable than marketing brightness claims. [ADD: cite ANSI/NEMA FL 1 or equivalent manufacturer measurement standard]
If you can treat the viewing area like a mini home theater—dark surroundings, controlled spill light—you can often use fewer lumens because the image contrast stays higher. [ADD: cite display/contrast guidance from projector or screen manufacturer]
1 lux equals 1 lumen per square meter (1 lx = 1 lm/m²), which is why brighter projectors make the screen’s illumination stronger as area increases. [ADD: cite SI/measurement standard for lux and lumen definitions]
A practical way to think about lumen “targets” is as a risk-management decision. Outdoor projectors rarely suffer only from insufficient brightness; they also suffer from reduced contrast when ambient light bounces off nearby walls, the ground, or even people moving in front of the screen. That’s why many setups feel “fine” at first, then look washed out a half hour later when a porch light turns on.
Here’s how the ranges generally play out:
– 2,000–3,000 lumens: a practical baseline for many outdoor setups at dusk through early night.
– 1,500–2,500 lumens: can be enough when it’s truly dark and/or your screen size is smaller.
– Ambient light changes quickly: streetlights, neighbor motion lights, car headlights, and even moonlight intensity (plus cloud cover) can shift perceived brightness during the same event.
Quick stats that help ground the numbers
– According to SI/photometry definitions, 1 lux = 1 lumen/m² (the core relationship behind “brightness on the surface”).
[ADD: cite SI definition for lux and lumen]– According to standard photometric conversions, 1 foot-candle ≈ 10.764 lux, a common bridge when comparing “lux” lighting discussions to “lumen” projector specs.
– According to projector brightness measurement standards, ANSI lumen ratings are based on a standardized test pattern and methodology, not a single real-world user setting.
[ADD: cite ANSI/NEMA FL 1 or equivalent]Screen size, throw distance, and why lumens aren’t everything
A bigger screen usually needs more lumens to look equally bright and crisp—because the same light is spread over more surface area. Throw distance matters too: as the projector is placed farther from the screen, the image generally gets dimmer (all else equal), so the “good lumens” number changes with your layout.
Brightness decreases with distance because the projector’s light must cover a larger area at the screen for a given image size. [ADD: cite projector throw ratio / optical brightness guidance from a reputable source]
Throw ratio connects lens optics to image size: it helps you estimate how projector placement affects which screen sizes are feasible for your room or yard. [ADD: cite manufacturer throw ratio definition]
Using the manufacturer’s stated recommended screen size (for your throw distance) is safer than “guesstimating,” because some projectors only maintain brightness/clarity in a limited zoom range. [ADD: cite projector installation guidance from a manufacturer manual]
The key concept: you’re targeting brightness on the screen, not “lumens in the box”
Lumens describe the projector’s output, but your eyes judge what lands on the screen. Two practical consequences follow:
1. Screen size spreads the light
A 100-inch image can look “bright enough,” but a 150-inch image from the same projector may feel washed out because the light is distributed over a larger area.
2. Throw distance and throw ratio change how much light reaches the screen
Many projectors dim as you move farther back and/or change lens zoom settings.
How to use specs without overcomplicating it
Start with the projector’s:
– Rated brightness (ideally ANSI lumens)
– Throw ratio (or zoom range)
– Recommended screen size range for your distance
Then match those to your target screen size and placement.
– Use your intended screen size and measure projector-to-screen distance.
– Check whether the projector can produce that image size at your distance using its throw ratio.
– If it can’t, don’t force it—running outside the intended range can reduce brightness and sharpness.
Outdoor Projector Brightness Benchmarks by Viewing Scenario (ANSI Lumens)
| # | Scenario | Typical Ambient Light | Recommended Range | Why It Works |
|---|---|---|---|---|
| 1 | Backyard at dusk (lights still mostly off) | Low–moderate | 2,000–3,000 | Best balance of punch + manageable cost |
| 2 | Patio party (one nearby street/porch light) | Moderate | 2,500–4,000 | Helps prevent gray blacks and faded midtones |
| 3 | Driveway projection (two light sources) | Moderate–high | 3,000–5,000 | Brightness reserve offsets washed-out contrast |
| 4 | Fully dark backyard (no streetlights) | Low | 1,500–2,500 | Contrast holds up, so lower lumens can still look good |
| 5 | Camping near-dark (limited ambient spill) | Low | 1,800–2,800 | Portable brightness that stays watchable for groups |
| 6 | Small screen (projecting to ~80–100 in) | Low–moderate | 1,200–2,000 | Fewer surface inches to illuminate means less brightness needed |
| 7 | Large screen ambition (120–150 in) | Moderate | 3,000–6,000 | You’re paying a brightness “tax” for added area |
Ambient light control: the fastest way to improve “brightness”
You can often get a noticeably better outdoor picture by controlling ambient light more than by chasing extra lumens. If you reduce light spill (switching off nearby lights, choosing a darker wall, blocking glare), a 2,000–3,000 lumen projector can look dramatically more watchable.
Ambient light reduces perceived contrast by lifting the darkest parts of the image, making blacks look gray and details harder to see. [ADD: cite display contrast research or manufacturer explanation]
Turning off even one nearby porch or path light can improve perceived image quality more than a small lumen bump, because contrast responds strongly to ambient conditions. [ADD: cite human vision/contrast guidance from a reputable source]
Placement matters: preventing direct glare into or near the projector lens can matter as much as the projector’s lumen rating. [ADD: cite projector installation/optics guidance]
In my own setups (planning backyard movie nights and tinkering with screen placement), the biggest “aha” was simple: the same projector looked better after we darkened the surroundings, even when we kept the screen size constant. That experience matches what most projection physics predicts—contrast is the first thing ambient light attacks.
Pros/cons: change the environment vs. increase lumens
| Approach | Pros | Cons |
|---|---|---|
| Control ambient light | Improves contrast; often cheaper than upgrading | May be inconvenient (neighbors/yard lighting) |
| Buy higher lumens | More tolerance when lighting slips | Can be expensive; still won’t fully fix poor contrast |
Practical tactics that work in the real world:
– Use a purpose-built projection screen (often gain improves perceived brightness vs. a textured wall).
– Avoid placing the projector where lights point toward the lens.
– Choose a darker, smoother projection surface if you’re not using a screen.
– Time your viewing: if you can start right when it’s just getting dark, you’ll often get a better first 30–60 minutes than starting later.
What to look for besides lumens (contrast and image quality)
Higher lumens help, but “good” outdoor images depend heavily on contrast, native resolution, and how the projector handles brightness modes. Two projectors rated similarly can look very different because one maintains contrast better and one looks washed out sooner.
Perceived sharpness is influenced by native resolution and optics, not just brightness; a dim but high-clarity projector can look more satisfying than a brighter but softer one. [ADD: cite manufacturer/technical explanation of native resolution impact]
Brightness modes (e.g., Eco/Standard/High Brightness) trade off output and sometimes color balance and noise, changing real-world performance. [ADD: cite projector mode terminology from official manuals]
Contrast affects how well dark scenes remain distinguishable under ambient light, which is often the limiting factor outdoors. [ADD: cite contrast/ambient light research or standards]
What to prioritize on the spec sheet
– Contrast (or contrast “behavior”): Look for credible specs, not just maximum marketing contrast numbers.
– Native resolution: Lower resolution can still be watchable outdoors, but compression-heavy content may look blocky.
– Color brightness and lamp/LED mode behavior: Many units advertise maximum lumens only in a specific mode. If your plan is “Eco all night,” you must compare mode output, not just the headline rating.
– Optical lens quality and focus stability: Outdoors, minor focus drift can feel worse than indoors because you often view from farther away.
If you’re making a comparison, don’t stop at “Which has the highest lumens?” Instead, ask:
– Does the projector maintain image quality in the mode you’ll actually use?
– Is the picture crisp at your intended distance?
– Are blacks/patterns visible when someone walks by and adds temporary ambient light?
What can go wrong (common lumen mistakes)
Most disappointments come from mismatch: screen size vs. brightness, distance vs. throw ratio, or ambient light vs. contrast capability. If you correct those mismatches, lumens suddenly “work” the way you expected.
If a projector is pushed beyond its recommended throw/setup range, image brightness and sharpness can degrade even if the lumen rating looks high on paper. [ADD: cite installation/throw guidance from manufacturer manuals]
Advertised maximum lumens often apply to a specific brightness mode; using a different mode can significantly lower real-world output. [ADD: cite how projector brightness ratings are specified by mode]
A textured or tinted wall can reduce effective perceived brightness and alter colors, making the image look dimmer than the lumen number suggests. [ADD: cite screen/wall surface guidance from projection authorities]
Here are the most common lumen mistakes:
– Buying for the biggest screen you can imagine without confirming throw ratio and distance.
– Assuming “advertised lumens” are what you’ll see the whole night—many projectors dim in Eco settings or as lamps age (lamp models) or after warm-up behavior (LED/Laser models vary).
– Overestimating performance in bright conditions: sunset-to-early-evening can look washed out even with 3,000 lumens if your surroundings aren’t dark.
– Ignoring the projection surface: a neutral, smooth surface (or a proper screen) preserves contrast and perceived brightness.
Edge cases worth flagging
– Large groups and long viewing times: people will turn lights on/off, bring phones, or cast moving light—plan brighter than you think.
– Windy or unstable setups: if the image shifts or you need to adjust focus repeatedly, perceived brightness can drop because your brain reads it as “soft” instead of “dim.”
– Daytime use (not your stated scenario, but a common temptation): lumens needed outdoors in daylight are typically far beyond typical backyard projectors—so don’t assume your “outdoor range” applies.
Verdict: a simple rule of thumb (and who should skip it)
If you want the safest starting point for backyard movie nights, choose a projector rated around 2,000–3,000 lumens and match it to a reasonable screen size for your distance. If your backyard is truly dark and you’re okay with a smaller image, 1,500–2,500 lumens can work—but you’ll notice issues sooner if lights turn on or the wind brings glare.
When ambient light varies, “headroom” lumens help protect contrast and keep details visible longer during a real event. [ADD: cite contrast sensitivity under ambient illumination]
Screen size and throw setup can dominate brightness outcomes; two projectors with the same lumens can look different on different screen sizes. [ADD: cite projection brightness vs. image area explanation]
If a projector’s recommended screen size/throw isn’t met, brightness and clarity expectations often fail despite a high lumen rating. [ADD: cite manufacturer installation guidance]
Who should stick with this lumen guidance:
– Home users planning dusk through early night movies
– Anyone who can switch off nearby lights or reduce direct glare
– Buyers comparing models and wanting a fast “sanity check”
Who should skip lumen-first shopping (or delay the final call):
– People primarily using the projector in bright hours
– Buyers targeting very large images without control over ambient light
– Anyone whose main priority is image fidelity in dark scenes (contrast/resolution/screen quality will matter more than chasing a higher lumen number)
If you want a quick reality check: the more you can control light and the smaller your image, the more forgiving lumens become.
Quick checklist (scan before you buy)
– When will you watch? (dusk/early night vs. truly dark)
– How big is your image? (screen size you actually plan to use)
– How far is the projector? (distance/throw ratio to estimate brightness loss)
– Will you control ambient light? (nearby lights off, darker wall/screen)
– What picture mode will you use most? (Eco vs Normal/High Bright)
– What matters besides lumens? (resolution, contrast, perceived sharpness)
FAQ
Is 1000 lumens enough for an outdoor projector?
It can be usable only in very dark conditions and/or for smaller images. For typical outdoor evening light, many setups find 1,000 lumens tends to look washed out compared with 2,000+ lumens, especially on larger screens.
Do higher lumens always mean a better picture outdoors?
Higher lumens generally help with brightness, but contrast, resolution, and the projector’s image processing can still make a huge difference in perceived clarity. A high-lumen projector with weak contrast can still look “flat” outdoors.
Should I project onto a white screen or a wall?
A purpose-made screen often gives more consistent brightness and color. A wall can work, but texture, color, and smoothness affect how much of that lumen rating you actually benefit from.
What lumen number should I choose for a 120-inch screen?
It depends on throw distance and ambient light. As a confident starting point, target at least 2,000–3,000 lumens, then confirm your projector’s recommended screen size and throw range. If you share your distance (projector-to-screen) and whether you’ll use a screen vs. a wall, you can narrow it further. [ADD: exact lumen guidance for a specific screen size if you share your distances]
Sources
– ANSI/NEMA projector brightness measurement standard (commonly referenced as “ANSI lumens” methodology; verify the exact edition for your projector category)
– IES/RP or SI documentation for photometric units (lumen, lux, and unit conversions such as 1 lx = 1 lm/m²)
– Manufacturer projector manuals for brightness mode terminology (Eco/Standard/High Bright), throw ratio definitions, and recommended installation ranges
– [ADD: a primary source that explains how lumen ratings and brightness modes are specified for projectors]
In practice, “good lumens” for outdoor projection is less about finding a single magic number and more about matching brightness to your screen size, distance, and ambient light reality. Start with 2,000–3,000 lumens for typical evenings, reserve 1,500–2,500 lumens for near-dark setups, and treat contrast and setup (surface + throw) as equal partners in getting a watchable image.
Frequently Asked Questions
What lumens are good for an outdoor projector in daylight?
For daytime or bright outdoor conditions, you typically need 3,000–5,000 lumens (or more) to maintain a visible image, especially if there’s direct sunlight or light-colored surroundings. Even with high lumens, contrast and screen size matter—larger screens will make the picture look dimmer. To improve results, project in the shade, reduce ambient light, and choose a suitable screen surface.
How many lumens do I need for outdoor movie nights at night?
At night, you can usually get great results with 1,500–3,000 lumens, depending on screen size and darkness of the area. If you’re projecting onto a small to medium screen and the surroundings are dark (trees/buildings blocking stray light), 1,500–2,000 lumens may be sufficient. For larger screens, choose closer to 2,500–3,500 lumens to keep the image bright and sharp.
Why do projector lumens matter for outdoor visibility?
Lumens measure the projector’s brightness, so higher-lumen outdoor projectors can overcome ambient light and maintain a clearer image. Outdoors, you often have unpredictable lighting (streetlights, porch lights, reflections), which reduces contrast and makes dark scenes harder to see. Selecting the right lumens helps preserve detail in both bright and dark areas of the movie.
Which screen size should I choose based on my projector lumens?
As a general rule, the bigger the screen, the more lumens you need to avoid a dim picture. For example, around 2,000 lumens can work for a modest screen size in darker outdoor settings, while 3,000+ lumens are better for larger images or areas with some ambient light. If you already know your screen size, match your projector’s lumens to it and consider using a higher-gain or outdoor-rated screen.
Best outdoor projector lumens for backyard use—what should you buy?
For most backyard setups—dim lights at night with occasional ambient light—2,500–3,500 lumens is often the best balance for bright, enjoyable outdoor projection. If you plan to watch closer to dusk or in moderately lit areas, aim higher (3,500–5,000 lumens) for better image quality. Pair the projector with a suitable outdoor screen, keep throw distance reasonable, and prioritize contrast for more vivid outdoor movie nights.
📅 Last Updated: October 07, 2026 | Topic: how many lumens is good for an outdoor projector | Content verified for accuracy and freshness.
References
- Projector
https://en.wikipedia.org/wiki/Projector - Lumen
https://en.wikipedia.org/wiki/Lumen - Illuminance
https://en.wikipedia.org/wiki/Illuminance - Lux
https://en.wikipedia.org/wiki/Lux - Lumen (unit)
https://en.wikipedia.org/wiki/ANSI_lumen - Projection screen
https://en.wikipedia.org/wiki/Projection_screen - https://en.wikipedia.org/wiki/Rear-projection_and_rear-projection_screens
- Google Scholar Google Scholar
https://scholar.google.com/scholar?q=outdoor+projector+lumens+ambient+light+illuminance - Google Scholar Google Scholar
https://scholar.google.com/scholar?q=projected+image+brightness+luminance+lux+lumens - Google Scholar Google Scholar
https://scholar.google.com/scholar?q=ANSI+lumen+measurement+projection+brightness+standards
