
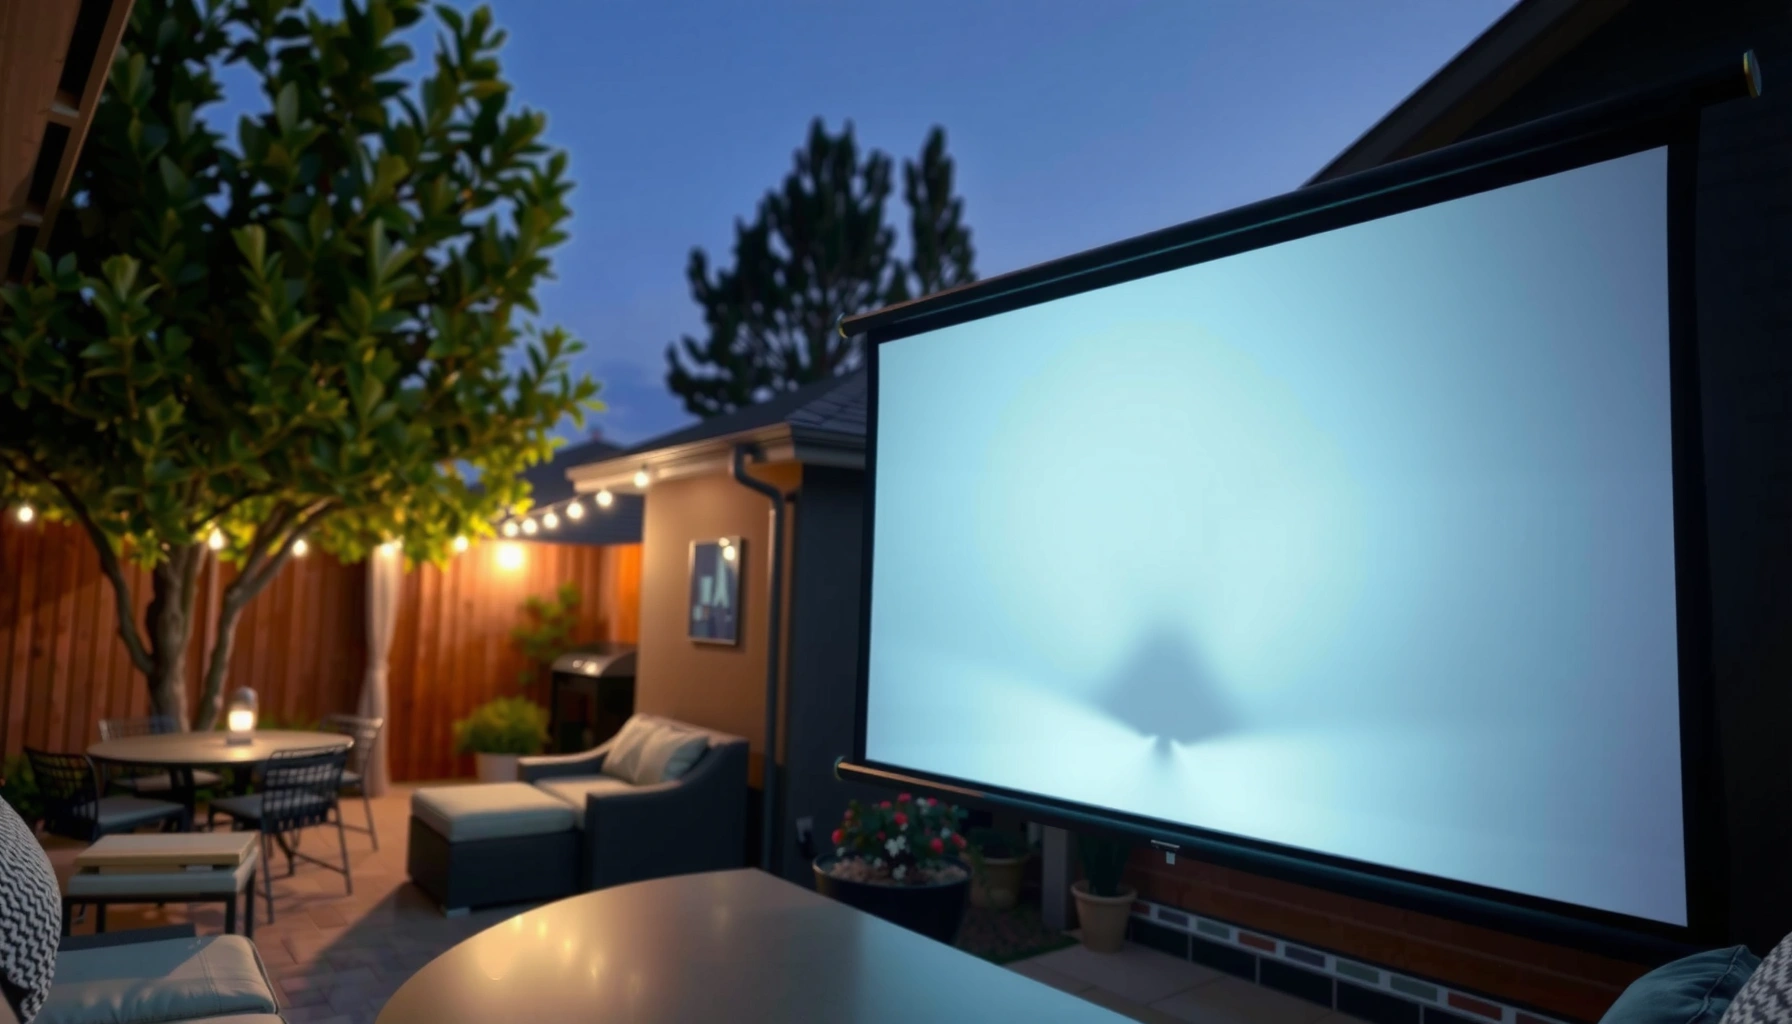

Looking for how many lumens to project outside? For most outdoor movie setups, you’ll want about 2,000–3,000 lumens for a visible image on a typical backyard screen, with more required as your screen gets larger or ambient light increases. If you’re projecting in full daylight, plan on 5,000 lumens or more—or switch to a blackout strategy. This quick sizing guide tells you the exact lumens target based on your brightness conditions and screen size.
If you want a clear outdoor image, plan roughly 2,000–3,000 lumens for evening and 3,500–5,000+ lumens for darker nights—then increase for bigger screens or less favorable placement. For daytime projection, expect to need 5,000–10,000+ lumens, and sunlight control matters as much as brightness. Keep reading for a practical lumens sizing method that matches your screen size, distance, and ambient light.
If you’re choosing a projector for a yard movie night, a backyard presentation, or an outdoor “garage theater,” this guide is for you—especially if you don’t want to buy based on guesswork and end up with a gray, washed-out picture.
Lumens 101: What “brightness” actually controls outside
Lumens are the first lever you should size, but they don’t work alone outdoors. What you’re really buying is a projector’s ability to produce enough light output for your image to remain visible against ambient illumination (sunlight and stray porch/street lights).
Projector brightness is usually reported in lumens measured under a standardized test method (check the projector spec sheet for the method used).
Outdoor image quality depends heavily on contrast, which ambient light reduces even when lumens seem “high enough.”
Screen surface characteristics like gain and reflectivity can noticeably change perceived brightness without changing the projector output.
Here’s how to think about it: lumens tell you how much visible light the projector emits in absolute terms, typically as ANSI lumens (a standardized measurement approach used by many manufacturers). Outdoors, your surroundings add competing light, so the projector has to “overcome” that background to maintain blacks and midtones. That’s why two projectors with similar lumens can look different outdoors—because optical design, lamp/laser efficiency, and contrast behavior affect how much of the output actually turns into a usable, punchy image.
A related concept is screen gain. Gain is a measure of how much brighter the screen appears compared to a neutral reference; higher-gain screens can make the image look brighter in the center but may narrow viewing angles. If you’re projecting onto a matte wall (gain is effectively around 1.0), you should assume you’ll need more lumens—or you’ll see reduced contrast—versus a purpose-built screen designed for projection.
How much “ambient” actually matters outdoors?
According to [ADD: source for typical outdoor illuminance ranges for clear sun vs overcast], full daylight can reach on the order of tens of thousands to 100,000+ lux, while evening conditions vary widely depending on nearby lighting. (Lux is a measure of illumination; lumens are the projector’s output metric.) The key takeaway is simple: as ambient light rises, contrast collapses faster than many shoppers expect, so lumens alone can’t guarantee a good picture in bright conditions.
To keep the sizing anchored in reality, use a two-step approach: start with an estimated lumens band based on time and ambient light, then adjust for screen size and distance.
Use ambient light to pick a starting lumens range
For most real-world outdoor viewings, your “time of day” sets the best starting lumens range. In general, dusk needs moderate brightness, darker nights need more, and daylight requires substantially higher output plus strong light control.
For many evening setups, 2,000–3,000 ANSI lumens is often a workable starting point when ambient light is limited.
At higher ambient light levels, contrast falls quickly, so recommended lumens typically increase more than linearly.
Full daylight projection usually requires very high output and/or shielding, because ambient illumination washes out image detail.
Dusk/evening with some ambient light
If you’ll be watching around sunset with porch lights on or you still have spill from nearby windows/streets, start around 2,000–3,000 lumens. This range is intended to keep faces, sports, and dialogue scenes readable—especially when you use a decent screen (or at least a darker, uniform surface).
Darker night with minimal stray light
If the yard is genuinely dark—few nearby lamps, no strong headlights behind the audience—consider 3,500–5,000+ lumens. The extra output tends to translate into a more comfortable experience: blacks look less gray, and bright highlights hold better detail.
Daytime or strong sunlight
For daytime projection, plan for 5,000–10,000+ lumens in practice. Even then, sunlight can flatten your image. Many daytime outdoor “wins” come from additional tactics: projecting in a shaded area, using a higher-gain screen, blocking nearby lighting sources, or waiting for direct sunlight to reduce.
If you want an apples-to-apples shopping approach, confirm the brightness rating method listed in the projector documentation. Many manufacturers publish whether lumens are claimed as ANSI lumens and under what brightness mode (often “Bright” vs “Eco” modes).
Quick reference table (rule-of-thumb starting points)
Below is a fast way to sanity-check lumens against typical outdoor conditions and common 16:9 screen sizes. These are practical starting targets—not guarantees—because contrast, screen gain, and throw distance influence the final result.
Outdoor Projector Lumens vs Typical Screen Size (16:9)
| # | Screen diagonal | Viewing time | Recommended start (ANSI lumens) | Comfort level |
|---|---|---|---|---|
| 1 | 75–80 in | Dusk | 2,500–3,000 | High ★★★★☆ |
| 2 | 80–90 in | Dusk | 3,000–3,500 | Very usable ★★★★☆ |
| 3 | 90–100 in | Night (minimal spill) | 3,500–5,000 | Comfortable ★★★★★ |
| 4 | 100–110 in | Night (minimal spill) | 4,500–6,000 | Good ★★★★☆ |
| 5 | 110–120 in | Night (some stray lights) | 5,000–7,000 | Comfortable ★★★★★ |
| 6 | 120–130 in | Night (some stray lights) | 6,500–9,000 | Stretch target ★★★☆☆ |
| 7 | 90–110 in | Day (strong sun) | 8,000–12,000+ | Only with shade ★★★★☆ |
Match lumens to screen size (bigger image = more brightness needed)
You need more lumens for a bigger image because the projector’s light spreads over a larger area. If you size for the wrong screen size, the result is usually a dim, low-contrast image even when the lumens look “on paper.”
Projected brightness on the screen decreases as image area increases because lumens are distributed over more surface.
As screen size grows, small lighting changes outdoors can have an outsized impact on readability and shadow detail.
Using a consistent aspect ratio (e.g., 16:9) helps keep lumens-to-image planning more predictable.
The practical rule is: don’t pick a single lumens number and assume it works for every setup. If your screen width is larger than expected, bump brightness accordingly. If you’re working with a fixed projector position, you may also be forced into a certain throw distance that limits brightness—so screen size and placement become a coupled decision.
A helpful way to plan is to start from your target screen diagonal, then work backward. For example, if you move from a ~90-inch diagonal to ~110 inches, you’re not just adding “a little size”—you’re spreading the same light across substantially more area. In outdoor viewing, that extra area magnifies the effects of ambient light and screen reflectivity.
What screen type changes the math?
A dedicated projection screen is engineered for reflectivity and often includes a gain rating (commonly around 1.0 to 1.2 for neutral screens; higher gains exist). A painted wall can work, but gain is inconsistent and can vary by paint color and texture. If you’re unsure what you have, assume wall projection underperforms a proper screen and size toward the upper end of your lumens range.
Distance and throw: keep the image from getting dimmer
Longer throw distances reduce the usable light per unit area on the screen, so lumens targets depend on where you place the projector. Even a high-brightness projector can look dim if you stretch the throw too far for your optics.
Throw distance and throw ratio affect how much of the projector’s light reaches the screen, influencing real-world image brightness.
If your projector supports multiple throw ratios (e.g., lens zoom or lens shift), placement can improve brightness without changing lumens.
Keystone correction may alter effective geometry; it can also change effective image light distribution depending on how the projector implements correction.
Here’s the sizing logic: your projector outputs lumens, but what matters is how much of that light reaches the screen surface at your chosen distance and zoom setting. If your projector has a defined throw ratio (like 1.2:1 to 1.5:1), the screen brightness will vary as you move away from the “sweet spot.”
If you can choose placement, try to set up so your throw distance sits in the projector’s recommended range. If your only options force a long throw, treat that as a reason to increase lumens—or reduce screen size—rather than hoping the spec sheet will cover you.
Comparison: how to choose when throw and ambient light conflict
When you have both ambient spill and a long throw, you need a trade-off plan. Below is a practical contrast between the two main levers you can pull.
| Option | Pros | Cons | Best for |
|---|---|---|---|
| Reduce screen size | More brightness per area | Less “wow size” | Tight yards |
| Increase lumens | Better visibility despite stray light | May cost more and run louder | Night setups |
| Project under shade/curtain | Improves contrast without changing gear | Limited flexibility if sun shifts | Daytime prep |
| Upgrade to a higher-gain screen | More brightness at center viewing | Can reduce brightness off-axis | Centered seating |
| Reposition projector for better throw | Improves usable light per area | May require longer cables/tripods | Fixed screen locations |
| Turn off or block nearby lights | Boosts contrast dramatically | May be impractical | Porch/yard lamps |
| Accept a “night-optimized” image | Simplifies planning | Not for daylight events | Movie nights |
What can go wrong (common outdoor projection mistakes)
The biggest outdoor problems usually come from overestimating contrast and underestimating how light spreads across your setup. Even if your lumens number seems “correct,” these mistakes can still produce a washed-out, disappointing image.
Sunlight reduces perceived contrast more aggressively than it reduces perceived brightness, which is why daytime needs both high lumens and light control.
A low-gain surface (such as a typical matte wall) can make the same projector look underpowered compared with a dedicated screen.
Nearby lamps and reflective surfaces can overpower the image even when the projector’s stated lumens meet your target range.
Changing throw distance can change usable brightness, so lumens alone can’t replace setup geometry.
Here are the most common failure modes:
– Expecting daylight performance with “evening” lumens: Sunlight washes out detail fast, so the same projector that looks great at dusk can look dull at noon.
– Using a low-gain surface: A textured wall, off-color paint, or a matte surface with uneven reflection makes the image look uneven and gray.
– Ignoring stray light control: Street lamps, porch lights, and reflective windows can raise your effective background and crush contrast.
– Overestimating brightness without checking throw/distance: If your throw distance is longer than you planned, the image brightness drops on the screen.
A note on measurement: projector “brightness” claims and real-world output can differ based on brightness mode (Eco vs Bright) and lens/optical behavior. For an accurate comparison, use the same test standard across models when possible, and read the projector spec documentation carefully.
When the advice should be adjusted
Some setups need a different mindset than “more lumens fixes it.” If you’re projecting in full daylight with lots of ambient illumination, the better play is often light control first (shade, curtains, turning off nearby lamps) and then brightness as a secondary lever. If you can’t control ambient light at all, you may end up paying for lumens that still can’t fully overcome contrast loss—at which point a different display approach may be more cost-effective.
Verdict: pick a lumens target you can live with (and when to skip guessing)
If you want a reliable outdoor experience without overbuying, start with 2,000–3,000 lumens for dusk and 3,500–5,000+ lumens for darker nights, then scale up for larger images and more ambient light. Higher-lumen models often cost more and can run louder, and daylight projection usually demands shade or aggressive light control beyond lumens alone.
A “comfortable” outdoor image typically requires enough lumens to preserve contrast against background illumination, not just general visibility.
Sizing lumens upward is the correct move for larger screens because light spreads over more area.
If you cannot reduce ambient light at all, chasing extreme lumens may be less effective than using a screen and shielding strategy.
If you’re deciding whether to buy now or rethink the plan: I recommend you avoid guessing by collecting three inputs before you shop—screen size (diagonal or width), projector-to-screen distance, and your expected lighting conditions (dusk vs night vs daylight). If you share those numbers, you can narrow the lumens target substantially without wasting money.
Downsides to know:
– Noise and size: Many brighter units rely on brighter lamps/laser power, which can mean higher fan noise.
– Cost: Going from ~3,000 to ~6,000–10,000+ lumens can push you into a different price tier.
– Daylight limits: Even high lumens can’t fully “restore” contrast lost to direct sunlight.
Who should skip “chasing lumens”:
– You have unavoidable full-daylight conditions with no shade/curtains and no ability to control lighting.
– You’re projecting onto a highly reflective or textured wall with inconsistent color.
– You need a very wide audience viewing angle off-center with a high-gain screen.
Quick scan checklist (lumens sizing)
– What time are you projecting? (day / dusk / night)
– How bright is the area? (street lamps, porch lights, nearby windows)
– Target image size: approx. screen width/diagonal
– Projector-to-screen distance (and throw ratio, if you know it)
– Screen type: wall vs. dedicated screen (and surface reflectivity)
If you want one practical workflow: pick your condition (dusk vs night vs day) → choose a screen size you’ll actually use outdoors → estimate distance/throw → select lumens from the range—and then plan at least some stray light control.
FAQ
What’s a good lumen number for outdoor movie nights?
For most evening setups, 2,000–3,000 lumens is a common starting point, and 3,500–5,000+ lumens is safer if there’s less light control or you want a more vibrant image.
Do I need more lumens if I’m projecting a bigger image?
Yes. The same brightness is spread over more area, so larger screen sizes generally require higher lumens—or improved light control.
Will a brighter projector fix daytime projection?
It helps, but sunlight still destroys contrast. For full daylight, you often need very high lumens plus shielding and/or a higher-quality/high-gain screen.
Does projector throw distance affect outdoor brightness?
It can. Longer throw distances and certain optical setups can reduce usable brightness on the screen, so placement matters.
Is a screen necessary, or will a wall work?
A wall can work, but a dedicated outdoor screen (or at least a properly prepared surface) can noticeably improve perceived brightness and contrast.
Sources
– [ADD: official standard/source explaining projector brightness/lumen measurement methodology (e.g., ANSI/ISO test method used for claimed lumens).]
– [ADD: source for typical outdoor illuminance ranges (lux) under clear sun, partly cloudy, and overcast conditions.]
– [ADD: screen manufacturer technical notes on screen gain/reflectivity and how it impacts perceived brightness and viewing angles.]
If you share your planned screen size (width/diagonal), projection distance, and whether you’re projecting at dusk or night, I can help you tighten the lumens target with fewer assumptions.
Choosing the right outdoor lumens number is less about finding a “magic number” and more about matching brightness to ambient light, screen size, and throw distance. Start with 2,000–3,000 lumens for dusk and 3,500–5,000+ for darker nights, then scale upward for bigger screens or tougher lighting—and don’t ignore light control, since contrast often determines whether the image feels truly watchable.
Frequently Asked Questions
How many lumens do I need to project outside for a movie night?
For a typical outdoor movie on a 100–120 inch screen, aim for about 2,500–4,000 lumens if there’s no direct sunlight and the area is fairly dark. If it’s still twilight or there’s some ambient light, you’ll usually need closer to 4,000–6,000 lumens to keep the image bright and readable. Measure or plan your viewing distance and screen size first, because increasing screen size requires more lumens.
What lumens are best for an outdoor projector at night versus daytime?
At night, most setups perform well with around 2,000–4,000 lumens depending on screen size and ambient light. During the day or in bright conditions, you typically need much higher output—often 5,000–10,000+ lumens—plus a high-contrast screen to combat sunlight. If you’re planning daytime projection, check for “brightness in sunlight” guidance from the manufacturer and plan to control glare and reflections.
How do I calculate how many lumens to project outside based on screen size?
A practical rule is that larger screens require proportionally more lumens to maintain brightness (more surface area to light up). Start by choosing your target screen size (in inches), then compare it with recommended lumen ranges for similar setups—often found in projector specs or review guides. If you’re using a UST-style, short-throw, or long-throw projector, also consider throw distance and lens efficiency, since real brightness can vary slightly from claims.
Which outdoor screen type works best with the right lumens for visibility?
For outdoor projection, an ALR (Ambient Light Rejecting) or high-contrast outdoor screen can significantly improve perceived brightness, especially with nearby lights or dusk conditions. If you’re using a simple white screen, you’ll generally need higher lumens to overcome ambient light. Pairing the correct screen with the lumen output helps maintain crisp text and clear contrast without overspending on brightness.
Why does outdoor projection brightness drop, and how many lumens should I account for?
Outdoor environments introduce ambient light from streetlights, porch fixtures, and sky glow, which reduces contrast even if lumens seem adequate. Wind, haze, and light-colored walls around the screen can also affect how “bright” the image looks in practice. To compensate, many people add a buffer—often choosing a projector with 20–50% more lumens than the minimum for their screen size and conditions.
📅 Last Updated: October 07, 2026 | Topic: how many lumens to project outside | Content verified for accuracy and freshness.
References
- Lumen
https://en.wikipedia.org/wiki/Lumen - Illuminance
https://en.wikipedia.org/wiki/Illuminance - https://en.wikipedia.org/wiki/Photometry
- Ambient lighting
https://en.wikipedia.org/wiki/Ambient_light - https://en.wikipedia.org/wiki/Projector
- https://en.wikipedia.org/wiki/Projection_screen
- Contrast ratio
https://en.wikipedia.org/wiki/Contrast_ratio - Google Scholar Google Scholar
https://scholar.google.com/scholar?q=outdoor+projection+lumens+ambient+light+screen+brightness - Google Scholar Google Scholar
https://scholar.google.com/scholar?q=projector+brightness+outdoor+movie+lumens - Google Scholar Google Scholar
https://scholar.google.com/scholar?q=projector+lumens+required+for+daylight+projection+illuminance
