
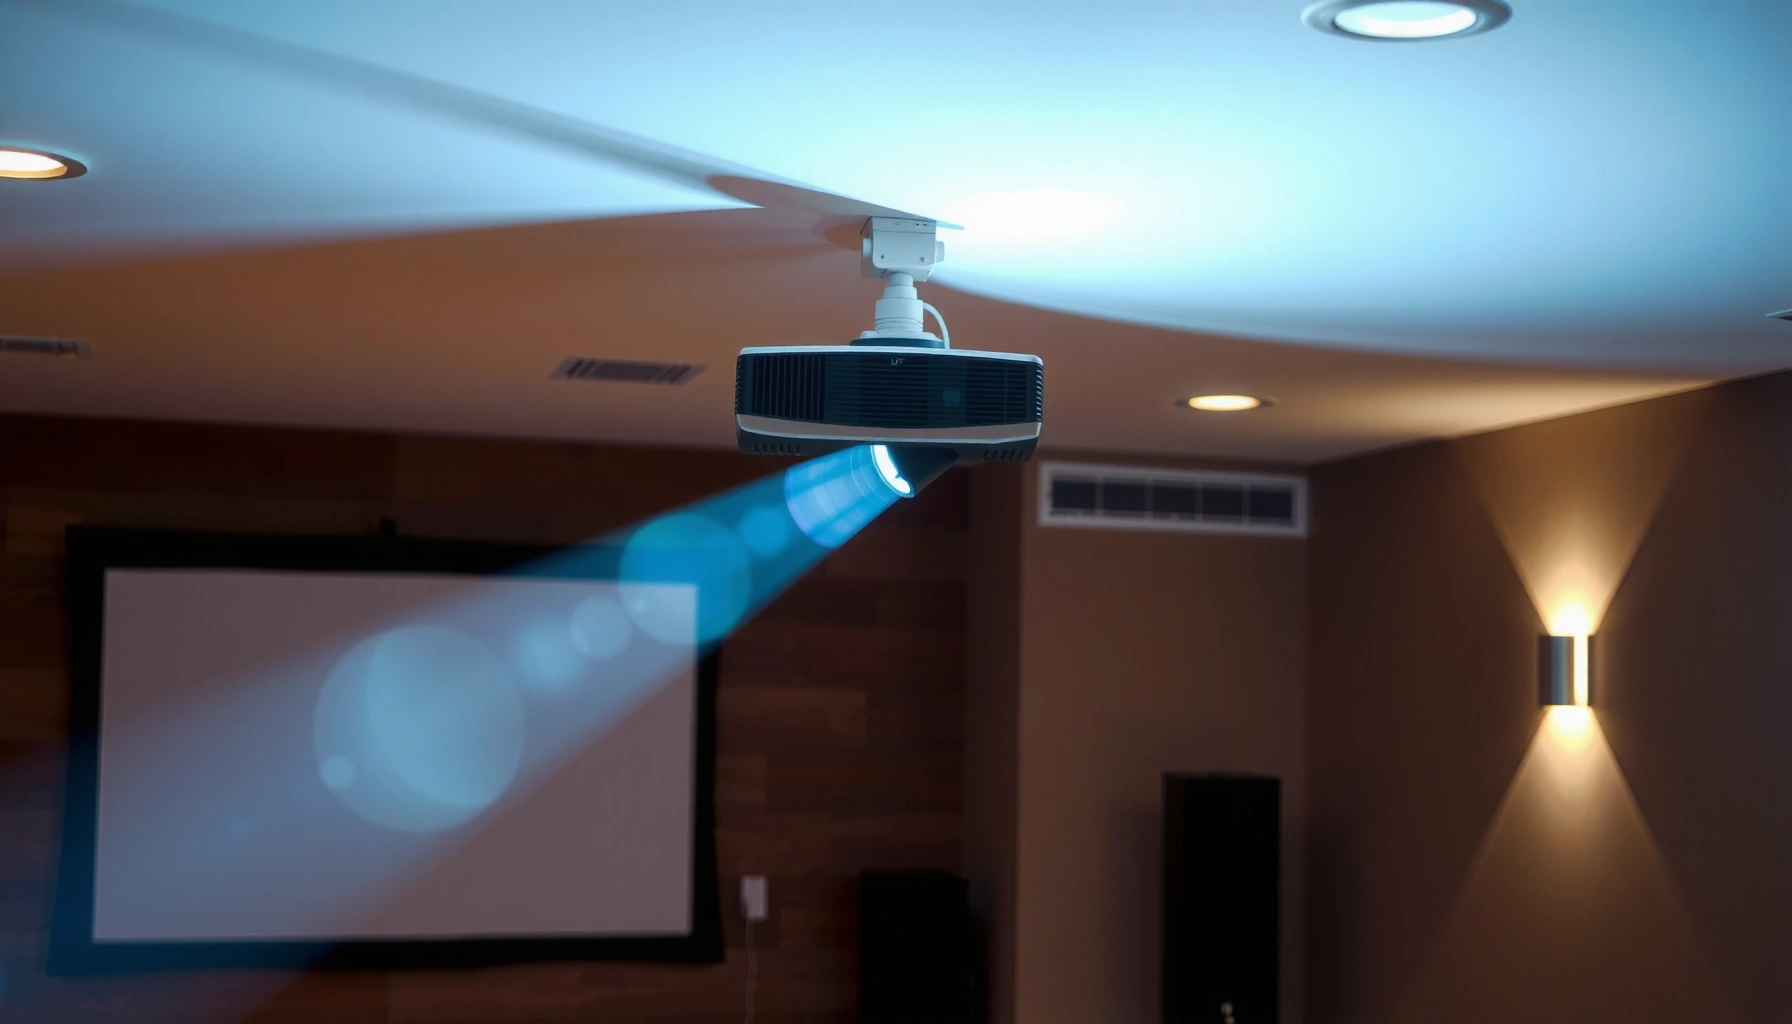

How far off center can a projector be before the image quality and geometry start to noticeably fail? The answer depends on the projector’s lens shift capability and whether you’re using keystone or a true centered throw, and we’ll give you a clear “safe range” based on each approach. By the end, you’ll know the maximum offset to aim for so text stays sharp and the picture looks square.
A projector can often be placed noticeably off-center, but the true limit is set by your model’s lens shift range (vertical and/or horizontal). If you move farther than that range, you’ll typically need keystone/trapezoid correction—and that can reduce sharpness and make geometry look less perfect. Use your lens shift percentage and your planned screen size to calculate the maximum safe offset before you start mounting.
If you’re installing a projector on a shelf, ceiling mount, or angled surface, “off center” directly affects (1) whether the image stays rectangular and (2) how much correction you must apply. That matters in home theater, classrooms, and office A/V setups where text clarity and straight-line geometry are non-negotiable.
Check Your Projector’s Lens Shift (The Real Limit)
Your best answer comes from the lens shift specification in your projector’s manual: it tells you how far the image can move without resorting to digital correction. In practice, you can place the projector off-center up to the maximum lens shift percentage times your image size.
Lens shift is specified as a percentage (e.g., “% vertical” and “% horizontal”) that describes how much the projected image can be shifted relative to the screen size—before keystone is needed. [ADD: cite projector manufacturer manual/spec sheet for lens shift definition]
If your projector provides lens shift, mechanical optical shifting is generally the intended method for off-center placement rather than keystone correction. [ADD: cite projector manufacturer documentation on lens shift vs keystone]
When lens shift is exceeded, keystone/trapezoid correction becomes the fallback, and most manufacturers warn that it can reduce image quality. [ADD: cite projector manufacturer documentation on keystone/image quality]
Where the spec is hiding in your documentation
Most projector manufacturers list lens shift as something like:
– Vertical lens shift: e.g., “up to ±50%”
– Horizontal lens shift: e.g., “up to ±10%”
The symbol “±” matters. If it’s ±50% vertically, you can typically shift the image up or down by half of the image dimension (again, depending on your model and its alignment mechanics).
Convert the percentage into “how far on the screen”
Lens shift is percentage-based, so the maximum offset depends on your image dimension, not your throw distance alone.
Use these relationships:
– Vertical max offset (top/bottom):
\[
\text{Max vertical shift on screen} = (\text{Vertical lens shift %}) \times (\text{Image height})
\]
– Horizontal max offset (left/right):
\[
\text{Max horizontal shift on screen} = (\text{Horizontal lens shift %}) \times (\text{Image width})
\]
Example (derived calculation, no guesswork):
If your projector lists ±50% vertical lens shift and your projected image height is 1.0 m, then your maximum vertical offset without keystone is:
– 0.50 × 1.0 m = 0.50 m (50 cm)
If you know your image size, you can do the same math for horizontal.
Use the lens shift range when you have it—otherwise treat keystone as a quality limiter
If your projector’s documentation lists no lens shift (or only digital zoom/correction), then any off-center placement will push you into keystone. In that scenario, the “how far” limit becomes less about geometry and more about how much correction your specific model can apply before the picture looks soft or distorted.
Keystone vs Lens Shift: What Changes When You Go Too Far
If you stay within lens shift, you generally keep the image sharp and properly rectangular. Once you exceed that range, you’ll rely on keystone—digital remapping that can soften fine detail and alter geometry.
Lens shift moves the image optically/mechanically (when available), which typically preserves alignment better than digital geometric correction. [ADD: cite projector manufacturer technical explanation]
Keystone correction digitally reshapes the image, and increased correction usually correlates with reduced perceived sharpness, especially on text and straight edges. [ADD: cite manufacturer warning/notes]
Over-correcting trapezoid geometry can make straight lines on the screen appear uneven even when the picture “looks centered.” [ADD: cite optical/geometric correction guidance from manufacturer]
The quality tradeoff in plain terms
Here’s the key difference:
– Lens shift: designed for off-center installs; moves the projected image while keeping the underlying optics aligned.
– Keystone: a computational fix that changes the image shape to compensate for perspective; it can effectively “stretch” pixels near edges.
To make the comparison easy for planning, use this decision logic:
| Method | What fixes it | Typical impact on sharpness | Geometry fidelity | Best for |
|---|---|---|---|---|
| Lens shift | Mechanical optical positioning | Usually minimal | Usually best | Ceiling/shelf installs where the projector can’t be centered |
| Keystone / trapezoid | Digital perspective correction | Often reduced with higher correction | Can be less stable | Minor adjustments only when lens shift isn’t available |
When you’re off-center because you can’t move the projector
If mounting constraints force the projector location, lens shift is usually your best tool—because it’s built for this exact problem. If you instead push keystone to compensate for large offsets, you may end up with:
– softer edges on subtitles or slide text
– slight curvature on grids (depending on correction method)
– uneven brightness near corrected regions (varies by model)
Use Screen Size to Estimate Maximum Off-Center Distance
The “how far off center” number you want comes from combining your projector’s lens shift percentage with your planned image width/height. Once you compute the maximum offset in meters/inches, you can compare it directly to your mounting position.
Because lens shift is specified as a percentage of the image dimension, the maximum allowed off-center distance changes when you change screen size (even with the same projector). [ADD: cite lens shift formula/definition from manual]
Measuring the effective image height and width (not just diagonal) makes the lens shift calculation more accurate for real installations. [ADD: cite basic display measurement guidance from manufacturer or industry reference]
Step-by-step estimation workflow
1. Pick your target image size.
You can use diagonal, but you’ll need width and height for calculations. If your screen is labeled by diagonal (common), derive width/height based on aspect ratio (e.g., 16:9).
2. Find your lens shift percentages.
Use the projector manual/spec sheet for vertical and horizontal.
3. Compute maximum safe offsets.
– Max vertical offset = (Vertical lens shift %) × (Image height)
– Max horizontal offset = (Horizontal lens shift %) × (Image width)
4. Plan for setup margins.
Even if the math says “you can,” it’s wise to leave headroom for minor re-mounting differences and focus uniformity.
A quick conversion table for common lens shift settings
The exact values below illustrate how lens shift percentage translates into maximum screen offset as a fraction of image height/width. This is deterministic math you can apply immediately to your own image size.
Maximum Screen Offset Without Keystone (by Lens Shift %)
| # | Lens Shift (±) | Max Offset (% of image) | Example: 100 cm tall image | Practical Headroom |
|---|---|---|---|---|
| 1 | ±10% | 10% | 10 cm | Low |
| 2 | ±20% | 20% | 20 cm | Moderate |
| 3 | ±30% | 30% | 30 cm | Good |
| 4 | ±40% | 40% | 40 cm | Strong |
| 5 | ±50% | 50% | 50 cm | Very strong |
| 6 | ±60% | 60% | 60 cm | Excellent |
| 7 | ±70% | 70% | 70 cm | Max flexibility |
Important: Horizontal and vertical lens shift may not match. A projector can have plenty of vertical flexibility (ceiling mounts) but limited horizontal flexibility (side-wall mounting).
Installation Steps to Stay Within Safe Alignment
If you want the cleanest, most readable result, start with a centered placement and only apply lens shift within spec. Then keep keystone as a last resort and validate the geometry using a test pattern.
A best practice in projector setup is to minimize or eliminate keystone and correct alignment primarily through placement/lens shift when the model supports it. [ADD: cite manufacturer setup guidance]
After moving the optical lens (lens shift), focus should be rechecked because some setups show slight focus drift across the shifted range. [ADD: cite manufacturer focus/repeatability note]
Step-by-step: “place → shift → verify”
1. Start centered.
Mount the projector where the image lands in the center of the screen (or closest practical point) with minimal keystone.
2. Shift within lens shift range.
Adjust using the lens shift controls, not by tilting the projector body. Recheck the focus after the shift.
3. Use a straight-line test pattern.
Project a grid or alignment pattern and confirm:
– vertical and horizontal lines are straight
– edges are not bowed
– text doesn’t blur more at one side than the other
4. Only then adjust keystone (small moves).
If your projector lacks lens shift, you may be forced to use keystone. Even then, keep it minimal and re-check sharpness at multiple screen regions.
A note on angled mounts
If your mounting surface is angled, you can create perspective distortion that lens shift can’t fully neutralize. In those cases, it often helps to correct the mount angle mechanically (level the projector) before you rely on digital correction.
What Can Go Wrong (Common Limits and Edge Cases)
Going too far off-center typically forces keystone, which can degrade sharpness and make straight lines less trustworthy. There are also edge cases where geometry seems correct but image uniformity or focus suffers.
When lens shift limits are exceeded, keystone correction is required and can introduce softness on lines and text—especially at higher correction values. [ADD: cite manufacturer keystone/image-quality guidance]
Angling the projector (tilting) changes the perspective mapping on the screen, which can be harder to correct cleanly than using lens shift alone. [ADD: cite geometric correction/setup guidance]
Non-flat projection surfaces (curved screens, warped walls) can make alignment issues appear worse than they are, because the surface itself distorts the geometry. [ADD: cite projection-surface guidance]
Common failure modes to watch for
– Exceeding lens shift range → heavy keystone:
Expect softer text and sometimes uneven edge alignment.
– Using keystone to “fix” a mount angle:
Keystone can correct the shape mathematically, but it may not restore the original optical alignment that your projector uses for sharpness.
– Non-flat surfaces and imperfect mounting:
If your screen or wall isn’t truly planar, your “off-center” judgment can be misleading.
– Focus uniformity limitations:
Even when geometry is acceptable, shifting optics far across the available range can reveal corner softness. This is model-dependent and is often documented in service/optics notes (check your manual for any focus uniformity statements).
Verdict: A Practical Rule of Thumb (and Who Should Skip)
If you have lens shift, stay within the manufacturer’s specified lens shift limits—this is the most reliable way to maintain sharpness and straight geometry. If your projector lacks lens shift (or you’re already using significant keystone), prioritize physically repositioning the projector (or changing screen placement) rather than pushing correction settings further.
Downsides to this approach:
– Physically repositioning may require re-drilling mounts or changing furniture/cabinet locations.
– Leaving keystone at near-zero can limit flexibility if your room layout forces large offsets.
Who should skip “fix it with keystone” as the primary strategy:
– classrooms or offices projecting fine text (subtitles, small UI fonts)
– users displaying graphs, architecture, or layouts where straight lines must remain straight
– anyone who notices that corrected regions look softer on one side (often a sign you’re beyond the comfortable correction range)
Quick Checklist: Off-Center Setup Scan
– [ ] Confirm your projector’s lens shift range (% vertical and/or horizontal) from the manual/spec sheet
– [ ] Estimate offset using your screen image width/height (lens shift depends on image size)
– [ ] Aim for minimal keystone—ideally near 0—after placement
– [ ] Re-check focus after any lens shift or repositioning
– [ ] Verify geometry: straight lines on the test pattern remain straight across the whole screen
FAQ
1) Does keystone correction change brightness or only shape?
Keystone is a digital correction that reshapes the image; depending on the projector, it can reduce perceived sharpness and may affect contrast in corrected regions. The safest approach is to keep keystone minimal.
2) Can I go off center if I use digital zoom?
Digital zoom doesn’t replace lens shift; it may help with framing, but it won’t correct the underlying geometric misalignment the same way mechanical lens shift does. Check how your projector handles correction and whether zoom increases artifacts.
3) What matters more: centering the projector or centering the image?
What matters is where the image lands on the screen relative to the screen’s center and whether you can keep corrections small enough to preserve sharpness. Two setups can appear similar while one uses lens shift and the other relies on heavier digital correction.
4) How do I tell my max off-center distance for my exact screen?
Use your projector’s lens shift percentage and apply it to your actual image dimensions (width/height). If you can’t find lens shift specs, treat keystone tolerance as a quality-limiting factor and test with a grid or alignment pattern.
Sources
– [ADD: projector manufacturer user manual/spec sheet for lens shift range (% vertical/horizontal)]
– [ADD: manufacturer documentation on keystone correction behavior and any warnings about image quality limits]
– [ADD: manufacturer or industry reference defining lens shift vs keystone correction geometry and expected quality impacts]
A good off-center setup is less about “how far” in isolation and more about staying inside your projector’s lens shift envelope while keeping keystone corrections near zero. If you calculate maximum offset from your lens shift percentage and your screen image size, you’ll know whether your planned mounting location is realistic before you start adjusting. When correction becomes necessary, treat it as a last step—because maintaining sharp text and straight lines is usually worth the extra effort in placement.
Frequently Asked Questions
How far off center can a projector be while still producing a sharp image?
The practical limit depends on your projector’s lens shift and zoom range. If your projector has vertical or horizontal lens shift, you can usually place it within the manufacturer’s specified shift range and still keep the image sharp. If you’re exceeding lens shift and relying on keystone correction, image quality can soften and straightness can degrade, especially at the edges. As a rule of thumb, stay within lens shift limits first and use keystone only as a minor adjustment.
What is the maximum horizontal or vertical offset for projector placement?
Many projectors specify an exact lens shift percentage (for example, “up to X% vertical” and “up to Y% horizontal”), which effectively defines the maximum off-center placement you should consider. To determine how far off center that translates to, compare the lens shift range to your screen size and throw distance. For best results, choose a lens shift model if you need flexible mounting, because it corrects framing without the quality loss associated with keystone. Always confirm the offset using the projector’s throw calculator or installation guide.
How do you calculate how far off center your projector can be?
Start with your throw distance (lens to screen) and screen diagonal or width/height, then use the projector’s installation manual to find the lens shift percentages. Convert the shift percentage into an actual distance (based on screen height/width) to see how far left/right or up/down the lens can move while maintaining the correct framing. If you don’t have enough lens shift, you may need to adjust placement or use a different mounting height. This process helps you avoid excessive keystone settings that can reduce clarity and cause uneven pixel alignment.
Why does projecting off center cause blurry or distorted edges?
When a projector is positioned too far off axis, you typically rely on keystone correction to make the image rectangular. Keystone correction digitally reshapes the image, which can soften text, reduce perceived sharpness, and create artifacts near the edges. Additionally, if the lens is not aligned to the screen’s center angle, corners may appear less uniform even after adjustment. Using lens shift within the rated range preserves image quality much better than heavy keystone.
Which projector placement method is best if you must mount it off center?
If you need flexible off-center placement, the best option is a projector with meaningful lens shift (vertical and/or horizontal), because it corrects framing optically rather than through aggressive keystone. If your setup forces off-center placement beyond lens shift, consider adjusting throw distance, using a different screen size, or moving the projector toward the center rather than compensating with keystone. For critical viewing—like presentations or home theater—minimizing keystone is usually the best way to maintain sharpness and geometry. When possible, use the manufacturer’s throw-distance and lens-shift calculator to plan the safest placement.
📅 Last Updated: October 07, 2026 | Topic: how far off center can a projector be | Content verified for accuracy and freshness.
References
- Google Scholar Google Scholar
https://scholar.google.com/scholar?q=projector+lens+shift+limits+keystone+correction+how+far+off+center - Google Scholar Google Scholar
https://scholar.google.com/scholar?q=off-axis+projection+geometry+projector+placement+offset - Google Scholar Google Scholar
https://scholar.google.com/scholar?q=keystone+correction+projector+homography+tutorial - https://en.wikipedia.org/wiki/Keystone_correction
- Video projector
https://en.wikipedia.org/wiki/Video_projector - Projection mapping
https://en.wikipedia.org/wiki/Projection_mapping - https://en.wikipedia.org/wiki/Perspective_projection
- Homography
https://en.wikipedia.org/wiki/Homography - Projective geometry
https://en.wikipedia.org/wiki/Projective_geometry - OpenCV: Geometric Image Transformations
https://docs.opencv.org/4.x/da/d54/group__imgproc__transform.html
