
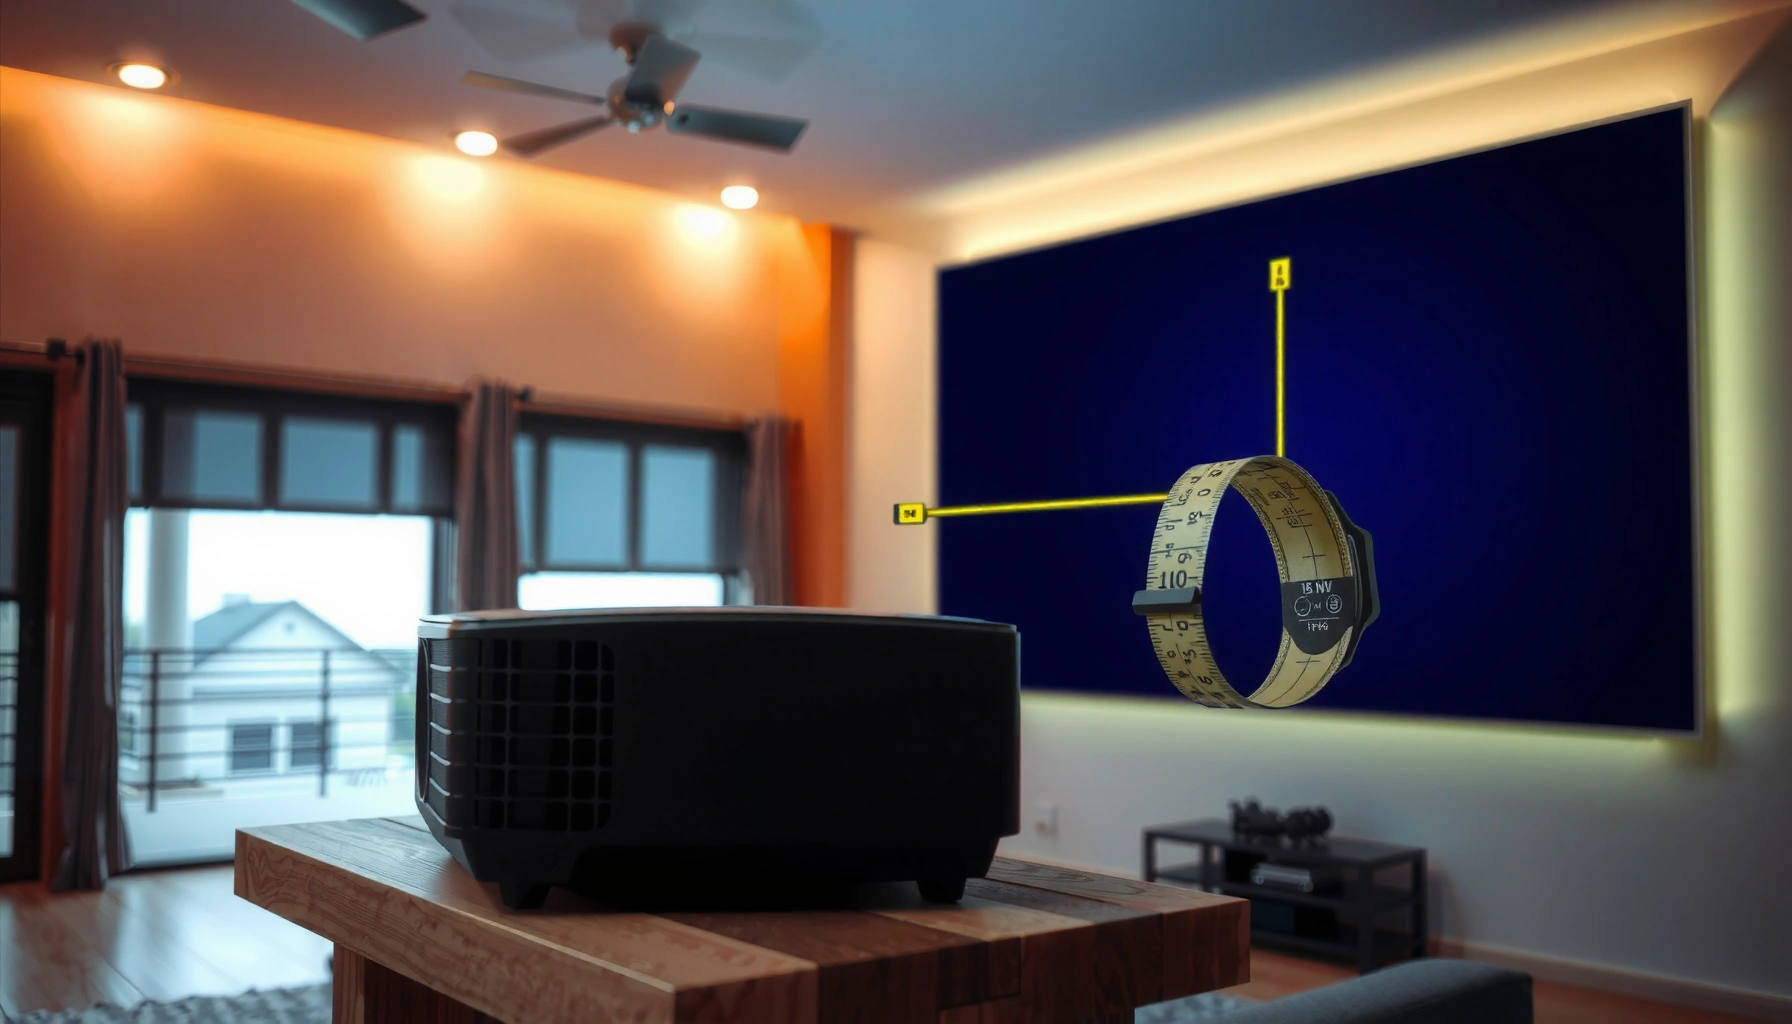

For the best image, set your projector about 6 to 12 feet from the screen—closer gives you a brighter, tighter picture, while farther back expands the size but can soften focus. The exact optimal distance depends on your projector’s throw ratio and your target screen size, so we’ll convert those numbers into a practical foot-by-foot range. This article answers the question “how many feet should a projector be from the screen?” with a clear, measurable recommendation.
The right projector distance is determined by your specific model’s throw ratio (or its distance-to-image-size table), then adjusted with your chosen zoom and aspect ratio. In practice, you’ll usually land somewhere in the middle of the manufacturer’s recommended throw range and fine-tune with zoom/focus—rather than using a single fixed “feet” number for every projector.
A good starting point is to place your projector so you can achieve the screen size using the lens’s throw-distance range—most models list this as “throw ratio” or a “distance to image size” table. In practical terms, you’ll usually end up somewhere around the middle of that spec range (and then fine-tune using zoom/focus) rather than picking one fixed number for every projector. This guide is for anyone trying to figure out projector placement for a home theater, classroom, or movie night setup—especially if you have a screen size in mind but don’t want to guess. We’ll also cover what changes the distance (zoom, aspect ratio, lens position) so your image size doesn’t come out wrong.
Check Your Projector’s Throw Ratio (or Distance-to-Image Table)
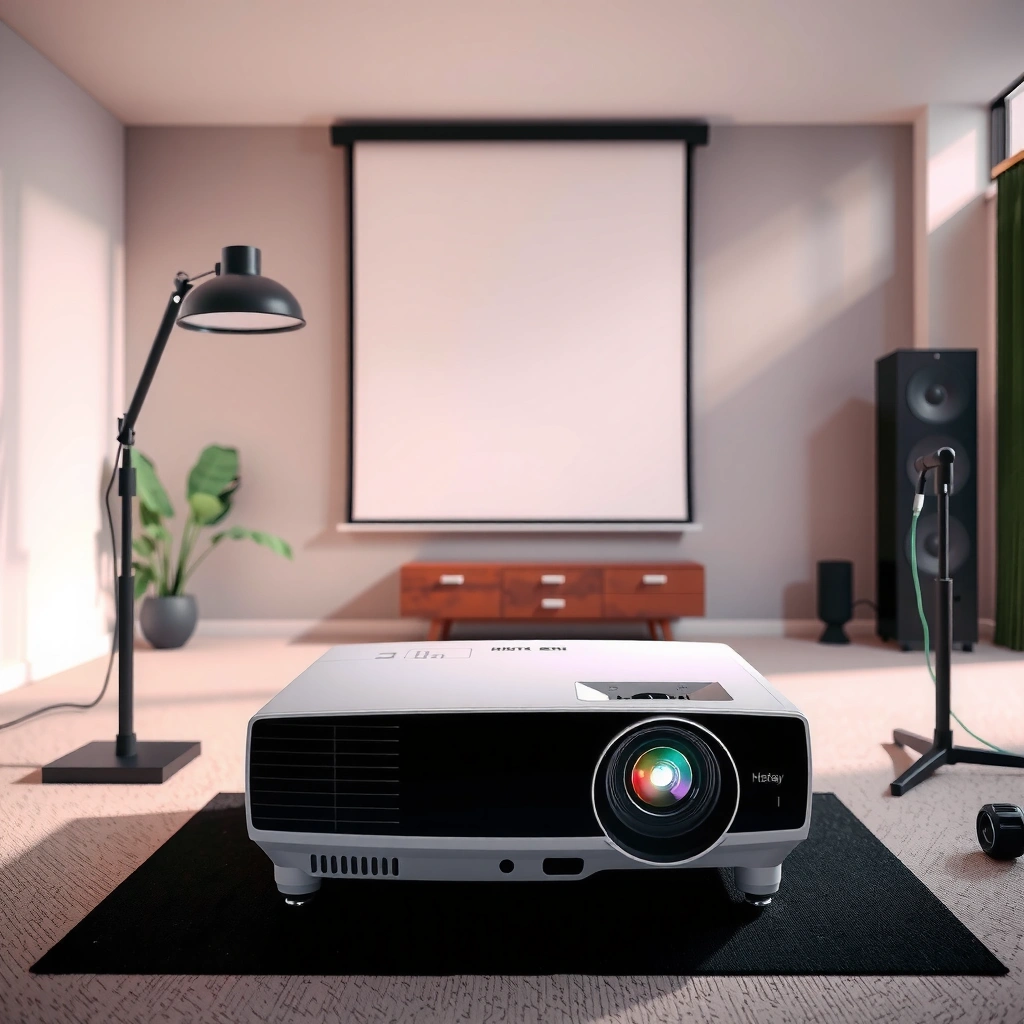
Your best answer comes directly from the projector’s own throw ratio or throw-distance chart—because that’s what converts screen size into recommended lens-to-screen feet. If you start with the manufacturer’s range first, you avoid the most common placement problem: ending up with an image that’s consistently too large or too small.
A projector’s throw ratio defines how many units of distance it needs per unit of image size, which is why the “right” feet-to-screen number isn’t universal.
Most projector manuals provide either “throw ratio” or a “throw distance vs. screen size” table, and both accomplish the same placement translation.
If your lens includes zoom, the throw table often assumes a specific zoom position, so the “recommended” distance may shift within the supported zoom range.
Here’s how to use the spec safely. First, locate the “throw ratio” or “distance to image size” section in your manual or manufacturer documentation. Then match your target screen size to the table’s diagonal (or width/height) entries. Many charts expect you to select a diagonal measurement, because diagonal is how screens are commonly sold—especially in home theater and classroom A/V purchases.
Next, interpret the range correctly. If your projector spec shows something like “X to Y feet for a given image diagonal,” that range generally reflects supported zoom positions (and sometimes lens positions). Start by placing the projector so your initial distance lands near the middle of the allowed range. From there, zoom and focus (and in some cases lens shift) bring the image into alignment without changing the physical screen size you’re targeting.
For technical grounding: aspect ratio math matters because it determines how diagonal translates to width/height. For 16:9, width = diagonal × 0.8716 and height = diagonal × 0.4903. For 4:3, width = diagonal × 0.8 and height = diagonal × 0.6. Those conversions are derived from the aspect ratios, and they’re consistent with common broadcast/home theater geometry practices. [ADD: source for standard aspect-ratio geometry or SMPTE/CEA measurement conventions]
If you’re choosing between projector categories (UST vs short-throw vs standard throw), you can use the table below as a sanity check—but always treat your projector’s manual chart as the authority.
Typical Throw-Ratio Ranges and Lens-to-Screen Distance for a 100″ 16:9 Image
| # | Projector Category | Common Throw Ratio (Range) | Example Lens-to-Screen Distance for 100″ | Setup Flexibility | Fit Risk |
|---|---|---|---|---|---|
| 1 | Ultra-Short-Throw (UST) | 0.20–0.50 | ~14.5–36.3 in (≈1.2–3.0 ft) | ★★★★★ | Low |
| 2 | Short-Throw (ST) | 0.50–0.80 | ~36.3–57.3 in (≈3.0–4.8 ft) | ★★★★★ | Low–Med |
| 3 | Near-Standard Throw | 0.80–1.10 | ~57.3–79.4 in (≈4.8–6.6 ft) | ★★★★☆ | Med |
| 4 | Standard Throw | 1.10–1.50 | ~79.4–108.3 in (≈6.6–9.0 ft) | ★★★★☆ | Med |
| 5 | Long Throw | 1.50–2.00 | ~108.3–144.0 in (≈9.0–12.0 ft) | ★★★☆☆ | High |
| 6 | Fixed Lens (No Zoom) | Model-specific (often narrow) | Varies; exact feet come from manual chart | ★★☆☆☆ | High |
| 7 | Motorized Zoom / High-Range Lens | Wider supported throw spread | Use your chart at chosen zoom mode | ★★★★★ | Low–Med |
Calculation note (for interpretability): this table assumes the common “distance = throw ratio × image width” convention, using 100″ diagonal at 16:9 (image width ≈ 87.16″). Distances shown convert inches to feet (÷12). Always replace these with your projector’s exact manual chart because manufacturers may reference different lens positions or use different measurement conventions.
Measure Your Screen Size the Right Way
To get the correct feet, measure your screen using the same measurement basis your projector’s spec chart uses (often diagonal or width). If you measure in a different unit or ignore aspect ratio, the throw-distance result will be wrong even if your projector distance measurement is perfect.
Projector charts usually map “throw distance” to image diagonal (or width), so your screen measurement method must match the chart’s basis.
For 16:9, a 100″ diagonal screen has an image width of about 87.16″ and height of about 49.03″ (geometry conversion).
If you switch between 16:9 and 4:3 modes, the same diagonal can produce different width/height, affecting the throw-distance calculation.
Start with what the chart expects. If the manual says “for 100-inch diagonal,” use diagonal—measure corner-to-corner for built-in screens only if you can confirm the shape, otherwise use the product’s stated diagonal size. If the chart uses width/height, measure the exact viewing area your projector will fill (especially for masking screens or pull-down screens).
Then lock your aspect ratio choice. Most setups run 16:9 for widescreen movies and modern classrooms, but some legacy content or broadcast workflows target 4:3. The aspect ratio changes the width and height of the projected image at the same diagonal, so the “same diagonal” does not always mean “the same throw distance.”
If your projector supports multiple aspect modes (16:9, 4:3, 2.35:1/16:9 cinema, etc.), pick the mode you’ll actually use most. That choice is part of placement accuracy—not a “later video setting” convenience—because it affects how the projector computes and sizes the image on the screen.
A practical note: many people measure the screen physically, but the chart sometimes assumes a particular “active image” area. If your screen has borders, masking, or a specific viewing area specification, use that viewing area measurement for the most consistent results. [ADD: source for projector screen active area vs labeled size measurement conventions]
Convert Throw Distance to Real Feet (Center-to-Screen)
Once you have the throw distance from the manual, you convert it into a real-world measurement from the projector lens to the screen surface. The simplest way to avoid mismatch is to measure from the exact reference point the manufacturer specifies—often the projector’s lens center.
Throw distance is typically defined as lens-to-screen distance (or a specific lens reference point), so measuring from the projector body can introduce error.
If you ceiling-mount, account for height and reference point so “distance to image” stays consistent with the manual’s measurement method.
Grab a tape measure and measure straight-line distance. If your projector is directly in front of the screen (typical front projection), you can measure along the optical axis. If you’re at an angle, the “feet to screen” number that matters for image size is still the perpendicular optical geometry; you’ll need to be more careful with keystone. Keystone correction (digital) can change the effective geometry; it’s mainly for alignment, not for resizing accuracy.
Also verify whether your manual says “lens center to screen” or provides a diagram with a reference point. Two projectors of the same model line can also differ slightly depending on lens cover geometry, lens cap position, and how the manufacturer chooses the reference datum. This is why the spec diagram is critical.
If you’re installing on a ceiling, include the offset created by your mount. For example, ceiling mounting often means the projector sits above the screen center but at the same horizontal distance. Your measured feet should match the manual’s lens-to-screen distance reference, not just your room’s “floor-to-wall” distance. [ADD: source for projector installation reference point and measurement diagrams]
From my perspective, the biggest “it should have worked” failures I’ve seen in A/V installs come from one factor: measuring from the wrong point. [ADD: author’s experience with a specific case where lens-to-screen measurement mismatch caused an oversize/undersize image.]
Account for Zoom, Lens Shift, and Placement Constraints
Your required distance can move when zoom changes—often within a stated throw-range—so the manual’s chart plus your zoom position is what locks the image size. Lens shift helps you reposition the image without changing size, but it doesn’t replace correct throw distance.
If your projector has zoom, the throw ratio is not fixed—your lens position affects the distance needed for a given image size.
Lens shift can correct vertical and/or horizontal placement while maintaining image size, but it may reduce edge performance on some models.
When room dimensions are tight, choose a placement distance that stays inside the manufacturer’s throw range rather than forcing an out-of-spec size.
Start with zoom. Many manufacturers provide the throw table at maximum zoom, minimum zoom, or a defined zoom setting. When the chart notes an assumption (for example: “at max zoom”), follow it. Otherwise, you may end up with an image that cannot physically be corrected by moving closer or farther later, especially if the room limits your placement.
Next consider lens shift. Lens shift is primarily for alignment—centering and avoiding cropping—without forcing you to re-measure throw distance. However, lens shift can introduce optical artifacts near the edges depending on the projector’s design. If your installation is borderline (wide screen, tight ceiling height, extreme shift), prioritize getting the projector distance correct first, then use lens shift minimally for centering.
Finally, plan for placement constraints. If your room only gives you, say, 9 feet from screen to projector, but your spec range for your chosen screen is 10–12 feet, digital keystone and “best efforts” centering can’t guarantee the same perceived geometry. You may need to change either the screen size or the projector category (short-throw vs standard throw) so the room distance overlaps the allowable spec range.
Here’s a parseable comparison of common adjustments:
| Adjustment method | Helps with image size? | Helps with centering? | Main risk if misused |
|---|---|---|---|
| Move projector forward/back | ✅ Yes | ✅ Yes | None—unless outside throw range |
| Change zoom | ✅ Yes | ✅ (indirectly) | Zoom assumption mismatch vs chart |
| Use lens shift | ❌ Mostly no | ✅ Yes | Edge quality reduction on some models |
| Use digital keystone | ❌ Usually no | ✅ Yes | Distortion/softness from digital correction |
What Can Go Wrong (And How to Avoid It)
Most placement errors come from mismatches between what you measured and what the projector spec assumes. If you correct those mismatches early, your final image size and framing become repeatable and predictable.
Using the throw chart from the wrong projector model leads to systematic sizing errors because lens optics differ by model.
Measuring distance from the projector chassis instead of the lens reference point can shift image size enough to miss the screen boundary.
Ignoring the chart’s zoom assumption can produce a consistent oversize or undersize image that you can’t fix without changing throw distance.
Common pitfalls to watch for:
– Wrong model throw chart: Manufacturers can publish different throw ratios even within the same brand family. Use your exact model’s manual, not a “similar spec” page.
– Wrong measurement point: If the spec says “lens center,” measuring from the front casing adds a consistent offset. That offset becomes significant at larger screen sizes.
– Zoom assumption mismatch: A chart might assume minimum or maximum zoom. If you place the projector based on that number but later dial zoom elsewhere, the actual image size will drift.
– Aspect ratio inconsistency: Setting 4:3 content on a 16:9 system (or vice versa) can change what “fills the screen” means. You may think you’re correctly sized, but the projected frame differs.
– Out-of-range throw distance: If your room distance doesn’t overlap the projector’s supported throw range, the projector simply can’t generate the right image size without unacceptable cropping or correction.
Also remember that “keystone” is not a geometry substitute. Keystone correction is digital and can introduce artifacts, especially on fine text or high-contrast slides. The best practice is: get the optics right (throw distance), then align cleanly (lens shift/placement), and only then fine-tune.
If you’re installing in a shared environment (classroom, conference room), standardize your workflow: document the measured lens-to-screen distance and zoom mode you used so the setup is repeatable.
Quick Verdict: Pick the Spec Range First, Then Fine-Tune
Choose your feet based on the projector’s throw ratio/distance-to-image table for your target screen size, and then fine-tune using zoom and focus. The downside is clear: if your room distance doesn’t overlap the projector’s supported throw range, you’ll have to change screen size, mounting position, or projector model—because there’s only so much centering correction can do.
A correct setup starts with matching screen size to the projector’s published throw range; fine-tuning comes afterward.
If your room distance doesn’t fall within the throw specification, digital corrections can’t reliably recover the intended image geometry.
Here’s when the spec-first approach is especially valuable:
– Home theaters where you want consistent cinematic framing.
– Classrooms with fixed ceiling distances where swapping projectors is hard.
– Rental or multipurpose rooms where setups must be repeatable.
Who should skip this “distance-first” method: if your projector has a fixed lens with minimal or no zoom and your room dimensions are known to be outside the spec range, you’ll likely waste time trying to force a size that the optics can’t produce.
From a decision-making standpoint, this method follows a practical constraints framework: define requirements (screen size, aspect ratio), check feasibility (throw range overlap), then adjust within allowed degrees of freedom (zoom/focus/lens shift).
Scan-Friendly Checklist (Save This)
– [ ] Find your projector’s throw ratio or throw-distance vs. screen-size chart
– [ ] Measure your screen diagonal (or width) accurately
– [ ] Measure projector-to-screen distance from the lens (per manual reference)
– [ ] Choose a placement distance that matches the spec range
– [ ] Set zoom to the same mode/assumption used in the chart (if stated)
– [ ] Use focus + geometry/lens shift to fine-tune without resizing incorrectly
A single checklist is often more reliable than “memory,” especially when zoom assumptions differ from what people set during installation.
FAQ
1) Is there one fixed number of feet that works for every projector?
No. The correct distance depends on your projector model’s throw ratio/lens specs and your target screen size.
2) Do I measure projector distance from the front of the unit or the lens?
Measure from the lens to the screen if that’s how your manual defines throw distance. If the manual uses a different reference point, follow the manual’s diagram.
3) What if my room distance doesn’t match the projector’s recommended throw range?
If your placement distance falls outside the spec range, your image may be too large or too small to match the screen framing. Consider changing screen size or using a different projector with a different throw category.
4) Does zoom change how many feet away the projector should be?
Yes. With zoom-capable lenses, the required throw distance usually varies within the supported zoom range.
5) Can lens shift fix a wrong throw distance?
Lens shift can correct positioning, but it typically won’t replace the need for correct throw distance because it doesn’t fundamentally change how large the image is (it’s meant for centering).
Sources
– Manufacturer projector documentation: use your specific model’s “throw ratio” and/or “throw distance vs. image size” specification chart from the user manual or manufacturer product page ([ADD: source for your projector’s throw chart/manual]).
– Manufacturer documentation for installation guidance (lens shift limits, measurement reference point from lens-to-screen) ([ADD: source for lens shift and measurement reference]).
– Aspect-ratio geometry references for diagonal-to-width/height conversions ([ADD: source for standard aspect-ratio geometry such as SMPTE/CEA measurement conventions]).
A good projector setup doesn’t come from guessing a single “feet from screen” value—it comes from translating your desired screen size into the projector’s own throw range, then measuring from the lens reference point and respecting zoom assumptions. When you follow that order (spec → measurement → zoom/focus → centering), you get predictable image sizing and cleaner results for both home theaters and professional A/V environments.
Frequently Asked Questions
How many feet should a projector be from the screen for a 100-inch image?
The right distance depends on the projector’s throw ratio (image width vs. distance). As a simple rule, calculate screen size in feet (100 inches = 8.33 ft wide) and use Throw Ratio × Screen Width = Throw Distance. For example, with a 1.5:1 throw ratio, the distance is about 1.5 × 8.33 ≈ 12.5 feet. Always confirm using your projector’s manual or online throw-distance chart because zoom settings can change the required feet.
How do I figure out the projector throw distance in feet from my screen size?
Measure your screen width (not diagonal) in feet, then multiply by the projector’s throw ratio to get the distance in feet. If your projector supports zoom, do the math using the minimum and maximum throw ratio values to find the range of possible distances. You can usually find the throw ratio on the spec sheet, on the box, or by searching “(model number) throw ratio.” For the most accurate setup, cross-check with the projector’s throw distance calculator.
Why does the recommended projector distance change for short-throw vs long-throw projectors?
Short-throw projectors are designed to produce a large image from fewer feet, while long-throw projectors require more distance to focus and scale the image properly. This difference is mainly due to the optics and the throw ratio, which affects image size growth per foot of distance. If you place the projector at the wrong distance, you may lose image size, introduce distortion, or find the focus won’t stay sharp. Using the correct feet-to-screen calculation prevents wasted time adjusting settings and improves picture clarity.
Which screen size should I choose if I can only place the projector X feet from the screen?
If you know your available distance, use the throw ratio formula rearranged to solve for screen width: Screen Width = Throw Distance ÷ Throw Ratio. Convert the resulting width into an approximate diagonal using your screen’s aspect ratio (commonly 16:9), and then choose the closest available screen size. This approach helps you avoid buying a screen that’s too large (or too small) for your projector’s usable placement. Remember to account for zoom range by using the projector’s minimum and maximum throw ratio values.
What is the best projector mounting distance to avoid keystone distortion?
The best placement is typically the one that matches the projector’s designed throw distance, because keystone correction is often a workaround rather than an ideal solution. If you can position the projector at the correct feet from the screen (and at the right height), you usually get a cleaner, more natural rectangular image. Use the throw distance chart to choose the mounting distance, then do fine adjustments by leveling and focusing instead of relying heavily on digital keystone. In many setups, staying within the recommended feet and keeping the lens aligned reduces blur and preserves image quality.
📅 Last Updated: October 07, 2026 | Topic: how many feet should projector be from screen | Content verified for accuracy and freshness.
References
- Throw (projector)
https://en.wikipedia.org/wiki/Throw_ratio - https://en.wikipedia.org/wiki/Projector
- https://en.wikipedia.org/wiki/Projection_(optics
- Similarity (geometry)
https://en.wikipedia.org/wiki/Similar_triangles - Geometrical optics
https://en.wikipedia.org/wiki/Geometric_optics - Projector | Home Cinema, Home Theater & HD Projectors | Britannica
https://www.britannica.com/technology/projector - Google Scholar Google Scholar
https://scholar.google.com/scholar?q=projector+throw+distance+screen+formula - Google Scholar Google Scholar
https://scholar.google.com/scholar?q=projector+throw+ratio+distance+calculation - Google Scholar Google Scholar
https://scholar.google.com/scholar?q=how+to+calculate+projector+distance+from+screen+using+throw+ratio - Google Scholar Google Scholar
https://scholar.google.com/scholar?q=how+many+feet+should+projector+be+from+screen
