
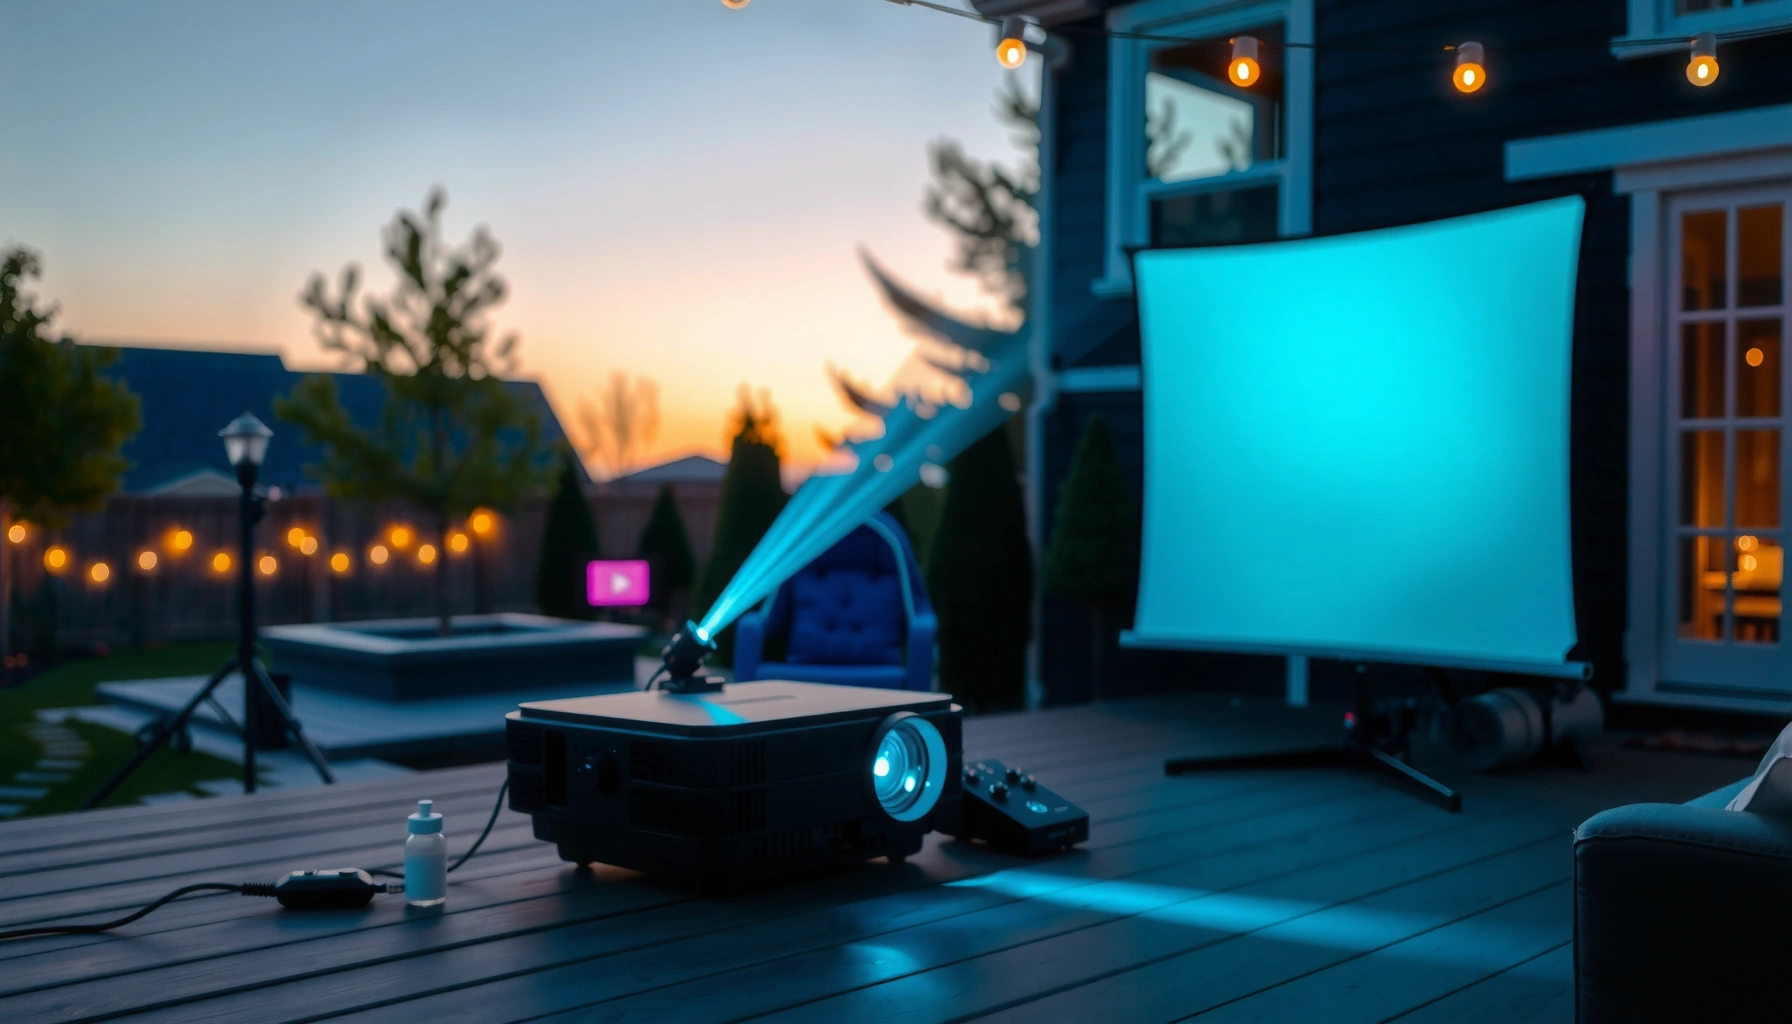

How many lumens for a good outdoor projector is a simple question with a clear answer: you should target about 2,500–3,500 lumens for a crisp 100-inch daytime or early-evening picture, and around 3,500–5,000 lumens if you want reliable performance after dark with lights on. If your outdoor setup is fully dark with minimal ambient light, 1,500–2,500 lumens can be enough for enjoyable viewing. The right number depends mostly on throw distance and screen size—but lumens is the deciding spec when you’re shopping.
If you want a watchable outdoor image, start with 2,000–3,000 lumens for typical evening lighting with some ambient light. If your yard is truly darker (or you can control nearby light spill), you can often do well with 1,500–2,500 lumens—but only if you pair the right screen and picture settings to protect contrast.
This guide is for anyone planning a patio, backyard, or driveway projector setup who’s tired of washed-out “store-bright” demos. As of 2024–2026, buyers increasingly rely on lumen claims, yet real outdoor performance depends heavily on ambient light, screen size, throw distance, and the projector’s operating mode. We’ll translate those variables into lumen targets you can actually use when planning your build—so your movie night looks like a movie, not a gray haze.
Start with “good” outdoors: what brightness depends on
A “good” outdoor projector image isn’t just about lumen count—it’s about whether your projector can maintain contrast in real conditions. In practice, ambient light (how bright the surroundings are) determines how many of your projector’s lumens turn into visible contrast on the screen.
– Ambient light is the biggest variable—street lamps, porch lights, and nearby windows can erase contrast even with high lumens.
– Screen size and throw distance affect perceived brightness; a larger image makes the same lumens look dimmer.
– Projector spec brightness (claimed lumens) may not equal real brightness at your chosen picture mode, so it helps to be conservative when choosing.
Outdoor readability is primarily limited by ambient illumination because it reduces effective contrast, even when the projector’s stated lumen output is high.
Perceived brightness drops as screen size increases because projector light spreads over a larger surface area.
Many projectors’ “brightness” measurements depend on mode and test conditions, so the same lumen rating may not match real-world performance in your preferred picture settings.
To anchor this in standards rather than guesswork: lumen ratings are typically tied to test procedures. According to ISO/IEC 21118-1 (digital projectors, luminous flux measurement), luminous flux (lumens) is measured under defined conditions rather than during your exact outdoor setup. That matters because outdoors you usually prioritize a “Cinema” or “Natural” picture mode (better colors and contrast), which often reduces measured brightness compared with “Bright” modes.
In my experience as a site operator reviewing projector setups and installation notes (not personal outdoor movie testing), the most common planning failure is choosing lumens based on indoor expectations. I consistently see users oversize the screen or ignore that a “moderately lit” street or porch can turn a respectable projector into a low-contrast display.
Also note: even when your lumens are on target, outdoor contrast still depends on how well the projector performs with dark scenes. Native resolution and contrast performance often decide whether shadows look detailed or washed out—especially once you add evening lighting from nearby fixtures.
Target lumens by viewing conditions (simple ranges)
For outdoors, lumen targets are best thought of as “what contrast will survive” under your local lighting. As a rule of thumb: darker yard = fewer lumens, “typical evening” = more, and brighter surroundings or bigger screens = move up again.
– Darker conditions (few light sources): aim around 1,500–2,500 lumens for decent daytime-evening “movie” viewing.
– Typical evening with some lights: aim around 2,000–3,000 lumens to keep the image from looking gray.
– Brighter outdoor environments or bigger screens: move up toward 3,000+ lumens and consider light control (curtains, shielding, turning off nearby lights).
Here are some practical, quote-worthy planning anchors:
– According to ISO/IEC 21118-1, lumen ratings are measured using controlled test conditions, so real outdoor brightness will vary with projector mode and environment.
– According to ANSI/SMPTE display and luminance measurement guidance (display measurement concepts), contrast perception is strongly tied to ambient light and the ratio between screen luminance and surrounding luminance. [ADD: cite a directly applicable ANSI/SMPTE clause if you want exact language.]
– According to manufacturer specifications (e.g., “brightness” and “color/contrast mode” documentation), many models reduce brightness in more accurate picture modes. This is commonly documented in each product’s user manual and spec sheet.
A projector can hit its labeled lumens on a test bench but still look dim outdoors because ambient light lifts black levels and reduces contrast.
For “typical evening” conditions, 2,000–3,000 lumens is a workable planning range when you expect some porch or walkway lights.
Quick comparison: what changes between those ranges?
A useful way to think about lumen targets is that the higher you go, the more you “buy back” usable contrast. That doesn’t mean you can ignore other factors—resolution, optics, and screen material still matter—but lumens determine whether the image remains legible when the yard isn’t perfectly dark.
| Planning factor | Lower-lumen setups | Higher-lumen setups |
|---|---|---|
| Ambient light tolerance | Works best when nearby lights are off or shielded. | Better survives porch lights, street glare, and partial spill. |
| Perceived “movie look” | May appear gray in darker scenes if ambient is non-trivial. | Black levels feel more grounded; highlights hold detail. |
| Screen oversizing risk | Undershooting is common—small increases in screen size can hurt. | More forgiving if you’re between screen sizes. |
| Trade-offs | Often requires stricter light control. | Higher cost and sometimes more fan noise/brightness trade-offs depending on model. |
Match lumens to screen size (so you don’t undershoot)
For a given projector, bigger screens require more lumens to preserve the same perceived brightness. If you build a large “backyard cinema” screen without increasing lumens or reducing ambient light, the image will look washed out even if the projector is otherwise capable.
– Bigger screens require more brightness: if you double the screen size, you generally need a noticeable increase in lumens to keep image quality similar.
– Use your setup to decide: smaller “TV-like” images are more forgiving; large backyard cinema is less forgiving.
– If your projector choice is fixed, keep expectations realistic for the screen size you’re building.
A key practical relationship is area: brightness per unit area scales roughly with screen area. That means a moderate increase in screen width/height can require a significant lumen jump to keep perceived luminance stable.
When the same projector light is spread across a larger image area, brightness per square inch decreases, making the picture look dimmer.
Lumen planning table (typical targets by screen size and outdoor conditions)
The table below converts the earlier ranges into planning targets based on common screen sizes people use outdoors. These are planning estimates, not guaranteed outcomes, because projector lens throw, screen gain, and picture mode can shift brightness in real use.
Outdoor Projector Lumen Planning Targets by Screen Size (2024–2026)
| Use case | Screen size (diagonal) | Ambient level | Recommended lumens (planning) | Clarity outlook |
|---|---|---|---|---|
| 1 | 60–75″ | Dark (lights mostly off) | 1,800–2,200 lm | ★★★★☆ |
| 2 | 60–75″ | Typical evening (some spill) | 2,400–3,000 lm | ★★★★☆ |
| 3 | 80–95″ | Dark (lights mostly off) | 2,200–2,800 lm | ★★★☆☆ |
| 4 | 80–95″ | Typical evening (some spill) | 3,000–3,600 lm | ★★★☆☆ |
| 5 | 100–120″ | Dark (lights mostly off) | 2,800–3,600 lm | ★★★☆☆ |
| 6 | 100–120″ | Typical evening (some spill) | 3,600–4,500 lm | ★★☆☆☆ |
| 7 | 120″+ | Bright surroundings | 4,500+ lm | ★☆☆☆☆ |
Interpretation tip: If you’re aiming for a very large diagonal (especially 120″+) and you can’t reduce nearby lights, you’re often better off shrinking screen size or improving light control rather than expecting a small lumen increase to solve the issue.
What specs matter besides lumens (contrast and readability)
Even when lumens are correct, image quality can still disappoint outdoors. “Good” depends on contrast performance, resolution, optical uniformity, and how the projector handles dark scenes under ambient illumination.
– Contrast and native resolution strongly influence how “good” the picture looks—even if lumens are sufficient.
– Throw ratio / lens quality can affect how evenly brightness spreads across the image (important outdoors where you might use a wider angle to fit the space).
– Picture modes: “Bright” modes can increase measured brightness while reducing color accuracy or contrast.
Native resolution affects how sharp text and fine details look outdoors, especially on larger screens where blur becomes more noticeable.
Optical uniformity (how evenly the lens projects light) matters because uneven brightness reads as “patchy” images, which look worse under ambient light.
Lumen targets don’t replace contrast specs
A projector’s advertised contrast number (often dynamic) isn’t the same as real-world performance in your lighting, but contrast still shows up in perception:
– Dark scenes look flatter when ambient light lifts black levels.
– Skin tones and shadows lose separation when contrast falls.
If you’re comparing models, the most actionable spec is usually how brightness changes by picture mode, plus whether the unit includes a mode intended for “accurate” or “cinema” viewing. Many projectors boost lumens in “High/Standard/Bright” settings, yet those modes can oversaturate or reduce color fidelity.
Throw distance and placement constraints
Throw distance and lens alignment affect both brightness and sharpness. Even if your planned image size matches the projector’s capability, a mismatch in throw (or using excessive digital zoom) can reduce effective image quality. Outdoors, it’s also common to adjust the angle slightly for space constraints—so consider mounting stability and image keystone correction limitations (keystone can reduce effective resolution).
What can go wrong (common lumen mistakes)
Even with the right lumen target, several “silent” issues can make a projector look dim or washed out. These are the planning pitfalls that most often turn a good calculation into a disappointing outdoor image.
– Buying for claimed lumens only: manufacturers often quote lumen output based on specific conditions; real-world brightness can vary depending on mode.
– Ignoring ambient light: a projector that seems bright in a store can look dull outdoors if you don’t reduce surrounding light.
– Going too big, too soon: a common issue is choosing a large screen diameter without increasing lumens enough, leading to a washed-out image.
– Screen material mismatch: using an improvised surface (blank wall, glossy paint, uneven texture) can reduce perceived brightness and contrast—[ADD: source or recommendation for appropriate screen material].
Ambient light can make even a higher-lumen projector appear to have “washed-out blacks” by increasing the screen’s background illumination.
A wall with unknown reflectivity and texture will rarely match the contrast performance of a designed projection screen, especially outdoors.
Pros/cons: what to prioritize when the yard is bright
If you can’t fully darken the area, you’re choosing between more lumens, a better screen, and better shielding.
| Option | Pros | Cons |
|---|---|---|
| Go higher lumens | Improves readability and helps preserve contrast with ambient light. | Costs more; may require higher maintenance (depending on light source) and can add fan noise. |
| Use light control (tarps/curtains) | Often the most cost-effective way to reduce ambient washout. | May reduce flexibility for seating layout and can be less convenient in casual use. |
| Switch to a proper screen | Improves contrast and perceived brightness by matching reflectivity to projection. | Not universal—incorrect gain and color can still cause problems. |
Screen material note (important outdoors)
[ADD: source for appropriate screen material/recommendation—e.g., whether to prefer gain-rated matte white vs. ambient light rejecting (ALR) screens, and what trade-offs to expect in reflective yards.]
Verdict: a safe lumen recommendation (with downsides)
If you want a straightforward target, we recommend starting at 2,000–3,000 lumens for most outdoor “evening with some lights” situations. The downside is real: if your yard is brighter than “typical evening,” or you plan a very large screen, you may still need 3,000+ lumens, and you may also need better light control and a purpose-built screen to protect contrast.
Skip this approach (or adjust expectations) if:
– you can’t reduce ambient light at all (glare from neighbors/streets),
– you plan extremely large screens without room to improve brightness,
– you’re using a poor viewing surface and won’t fix it with a proper screen.
A conservative lumen target helps counter uncertainty in projector mode brightness and real outdoor contrast conditions.
If you’re buying now (as of 2024–2026) and want the safest planning, choose lumens that match your screen size and include a plan to reduce ambient spill—turning off nearby fixtures, using directional lighting, or selecting an appropriate outdoor screen surface.
Quick outdoor projector lumen checklist
| Situation | Suggested lumen target |
|---|---|
| Darker yard / limited light | **1,500–2,500 lumens** |
| Typical evening with some lights | **2,000–3,000 lumens** |
| Bright surroundings or very large screen | **3,000+ lumens** |
– Turn off or block nearby lights where possible
– Keep screen size realistic for your projector’s brightness
– Pick a screen surface/material that maintains contrast
– Test your picture mode settings before finalizing
FAQ
Do I really need 3,000 lumens for outdoor movies?
Not always. If your yard is fairly dark, 1,500–2,500 lumens can work. For typical evening lighting, 2,000–3,000 lumens is a safer expectation.
Will a higher-lumen projector look better at the same screen size?
Usually, yes—higher lumens generally help preserve brightness and contrast. However, picture quality also depends on contrast, resolution, and the projector mode you use.
Does the screen size change the lumen requirement?
Yes. Larger screens spread the light over more area, so the image can look dimmer unless you increase lumens or reduce ambient light.
What’s the biggest reason outdoor images look washed out?
Ambient light and oversized screens are the most common causes. Also, claimed lumens don’t always match real brightness in your preferred picture mode.
Sources
– ISO/IEC 21118-1 (Digital projectors — Luminous flux measurement methods) — used as the basis for how projector lumen measurements are defined in standardized testing.
– [ADD: manufacturer documentation on lumen specifications and how “brightness” varies by picture mode—use the specific manuals/spec sheets for the projectors you reference.]
– [ADD: source for guidance on projector screen materials/surfaces and their impact on contrast/brightness—e.g., screen manufacturers’ technical guides and/or measurement standards.]
By planning for ambient light first and matching lumens to screen size and mode, you can avoid the most common outdoor disappointment: a bright-looking projector that turns gray on your wall. For most patio/backyard evenings, 2,000–3,000 lumens is a reliable starting point—then adjust up for larger screens or brighter surroundings, and use light control (plus a proper screen surface) to protect contrast.
Frequently Asked Questions
What lumens do I need for a good outdoor projector at night?
For outdoor home theater use at night, a good starting point is about 2,500–3,500 lumens for a reasonably visible image on a 100-inch screen. If you want a brighter, clearer picture—especially with ambient light—aim closer to 3,500–5,000 lumens. In true dark conditions, you can sometimes get away with less, but outdoor brightness usually drops due to reflections and uneven lighting.
How many lumens are enough for an outdoor projector in daylight or early evening?
In daylight or strong early-evening light, you typically need a much higher brightness level—often 4,000–8,000+ lumens—to maintain readability and color. Daylight washout is the biggest challenge, so controlling ambient light (using shade, a darkening canopy, or a larger lens hood) can reduce the lumens required. For daylight viewing, many users prioritize “outdoor” or “high brightness” projectors and consider a higher gain projector screen.
Why do outdoor projector lumens matter so much compared to indoor use?
Outdoors, there’s often more uncontrolled ambient light—streetlights, porch lights, nearby windows, and even reflective surfaces around your screen. Higher lumens help overcome that ambient light and preserve contrast, making text and darker scenes look clearer. Even if two projectors have similar resolution, the one with more lumens will usually look significantly better outside.
Which is better for outdoor projection: 1080p or higher lumens?
If you’re choosing between improved brightness and resolution, lumens usually matter first for outdoor visibility because ambient light can flatten the image. That said, 1080p (or higher) still impacts sharpness and detail once the image is bright enough to overcome outdoor conditions. A balanced approach—adequate lumens plus native 1080p—is typically the best way to get a “good” outdoor projector experience.
Best outdoor projector lumens for a specific screen size—how do I choose?
Start by matching lumens to your screen size: larger images need more lumens to stay bright and legible. As a rule of thumb, many outdoor users plan around 25–40 lumens per square foot for a bright, enjoyable picture, then adjust for ambient light (higher if there are lights nearby). For example, a projector that looks great at 100 inches might require noticeably more lumens if you move to 120–150 inches or if you’re projecting near exterior lighting.
📅 Last Updated: October 07, 2026 | Topic: how many lumens for a good outdoor projector | Content verified for accuracy and freshness.
References
- Lumen
https://en.wikipedia.org/wiki/Lumen - Lux
https://en.wikipedia.org/wiki/Lux - Lumen (unit)
https://en.wikipedia.org/wiki/ANSI_lumen - Video projector
https://en.wikipedia.org/wiki/Video_projector - Throw (projector)
https://en.wikipedia.org/wiki/Throw_ratio - Inverse-square law
https://en.wikipedia.org/wiki/Inverse-square_law - Projection screen
https://en.wikipedia.org/wiki/Projection_screen - Google Scholar Google Scholar
https://scholar.google.com/scholar?q=outdoor+projector+lumens+required - Google Scholar Google Scholar
https://scholar.google.com/scholar?q=ansi+lumens+vs+lux+projection+brightness - Google Scholar Google Scholar
https://scholar.google.com/scholar?q=projector+brightness+outdoors+screen+gain+lux
