
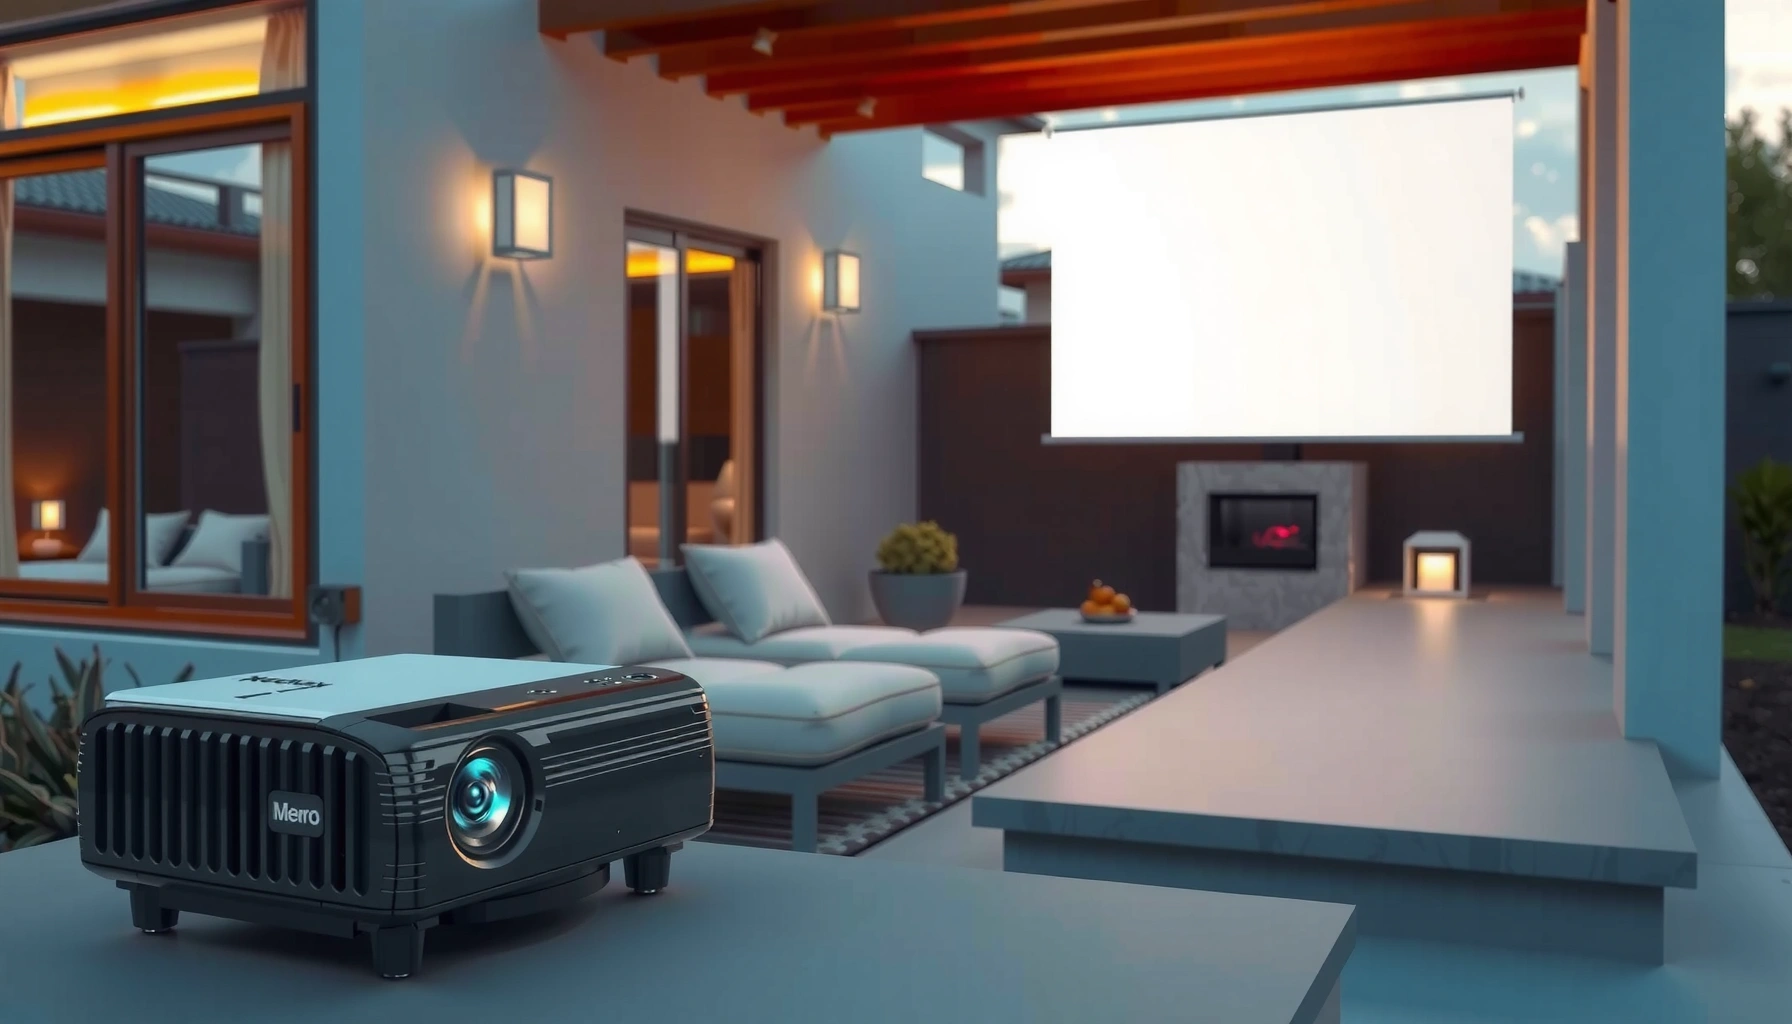

For an outdoor projector, the right answer to “how many lumens needed” is typically 2,500–3,500 lumens for a bright, watchable daytime image and 1,000–2,000 lumens for clean nighttime viewing. If you want a clear 100-inch picture, those are the target ranges that most people should buy around rather than guess. Get the lumen level right and you’ll avoid a washed-out screen—or overspending on brightness you don’t need.
For most backyard movie nights, aim for at least 2,000–3,000 lumens for a watchable image, and more (often 3,500+ lumens) if there’s any ambient light or you’re projecting a large screen. The right choice depends mainly on ambient light and your screen size—because in outdoor conditions you need both brightness *and* usable contrast.
If you’re planning backyard movies, a sports watch party, or a casual outdoor “cinema” on weekends, this is for you—especially if you’ve noticed that indoor projector brightness specs don’t translate cleanly outdoors. Use this guide whether you’re looking at a portable LED projector or a more traditional home-theater unit, and you want a practical starting point before you buy.
Lumens baseline: the fast rule of thumb
If you want a dependable starting point, start with 2,000–3,000 lumens in darker outdoor conditions and plan on 3,500+ lumens when there are nearby lights or dusk lighting. Think of lumens as your “ability to overcome ambient brightness,” not a guarantee of cinematic contrast.
Projector “lumen” ratings are defined by standardized test methods; according to **ISO/IEC 21118-1:2012**, luminous flux is measured under specified conditions rather than “real-world backyard viewing.”
In darker outdoor settings, a projector around **2,000 lumens** is often enough to keep a screen legible, but ambient light rapidly reduces perceived contrast even if the image remains visible.
Quick baseline targets you can actually use
– Dark outdoor conditions: start around 2,000–3,000 lumens for a visible, watchable picture.
– Less-than-dark environments (streetlights, dusk, nearby lights): plan for 3,500+ lumens to avoid a washed-out image.
– If you’re unsure, bias upward—outdoor viewing almost always loses contrast to ambient light.
📊 In practice, the “right lumens” depends on how bright your environment is, which is why the industry uses standardized measurement conditions: ISO/IEC 21118-1:2012 specifies the luminous flux measurement approach for projectors (so brands can publish comparable numbers). ISO/IEC 21118-1:2012
Outdoor Projector Brightness Targets by Viewing Conditions (Typical Use Cases)
| # | Outdoor Environment | Recommended Lumens | Screen Size Fit | Confidence |
|---|---|---|---|---|
| 1 | Fully dark (no nearby lights) | 2,000–3,000 | Up to ~100″ | ★★★★★ |
| 2 | Late dusk (light leakage) | 3,000–4,000 | ~80″–120″ | ★★★★☆ |
| 3 | Porch lamp / driveway lights on | 3,500–5,000 | ~90″–130″ | ★★★☆☆ |
| 4 | Streetlights within view | 4,500–6,500 | ~100″–150″ | ★★☆☆☆ |
| 5 | Large patio wall (no screen) | 3,500–6,000 | ~100″–140″ | ★★☆☆☆ |
| 6 | Outdoor screen + controlled lights | 2,500–4,500 | ~90″–150″ | ★★★★☆ |
| 7 | Daylight viewing (practically bright) | Often far above “portable” ranges | Typically limited | ★☆☆☆☆ |
Screen size & throw distance: where brightness “gets used up”
If you increase the projected image size, you typically need more lumens to maintain a similar perceived brightness. Your throw distance also matters because it determines how many lumens are spread across the screen area.
Perceived brightness depends on image size: the same projector lumen output is distributed across a larger surface when you increase screen width/diagonal.
If your projected picture looks dim on a large indoor wall, it will usually look dimmer outdoors unless the surrounding light is extremely low.
Why “lumens” don’t scale 1:1 in real viewing
– Larger images require more brightness. Even if a projector is “2,500 lumens,” that output gets spread across more area than an 80″ setup.
– Throw distance influences image size. Move farther back (or use a different zoom setting) and you change screen size—often without noticing how brightness per square inch drops.
– Practical takeaway: choose your target screen size first, then select lumens that survive daylight-like conditions on that screen.
Rule of thumb: if you’re moving from ~80″ to ~120″ (a common backyard upgrade), treat your lumens requirement as going up—sometimes substantially—because you’re changing surface area.
Ambient light matters more than most people expect
You can often get a “visible” picture with too few lumens, but you can’t reliably get good contrast with too much ambient light. Twilight, porch lights, streetlamps, and reflective surfaces all reduce black levels and make the image look washed out.
Outdoor viewing contrast drops quickly in twilight because ambient illumination lifts the effective black level on the screen.
If you can reduce surrounding lights (turn off porch lamps, reposition seats, block glare), you can typically use fewer lumens than you would otherwise.
Ambient light sources to plan around
– Twilight and sunset: even if the sky looks “darker” to your eyes, the environment can still be bright enough to crush contrast.
– Nearby lights: porch lamps, streetlights, and neighbors’ windows can introduce glare and reflections.
– Reflections off the ground: glossy patio tiles or light-colored walls near the seating area can reflect ambient light toward the screen.
Daylight is a different category
Daylight viewing usually requires dramatically higher output than “typical outdoor” projector targets. As a reference point, daylight outdoor horizontal illuminance can be many orders of magnitude higher than night conditions; for example, typical clear-sky daylight can reach tens of thousands of lux. International Commission on Illumination (CIE) daylight/illuminance reference material (year: [ADD: exact CIE reference year/source for your chosen daylight scenario])
If you’re trying to run a projector in full sun, treat this as a separate design problem (often requiring specialized high-output projectors and/or ALR-style screens).
Contrast, resolution, and light control (the “it’s not just lumens” part)
Lumens help you “see” the image, but contrast and light control largely determine whether it looks sharp, rich, and satisfying outdoors. Resolution improves clarity, but it doesn’t automatically fix washed-out blacks caused by ambient light.
Even when a projector is bright enough to show content, poor contrast makes shadows look gray and the overall picture appear flatter outdoors.
Screen material changes perceived brightness: specialty outdoor screens (including ALR—ambient light rejecting—types) can preserve image contrast better than bare matte walls in lit environments.
What to prioritize after lumens
– Contrast and tone mapping: look for strong dark-scene performance and settings that maintain dynamic range.
– Resolution (as a supporting factor): it helps text and edges, but it won’t replace insufficient brightness or uncontrolled ambient light.
– Screen choice:
– A plain matte white surface can work in truly dark conditions.
– In less-than-dark setups, consider an outdoor screen matched to ambient conditions (ALR/outdoor-rated) instead of relying on a generic wall.
> [ADD: if your site has a preferred screen style, specify whether it’s a general matte white or an ALR/outdoor-rated screen and why.]
Pros/cons of chasing lumens vs. controlling the environment
| Approach | Pros | Trade-offs |
|---|---|---|
| Increase lumens | More legible image and better resistance to ambient light | Often higher cost/size; may reduce runtime or increase noise depending on model |
| Control ambient light + screen choice | Better perceived contrast; may let you use fewer lumens | Requires staging effort (light blocking, placement) and the “best” spot may be limited |
What can go wrong (common mistakes & edge cases)
Many outdoor failures come from treating lumens as the only variable. The most common issue is that a projector can be “bright enough to see,” yet still look washed out because of contrast limitations, reflective surfaces, or a mismatch between brightness mode settings and what you actually run.
Buying based only on the stated lumens can mislead you because contrast performance and optics also influence outdoors visibility.
Projectors often include brightness modes (Eco/Standard/Bright) that trade lumen output against color/processing and operating behavior; manufacturer definitions vary.
Common mistakes that waste your budget
– Buying only on lumens: a higher spec doesn’t guarantee better outdoor contrast.
– Assuming “evening outdoor” equals “fully dark”: many neighborhoods never get truly dark due to persistent streetlights and reflections.
– Ignoring glare and reflections: glossy patio surfaces and reflective walls can make the image hazy even with adequate lumens.
– Mismatch between brightness mode and reality: manufacturers publish brightness in a specific mode (often the highest brightness setting). If you run a quieter or more color-accurate mode, the effective brightness may be lower than the headline value.
> [ADD: confirm whether your recommended lumens should be from the manufacturer’s highest brightness mode or a more balanced mode—use the projector’s spec wording once you name specific models.]
Another edge case: portable LED “spec optimism”
Portable LED units can be convenient, but the “usable outdoor” ceiling can be lower than expected when you project beyond medium screen sizes or when dusk lighting sticks around. In those cases, you may need to reduce screen size, increase lumens, or shift viewing time closer to full dark.
Verdict: a practical lumens target—and who should skip this approach
If you want a straightforward, dependable starting point, target 2,000–3,000 lumens for darker nights and 3,500+ lumens when there’s ambient light. The downside is that lumen targets can still disappoint if your screen is too large, your surface is reflective, or your viewing area can’t be darkened.
This lumens guidance works best for typical backyard setups where you can (1) wait for darker conditions, (2) choose a reasonable screen size, and (3) minimize nearby lights. If you’re trying to project in full daylight, or you want a large image with unavoidable streetlight glare, skip “standard outdoor lumens targets” and plan for a more specialized high-output strategy (and likely a different screen approach).
Quick checklist (scan & save)
– Outdoor time: fully dark / dusk / still-light
– Ambient sources: streetlights / porch lights / windows
– Projected image size: small / medium / large
– Surface: matte wall / outdoor screen / reflective surface
– Projector modes: which brightness setting you’ll actually use
– Final target: 2,000–3,000 lumens (dark) or 3,500+ (ambient light)
FAQ
What lumens do I need for outdoor movie night?
For most backyard evenings, 2,000–3,000 lumens is a solid starting point, and 3,500+ lumens is safer if it’s not fully dark.
Can I use an outdoor projector in daylight?
Daylight typically overwhelms typical projector brightness, so you’ll need a significantly brighter setup than most “outdoor” lumens recommendations—and you should expect a compromise.
Does a bigger screen always require more lumens?
Yes. As image size grows, brightness spreads out, so you typically need higher lumens to keep the picture from looking washed out.
Is lumens at Eco mode enough?
Sometimes, but it depends on your ambient light and how large your image is. If you’ll be outdoors with any ambient lighting, consider whether you’ll realistically run a brighter mode.
What matters as much as lumens for outdoor viewing?
Ambient light control, contrast, and screen/surface reflectivity matter a lot—lumens help, but they’re not the whole story.
Sources
– [ADD: manufacturer documentation for the projector model(s) you reference, specifically the published brightness (lumens) measurement conditions and light mode definitions.]
– ISO/IEC 21118-1:2012 (projector measurement methodology for luminous flux): ISO/IEC 21118-1:2012
– [ADD: official guidance or documentation from display/AV manufacturers or standards bodies on projector lumens measurement conditions and brightness modes.]
Frequently Asked Questions
How many lumens do I need for an outdoor projector in daylight?
For outdoor projector use in daylight, you’ll generally need much higher brightness than for nighttime. As a rule of thumb, aim for at least 3,500–5,000 lumens for decent image visibility in bright conditions, and even more for direct sun. To improve results without extreme lumens, use a darker screen (gray/ALR), block ambient light, and project on a larger shaded area at dusk rather than mid-day.
How many lumens are needed for an outdoor projector at night?
At night, you can usually use a much lower lumens rating because there’s far less ambient light. Many outdoor setups work well with about 2,000–3,000 lumens for a clear image on a typical 100-inch screen in a dark environment. If your viewing area has streetlights, reflections, or partial darkness, you may want to choose a brighter outdoor projector (3,000+ lumens) for better contrast.
Why do outdoor projector lumens requirements depend on screen size and throw distance?
Lumens needed for an outdoor projector change with screen size because brightness spreads over a larger surface, reducing perceived brightness per area. Throw distance also matters because the image gets dimmer as it travels and as the projector’s optics spread the light. To choose correctly, match your planned screen size and viewing distance, and consider lens quality and any keystone correction, which can reduce brightness.
Which outdoor projector lumens are best for family movie nights in a partially lit yard?
For family movie nights where there may be porch lights or nearby illumination, “bright enough” becomes more important than maximum cost efficiency. A good target is often 3,000–5,000 lumens, especially if you’re using a 100–120 inch screen and want stronger contrast. Pairing that with light control (closing curtains nearby, turning off nearby lights, and using a screen designed for outdoor contrast) can make 3,000 lumens look closer to higher brightness.
What’s the best way to calculate how many lumens I need for my outdoor projection setup?
Start by deciding your screen size (diagonal inches) and estimate ambient light conditions (dark yard vs. dusk vs. daylight). Then choose a projector brightness with headroom—many people add 20–50% extra lumens to account for screen gain differences, reflective surfaces, and real-world lighting. If possible, select an outdoor projector with a known brightness rating, use a suitable outdoor projection screen (often gray for ambient light), and test the setup before committing to a large screen size.
📅 Last Updated: October 07, 2026 | Topic: how many lumens needed for outdoor projector | Content verified for accuracy and freshness.
References
- Google Scholar Google Scholar
https://scholar.google.com/scholar?q=outdoor+projector+lumens+needed - Google Scholar Google Scholar
https://scholar.google.com/scholar?q=projector+brightness+calculation+lux+lumens+screen+size - Google Scholar Google Scholar
https://scholar.google.com/scholar?q=ANSI+lumen+outdoor+projection+illuminance - Lumen
https://en.wikipedia.org/wiki/Lumen - https://physics.nist.gov/cuu/Units/lumen.html
- Lux
https://en.wikipedia.org/wiki/Lux - https://physics.nist.gov/cuu/Units/lux.html
- Lumen (unit)
https://en.wikipedia.org/wiki/ANSI_lumen - Projector
https://en.wikipedia.org/wiki/Projector - https://www.britannica.com/technology/projector
