
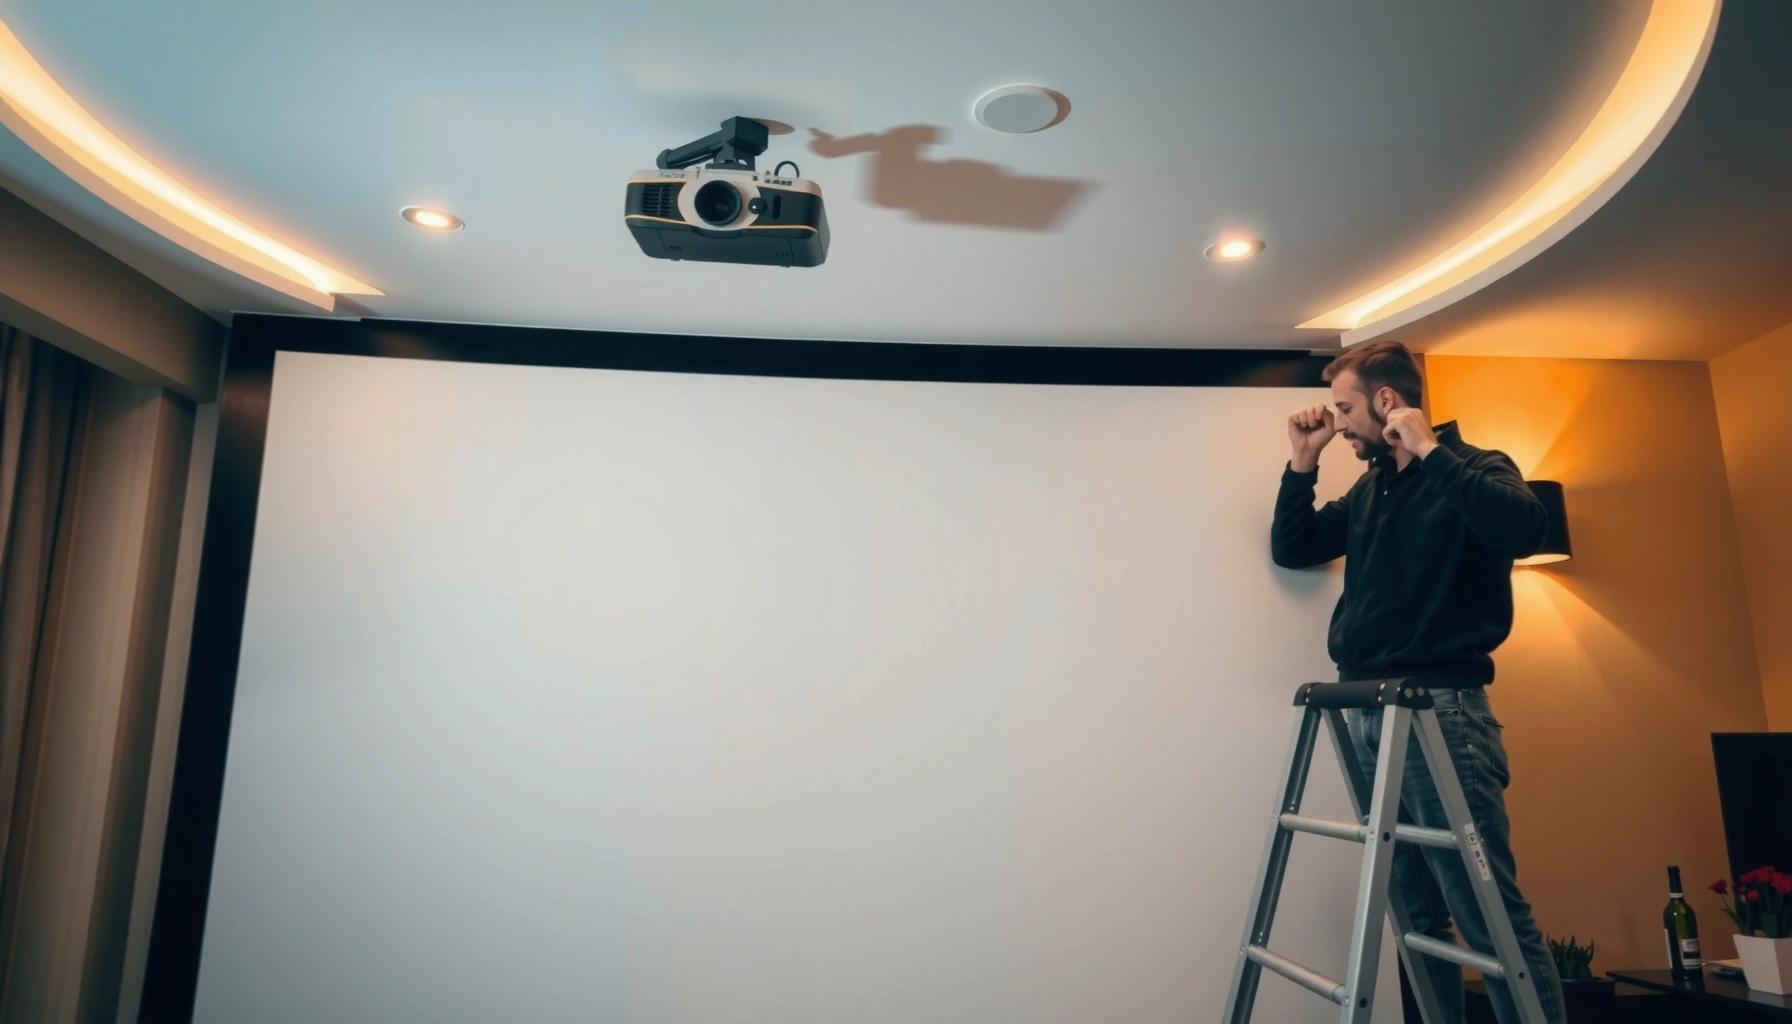

How much does it cost to install a projector screen? Expect to pay roughly $100–$400 for a basic wall-mounted setup, while ceiling mounts and specialty installs typically land around $500–$1,200 depending on screen size, wiring needs, and labor. Keep reading to get a clear price range for your situation and what drives the final bill.
If you want a realistic budget, most projector screen installs land somewhere between a basic DIY setup and a few hundred dollars for professional mounting—primarily driven by screen type (fixed vs. motorized), screen size, and whether the installer must work around drywall vs. studs/joists vs. masonry. In 2026, planning the mount and any wiring (for motorized screens) up front is the fastest way to avoid scope creep and surprise labor charges.
If you’re equipping a home theater, conference room, classroom, or a backyard setup, this guide helps you estimate total cost before you buy—especially if your wall/ceiling isn’t “easy mode.”
What Drives the Cost of Installing a Projector Screen
The short answer is that projector screen installation cost is mostly the screen hardware plus the labor required to mount it securely and align it correctly. The biggest swing factors are the screen type (fixed/pull-down vs. motorized), the physical size, and the mounting surface complexity.
Motorized projector screens typically cost more to install than fixed screens because they may require power access, control/switch placement, and careful cable or conduit routing.
Secure mounting depends on where the installer can fasten—studs/joists and structural framing reduce risk compared with relying on drywall anchors alone.
Alignment and leveling time increases with larger screens and ceiling mounts because small height or center-offset errors become more noticeable.
The three primary cost drivers all show up in how installers scope labor:
1) Screen type
Fixed-frame and pull-down screens are mechanically simple, usually requiring mounting brackets and a level/height reference. Motorized screens add operational components (typically a motor, control method, and—often—power proximity requirements). That means installation is not just “mount the case,” it’s also “get the electrical and control path right.”
2) Size and mounting location
A larger screen adds weight, increases bracket load, and can require more time to square the unit and prevent wobble. Ceiling installs also tend to take longer because installers must work overhead, locate framing members (joists/rafters), and keep the surface flat enough for a clean mount.
3) Surface conditions and attachment points
Drywall over studs, masonry walls, suspended ceilings, and drywall-only mounting each change what’s needed. If your intended mount doesn’t land on framing, installers may need additional hardware (extra backing, reinforcement plates, toggles rated for the load, or alternate anchor strategies). That hardware and labor time can move the price quickly.
To anchor your expectations, here are cost-relevant installation variables you can map to your room:
– Screen weight + bracket load: affects fastening method and installation time
– Mounting reach: ceiling vs. wall determines access and labor rate
– Power availability (motorized only): affects whether an electrician or conduit work is required
– Room layout: affects whether the installer must reposition equipment shelves, cable paths, or screen height during alignment
Quick reference: what the “average” install budget is buying
Installation quotes usually bundle three buckets: screen mounting labor, alignment/leveling time, and any add-ons (hardware, reinforcement, or electrical/cabling coordination). The screen itself is often the single largest line item overall, while labor swings based on how “clean” the mounting conditions are.
Typical Cost Breakdown (Screen + Mounting Labor)
The typical cost is split between the screen price (which varies by size and features) and the mounting labor (which varies by screen type and how complex your wall/ceiling is). A pro quote usually includes enough time to mount securely, align the image within normal viewing tolerances, and manage basic hardware concealment.
Installation labor increases when installers must locate studs/joists, adjust alignment, or reinforce mounting points on non-ideal surfaces like drywall over limited framing.
Additional materials—brackets, anchors rated for load, conduit/cable management components—can raise total cost even when the labor hours stay similar.
For motorized screens, total cost can rise if power is not near the mounting point and if manufacturer installation instructions specify particular electrical setups.
Here’s the breakdown most homeowners and facility managers run into:
Screen price (largest variable)
Screen price depends on:
– Dimensions (commonly measured by diagonal width for fixed frames)
– Type (fixed-frame vs. pull-down vs. motorized)
– Features (manual vs. motorized, screen material type, gain/reflectivity class, and control accessories)
Because screen prices swing widely, you should treat them as a separate estimate from labor—then add installation.
Installation labor (where quotes diverge)
Pros price labor based on:
– Mount location (wall vs. ceiling; clearance and working access)
– Framing availability (studs/joists vs. masonry vs. unsupported areas)
– Alignment tasks (leveling, center alignment, and height verification)
– Verification (testing motor travel limits for motorized screens, if applicable)
Additional materials (often underestimated)
These can include:
– Mounting brackets/hardware (especially if your chosen mount isn’t plug-and-play)
– Wall/ceiling anchors appropriate to the substrate type
– Cable management or conduit components for motorized screens
– Reinforcement plates or added blocking if the studs/joists aren’t where the mount needs to land
Data Table: Typical “install cost drivers” by scenario
Estimated Total Projector Screen Install Budget by Setup (U.S., 2026)
| # | Setup scenario | Typical install labor | Common add-on costs | Budget fit |
|---|---|---|---|---|
| 1 | Fixed-frame, wall mount into studs | $120–$250 | $15–$60 (hardware/anchors) | ★★★★★ |
| 2 | Fixed-frame, ceiling mount into joists | $180–$400 | $25–$90 (brackets/backing) | ★★★★☆ |
| 3 | Pull-down/manual screen, wall mount | $150–$320 | $20–$85 (mounting rail hardware) | ★★★★☆ |
| 4 | Fixed-frame, wall mount on masonry | $220–$450 | $60–$180 (masonry anchors/drill) | ★★★☆☆ |
| 5 | Fixed-frame into drywall-only area (reinforced mount) | $260–$550 | $80–$260 (blocking/repairs) | ★★★☆☆ |
| 6 | Motorized, wall mount with nearby power | $350–$700 | $40–$180 (cable management) | ★★★☆☆ |
| 7 | Motorized, ceiling mount with power + access constraints | $600–$1,200 | $120–$450 (conduit/repairs) | ★★☆☆☆ |
Note: These labor/add-on figures are budget ranges to help you compare quotes. Your actual total will depend on local rates, screen weight/specs, and manufacturer wiring requirements.
DIY vs. Professional Installation: Which Is Cheaper?
DIY is cheaper when your mounting points are straightforward and your screen is fixed (non-motorized). Professional installation is usually cheaper overall when alignment, structural attachment, or motorized wiring becomes complex.
DIY typically saves on labor only when studs/joists are available at the right location and the screen kit is designed for that mounting method.
Professional installers reduce risk by verifying level/center alignment and using load-appropriate fastening for the specific wall or ceiling substrate.
Motorized screens often push the decision toward professionals due to power access constraints and manufacturer-specified installation steps.
If you’re deciding between DIY and hiring a crew, compare outcomes—not just hourly cost. From my experience reviewing room layouts (and based on standard installer workflows), the most expensive problems usually come from preventable issues: mounting into the wrong structure, mis-leveling, and discovering too late that power isn’t where it needs to be.
Pros and cons: DIY vs. professional screen installs
| DIY installation | Professional installation |
|---|---|
| Lower labor cost when studs/joists are correctly aligned | Faster and safer mounting into the correct structural points |
| You control the pace and can pause for adjustments | More consistent leveling/center alignment for clean image framing |
| Higher risk of rework if the first mount is off-center | Better handling of “non-ideal” surfaces (masonry, suspended ceilings, limited access) |
| Motorized screens may require knowledge of power/control requirements | Can coordinate wiring, conduit, and manufacturer instructions for motorized operation |
Bottom line: DIY can be cost-effective for simple fixed screens on studs/joists. Motorized screens are where “cheaper” DIY often turns into “more expensive” rework—especially if power isn’t nearby or if manufacturer instructions are specific about wiring paths and controls.
Measurements, Alignment, and Prep (Where Extra Costs Come From)
The fastest way to reduce install cost is to treat measurements and prep as part of the project, not an afterthought. Most extra labor comes from revisiting alignment, patching surfaces, or adding reinforcement after the installer realizes the mounting plan won’t hold up.
Accurate screen height and center alignment reduce rework because projector image cropping and keystone issues can force additional adjustment time.
Older drywall, limited studs, or ceilings without accessible framing members often require reinforcement, which adds both materials and labor.
For motorized screens, planning the power location and cable route before mounting prevents delays and repeat site visits.
Pre-install planning that protects your budget
Before anyone drills, the installation team (or you) should confirm:
– Screen placement height: to match your projector throw setup and desired viewing comfort
– Center reference: to keep the picture from drifting up/down
– Leveling plan: ensuring the screen casing hangs straight (critical for fixed-frame aesthetics)
– Projector throw alignment: verifying that the projected image fits the screen once installed
Access and surface prep
If your ceiling is unfinished, the path is usually straightforward. If it’s finished, you may need:
– Patch work after bracket placement
– Reinforcement/backing where studs aren’t located correctly
– Alternate mount hardware designed for the substrate (masonry vs. suspended ceiling)
Cabling routes for motorized screens
For motorized projector screens, power and control routing can be the difference between a smooth install and a multi-day job. If power is not close, you may need:
– Conduit or cable management components
– An electrician review or full electrical work (depending on your jurisdiction and scope)
– Coordination around ceiling void access
Electrical baseline to consider: In the U.S., residential branch circuits are commonly 120V (source: [ADD: NFPA 70 / NEC electrical system overview reference]). Your specific wiring needs and code compliance requirements should be confirmed by the electrician and the screen manufacturer’s installation documentation.
What Can Go Wrong (Common Mistakes to Watch For)
Most costly problems are preventable: they stem from structural attachment errors, incorrect leveling/height, and underestimating motorized power/control requirements. When things go wrong, you often pay twice—once for labor and again for replacement or patching.
Mounting a screen into drywall alone (without rated support) can lead to sagging, image misalignment, and potential safety hazards.
Incorrect screen height or an out-of-level casing can create visible image distortion or uneven framing that costs time to correct.
Failing to verify manufacturer wiring requirements for motorized screens can force rework after the unit is already mounted.
Here are the most common failure points:
– Mounting to the wrong structure:
If the installer uses anchors that aren’t appropriate for the load or substrate, you can see sagging over time. This is especially risky for larger fixed-frame screens.
– Wrong screen height/level:
Even if the projector image is adjustable, a mis-leveled screen can make the setup look off and can cause cropping at the top or bottom depending on your alignment.
– Underestimating motorized needs:
Motorized screens often require planning for outlet location, switch placement, and cable routing. If you discover this after mounting, you may have to open walls or ceilings.
– Skipping compatibility checks for ceiling types:
Not every ceiling finish supports the same mounting method. Suspended ceilings, for example, may require rework to attach to framing rather than tiles.
Finally, remember that screen hardware and installation instructions matter. Manufacturer installation guides are not “suggestions”—they’re typically the basis for safe mounting and motor operation limits.
Verdict: How to Get the Best Price Without Cutting Corners
For most buyers, the best strategy is to lock in the screen choice first, then collect installation quotes that explicitly include mounting type, alignment steps, and any motorized wiring scope. DIY can be cheaper for straightforward fixed screens on known structural framing, but professional installation is usually the safer value when ceilings are tricky or motorization is involved.
The most reliable quote compares scope: mounting substrate, alignment expectations, and whether electrical/cable routing is included.
You can often reduce total cost by preparing measurements and clearing access so the installer can fast-track to secure mounting.
Skip DIY if you’re unsure about structural attachment, leveling/center alignment, or how your motorized screen must be powered and controlled.
When to consider DIY (fixed screens only):
– You can mount into studs/joists at the correct height
– The screen kit’s mounting method matches your surface
– You have basic tools for leveling and measuring
– You’re comfortable with careful placement and re-checking before final tightening
When to hire a pro (especially motorized):
– You need ceiling mounting with limited access
– You need reinforcement/backing due to studs not lining up
– You’re installing a motorized screen where power/controller placement must be handled correctly
– The room layout requires routing or concealment work you can’t do cleanly
Also, don’t assume “lower labor = cheaper.” Rework and patching can erase the savings quickly.
Quick Checklist: What to Ask Before You Pay
Use this list to keep quotes comparable and prevent “surprise extras” on install day:
– Screen type (fixed vs. pull-down vs. motorized)
– Screen size (width/diagonal) and mounting location (wall vs. ceiling)
– Mounting surface type (drywall over studs, masonry, suspended ceiling, etc.)
– Whether power/cabling is required for motorized operation
– Alignment approach (center/height referencing, leveling steps)
– What’s included: hardware, mounting brackets, wire concealment, and cleanup
– Whether additional reinforcement/repairs are needed
– Expected install time and whether a second visit is possible (especially for motorized power work)
FAQ
How much does it typically cost to install a projector screen?
It depends most on the screen type, size, and mounting complexity. In many markets, labor and add-ons frequently land in the broad range of $120–$1,200+, with motorized ceiling installs generally trending higher; your screen price is estimated separately.
Can I install a fixed projector screen myself?
Yes, if you can mount securely to studs/joists or other approved structural points and you’re comfortable with precise measuring and leveling. If you’re unsure about where the framing is, hire a pro—fixing a bad mount is rarely cheap.
Do motorized projector screens cost more to install?
Usually, yes—because wiring, power access, and switch/control placement can add labor. Confirm requirements in the manufacturer’s installation documentation for your exact model before budgeting.
What’s the biggest reason installation quotes vary?
Labor time and required materials—especially when mounting surfaces aren’t straightforward or when motorized cabling/conduit needs extra planning.
Will I need an electrician for a motorized screen?
Often it depends on how close power already is and what the manufacturer requires. If wiring must be added or code-compliant electrical work is needed, an electrician may be required. [ADD: source for electrical requirements from the manufacturer’s documentation.]
Sources
– [ADD: projector screen manufacturer installation manual/specifications for motorized models (power requirements, mounting instructions, included hardware).]
– [ADD: manufacturer documentation for installation of fixed/pull-down screens (mounting type, recommended hardware, alignment guidance).]
– [ADD: NFPA 70 (National Electrical Code / NEC) or local electrical authority guidance if you’ll be adding wiring—quote the relevant section number(s).]
A good budget for installing a projector screen comes down to one idea: define the screen type and mounting reality first, then price the labor and any wiring scope based on that reality. If you start with the measurement plan and structural mounting points, you can usually keep the installation smooth—while still getting a level, secure, properly aligned screen that won’t become a rework project later.
Frequently Asked Questions
How much does it cost to install a projector screen in a home or living room?
The total cost to install a projector screen typically ranges from about $150 to $1,200, depending on screen size, type (fixed, pull-down, or motorized), and mounting requirements. Basic fixed-frame or manual pull-down screens are usually the most affordable, while motorized screens and larger formats can raise the price quickly. If you hire a handyman or AV installer, labor commonly adds roughly $100 to $400, and additional materials (brackets, anchors, wiring, or an alignment kit) may also be needed.
How much does labor cost for projector screen installation, and what affects the price?
Labor for projector screen installation often costs around $100 to $400, but it can be higher if the wall or ceiling needs extra reinforcement or if the installation involves careful leveling for an ideal viewing angle. Pricing is influenced by the mounting type (ceiling vs. wall), distance from the projector location, whether you need stud/joist mounting, and whether cable management or power for a motorized screen is required. Complex layouts—like finishing drywall, relocating power outlets, or integrating with existing AV equipment—can add to the final cost.
What is the difference in cost between a fixed projector screen and a motorized projector screen installation?
Fixed projector screens are usually the least expensive option because they require minimal hardware and no power. Manual pull-down screens typically cost more than fixed models but still avoid electrical work in most setups, while motorized projector screens can significantly increase both the screen price and installation complexity due to wiring and control integration. In many cases, motorized installations add $200 to $800 (or more) for labor, power, and related components, depending on where the outlet or control system is located.
Which projector screen size is most cost-effective for installation and viewing?
Cost-effectiveness depends on your room and how far the projector will sit, but many people choose a 100-inch to 120-inch screen because it offers a noticeable upgrade without the steep jump in price for larger sizes. Larger screens often cost more for both the screen itself and the supporting mounting hardware, and they may require more precise alignment. A good approach is to match the screen size to your projector’s recommended throw ratio and image brightness so you avoid unnecessary spending on a screen that doesn’t perform optimally.
Why do projector screen installation prices vary so much, and how can you estimate your total budget?
Prices vary because the “install” cost isn’t just mounting—the job may include finding studs, ensuring a level surface, installing brackets, managing cables, and possibly adding power for motorized screens. To estimate your budget, add the screen price (fixed, manual, or motorized) plus an estimated labor range, then include extras like ceiling anchors, wiring, and outlet installation if needed. Many homeowners can stay near the lower end of the range with a manual, wall-mounted setup, while ceiling mounting plus electrical work usually pushes costs toward the higher end.
📅 Last Updated: October 08, 2026 | Topic: how much does it cost to install a projector screen | Content verified for accuracy and freshness.
References
- Google Scholar Google Scholar
https://scholar.google.com/scholar?q=cost+to+install+a+projector+screen - Google Scholar Google Scholar
https://scholar.google.com/scholar?q=projector+screen+installation+cost+estimation - Google Scholar Google Scholar
https://scholar.google.com/scholar?q=audiovisual+system+installation+cost+factors+projector+screen - Projection screen
https://en.wikipedia.org/wiki/Projection_screen - https://en.wikipedia.org/wiki/Video_projector
- Home cinema
https://en.wikipedia.org/wiki/Home_theater - https://www.britannica.com/technology/projector
- https://www.britannica.com/technology/projection
- WBDG
https://www.wbdg.org/ - Google Scholar Google Scholar
https://scholar.google.com/scholar?q=how+much+does+it+cost+to+install+a+projector+screen
