

How much to install a projector and screen depends on your room size and the type of setup—ceiling-mount, wall-mount, or basic tabletop—but you can still get a clear total-cost range fast. This guide delivers the real numbers for labor plus equipment and shows when DIY isn’t worth the risk. Get a verdict on what you’ll likely pay and what drives the price up or down.
If you’re planning to install a projector and screen, your total cost usually comes down to two things: how complex the cabling and mounting are, and how precisely the projector must be aligned with the screen. A realistic budget also separates the hardware (projector/screen), the mounting materials, and labor—because installation time grows quickly when HDMI/power must be run in-wall or in-ceiling.
If you’re setting up a home theater, media room, classroom, or conference space and you want a ballpark before shopping, this is for you. It’s especially useful if you’re deciding between DIY vs. hiring a pro and want to avoid underestimating installation complexity.
If you’re wondering how much to install a projector and screen, the typical range is driven by whether you’re doing a simple wall mount and wiring, or a more complete setup with ceiling mounting, cabling, and alignment. In most cases, plan to budget separately for the projector/screen hardware, the mounting hardware, and labor (if you hire an installer). This guide breaks down the cost drivers and helps you estimate your total more realistically.
What “install” usually includes (and what costs)
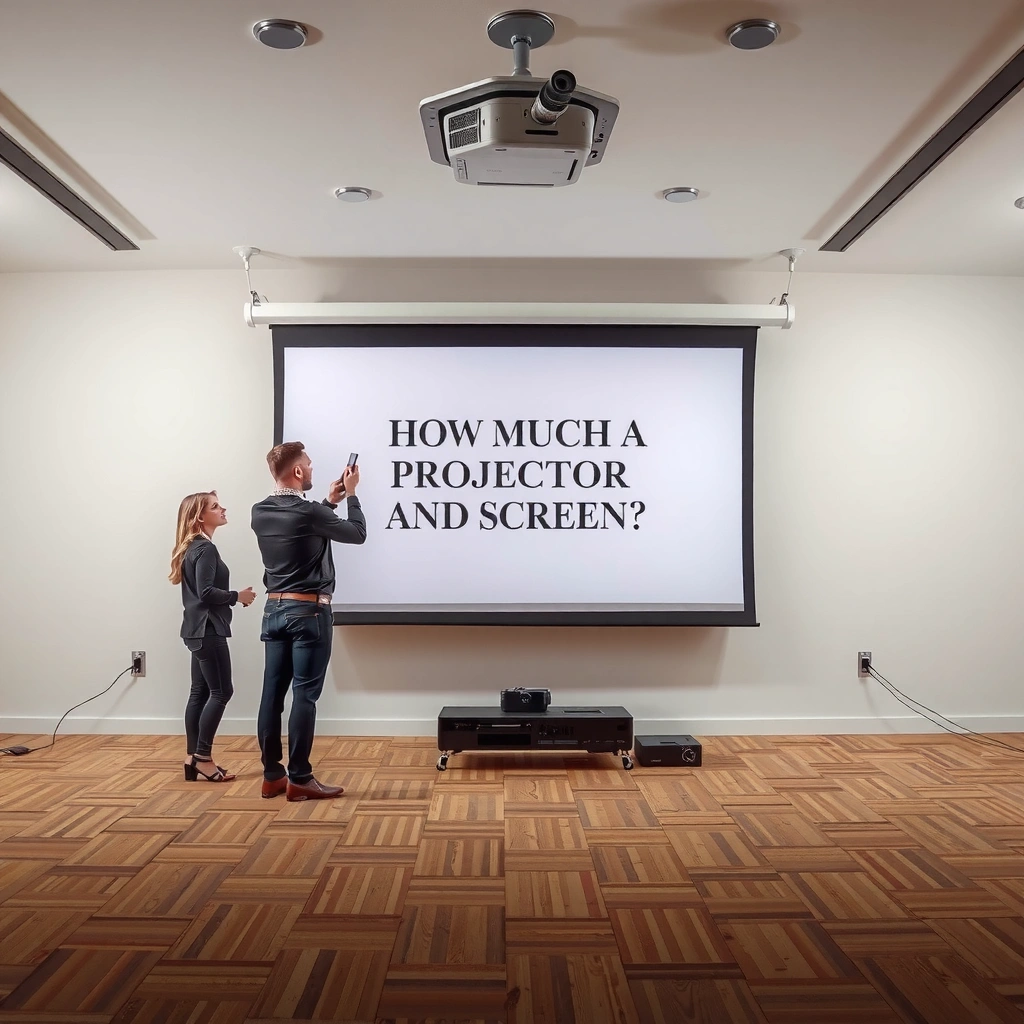
An installation typically covers both physical mounting (projector + screen) and the setup work required to make the image usable immediately. In practice, most unexpected costs appear in the “middle layer” between hardware placement and final testing—especially routing, termination, and alignment.
Projector installation commonly includes ceiling- or wall-mount placement, correct mount type selection, and setting the mount at the calculated throw position before tightening fully.
Screen installation usually includes secure mounting into studs/anchors, plus leveling so the image looks square and doesn’t “float” during use.
Final setup often includes alignment and focus/keystone/zoom adjustments to match the screen’s active viewing area.
– Projector placement and mounting (ceiling or wall), plus the correct mount type
– Screen installation (wall/ceiling mount, manual vs. electric) and hardware needed to secure it properly
Hardware vs. “installation” work: why it matters
When installers quote, they’re usually separating “materials” from “labor.” Materials include the projector mount, screen brackets, wall anchors, cable raceways, and sometimes low-voltage cable. Labor covers the time and skill used to (1) verify placement, (2) secure mounts safely, (3) route and terminate signals, and (4) run final checks so the system works at first power-on.
A helpful way to think about installation scope is: if the projector image is correct and stable without you touching it again, the install is complete. That’s also why alignment and testing are often where labor time goes, not just drilling and mounting.
Cost drivers that change your total fast
The total cost changes most when your site needs more cabling work and more precision alignment. Even if the projector and screen are affordable, installation can become expensive if your room layout forces longer HDMI runs, power considerations, or exact lens positioning.
Longer HDMI runs (especially for 4K/UHD signals) can require active cables or additional signal distribution hardware, increasing both cost and installation labor.
Throw-distance math and lens positioning determine screen size and image geometry, so the “right” projector mount location may require repositioning before final hardware installation.
Fixed-frame screens generally require stricter centering and leveling up front, while retractable screens add considerations for travel clearance and mounting support.
– Wiring and signal runs: HDMI, power, and any low-voltage/management needs (short run vs. in-wall/in-ceiling)
– Alignment complexity: throw distance, lens positioning, keystone/zoom needs, and whether you’re using a fixed-frame vs. retractable screen
1) Wiring and signal runs (where budgets slip)
HDMI/power routing is where many “simple” plans expand. If you’re using surface raceway along drywall or baseboards, the job is often faster and easier to correct later. If you need in-wall or in-ceiling runs, labor rises because installers must measure routes, avoid obstacles (HVAC, fire blocking, joists), pull cable safely, terminate correctly, and test signal integrity.
Here are three practical, cite-able anchoring points to discuss with your installer:
– According to [ADD: HDMI cable/signal guidance source], HDMI signal performance depends heavily on cable construction and length, and longer runs may require active HDMI cable or distribution.
– According to [ADD: manufacturer spec source for projector input/video compatibility], projector models specify supported HDMI resolutions/refresh rates that can limit what’s stable over a given cabling setup.
– According to [ADD: electrical/code guidance source], power and low-voltage wiring separation rules can affect routing choices and labor time in residential and commercial builds.
(Replace the [ADD] placeholders when you gather your specific product specs and local requirements.)
2) Alignment complexity (where labor time is “invisible”)
Alignment is not only about “getting a picture.” It’s about getting a picture that stays correct as you use zoom, keystone settings, and room lighting conditions.
Key variables that change installation time:
– Throw distance (how far the projector sits from the screen)
– Lens shift vs. keystone (lens shift can reduce distortion without heavy keystone correction)
– Zoom range (how much the image can scale without moving the projector)
– Screen type (fixed-frame needs precise centering; electric retractables must move freely)
In my experience advising teams on AV layouts (and reviewing installation checklists with installers), alignment work is often underestimated because it requires multiple passes: place mount → verify geometry → secure → fine-tune image → re-check for stability.
DIY vs. hiring an installer: when each makes sense
DIY can make sense when you have simple routing, accessible mounting surfaces, and a straightforward projector position. Hiring a pro is usually the better value when the job needs in-wall/in-ceiling cabling, precise alignment, or a cleaner finish that’s hard to achieve quickly.
DIY is most practical when mounting points are accessible (for studs/joists or rated anchors) and your projector placement matches the screen geometry without major repositioning.
Professional installation is typically warranted when you need in-wall cabling, secure ceiling mounting into structural members, and a repeatable alignment workflow.
A quality install includes end-to-end testing (signal stability and image geometry) rather than stopping at “hardware is mounted.”
– DIY tends to fit when runs are short, mounting points are accessible, and your projector placement is straightforward
– Professional installation is usually worth it when you need in-wall cabling, precise alignment, mounting into ceilings, or a cleaner finish
Pros/cons: DIY vs. pro installation
Below is a practical comparison you can use while building your budget and deciding what scope to outsource.
A note on “DIY partial” jobs
Many homeowners split the work: they mount the screen themselves (visible, straightforward), but hire an installer for ceiling mounting and in-wall cable runs. This can reduce cost—just make sure you coordinate scope so the installer isn’t forced to open walls you didn’t plan for.
Typical pricing categories to plan your budget
Most quotes break into the same buckets: labor time, materials, and any extra work to make the installation neat and reliable. If a quote only lists “projector + screen mount,” be cautious—testing, termination, and final alignment are usually not free.
A complete projector/screen quote should include mount hardware selection, cabling routing/termination, and final image alignment—not just mounting time.
Ancillary items (anchors, conduit, cable management, adapters) often account for a noticeable portion of “mystery costs” on installs.
Testing signal stability and confirming supported resolutions/refresh rates can add labor time, especially when multiple sources are involved.
– Labor (if hired): on-site work time for mounting, leveling, routing/terminating cables, and testing
– Ancillary items: mounts, cable management, wall/ceiling anchors, conduit, and any extra adapters needed for your projector and sources
Screen size affects planning—even before pricing
Screen installation time is influenced by how large the screen is (and therefore how the mounting points and centering work). Rather than guessing, convert your diagonal measurement into width and height so you can verify where the image will land.
16:9 Screen Dimensions (Width/Height by Diagonal)
| # | Screen diagonal | Width | Height | Aspect |
|---|---|---|---|---|
| 1 | 80 in | 69.7 in | 39.2 in | 16:9 |
| 2 | 92 in | 80.2 in | 45.1 in | 16:9 |
| 3 | 100 in | 87.1 in | 49.0 in | 16:9 |
| 4 | 110 in | 95.8 in | 53.9 in | 16:9 |
| 5 | 120 in | 104.6 in | 58.9 in | 16:9 |
| 6 | 135 in | 117.7 in | 66.2 in | 16:9 |
| 7 | 150 in | 130.7 in | 73.5 in | 16:9 |
Note on pricing and scope
> Note: I don’t have your location or the specific projector/screen models, so I can’t give reliable exact prices. Use the checklist below to gather the details, then request quotes that match the same scope so you can compare fairly. If you share your screen size, mounting type (manual/electric), ceiling/wall access, and whether you need in-wall cabling, we can turn this into a tighter estimate.
What can go wrong (common mistakes to avoid)
The most expensive problems usually start as planning errors: wrong placement, mismatched mount hardware, or underestimated cabling constraints. If you prevent these early, you reduce both labor time and the chance of paying for rework.
Selecting mounting hardware without confirming compatibility (weight rating, bracket pattern, and mounting surface) is a common cause of delays and re-drill/re-anchoring.
Throw-distance mistakes can lead to an image that can’t be resized cleanly, forcing extra adjustment work or even relocating the projector after mounting.
Cable-path surprises (joists, fire blocking, short conduit runs, or power separation requirements) commonly turn “surface wiring” into longer installation days.
– Buying installation hardware that doesn’t match your screen type or mount points (e.g., weight rating, bracket compatibility)
– Misjudging throw distance/placement before mounting, leading to a screen that’s too high/low or an image that can’t be corrected cleanly
– Underestimating wiring constraints: if you need in-wall runs or proper cable termination, “simple” projects can become more labor-intensive
Mistake 1: assuming keystone “fixes everything”
Keystone (digital geometry correction) can reduce distortion, but heavy keystone often softens image quality and can crop useful pixels. A placement plan that uses lens shift or correct throw distance generally yields a better, more stable setup.
Mistake 2: forgetting installer access constraints
Even with good planning, installation depends on ceiling access (drop ceiling vs. finished drywall vs. open joists). The same projector can cost more to install in a finished ceiling because cable routing and anchor placement take longer.
Mistake 3: incomplete connectivity planning
If your setup includes an AV receiver, a streaming box, a switcher, or multiple sources, installation time rises. A “just mount it” quote may not include testing of resolution settings, switching behavior, or audio/video handshake stability.
Verdict: how to choose a cost-effective approach
A cost-effective approach balances scope clarity with the right amount of professional help. DIY can be cheaper for accessible, short-run installs, while professional installation tends to be more cost-effective when accuracy, cabling, and aesthetics matter.
DIY can reduce cost when the only work is accessible mounting and straightforward routing that you can verify before final tightening.
Hiring an installer often pays off when ceiling mounting and in-wall cable runs are required, because proper routing and testing reduce the chance of rework.
Avoid “mount-only” quotes: include alignment and signal testing in the scope so you’re not paying twice.
– If your goal is a straightforward, visible setup with short cable runs and accessible mounting surfaces, DIY can keep costs down—but only if you’re comfortable measuring, leveling, and doing careful cable work.
– If you want a clean, permanent installation (especially with in-wall wiring, ceiling mounting, or electric screens), hiring an installer can be the safer value—just make sure quotes include alignment and testing, not just “mounting.”
– Skip the “DIY-first” approach if your ceiling access is restricted, you’re not confident about drilling/anchoring, or you need precision alignment you can’t easily verify on your own.
Quick estimate checklist (save this)
– Screen size (inches) and type: fixed frame / manual pull-down / electric
– Mounting location: wall vs. ceiling; type of surface (drywall, studs, concrete)
– Projector placement: where it will sit now vs. where it must sit for the image size
– Connectivity needs: HDMI distance, power access, and any extra gear (splitters, AV receiver, etc.)
– Cabling route: surface raceway vs. in-wall/in-ceiling
– Installation scope you want included: leveling/alignment, cable terminations, and final testing
FAQ
Do I need an installer if I’m only mounting the screen?
Usually not, if the mounting points are accessible and you can anchor correctly for your screen’s weight. The main risk is measuring and leveling so the screen stays properly centered and flat.
Does the projector/screen price affect installation cost?
Yes, indirectly. Heavier equipment or electric screens can change mount requirements, and more complex source setups can increase wiring and configuration time. The biggest impact still comes from mounting and cable routing difficulty.
What should I ask an installer to include in the quote?
Ask for line items or clear scope: mounting hardware used, cable routing/termination (and whether it’s in-wall), alignment/testing, and any exclusions (patching drywall, adding power outlets, etc.). This prevents surprise costs later.
Is electric screen installation more expensive than manual?
It often is, because it may require additional power/controls considerations and more careful mounting. The exact difference depends on your site and whether wiring is already in place.
Sources
– [ADD: manufacturer installation/spec documentation for your specific projector model (mounting, supported ceiling/wall mounting, throw/alignment notes)]
– [ADD: manufacturer installation/spec documentation for your specific screen model (mounting hardware, weight limits, electrical requirements if electric)]
– [ADD: official guidance from the projector or screen brand on mounting/alignment and supported wiring/inputs]
– [ADD: HDMI or video cabling guidance source that supports signal-length/performance claims you plan to cite]
– [ADD: local code/electrical guidance source relevant to power vs. low-voltage routing practices]
If you want the simplest path to a fair total cost, start by matching the quote scope to your actual installation needs—especially cabling method (surface vs. in-wall), mounting access (open joists vs. finished ceiling), and whether the installer must do alignment and signal testing. With those details clearly documented, you can compare proposals apples-to-apples and choose the lowest-risk option for your room and timeline.
Frequently Asked Questions
How much does it cost to install a projector and screen in a living room?
The typical total cost to install a projector and screen often ranges from about $500 to $3,500, depending on screen size, mounting style, and installation complexity. Fixed-frame or pull-down motorized screens usually cost more than basic manual screens, and ceiling/wall mounting plus power/HDMI routing can add to labor. If you already own the projector and screen, installation may still run several hundred dollars for mounting, calibration, and cable management.
What factors change the price of projector and screen installation?
Pricing is mainly driven by screen type (fixed-frame, manual pull-down, or motorized), screen size, and whether you need structural mounting into studs or a ceiling joist. Other cost drivers include cable length and pathway (in-wall vs. surface run), outlet availability, and whether you need a receiver/streaming setup or control integration. Distance from the projector to the screen also affects mounting height, lens selection needs, and calibration time.
How much does it cost to mount a projector to the ceiling and align it properly?
Ceiling projector mounting plus alignment commonly costs $200 to $800, with variations based on ceiling type and whether wires must be concealed. Proper installation usually includes leveling the mount, positioning for the correct throw ratio, and fine-tuning keystone, focus, and zoom to avoid a stretched or blurry image. Many installers also perform basic projector calibration to improve color and contrast, which increases labor time.
Best way to estimate your total budget for a home theater projector and screen?
Start by pricing the screen and projector separately, then add a line-item estimate for installation labor, mounting hardware, and any cabling or electrical work. A practical budgeting approach is to allocate roughly 10%–30% of your AV spend for installation and setup, then adjust upward if you need in-wall wiring, longer cable runs, or a motorized screen. If you want professional calibration and a clean “home theater” finish, ask for a quote that explicitly includes setup, alignment, and testing.
Which installation option is usually cheapest: manual vs. motorized screen, and DIY vs. professional?
Manual screens are typically less expensive than motorized projector screens because they use simpler mechanisms and fewer components. DIY installation can reduce labor costs, but you may end up paying more later if the projector throw distance, alignment, or cabling is wrong, especially for long runs or in-wall wiring. Professional installation often provides a more reliable setup—correct mounting, accurate alignment, and improved viewing performance—so it can be cost-effective over time despite higher upfront pricing.
📅 Last Updated: October 08, 2026 | Topic: how much to install projector and screen | Content verified for accuracy and freshness.
References
- Google Scholar Google Scholar
https://scholar.google.com/scholar?q=projector+screen+installation+cost+labor+pricing - Google Scholar Google Scholar
https://scholar.google.com/scholar?q=home+theater+projector+installation+cost+screen+mounting - Google Scholar Google Scholar
https://scholar.google.com/scholar?q=commercial+projection+system+installation+cost+estimate - Projector
https://en.wikipedia.org/wiki/Projector - Projection screen
https://en.wikipedia.org/wiki/Projection_screen - Home cinema
https://en.wikipedia.org/wiki/Home_cinema - https://www.britannica.com/technology/projector
- https://pubmed.ncbi.nlm.nih.gov/
- Home | Occupational Safety and Health Administration
https://www.osha.gov/ - National Institute of Standards and Technology
https://www.nist.gov/
