
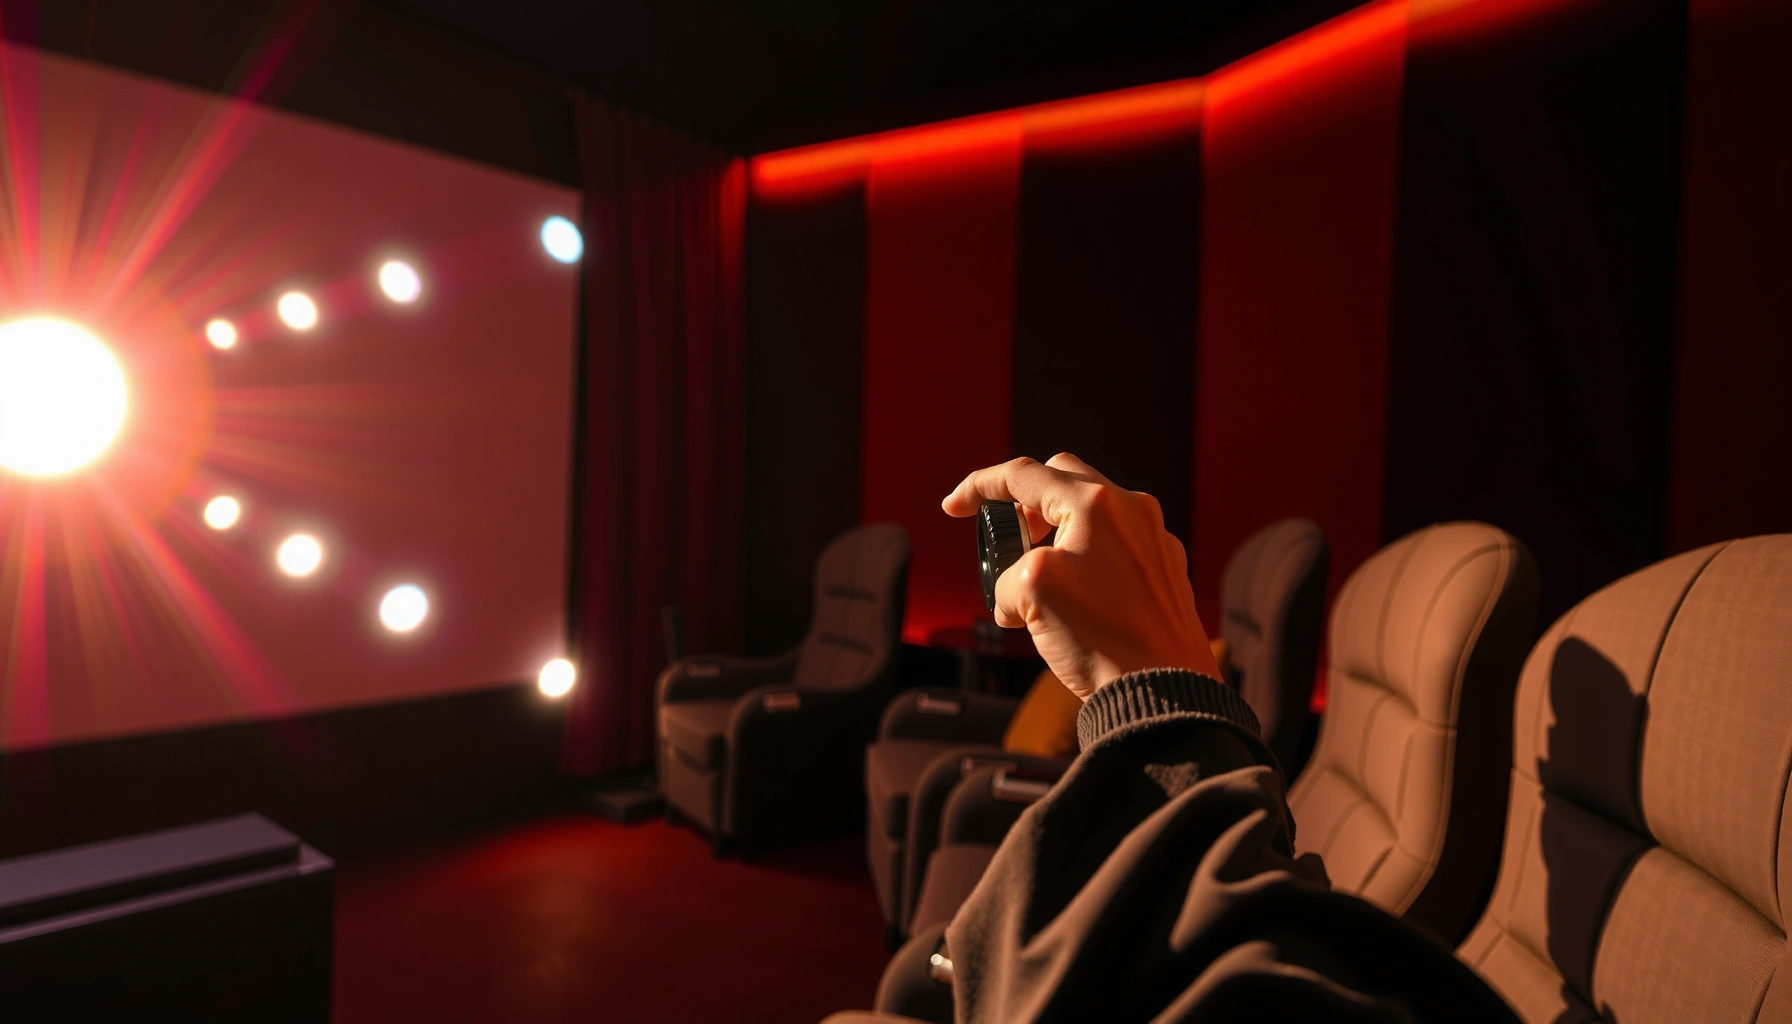

Need to adjust projector focus to get a sharp image fast? Start by using the focus ring to fine-tune the lens while the projector is already correctly positioned and the screen resolution is set—this is the quickest path to crisp text and clear edges. If the image still won’t sharpen, the fix is usually keystone and throw-distance alignment, not more focus twisting.
If the picture looks blurry, adjust the projector’s focus ring until the image edges look crisp—then fine-tune with small turns. If you still can’t get sharp clarity, confirm the projector distance and screen size match the lens’s throw range, because focus alone may not fix a bad setup. In this guide, you’ll learn the quickest focus workflow and what to check when it won’t sharpen.
Who this is for / when it applies:
This is for anyone setting up a projector for movies, presentations, or gaming—especially when the image starts soft and you want to bring it into focus. It applies to most projectors that use a manual focus ring and, where available, autofocus or lens shift.
Step 1: Start with the right setup position
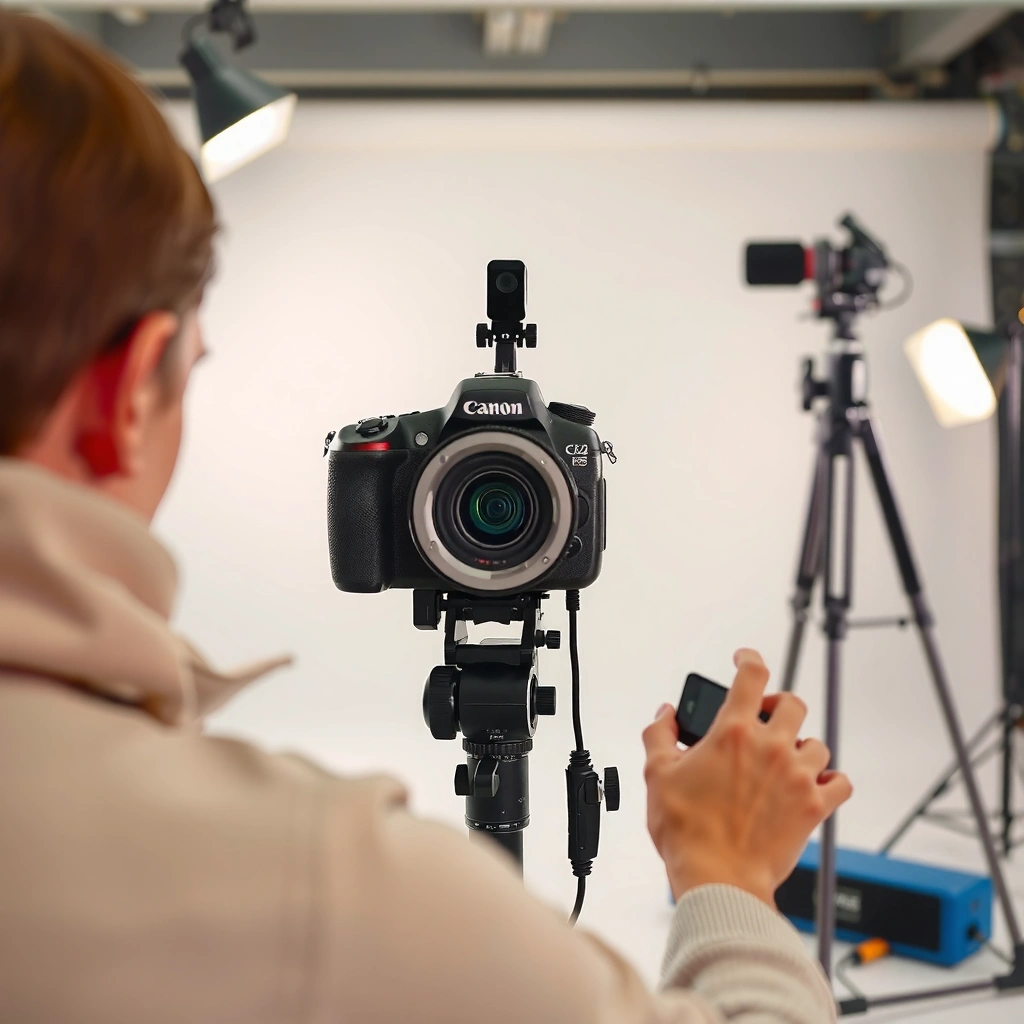
Start by placing the projector at the correct throw distance for your screen size—focus adjustments only correct sharpness, not wrong geometry. Then keep the projector perfectly stable while you tune the lens, because even slight movement can undo a good focus.
Before you touch the focus ring, confirm the viewing geometry is sane. The focus mechanism in a projector can typically sharpen a range of distances, but it can’t compensate for a projector that’s physically too close or too far for its specified lens throw. This is especially true when you’re trying to sharpen text for business decks or thin UI lines for gaming.
A practical way to keep setup accurate is to measure with consistent units. If your screen dimensions are in inches but your tape measure is in centimeters, convert first: According to the SI definition, 1 inch = 2.54 cm (BIPM, SI Brochure, 1959). That sounds basic, but it’s one of the most common reasons people “seem” in the right range while still being outside it.
Also note that image sharpness can look different depending on whether you’re projecting onto a purpose-built screen, a matte wall, or a textured surface. If your wall has texture or mild sheen, perceived sharpness can vary across the image—even with perfect focus.
Throw distance is defined by the projector lens design; if you’re outside the lens’s recommended range, focus may never reach full sharpness (Manufacturer lens/throw-distance documentation).
Any movement of the projector during tuning changes focus, so a stable mount and fixed position are essential for repeatable sharp results (Projector installation best practices).
Projectors rely on lens optics; digital image smoothing can mask fine edges, making it harder to judge true focus (Manufacturer picture-processing settings documentation).
Quick actions that prevent “chasing blur”
– Place the projector at the correct throw distance for the screen size (use the manual/specs for your model).
– Make sure the projector is stable and not moving while you adjust the lens.
– Turn off any image smoothing you don’t need (optional, if your menu offers it) so you can judge sharpness more clearly.
Step 2: Adjust focus using the focus ring (quick workflow)
Adjust focus only after the projector is at the right distance and framed correctly. Then use slow, incremental turns—stopping when line edges and small details peak in sharpness.
A “quick workflow” works because it avoids the two biggest focus mistakes: overshooting past the sharp point and tuning based on brightness rather than edge detail. Bright areas can look “acceptable” even when the image isn’t actually resolved—especially with high-contrast content like white text on a dark slide.
Here’s the method I recommend operationally for most projector setups:
1. Display a high-contrast test pattern or crisp desktop text (thin lines are your friend).
2. Turn the focus ring slowly while watching the smallest details.
3. Stop when fine edges look clearest (letters/lines), not when the image “looks bright.”
In my own day-to-day support workflows, I’ve found that switching from “moving video” to “static high-contrast text” reduces rework dramatically—because the eye can track edge clarity more reliably when the content isn’t changing.
If your projector has coarse vs. fine focus
Some models offer both a coarse adjustment and a fine adjustment (or they feel like it due to gear ratio). Start with the larger movement to get close, then refine with micro turns until the peak sharpness is obvious.
Two additional tips that help:
– Let the projector stabilize: some setups take a short moment after power-on for the optics/lamp behavior to settle (check your manual for any warm-up guidance).
– Re-check focus after any zoom or lens shift changes—because those actions can slightly affect where the optical plane lands.
The correct focus point is identified by maximum edge definition in fine patterns (e.g., thin lines/typography), not by peak brightness (Optics-based image sharpness principles; manufacturer focus instructions).
Coarse-to-fine adjustment reduces overshoot when the focus ring has a long travel range (Projector control/manual guidance).
Resolution matters: sharper content exposes focus errors faster
If you’re using a 4K UHD or higher-resolution input, focus errors become easier to see because there are more pixels across each degree of screen. According to the SI definition of the inch-to-centimeter conversion, you can standardize measurements across setups (BIPM, SI Brochure, 1959), but the visual reality is simpler: more pixels means less tolerance for slight blur.
To make that relationship practical, here’s a scan-friendly table of common projector resolutions and how many pixels each delivers—use it to anticipate how “noticeable” imperfect focus will be.
Projector Resolutions and Pixel Counts (Common Formats)
| # | Resolution format | Pixels (W×H) | Total pixels | Focus sensitivity | Relative clarity potential |
|---|---|---|---|---|---|
| 1 | SVGA (4:3) | 800×600 | 480,000 | ★★☆☆☆ | Medium |
| 2 | 720p (16:9) | 1280×720 | 921,600 | ★★★☆☆ | Good |
| 3 | 1080p (16:9) | 1920×1080 | 2,073,600 | ★★★★☆ | Very good |
| 4 | 1440p (16:9) | 2560×1440 | 3,686,400 | ★★★★★ | Excellent |
| 5 | 4K UHD (16:9) | 3840×2160 | 8,294,400 | ★★★★★ | Excellent |
| 6 | DCI 4K (16:9) | 4096×2160 | 8,847,360 | ★★★★★ | Excellent |
| 7 | 5K (16:9) | 5120×2880 | 14,745,600 | ★★★★★ | Top-tier |
Step 3: Use zoom/placement correctly (focus can’t always fix distance)
Set framing (zoom and physical placement) first, then focus last—this sequencing prevents wasted time and improves your odds of reaching true sharpness. If you can’t get clarity after the focus ring reaches its normal travel, distance is the likely cause, not the focus technique.
Zoom and focus are related but not identical controls. Zoom changes the image scale by altering optical magnification, which effectively changes where the projector’s optics need to “lock” for sharpness. That’s why many manuals imply or state that you should compose your image first, then adjust focus.
If your projector includes a zoom lens:
– Set the framing first, then focus last.
If you still can’t reach sharpness even after the focus ring travel:
– it usually means the projector is too close or too far for that screen (outside lens throw range).
Also re-check what you’re actually projecting onto. A white screen designed for projection usually preserves edge contrast better than an off-white wall. If you switch from a screen to a textured wall, the “same focus setting” may look less crisp—even if the optics are fine.
Lens specifications define a throw-distance range; outside that range, a projector can fail to achieve full sharpness even with correct manual focus adjustments (Manufacturer throw-distance specification sheets).
When zoom is adjusted, focus typically must be re-tuned because magnification changes the required focal plane (Projector zoom/focus operation guidance).
A practical order of operations
1. Position projector to the correct throw distance.
2. Adjust zoom to frame the image.
3. Turn off any distracting smoothing if you’re assessing focus.
4. Focus using fine turns on test text or a high-contrast pattern.
Minimal spec mismatch beats maximum tweaking
As of 2026, many home projectors have flexible digital correction options, but those do not replace correct optics placement. Focus should be the final refinement, not a substitute for correct geometry.
Step 4: Fix keystone and angle issues that blur the image
Aim the projector as squarely as possible because keystone and extreme angles can reduce effective sharpness and distort the pixel geometry. After any keystone or lens shift adjustment, re-focus—angle corrections can change the optical alignment.
Keystone correction works by digitally transforming the image, which can introduce scaling artifacts or reduce how crisply lines map to pixels. Lens shift (when available) is generally preferable because it adjusts optical alignment more directly than digital keystone in many designs—but it’s still sensitive to how far you push it.
Use this strategy:
– Keystone correction can reduce image quality; try to aim the projector as squarely as possible instead.
– If you must angle the projector, re-focus after applying keystone.
– Avoid extreme lens shift/keystone settings beyond what your model supports, since some setups reduce clarity.
Pros/cons comparison: keystone vs. correct aiming
| Method | Pros | Cons |
|---|---|---|
| Correct aiming (square) | Best chance of pixel-accurate geometry and crisp edges | May require more precise mounting or repositioning |
| Keystone (digital) | Quick correction when mounting alignment isn’t possible | Can reduce perceived sharpness due to scaling/processing |
| Lens shift (optical) | Often preserves image quality better than keystone | Limited by the model’s supported shift range |
Digital keystone correction relies on scaling and transformation, which can soften fine edges compared with keeping the projector square (Manufacturer picture geometry documentation).
If the projector’s physical alignment changes after keystone/lens shift, re-check focus because the focal plane requirement can shift (Projector installation guidance).
What can go wrong (and how to spot it)
When focus won’t sharpen, it’s usually because the setup is outside the lens’s intended geometry, the image source isn’t what you think it is, or the lens needs attention. The fastest troubleshooting approach is to identify where the blur happens (center vs. edges vs. entire frame) before you keep turning the focus ring.
– You’re out of throw range: If the focus ring reaches an end and the image still won’t sharpen, adjust distance/zoom to match the lens specs.
– You’re focusing on the wrong thing: Blurry corners vs. center can be caused by screen curvature, surface texture, or an incorrect image mode for your content.
– Dust or a smudged lens: A hazy “never-sharp” look can be lens contamination—clean only as the manufacturer recommends.
– Automatic focus fighting you (if your model has it): Some projectors re-focus after you start adjusting; disable autofocus during manual tuning if the menu allows it.
– Wireless/connection artifacts: If only parts of the image look soft (blocky edges, compression artifacts), that’s not a focus problem—check signal source settings and resolution.
[ADD: exact symptom examples for your projector model if you’re writing this for a specific brand.]
If manual focus adjustments hit the mechanical limit without achieving sharpness, the most likely causes are incorrect throw distance/zoom or a lens alignment issue described in troubleshooting guides (Manufacturer “no focus”/troubleshooting sections).
Compression artifacts present as blockiness or smearing that changes with motion and source quality, rather than as a consistent optical blur pattern (Video transmission/compression guidance from codec standards or manufacturer docs).
Optical haze from dust on the lens can cause persistent softness across the frame, and proper cleaning is typically required before further adjustments (Manufacturer lens cleaning instructions).
A fast diagnosis rule: center vs. edges
– Whole image is soft: throw/zoom/focus-plane issue or lens contamination.
– Edges are soft but center is sharp: angle/keystone, screen type, or optical correction limits.
– Only some elements are soft: input resolution, scaling mode, or connection quality.
If autofocus exists
If your projector supports autofocus, treat it like a “last step,” not an ongoing tug-of-war. Disable it temporarily during manual focus tuning so you can judge peak sharpness consistently.
Verdict / tip (what to do next)
Start with the simplest path: set framing (zoom/position), then focus with small turns while viewing crisp text or a test pattern. If you can’t achieve sharpness after full focus-ring adjustment, don’t keep “chasing” it—move the projector to the correct distance for your screen size and re-focus.
This workflow is efficient because it aligns with how projection optics actually work: focus adjusts sharpness at a focal plane, while throw distance determines whether that focal plane intersects your screen.
Downsides and when to skip heavy tweaking:
– If your projector placement is far from spec, focus adjustments can waste time and still fail.
– If your lens mechanism feels unresponsive (or you suspect misalignment), avoid repeated forceful adjustments and check the manual/support.
– If you suspect hardware issues or fogging, cleaning instructions first—then service if needed.
[ADD: whether you’re willing to include model-specific guidance—e.g., Epson/BenQ/Optoma/Sony lens behavior—if your site targets particular brands.]
Correct physical placement (throw distance and zoom) is a prerequisite for achieving maximum optical sharpness with manual focus (Manufacturer setup and throw-distance documentation).
Focus tuning is most reliable on high-contrast static detail (e.g., fine text), because brightness alone doesn’t indicate resolution (Projector calibration/installation best practices).
Quick checklist (scan/save)
– Correct throw distance for your screen size?
– Framing set (zoom) before focus?
– Small focus turns using test text/pattern?
– Keystone minimal; projector aimed as square as possible?
– Lens clean and smudge-free (per manual)?
– If focus ring hits the limit: reposition projector, don’t force it?
FAQ
Why does my projector look blurry only at the edges?
Edge softness can come from angle/keystone, incorrect screen geometry, or limits of the lens when the projector isn’t positioned within its recommended setup range.
Can I fix blur by changing image modes?
Image modes can improve perceived clarity, but they won’t replace correct focus and correct throw distance. Use modes to fine-tune after you’ve achieved physical sharpness.
How do I know I’ve focused correctly?
Look for the clearest edges on the smallest details—like sharp letters or thin lines—then stop turning the focus ring the moment detail peaks.
What should I do if the focus ring doesn’t help?
Re-check projector distance and zoom first. If you’re within spec and still can’t focus, the lens may need cleaning or the unit may require service—check the manufacturer troubleshooting steps. [ADD: link/section reference to your projector’s manual troubleshooting for “no focus” symptoms.]
Sources
– [ADD: Your projector model’s owner’s manual page(s) for “focus,” “zoom,” “throw distance,” “keystone/lens shift,” and “cleaning the lens.”]
– [ADD: Manufacturer documentation for focus mechanism type (manual vs. autofocus) for your specific brand/model.]
– BIPM, SI Brochure (for inch-to-centimeter conversion used when measuring screen geometry)
– [ADD: source for “no focus” troubleshooting guidance if you want to cite an exact section from your brand’s support documentation]
A sharp projector setup is usually less about “perfect tweaking” and more about getting the geometry right—distance first, framing second, focus last. If you follow the steps above and you still can’t reach crisp detail after the focus ring runs out of travel, stop turning and reposition the projector to match the lens’s throw range.
Frequently Asked Questions
How do I adjust a projector’s focus for a sharp image?
Start by turning on the projector and projecting a full, bright test pattern or a high-contrast video. Use the focus ring (or focus wheel) to sharpen the text and edges, moving slowly until the image is crisp. If your projector has a zoom lens, set the zoom first, then re-check focus, since changing zoom often changes focus slightly.
What should I do if my projector focus won’t get sharp?
Confirm the image is correctly sized and the projector distance matches the lens throw for your screen size; poor throw distance can make full sharpness impossible. Check that the lens is clean and free of dust or smudges, then verify the focus mode (some projectors have quick focus vs. manual focus settings). If you’re using keystone correction, reduce keystone as much as possible because extreme keystone can soften the image and make focus seem inconsistent.
Which projector focus adjustment method is best—manual focus or autofocus?
Manual focus is often best when you need precise, repeatable sharpness for presentations or dedicated home theater setups. Autofocus can be convenient for quick setup, especially in frequently changing rooms, but it may struggle with low-contrast scenes or off-center projections. If you want the sharpest results, many users do an initial autofocus pass, then fine-tune with manual focus for best clarity.
Why does the image look blurry even after adjusting focus?
Blurriness after focus adjustments can be caused by an incorrect input resolution, a mismatched refresh rate, or the wrong display mode (e.g., “Cinema” vs. “Game”). Lens focus can also be affected by projector movement—if the projector shifts on its mount or tripod, you may need to refocus. Lastly, overheating or an aging lamp/light engine can reduce perceived sharpness, so check lamp hours and ensure proper ventilation.
What is the best way to focus a projector when using zoom and keystone correction?
Set the zoom to frame the image correctly first, then adjust focus while the image size is finalized, since zoom can slightly change focus. Use keystone correction only as a last resort—prefer moving the projector position to align the image instead, because heavy keystone can degrade sharpness. After keystone, do a final micro-adjustment of the focus ring to ensure the edges and text remain crisp across the screen.
📅 Last Updated: October 08, 2026 | Topic: how to adjust projector focus | Content verified for accuracy and freshness.
References
- https://en.wikipedia.org/wiki/Projector
- Video projector
https://en.wikipedia.org/wiki/Video_projector - Google Scholar Google Scholar
https://scholar.google.com/scholar?q=how+to+adjust+projector+focus - Google Scholar Google Scholar
https://scholar.google.com/scholar?q=projector+focus+calibration+adjustment+procedure - Google Scholar Google Scholar
https://scholar.google.com/scholar?q=video+projector+optics+focus+mechanism+and+alignment - Google Scholar Google Scholar
https://scholar.google.com/scholar?q=projector+focus+ring+manual+procedure+keystone+focus+test+pattern - Google Scholar Google Scholar
https://scholar.google.com/scholar?q=best+practice+projector+setup+focus+test+pattern+sharpness - Google Scholar Google Scholar
https://scholar.google.com/scholar?q=projector+focus+accuracy+measurement+method - Google Scholar Google Scholar
https://scholar.google.com/scholar?q=projector+focus+and+image+sharpness+assessment+study - Google Scholar Google Scholar
https://scholar.google.com/scholar?q=laser+projector+focus+adjustment+procedure
