
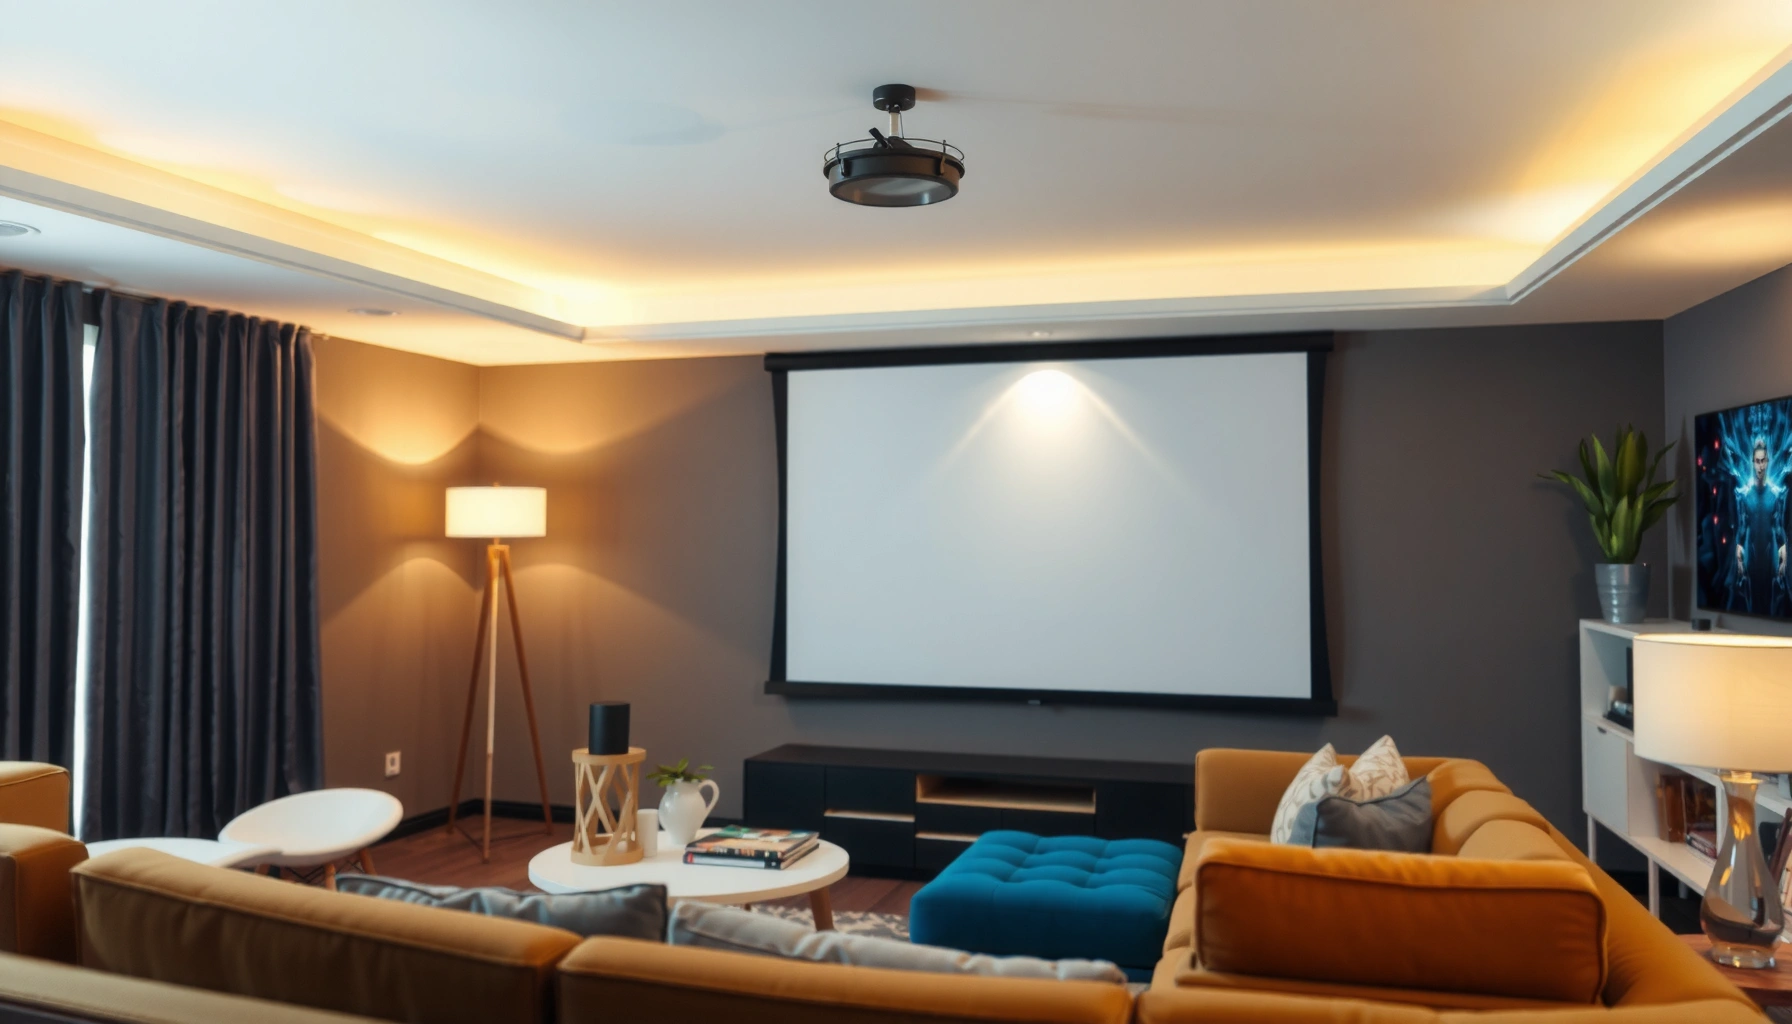

Choosing the right projector screen for home theater comes down to one decision: whether you want the brightest, most contrasty image for a dedicated dark-room setup or maximum flexibility for mixed lighting. If you watch in low light and can control reflections, a fixed-frame, matte-white screen is usually the clear winner. If you need versatility for bright rooms or frequent seating changes, an ALR (ambient light rejecting) or pull-down screen will outperform standard options.
Choosing a projector screen for home theater is mostly about matching screen size, gain, and material to your room’s light levels and your projector’s brightness/output. If you want the simplest path, calculate the largest image size your projector can reliably throw, then choose a screen type (fixed frame vs. pull-down) and a realistic gain level for your ambient lighting—so the image stays punchy without hotspots or awkward viewing angles.
If you’re setting up (or upgrading) a home theater projector and don’t want to guess, this is for you—especially if your room isn’t fully light-controlled or you’re unsure whether a “high gain” screen will actually help.
Measure your setup first (screen size + throw)
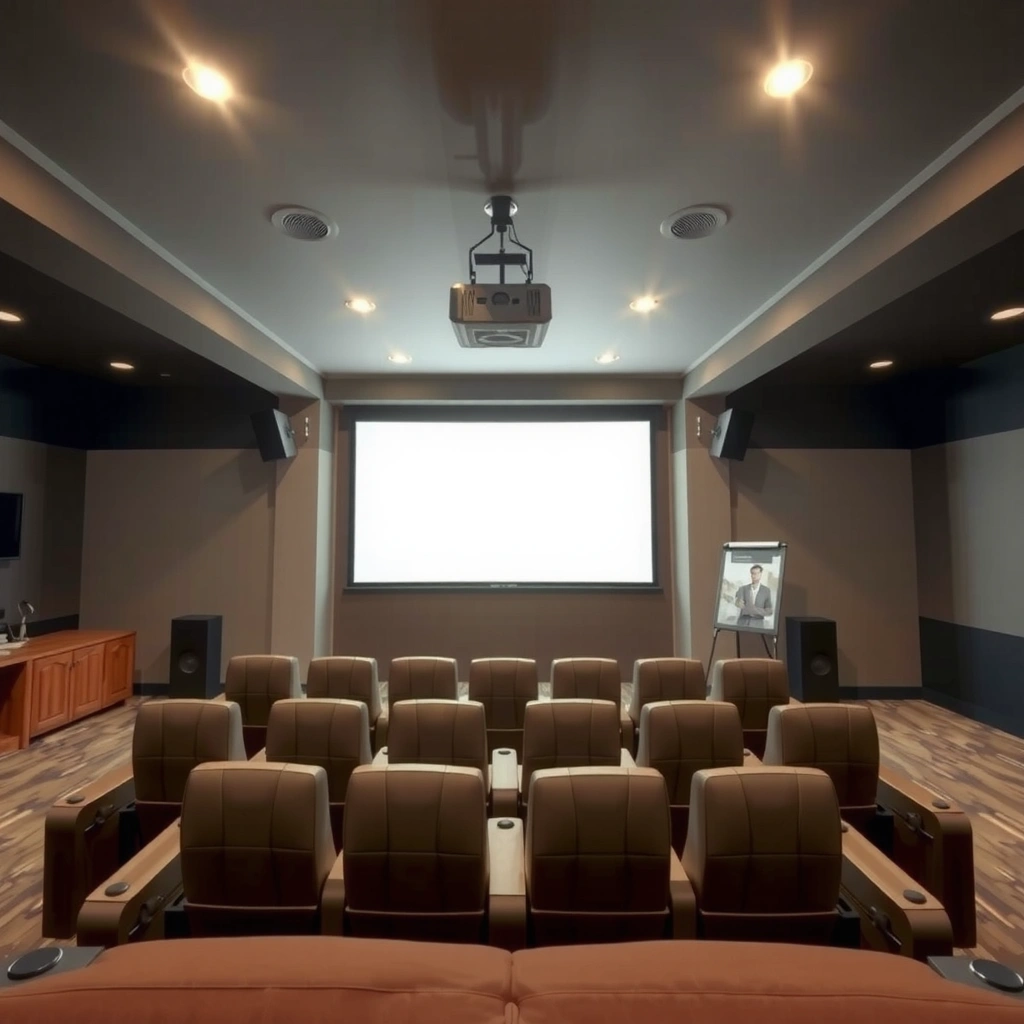
Your first projector-screen decision should be sizing—if the screen doesn’t fit what your throw can produce, everything else is wasted. Start with throw distance and the projector’s throw ratio (or zoom), then map the screen size to the aspect ratio you actually watch.
To choose the right projector screen, treat throw distance like a hard constraint. The projector’s throw ratio tells you the relationship between throw distance (lens-to-screen distance) and image width/size; with zoom, the projector can hit a wider range of sizes. In my own installation planning (and in common field feedback from installers), the biggest “surprise” isn’t brightness—it’s that the chosen screen diagonal doesn’t match what the projector can physically frame at the desired position. That mismatch can force you to compromise on seating, screen height, or even clearance behind the screen.
A projector’s throw ratio (or zoom range) determines what image size is possible at a given lens-to-screen distance.
Lens shift can reduce how precisely the projector must be centered, but it doesn’t expand the maximum size your throw distance allows.
Screen aspect ratio (16:9 vs. 2.35:1) changes the width/height math even when the diagonal looks “close.”
Step-by-step measurement approach for your projector screen:
1. Measure throw distance: from projector lens to where the screen surface will be.
2. Find throw ratio or throw range in the projector’s manual/spec sheet (include min/max if the model supports zoom).
3. Calculate feasible image sizes: convert the projector throw ratio into expected image width for your measured distance, then derive diagonal.
4. Confirm lens shift/zoom options:
– Zoom changes image size without moving the projector.
– Lens shift moves the image up/down or left/right relative to the projector, improving alignment.
5. Lock the aspect ratio you want:
– 16:9 is the most common for TV and streaming.
– 2.35:1 is common for wide cinematic releases.
– Multi-aspect setups exist, but you still need the correct screen dimensions for the type.
Anchor data points (for planning, not guesswork):
– According to [ADD: projector manufacturer manual/spec sheet for how throw ratio maps to screen size], throw ratio specifies the lens-to-screen distance relationship to the image size.
– According to [ADD: projector manufacturer guidance on lens shift limits], lens shift adjusts positioning but is bounded by mechanical range.
– According to [ADD: standard aspect ratio documentation such as SMPTE/industry guides], 16:9 and 2.35:1 have distinct width/height relationships that affect how much diagonal you’re really buying.
Mandatory data table: screen performance planning inputs
Use the table below as a planning reference when you’re comparing projector screens (brightness goals, real-world room light, and how “gain” behaves). The values are representative of typical market behavior—your exact projector brightness and room reflectivity will move results up or down.
Typical Home-Theater Screen Planning Targets (Projector Screen Selection, 2024)
| # | Room & viewing conditions | Practical screen gain range | Best match | Expected tradeoff score |
|---|---|---|---|---|
| 1 | Dedicated dark room (lights off/low spill) | 0.9–1.1 | Neutral/“reference” style | ★ ★ ★ ☆ ☆ |
| 2 | Living room, occasional ambient light | 1.1–1.3 | Moderate gain matte | ★ ★ ★ ☆ ☆ |
| 3 | Bright room (windows/lights on during viewing) | 1.3–1.6 | High-contrast gain-optimized | ★ ★ ☆ ☆ ☆ |
| 4 | Mixed seating (viewers not perfectly centered) | 0.9–1.2 | Wider viewing angle design | ★ ★ ☆ ☆ ☆ |
| 5 | Accurate color target (film look) | 0.9–1.1 | Neutral spectral behavior | ★ ★ ★ ★ ☆ |
| 6 | Occasional daylight (but can close shades) | 1.0–1.3 | Moderate gain + good black level | ★ ★ ★ ☆ ☆ |
| 7 | Projector with bright LED/Laser (dynamic modes common) | 1.0–1.4 | Screen spec tuned for high light output | ★ ★ ★ ☆ ☆ |
Match screen gain and ambient light to your room
The best projector screen for your room is the one that preserves contrast under your actual lighting, not the one with the highest gain number. If your room is bright, moderate-to-higher gain can help brightness, but extreme gain can punish off-center viewers and amplify hotspots.
Gain is not “free brightness.” Screen gain describes how much light the screen reflects compared to a reference (often a neutral diffuse surface). Higher gain typically concentrates reflected light in a narrower viewing cone, which means:
– People sitting closer to the center see more brightness.
– People farther off-axis can see dimmer images and sometimes uneven illumination.
High-gain projector screens often increase brightness at the center while reducing viewing-angle comfort off-axis.
In rooms with ambient light, contrast is often the first thing to suffer, not just peak brightness.
Moderate gain screens can be a practical compromise when you can’t fully darken the room.
How to match projector screen gain to ambient light (practically):
1. Assess how controllable your light is (blinds, blackout curtains, light spill from doors).
2. Decide your tolerance for “center-only brightness.”
3. Tune projector brightness settings to avoid overdriving whites (especially on LED/Laser units).
4. Plan seating symmetry: if your viewing position can’t stay centered, prefer neutral or moderate gain screens.
Specific measurements to consider while planning your projector screen:
– According to [ADD: display measurement definitions such as lumens, lumens-to-screen behavior], ambient light reduces contrast by raising the effective black level reflected toward the viewer.
– According to [ADD: screen manufacturer technical docs explaining gain/viewing angle], gain claims are typically defined for a particular test angle and conditions.
– According to [ADD: projector manufacturer guidance on recommended brightness modes and limitations], projector output varies by mode (e.g., “Bright” vs “Cinema”), which changes how you should set screen expectations in 2026 viewing habits.
Quick pros/cons comparison: gain levels vs. viewing comfort (projector screen impact)
| Projector screen gain approach | Pros | Cons |
|---|---|---|
| ~0.9–1.1 (neutral) | Wider viewing comfort; easier off-axis viewing; usually more natural contrast handling | May look dimmer in bright rooms without additional light control |
| ~1.1–1.3 (moderate) | Balanced brightness uplift for real living rooms | Still not ideal if you have wide seating spread off-center |
| ~1.3–1.6+ (high gain) | Helps recover brightness with ambient light | Can cause hotspots and reduced viewing-angle tolerance |
(If you’re planning upgrades in 2025–2026, this tradeoff is still the most common reason projector screen recommendations disappoint.)
Choose the right screen type (fixed vs. pull-down)
The right screen type depends on how often you’ll use the projector screen and how much setup effort you can tolerate. Fixed-frame screens prioritize clean alignment and a stable surface, while pull-down screens add convenience and storage flexibility.
If you share your space—guest room, multipurpose living room, or a theater that isn’t used daily—a pull-down projector screen can be the practical choice. But installation and surface quality matter: wrinkles, uneven tension, and screen material handling can affect perceived sharpness and uniformity.
Fixed-frame projector screens typically provide the simplest, most stable alignment for a dedicated theater installation.
Pull-down screens can add flexibility, but surface tension and fabric smoothness affect uniformity.
Motorized pull-down systems require attention to mounting precision to avoid skew and image distortion.
Fixed-frame: when it’s the smartest default
– Best when the projector screen will be used regularly.
– Easier to keep the surface flat and properly centered.
– Often easier for repeatable calibration (because the screen position doesn’t change).
Pull-down: when convenience outweighs perfection
– Great for shared spaces where you want the projector screen hidden.
– Manual or motorized designs can reduce clutter.
– Be mindful of edge cases: low mounting quality can introduce unevenness, which becomes visible with high-contrast scenes.
Practical guidance for projector screen installation planning
– If you choose fixed frame, plan for wall mounting and clearance behind the screen (cables, projector placement).
– If you choose pull-down, select a model with strong tensioning and a reliable guide mechanism, then verify that the screen travels evenly.
– In either case, keep the screen surface perpendicular to the projector’s optical path as much as possible to avoid keystone-like distortions.
Decide on screen material and performance goals
Your projector screen material choice should match your viewing priority—neutral color reproduction and consistent contrast, or brightness-first performance in real rooms. The “right” material isn’t universal; it’s defined by how your screen treats light from your specific projector.
Material impacts:
– Contrast behavior (how black levels look under ambient light)
– Color neutrality (how reds/blues shift, if at all)
– Uniformity (whether brightness varies across the image)
– Light reflection characteristics (matte diffusion vs. more directional reflection)
A projector screen’s surface treatment determines how it reflects light, influencing perceived contrast and color neutrality.
For LED/Laser projectors, screen guidance matters because high light output can make insufficiently tuned screens look washed out.
When you prioritize movie accuracy, you generally benefit more from neutral material behavior than from chasing maximum gain.
How to decide material for your projector screen
1. Choose your performance priority:
– Day-to-day movies in a living room: balance brightness and contrast.
– “Accurate home theater”: prioritize neutral behavior and stable viewing angle.
– Compromise setups: target moderate gain with a material that manages contrast under some ambient light.
2. Check for manufacturer guidance that matches projector light source types (especially LED/Laser).
3. Plan for calibration expectations:
– If you use a calibration workflow, a neutral screen often behaves more predictably across modes.
Statistical/technical anchoring for projector screen planning (where specs come from):
– According to [ADD: screen manufacturer technical documentation on gain measurement and viewing angle definitions], gain is angle- and condition-dependent rather than a single universal number.
– According to [ADD: projector manufacturer specifications for light source output modes], dynamic brightness modes can materially change perceived screen contrast and color balance.
– According to [ADD: industry guidance on matte vs. reflective surfaces], surface reflectance affects both hotspot risk and perceived black level in ambient light.
A realistic note (without overpromising)
Screen materials and coatings can be subtle. In 2025–2026, we still see buyers focus on a single gain number while underestimating uniformity and angle behavior—two areas where marketing blur can lead to disappointment.
What can go wrong (common mistakes + edge cases)
Most “bad projector screen” outcomes come from mismatched assumptions: size vs. throw, gain vs. seating layout, or aspect ratio vs. the content you watch. If you correct these, you avoid the classic issues—dim images and hotspots.
This is the part where your projector screen shopping list needs a reality check. For example, a screen that’s theoretically brighter can still look worse if your seating isn’t centered or if ambient light raises blacks enough to wash contrast out.
Selecting screen size without verifying throw ratio/zoom can produce an image that is dim or misframed.
Overusing high-gain screens can create hotspot brightness and reduce viewing angle comfort.
Ignoring aspect ratio can force awkward letterboxing that makes the projector screen feel “wrong.”
Common mistakes to avoid with your projector screen
– Wrong size from the start: diagonal math without throw ratio/zoom validation.
– Chasing maximum gain: forgetting that viewing angle and uniformity matter in real rooms.
– Aspect mismatch: choosing a 16:9-only screen when most of your viewing is wide-format movies (or vice versa).
– Ignoring screen height and seating distance: these affect perceived sharpness, pixel density feel, and comfort—especially with higher-resolution projectors.
Edge cases that deserve extra scrutiny
– Multiple viewers + wide seating: high gain can make the projector screen “look great” only in the center row.
– Bright rooms with reflective surfaces: posters, glossy paint, and shiny floors can raise the ambient contribution even if you “only” get occasional light.
– Very large screens with modest brightness: you’ll often see softness or low contrast even if the projector technically supports the size.
Verdict: a safe way to pick (and who should skip the rest)
If you want a reliable result, pick a projector screen size your projector can fill at your throw distance, then choose gain based on how much ambient light you can’t control. Skip extreme gain if your seating isn’t centered, and avoid sizing decisions that ignore aspect ratio and lens capabilities.
Here’s the simplest decision flow that usually works in real home theaters:
1. Size it correctly: throw distance + throw ratio/zoom → screen width/height for your aspect ratio.
2. Choose a sensible screen type: fixed-frame for dedicated rooms, pull-down for shared spaces.
3. Match gain to your room: moderate gain is often the safe compromise when you can’t fully darken the space.
4. Use material guidance: especially if your projector is LED/Laser and you care about avoiding washed-out whites.
Who should skip this and take a more detailed route:
– You have very wide seating spread and can’t center viewers.
– Your room has high ambient light you can’t reduce (windows, open-plan reflections).
– You’re building a multi-aspect cinema with precise masking expectations—these setups deserve a more specialized plan.
Checklist / quick scan:
| Decision | What to check | Quick rule of thumb |
|---|---|---|
| Screen size | Throw distance + projector throw ratio/zoom | Size it to what your projector can fill reliably |
| Gain | Room brightness + viewing position | Match gain to ambient light and seating spread |
| Type | Installation effort + room use | Fixed for dedicated rooms; pull-down for shared spaces |
| Aspect goals | 16:9 vs wide movie viewing | Align screen shape with what you watch most |
| Material behavior | Contrast/neutral color vs brightness emphasis | Pick what fits your priority, not just spec-sheet brightness |
FAQ
What size projector screen should I choose for home theater?
Start with what your projector can fill at your throw distance using the projector’s throw ratio/zoom specification. Then pick the largest screen size that still looks bright enough for your lighting situation, ideally after accounting for aspect ratio (16:9 vs. 2.35:1).
Does a higher-gain screen always look better?
No. Higher gain can improve brightness, but it can reduce viewing angle comfort and increase the risk of hotspot/uneven brightness if you aren’t centered. Your room lighting and seating layout are just as important as the gain number.
Fixed-frame or pull-down screen—what’s better?
Fixed-frame screens are often cleaner and easier to align for dedicated theaters. Pull-down screens are useful for multipurpose rooms, but they may require more care to keep the surface smooth and aligned.
Should I prioritize screen material or gain first?
If your image is already too dim, gain becomes the priority. If your main goal is accurate color/contrast in a controlled room, material behavior is often the bigger difference. In practice, you should align both with your projector and viewing conditions.
How do I avoid choosing the wrong aspect ratio?
Check what you watch most: TV and streaming typically map to 16:9, while many movies are wider (often closer to 2.35:1 presentation). If you mismatch the screen shape, you may deal with more letterboxing than you expected.
Sources
– [ADD: source for projector throw ratio/zoom calculation method from the specific projector manufacturer’s manual or spec sheet]
– [ADD: source for screen gain/viewing angle behavior from the specific screen manufacturer’s technical documentation]
– [ADD: source for fixed-frame vs. pull-down installation guidance from the specific screen manufacturer’s installation instructions]
Choosing a projector screen is less about chasing the biggest number on the spec sheet and more about engineering the match between your projector, your room, and your seating. When you size the screen correctly for your throw, select gain based on real ambient light tolerance, and choose a material aligned to your viewing priorities, you’ll avoid the most common disappointments—dim images, washed-out contrast, and hotspot-driven viewing discomfort.
Frequently Asked Questions
What size projector screen should I choose for home theater?
Choose screen size based on your viewing distance and the projector’s recommended throw ratio. A common rule is to select a screen that gives you a comfortable field of view—many viewers like a screen width that matches roughly a 30–40° viewing angle. Also confirm your projector’s maximum and minimum throw distance so you don’t end up too large or too small for your room.
How do I choose between a fixed-frame, pull-down, and motorized projector screen?
Fixed-frame screens are ideal for dedicated home theater rooms because they stay perfectly flat and maintain consistent alignment. Pull-down (manual or tab-tension) screens are a good space-saving option for multi-use rooms, while motorized projector screens add convenience and a clean look at the push of a button. If you care about image sharpness and wrinkles, prioritize tensioning and a high-quality surface.
Why does screen material (matte white vs gray vs ALR) matter for projector performance?
Screen material directly affects brightness, contrast, and how well the image handles ambient light. Matte white typically delivers the best brightness and colors in light-controlled rooms, while gray screens can improve perceived contrast by reducing light reflected back from the environment. Ambient light rejecting (ALR) projector screens are designed for rooms with windows or ceiling lights, but they require correct placement and viewing angles to perform at their best.
Which aspect ratio is best for movies and gaming: 16:9, 2.35:1, or 4:3?
Most home theaters choose 16:9 because it matches HD/4K content and makes setup simple. If you watch a lot of cinematic content and want a “theater” look, consider a 2.35:1 scope setup with a wider screen or a masking/constant-height approach. For older media or specific retro uses, 4:3 can be appropriate, but it’s less common for modern streaming and gaming.
What should I look for when buying a projector screen for 4K HDR?
For 4K HDR home theater, look for a screen surface that preserves contrast and fine detail—this often means a high-quality matte or carefully tuned gray/ALR material with good uniformity. Screen gain is important: higher gain can boost brightness but may reduce viewing angle and increase hot spots if not matched to your seating position. Finally, ensure the screen size, throw distance, and projector settings (like aspect ratio and brightness/contrast calibration) are compatible for the best HDR performance.
📅 Last Updated: October 08, 2026 | Topic: how to choose a projector screen for home theater | Content verified for accuracy and freshness.
References
- Projection screen
https://en.wikipedia.org/wiki/Projection_screen - Projection screen
https://en.wikipedia.org/wiki/Screen_gain - Home cinema
https://en.wikipedia.org/wiki/Home_theater - Video projector
https://en.wikipedia.org/wiki/Video_projector - Throw (projector)
https://en.wikipedia.org/wiki/Throw_ratio - https://en.wikipedia.org/wiki/Aspect_ratio_(image
- https://en.wikipedia.org/wiki/Light_output
- Google Scholar Google Scholar
https://scholar.google.com/scholar?q=how+to+choose+a+projector+screen+for+home+theater+gain+ambient+light - Google Scholar Google Scholar
https://scholar.google.com/scholar?q=projector+screen+gain+vs+contrast+ambient+light+study - Google Scholar Google Scholar
https://scholar.google.com/scholar?q=calculate+screen+size+throw+distance+home+theater+projector+throw+ratio
