To connect an amplifier to speakers in your car, start by gathering the necessary tools and materials, including an amplifier, speaker wire, and connectors. This process will enhance your car’s sound system, providing better audio quality and performance. In this guide, you will learn the essential steps to effectively connect your amplifier to your car speakers.
Understanding Your Car Audio System

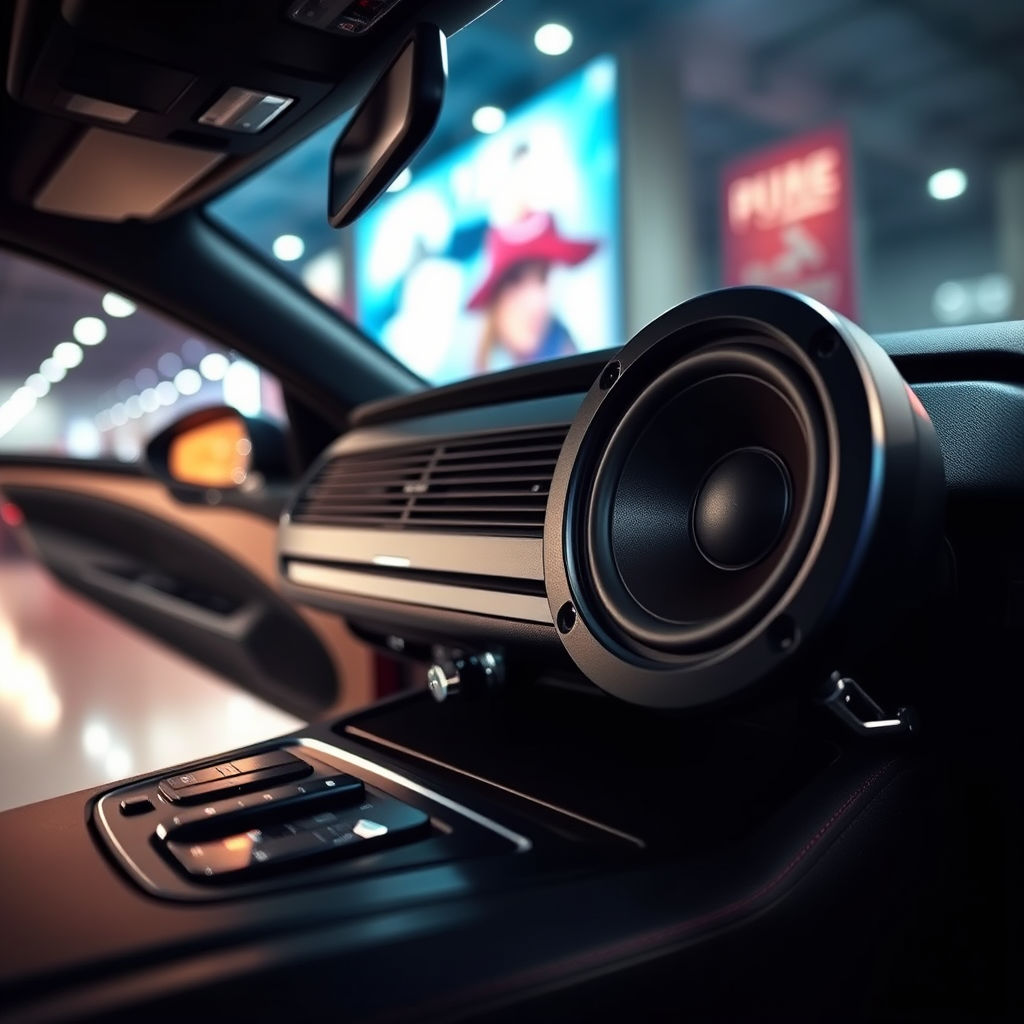
Before diving into the installation process, it is crucial to familiarize yourself with the components involved in your car’s audio system. The key elements include the head unit (the main control unit for your audio system), the amplifier (which boosts the audio signal), and the speakers (which convert the electrical signals into sound).
Additionally, understanding the difference between active and passive speakers is important. Active speakers have built-in amplifiers and require a power source, while passive speakers rely on an external amplifier to function. Knowing how these components interact will help you make informed decisions during the installation process, ensuring optimal audio performance.
Gathering Necessary Tools and Materials
To successfully connect an amplifier to your car speakers, you need to gather the right tools and materials. Here is a list of essential items:
– Amplifier: Ensure it matches the power requirements of your speakers.
– Speaker Wire: Choose the appropriate gauge based on your amplifier’s power output and the distance between the amplifier and the speakers. Generally, 16-gauge wire is suitable for most applications, but you may need thicker wire for higher power outputs.
– Connectors: Use quality connectors to ensure secure and reliable connections.
– Wire Cutters: For trimming the speaker wire to the desired lengths.
– Wire Crimpers: To attach connectors securely to the wire.
– Multimeter: For testing continuity and ensuring proper connections.
By having these tools and materials at your disposal, you will be well-prepared for the installation process.
Wiring the Amplifier to the Power Source
The first step in connecting your amplifier is to wire it to a power source. The car battery is typically the most reliable option. Here are the steps to follow:
1. Locate the Battery: Open the hood of your car and identify the positive and negative terminals on the battery.
2. Use a Fuse: For safety, always include an inline fuse close to the battery. This protects your audio system from potential power surges.
3. Connect the Power Wire: Use a thick gauge power wire to connect the positive terminal of the battery to the power terminal on your amplifier. Make sure the connection is secure and properly insulated to avoid short circuits.
Following these steps ensures that your amplifier receives the necessary power to function effectively.
Top 7 Amplifiers for Car Audio Systems (2024)
| # | Model | Power Output (RMS) | Channels | Price |
|---|---|---|---|---|
| 1 | Alpine MRV-F300 | 50W | 4 | $249 |
| 2 | Pioneer GM-D9701 | 1200W | 1 | $299 |
| 3 | Rockford Fosgate R500X1D | 500W | 1 | $179 |
| 4 | JL Audio JX400/4D | 75W | 4 | $299 |
| 5 | Kenwood KAC-M1804 | 45W | 4 | $159 |
| 6 | Infinity Kappa 1000W | 1000W | 1 | $399 |
| 7 | Sony XM-GS4 | 80W | 4 | $249 |
Connecting the Speakers to the Amplifier
After securing the power connection, the next step is to connect your speakers to the amplifier. Correctly identifying the positive and negative terminals is crucial for optimal sound quality. Here’s how to proceed:
1. Identify Terminals: On both the amplifier and the speakers, locate the positive (+) and negative (−) terminals. This is usually marked with color-coded wires, where red typically signifies positive and black negative.
2. Use Speaker Wire: Cut lengths of speaker wire to connect the terminals. It’s important to ensure that the positive terminal on the amplifier connects to the positive terminal on the speaker, and the same for the negative terminals.
3. Secure Connections: Strip the ends of the speaker wires, attach the connectors, and firmly secure them to the respective terminals. Double-check that there are no exposed wires that could cause a short circuit.
By ensuring correct polarity and secure connections, you will avoid potential sound issues and achieve the best audio quality.
Setting Up the Ground Connection
A solid ground connection is essential for reducing noise and ensuring reliable performance. Here’s how to set it up:
1. Choose a Ground Point: Locate a metal surface within the car that is part of the chassis. This will serve as your grounding point.
2. Strip the Wire: Take a short length of wire and strip both ends to expose the copper.
3. Connect to Ground Point: Attach one end of the wire to the amplifier’s ground terminal and the other end to the chosen metal surface. Use a screw or bolt to secure the connection tightly.
A proper ground connection minimizes hum and buzz in your audio system, enhancing the overall listening experience.
Testing the Connections
Before finalizing the installation, it’s crucial to test all connections to ensure everything is functioning correctly:
1. Use a Multimeter: Check all connections with a multimeter to verify continuity. This ensures that there are no breaks in the circuit.
2. Power On the System: Once all connections are checked, power on your audio system and play some music. Listen carefully to ensure all speakers are producing sound and that there are no unusual noises, such as hissing or buzzing.
Testing allows you to identify and rectify any issues before you complete the installation.
Finalizing the Installation
Once everything is tested and functioning correctly, it’s time to finalize the installation:
1. Secure the Amplifier: Mount the amplifier in a stable location to prevent it from moving while driving. Make sure it is well-ventilated to avoid overheating.
2. Tidy Up Wiring: Use zip ties or cable management solutions to organize the wiring. This not only looks cleaner but also prevents interference from loose wires.
Finalizing your installation not only contributes to an improved aesthetic but also ensures the longevity and reliability of your audio system.
By following these steps, you will successfully connect your amplifier to your car’s speakers, significantly enhancing your listening experience. Always remember to adhere to safety precautions throughout the process, and consult your amplifier’s manual for specific instructions. Ready to enjoy better sound? Start your installation today!
Frequently Asked Questions
How do I properly connect an amplifier to my car speakers?
To connect an amplifier to your car speakers, first, ensure your amplifier is compatible with the speaker impedance. Run power and ground wires from the battery to the amplifier, and connect the remote turn-on wire to your head unit. Finally, use speaker wire to connect the amp’s output terminals to the speakers, ensuring proper polarity for optimal sound quality.
What size wires do I need to connect my amplifier to the speakers?
The wire size for connecting your amplifier to the speakers depends on the amplifier’s power output and the distance between the amp and speakers. Typically, 16-gauge wire is suitable for most setups, but for higher power applications, you might need 14-gauge or 12-gauge wire. Always use quality speaker wire to minimize resistance and maintain sound clarity.
Why is my amplifier not working with my car speakers?
If your amplifier is not working with your car speakers, it may be due to improper connections, blown fuses, or mismatched impedance. Check all wiring connections for security and proper polarity, ensure the amplifier is powered on, and verify that the speaker impedance matches the amp’s specifications to prevent damage and ensure optimal performance.
What is the best way to troubleshoot sound issues after connecting an amplifier to speakers?
To troubleshoot sound issues after connecting an amplifier to speakers, start by checking all wire connections for tightness and correct polarity. Next, verify that the amplifier is receiving power and that the settings are configured correctly. If the issue persists, test the speakers directly with a different source to rule out speaker damage.
Which amplifier features are most important when connecting to car speakers?
When connecting an amplifier to car speakers, key features to consider include the amplifier’s power output (wattage), compatibility with speaker impedance, and built-in crossovers. Look for an amplifier with adjustable gain settings to fine-tune sound levels, and if you’re using subwoofers, ensure the amp has a low-pass filter for better sound management.
References
- Vehicle audio
https://en.wikipedia.org/wiki/Car_audio - Google Scholar Google Scholar
https://scholar.google.com/scholar?q=connecting+amplifier+to+speakers+in+car - https://www.crutchfield.com/S-1G4z87LxCq4/learn/how-to-install-a-car-amplifier.html
https://www.crutchfield.com/S-1G4z87LxCq4/learn/how-to-install-a-car-amplifier.html - Google Scholar Google Scholar
https://scholar.google.com/scholar?q=car+amplifier+installation - https://www.edmunds.com/car-audio/how-to-install-a-car-amplifier.html
https://www.edmunds.com/car-audio/how-to-install-a-car-amplifier.html - https://www.lifewire.com/how-to-install-a-car-amplifier-534572
https://www.lifewire.com/how-to-install-a-car-amplifier-534572 - CarAudio.com Car Audio Forum
https://www.caraudio.com/learn/how-to-install-a-car-amplifier/ - Google Scholar Google Scholar
https://scholar.google.com/scholar?q=how+to+connect+amplifier+to+speakers+in+car - https://en.wikipedia.org/wiki/Special:Search?search=how+to+connect+amplifier+to+speakers+in+car
https://en.wikipedia.org/wiki/Special:Search?search=how+to+connect+amplifier+to+speakers+in+car - https://www.ncbi.nlm.nih.gov/search/research-articles/?term=how+to+connect+amplifier+to+speakers+in+car
https://www.ncbi.nlm.nih.gov/search/research-articles/?term=how+to+connect+amplifier+to+speakers+in+car
