It’s always been a challenge for music enthusiasts to accurately enjoy low-end sounds. To make things right, you might want to add subwoofers to your studio monitors. If you are a producer, owning a studio subwoofer will drastically cut down on your testing times to accurately represent the low end of your music.
If you want to add subwoofers to your studio monitors and are facing difficulty setting them up, then you have come to the right place. I will now show you how you can connect your subwoofers to your studio monitors and suggest some bonus tips in the end. So, stay with me!
How to Connect Subwoofer to Studio Monitors
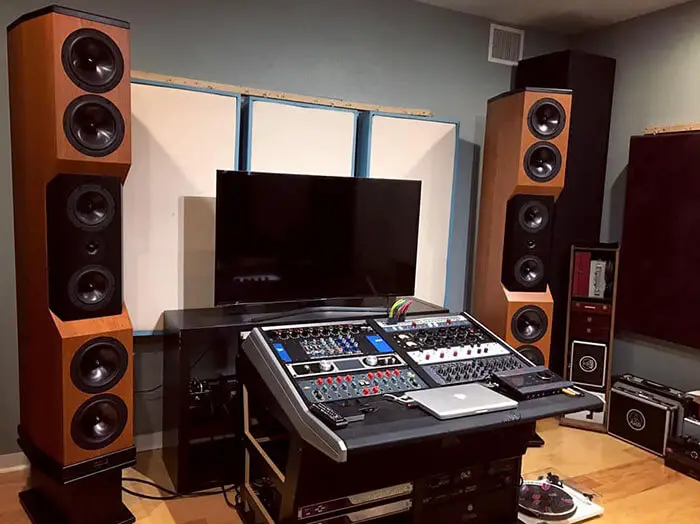
Connecting a subwoofer to a studio monitor is a very easy process. However, the whole setup should maintain some specified rules to output the best results. For instance, after setting up connections, you must position your subwoofer appropriately relative to your studio monitors to experience the best possible sound.
Connecting a Subwoofer
The connection phase starts in the back of your subwoofer. It’s normal to get confused with so many outputs and input ports. But don’t worry as I will guide you through the process.
Depending on the brand of your subwoofer, the manufacturers will provide various options of inputs. Generally, you can plug in TRS ¼, XLR, or RCA. Some subwoofers come with a pedal switch, which you can use to turn off or on the device as per your demand. So, choose your desired connection method and insert the corresponding cable.
Connecting the Audio Interface
Similar to the previous step, directly go to the back portion of your audio interface. Here, you will see a bunch of inputs to choose from. It can be TRS ¼, RCA, MIDI, or S/PDIF. For instance, you can choose the TRS ¼ cable and insert one end into 1 and 2 of the audio interfaces.
This cable will directly connect the audio interface and the subwoofer. From the subwoofer, you will require two more TRS ¼ cables that will connect your studio monitors to the subwoofer. This connection method is applicable only if you are choosing the TRS ¼ cable connection method.
Connecting the Power
After you have established proper audio channels between all of your devices, it’s now time to turn on the power. Always choose good quality power cables as they will ensure your devices’ safety.
Required Cables
You can choose whatever cable you want to connect your subwoofer to your studio monitor depending on the availability of options. However, I would recommend you use TRS ¼ cables as it ensures a very strong connection without a drop in quality.
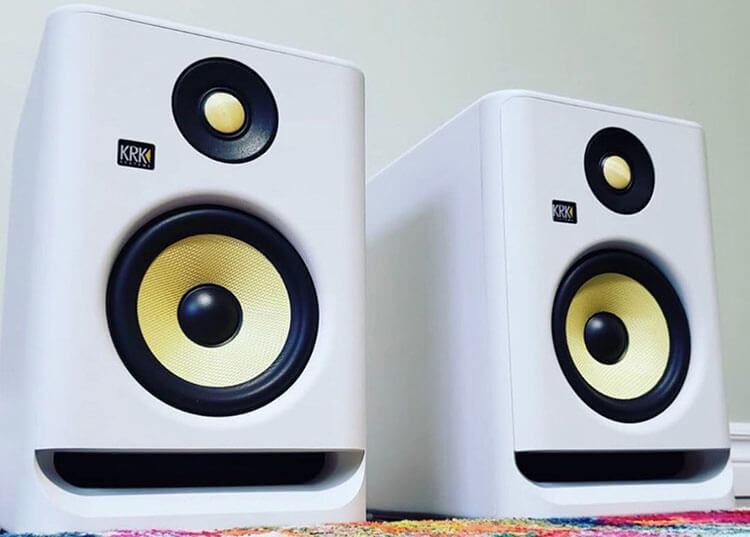
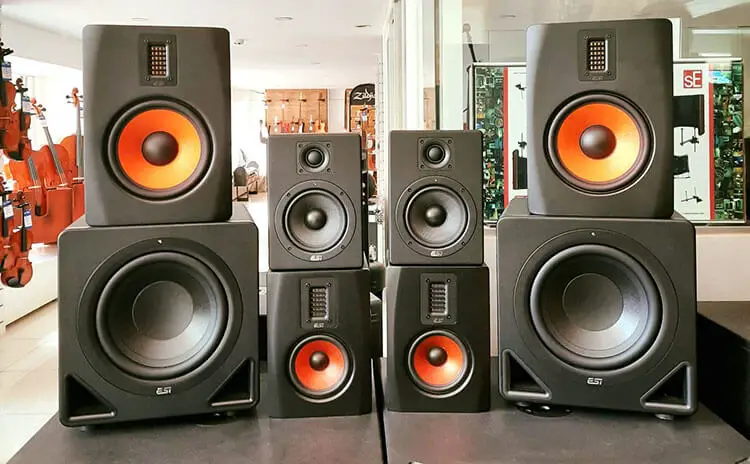
Setting Up Your Subwoofers with Studio Monitors
Connecting your subwoofer to the studio monitor through cables was the easy part. Now, I will show you how you can properly set up your whole system to enjoy music as you want.
As you already know, subwoofers are used in a system to accurately enjoy low-end sounds. Hence, placement is an important aspect of the sound system.
Arrangement of Your Subwoofer
Just like any other audio device, a good placement or arrangement of your subwoofer will immensely enhance your music listening experience. Your subwoofers will be producing low-frequency sounds and low-frequency sounds are of higher wavelength compared to high-frequency sounds.
Your monitors produce high-frequency sounds that are more directional and we perceive it more precisely. Hence, you must accurately position them in your room. On the other hand, humans cannot perceive the direction of low-frequency sounds that are produced by subwoofers. As a result, you are not required to place your subwoofers straight ahead of you.
You should place your subwoofers in such a position so that the frequency response from all of your speakers is as flat as possible. Subwoofers shouldn’t accentuate the bass response of your room; rather, they should function as a natural addition to the low-end spectrum of sound that is produced by your studio monitors.
In simple terms, the goal is to place the subwoofers in such a position that it does not reflect off the wall or any other object. So that your primary speakers sound as though they have achieved greater low-frequency response than they did before the subwoofer was added.
You can achieve this by avoiding placing your subwoofer near a reflective surface like a partition wall or the corner of a room. Placing your subwoofers in a corner can cause multiple reflections that can create standing waves to accentuate the bass response. It can severely hamper your music listening experience.
You can follow these steps to perfectly position your subwoofer:
- Try placing your subwoofer far away from the walls of your room
- Play some bass-heavy music and listen for any odd tones
- Keep changing the position of your subwoofer to find the perfect spot
- After finding the most optimum spot play different types of music to ensure the best frequency response
If you find it too difficult to find the perfect position, you can consider acoustically treating your room. You can cover a large surface area of your walls with non-reflective type materials.
Calibration of Your Subwoofer and Studio Monitor
After you have found the most optimum position for your setup, now it’s time for calibrating your devices. In order to prevent your subwoofer’s volume from exaggerating your room’s low-end response, you must set your subwoofer’s volume appropriately relative to your studio monitors. I will show you a quick and easy method to calibrate your subwoofer with respect to your studio monitors.
- First, connect your studio monitor to an audio interface as mentioned previously
- After establishing connection and power, start playing pink noise on your device
- You can create a signal to generate pink noise or can use the sample from online
- While the pink noise is playing, tune the level of your left studio monitor. Keep the SPL a meter out from you and turn the speaker’s volume up to 82 dB SPL.
- Follow the previous step to tune your right studio monitor
- Your SPL meter should show 85 dB with the combined sound from your monitors
- Play some of your favorite tracks to adjust the position of your monitors
After you have perfectly calibrated your monitors, it’s now time to calibrate your subwoofer. You can follow these steps:
- First, turn off your studio monitors
- Turn on your subwoofer and play pink noise.
- Set the volume 3 dB below the level you set your studio monitors
- Turn your studio monitors on
- Play your favorite track and adjust the position of the subwoofer
- Try changing the polarity on your subwoofer to receive the loudest bass response
- Keep adjusting until you find your sweet spot
Frequently Asked Questions
Do I need a subwoofer for my studio monitors?
It depends on your studio setup. Subwoofers are a great extension to your studio monitors as it helps them to produce the best low-end frequency response. However, you can also work without the subwoofer, but it won’t be as accurate as with the subwoofer.
Do studio monitors have bass?
Studio monitors have bass but it isn’t as strong as connecting a separate subwoofer to your system.
Conclusion
Connecting your subwoofer to your studio monitor is an easy process, but it requires time and patience. You can do it without any hassle by following the instructions discussed in this article. I hope you succeed in your endeavor and enjoy listening to music.
