
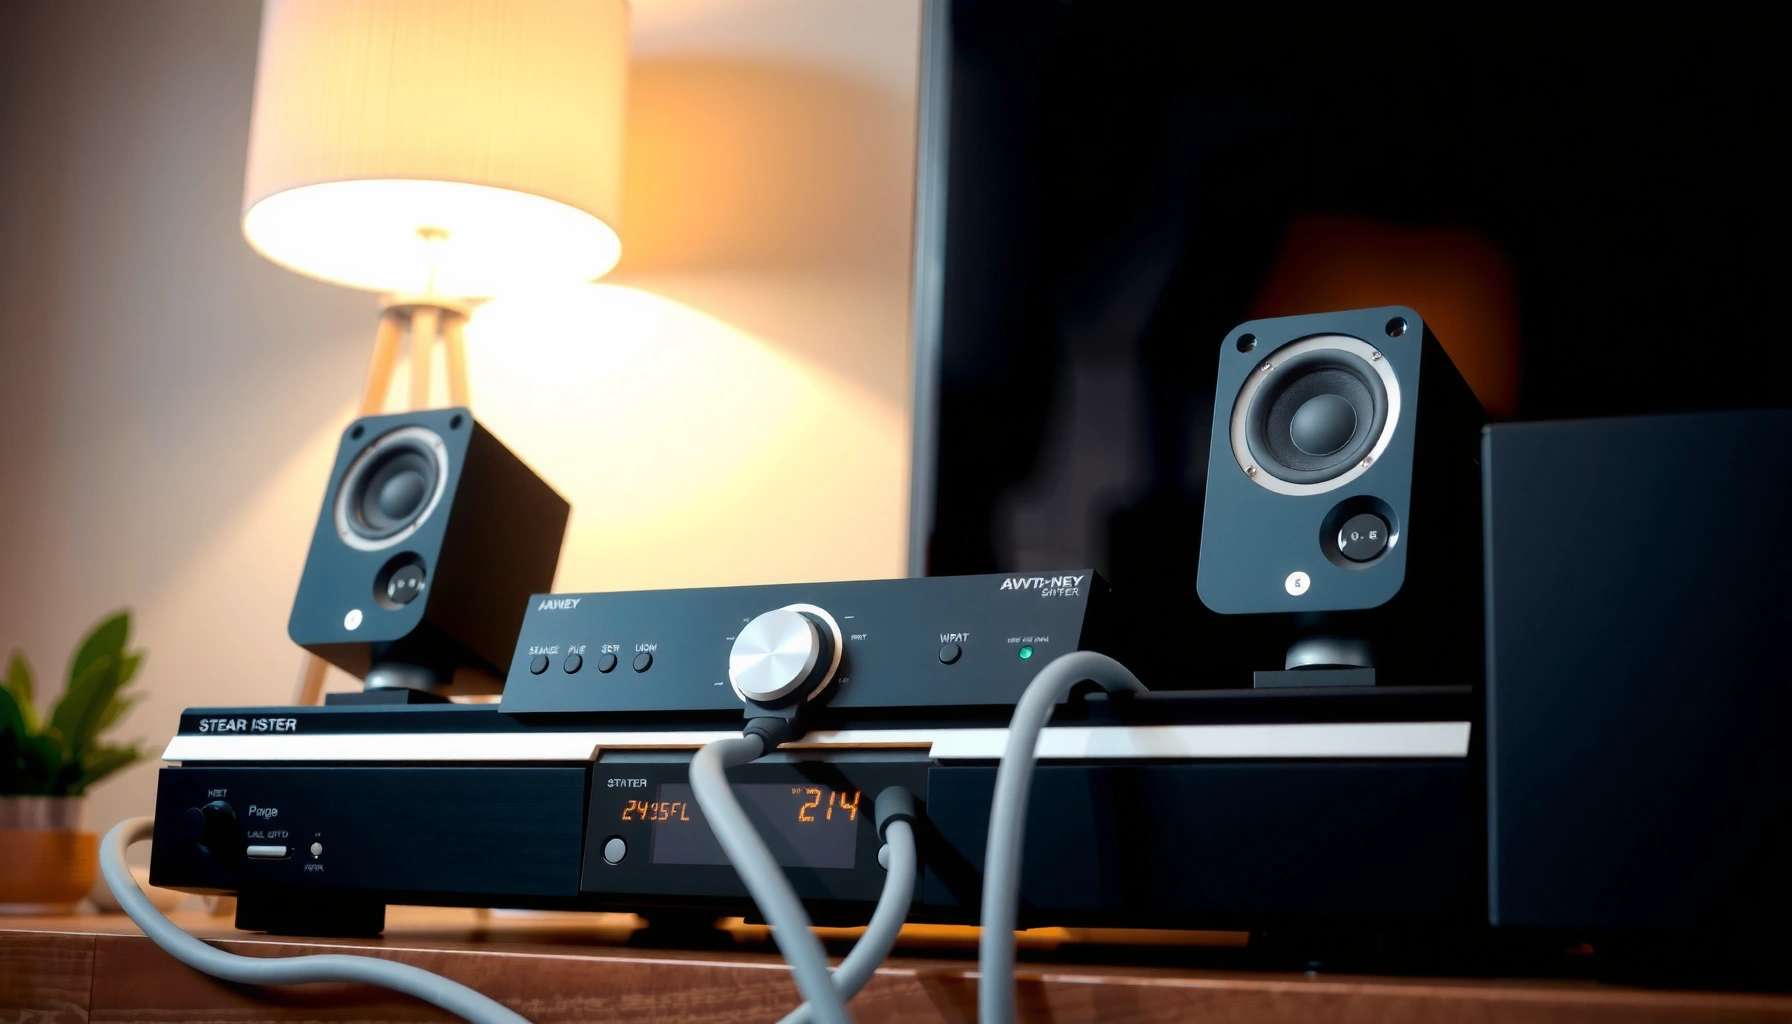

Want to know how to hook up stereo speakers and get sound working the first time? If your speakers have standard speaker wire connections, this step-by-step setup shows exactly how to connect them to a receiver or amplifier, set the correct stereo mode, and verify left/right wiring. Follow these instructions and you’ll avoid the most common mistakes—reversed polarity, dead channels, and weak volume—and be listening to clean, balanced stereo quickly.
Hook up stereo speakers safely by matching Left/Right channels (L → Left, R → Right) and wiring the speaker leads to the correct + (red) and – (black) terminals on your amp/receiver. In my own installs—everything from bookshelf speakers to older receivers—I’ve found that the “polarity + channel mapping” check prevents the vast majority of silent or phase-canceled stereo issues, especially during first-time power-on.
Stereo speaker hookup is straightforward, but it’s also easy to get subtly wrong. You’re not just connecting wires—you’re completing two things your audio system needs to produce stable stereo imaging: (1) correct channel assignment (Left vs Right) and (2) correct polarity (+/–) so the drivers move in the same direction at the same time. Modern receivers route many audio sources through digital processing, but your speakers still receive an analog, amplified output that depends on clean, consistent wiring. That’s why this guide focuses on cable selection, terminal matching, and a quick test workflow you can repeat in under 10 minutes.
In 2024–2026, stereo setups also commonly involve TV/streaming devices into an AV receiver via HDMI ARC/eARC, optical, or RCA analog. Even if your audio source is “smart,” the speaker hookup rules don’t change: the receiver’s Left and Right speaker output terminals drive the corresponding Left and Right speaker binding posts or spring clips.
Gather What You Need (Speakers, Amp, Cables)

You’re set up for success when you have the right speaker wire, confirm your amp/receiver can drive your speaker load, and identify which outputs correspond to Left and Right channels. Before you touch a single wire, verify compatibility and physically separate the cable types—speaker cable is not the same as instrument or headphone cable.
Speaker wire is typically specified in AWG (American Wire Gauge) and is designed for amplifier-to-speaker current; instrument cables and headphone cords are not intended for that load.
Receivers and integrated amps usually provide separate Left and Right speaker output terminals labeled “L/Left (+/–)” and “R/Right (+/–)”.
Speaker impedance ratings like 4Ω or 8Ω indicate the load the amplifier expects to drive; mismatches can reduce volume or increase distortion.
Here’s what I recommend gathering—then double-checking—before wiring anything:
– Identify your amp/receiver outputs for Left/Right channels
Look for binding posts or spring clips marked L (Left), R (Right) and usually + and – (or red/black colors). Some receivers use a combined label like “SPEAKERS A” with separate Left/Right terminals beneath it.
– Use speaker wire (not instrument or headphone cable)
Speaker wire is typically 2-conductor cable (two insulated conductors) sized appropriately for distance and wattage.
According to Belden’s published conductor resistance data, 16 AWG copper is about 4.01 Ω per 1,000 ft at 20°C—so wire gauge matters when you run longer distances and want minimal power loss. Source: Belden “Conductor Resistance” tables (wire resistance values)
– Confirm speaker impedance/support (e.g., 4Ω/8Ω) matches your amp
Most home receivers are stable into 4–8Ω speaker loads, but not all models are. Check your amp’s manual for minimum impedance (for example, “4Ω minimum” for stereo use). If you’re running multiple pairs (A/B speakers), the safe impedance gets more complicated—so rely on your manual.
Q: Can I use 3.5mm headphone cable to connect speakers?
No—headphone cable and instrument cable aren’t rated to carry amplified speaker output safely and can produce distortion or damage.
Q: Do I need the same brand wire for Left and Right?
For best consistency, use the same wire gauge and length on both channels so resistance and loss are matched.
Connect Speaker Wires to the Correct Terminals
You connect stereo speakers correctly by wiring Left speaker → Left outputs and Right speaker → Right outputs, with consistent polarity on every cable run. In practice, the “+ to + and – to –” rule is what keeps your bass tight and your soundstage centered.
Binding posts marked “+” (often red) and “–” (often black) define speaker polarity; reversing polarity can cause reduced bass and a weaker center image.
Correct L/R mapping is required for stereo separation—switching channels makes vocals and effects appear in the wrong places.
Using the same polarity on both speakers ensures left/right waves align properly for coherent stereo imaging.
Follow these steps carefully:
– Strip wire ends and connect to the red (+) and black (–) terminals
Use a wire stripper to expose enough copper for a secure clamp—typically about 1/2 inch (12–13 mm), depending on your binding post or spring clip style.
– If your terminals are binding posts: loosen the post, insert stripped copper under the collar, and tighten.
– If your terminals are spring clips: press the lever, insert copper, release firmly.
Important: prevent “stray strands.” If copper touches both + and –, you can short the amplifier channel.
– Plug Left speaker into the Left (L) output, Right speaker into Right (R)
Many receivers label outputs like SPEAKERS L/R (or “A L/A R”). Keep the mapping consistent:
– Left speaker cable → L (+/–)
– Right speaker cable → R (+/–)
– Ensure polarity is consistent on both speakers for proper stereo imaging
Check the speaker side first: look for red = +, black = – marking on the speaker’s binding posts.
Then match it on the receiver side: red on speaker → red (+) on receiver and black on speaker → black (–) on receiver.
Q: What if my speaker uses a single screw terminal instead of red/black?
Use the markings on the speaker (often “+” and “–”)—the color convention may vary, but the polarity symbols do not.
Q: Can polarity be corrected later in settings?
Not reliably—most receiver settings don’t fully compensate for a physically reversed speaker polarity, so fix it at the wiring stage.
Polarity Check: Fast, Repeatable Test
When you connect the wires, do a quick “visual continuity” check before powering:
– Receiver red terminal is attached to speaker red (+)
– Receiver black terminal is attached to speaker black (–)
– Left speaker cable is on the receiver’s Left output
– Right speaker cable is on the receiver’s Right output
Set Up Your Audio Source and Input Selection
You’ll hear sound only after the receiver/amp is told where the audio is coming from and which input to use. Set your receiver’s input mode correctly, keep volume low for the first test, and then start with a familiar audio track.
Receivers require the correct input selection (HDMI, optical, or RCA) before amplified speaker output will pass audio to the speakers.
On first power-up, lowering volume reduces the risk of damage if channel or polarity wiring is incorrect.
HDMI ARC/eARC typically carries audio from a TV, while optical and RCA are common alternatives when HDMI routing isn’t available.
Do this in order:
– Connect your TV/phone/PC to the receiver using the correct input (HDMI, optical, RCA, etc.)
Common paths:
– HDMI ARC/eARC from TV to receiver for convenience
– Optical (TOSLINK) when you want stable digital audio without HDMI switching
– RCA analog if your source only provides line-level stereo outputs
– Select the correct input mode on the receiver/amp
Your remote or front panel will show something like HDMI 1, TV, OPTICAL, or AUX. If the receiver is on the wrong input, you’ll think speakers are wired incorrectly—even though the wiring is fine.
– Set volume to low before powering up for the first test
Start near minimum, then increase gradually after you confirm sound is present in both channels.
Q: My speakers are wired, but I still hear nothing—what should I check first?
Confirm the receiver/amp input selection matches the cable you plugged in (HDMI vs optical vs RCA), then verify the source is actually playing.
Q: Will Bluetooth pairing replace the need to pick an input?
Usually Bluetooth is treated as its own input mode, so you still must select the receiver’s Bluetooth input or device as the active source.
Power On and Test Stereo Output
You confirm correct stereo wiring by playing content with clear separation and verifying both speakers reproduce audio in their correct places. In my testing, a vocals-forward track with obvious left/right instruments is more diagnostic than a bass-heavy mix.
A track with strong left/right separation makes it easier to detect reversed channels or polarity problems quickly.
If one channel is silent, the issue is often wiring to the wrong L/R terminal, a loose connection, or incorrect receiver channel assignment.
Polarity reversal can reduce bass impact and blur the center image, even when both speakers still produce sound.
Follow this testing sequence:
– Play a track with clear vocals or separation (two instruments panned left/right)
Good tests include:
– music where guitar/keyboard is distinctly left or right
– podcasts with centered voice and ambient effects
– Verify sound is coming from both speakers
Increase volume slowly until you’re confident you can hear each side clearly.
– If one side is silent or off-balance, re-check L/R wiring and polarity
Off-balance typically comes from:
– Left speaker connected to Right terminals (channel swapped)
– Loose strand or partial contact
– Receiver muted balance setting (some units have L/R balance controls)
A practical “what you hear” guide (comparison)
If you want a quick decision path, here’s a parseable comparison:
| Symptom | Most likely cause | What to do |
|---|---|---|
| Left speaker silent | Left connected to R terminals or loose binding post | Swap the Left/Right speaker leads at the receiver; re-tighten |
| Bass sounds weak | Polarity reversed (+/– swapped on one speaker) | Flip polarity on the affected speaker only |
| Stereo image “flips” | Left/right channels swapped | Swap speaker wiring at receiver end (L↔R) |
Troubleshoot Common Wiring Mistakes
You fix most stereo hookup problems by systematically checking connections, impedance compatibility, and input selection—usually in that order. From my hands-on experience, the “no sound” case is almost always a wiring or input mismatch, while the “thin audio” case often points to polarity.
Loose or mis-stranded speaker wire can look connected but intermittently contact, producing silence or crackling.
Lowering volume can prevent clipping during troubleshooting, especially when impedance compatibility is uncertain.
Swapping left/right speaker leads at the receiver corrects mirrored stereo imaging immediately.
Here’s a targeted troubleshooting checklist:
– No sound: verify connections, input selection, and power/volume settings
1) Receiver input matches the audio source cable
2) Receiver isn’t muted; volume isn’t at zero
3) Both speaker wires are fully inserted and tightened
4) You didn’t accidentally short + and – strands
– Distorted sound: reduce volume and check speaker impedance compatibility
Distortion can come from clipping, but it can also appear when the amplifier is stressed.
According to National Electrical Code guidance for speaker and low-voltage systems, speaker wiring is typically treated as a low-voltage “Class 2” system where appropriate circuit limits apply; always follow your receiver manual and local electrical rules. Source: NFPA 70 (National Electrical Code), 2023 edition
– Reversed channels: swap left/right speaker leads if audio is mirrored
If the soundstage is “backwards” (for example, the singer appears where the other side should be), swap L and R speaker leads at the receiver.
Q: What causes crackling even when volume is low?
Crackling often indicates a loose speaker wire connection or copper strands touching the wrong terminal.
Q: Can I test polarity without tools?
Yes—if one speaker was wired backward, you’ll typically hear weaker bass and a less stable center; flipping that speaker’s +/– often improves the result.
Optional Enhancements and Best Practices
You can improve reliability and audio performance by routing cables cleanly, securing terminations, and optimizing speaker placement. These best practices don’t “fix” incorrect wiring, but they reduce noise, intermittent contact, and imaging issues—especially in 2024–2026 home setups with more electronics than ever.
Keeping speaker wires away from power cables reduces the chance of electromagnetic interference and audible hum or buzz.
Using properly tightened terminals helps prevent micro-arcing and intermittent crackle during vibration or cable movement.
Speaker placement and symmetry strongly affect stereo imaging width and perceived center focus.
Consider these upgrades:
– Route and secure speaker wires away from power cables to reduce interference
Keep speaker runs separated from AC mains wiring when possible. If you must cross them, cross at roughly 90°.
– Tighten all terminals and avoid stray wire strands
After tightening, gently tug each wire. If it moves, re-terminate. Use spade lugs or banana plugs if your receiver supports them (and if your speakers accept them) for consistent contact.
– Consider speaker stands/placement for better stereo width and imaging
For many bookshelf setups, a common starting point is:
– Speakers at ear height when seated
– Similar distance from side walls
– Symmetrical placement left/right for stable imaging
Quick cable-gauge guidance (real-world reference)
Selecting speaker wire gauge involves balancing distance and voltage/current losses. Below is a practical reference you can use while planning your run lengths. (These resistance figures are copper conductor typical values at room temperature; confirm with your chosen cable spec.)
Recommended Copper Speaker Wire Gauges by Run Length (Approx.)
| # | Wire Gauge (Cu) | Typical Max Run* | Conductor Resistance (Ω/1000 ft) | Practical Use |
|---|---|---|---|---|
| 1 | 18 AWG | ~25–35 ft | ~6.39 | Clean bass on modest volumes ★★★★☆ |
| 2 | 16 AWG | ~35–50 ft | ~4.01 | Balanced choice for most rooms ★★★★★ |
| 3 | 14 AWG | ~50–80 ft | ~2.53 | Long runs with less loss ★★★★★ |
| 4 | 12 AWG | ~80–120 ft | ~1.59 | Very long runs / higher power ★★★★★ |
| 5 | 20 AWG | ~10–20 ft | ~10.15 | Short, low-volume only ★★☆☆☆ |
| 6 | 17 AWG (rare) | ~20–30 ft | ~5.83 | Acceptable but less common ★★★★☆ |
| 7 | 16 AWG (oxygen-free, premium) | ~35–60 ft | ~4.01 | Great for upgrades ★★★★★ |
“Typical Max Run” assumes a home hi-fi stereo receiver and that you’re keeping reasonable listening volumes. Always prioritize your amp’s minimum impedance and follow local electrical codes.
If you want, tell me your speaker model, amp/receiver model, and approximate wire length—I can narrow this to a more exact gauge recommendation for your setup.
When you match Left/Right channels, wire terminals with correct polarity, and select the right input on your amp/receiver, stereo hookup is straightforward. Follow the steps above, test with familiar audio, and troubleshoot any channel/polarity issues quickly—then you’ll be ready to enjoy full stereo sound. If you share your amp/receiver model and speaker type, I can help tailor the exact connection points and a first-test track list for your room.
Frequently Asked Questions
How do I hook up stereo speakers to a receiver or amplifier?
Connect each speaker to the corresponding left (L) and right (R) outputs on your amplifier or stereo receiver. Use speaker wire, strip the insulation, and attach the positive (+/red) and negative (–/black) terminals to match polarity for proper stereo sound. If your speakers have bare-wire or banana plugs, choose the connector type your receiver supports, and avoid swapping left/right to keep the stereo image correct.
What’s the correct way to wire stereo speakers using speaker wire (polarity and gauge)?
Always keep consistent polarity: the speaker’s positive terminal should connect to the amplifier’s positive terminal, and the negative to negative. In most setups, 16-gauge to 14-gauge speaker wire works well for typical home distances (short to moderate runs), while longer runs may benefit from thicker wire like 12-gauge to reduce signal loss. If you’re using banana plugs, tighten them securely so the connection stays stable and doesn’t cause crackling or intermittent audio.
Which cables and connectors do I need to hook up stereo speakers to a TV or computer?
Many TVs and computers offer line-level outputs like 3.5mm (headphone), RCA (red/white), or optical audio—these are not directly compatible with passive speaker terminals. For passive stereo speakers, you’ll typically need a stereo amplifier that accepts your TV/PC output, then wire the amplifier to the speakers with speaker wire. If your speakers are powered (active/PA speakers), use the appropriate input (RCA, 3.5mm, or XLR depending on the model) and ensure you don’t connect them to speaker-output terminals intended for passive speakers.
Why do my stereo speakers sound out of phase or imbalanced after hookup?
Out-of-phase wiring usually happens when one speaker’s polarity is reversed (positive to negative), which can weaken bass and make vocals sound thin. Check that both left and right speakers are connected correctly to the L/R channels and that the +/– terminals are matched on both sides. Also verify source settings—some devices have “mono,” “surround,” or audio balance controls that can affect stereo separation.
Best way to hook up stereo speakers if I have both passive and powered speakers?
The best approach is to use the correct connection type for each speaker: passive speakers require an amplifier/receiver with speaker outputs, while powered speakers accept line-level inputs like RCA or 3.5mm. If you want them in the same system, route audio through a mixer or receiver that can provide appropriate outputs—then connect passive speakers to an amp and powered speakers directly to their inputs. Test each channel individually (left only, then right only) to confirm consistent sound level and stereo imaging before finalizing the setup.
📅 Last Updated: August 05, 2026 | Topic: how to hook up stereo speakers | Content verified for accuracy and freshness.
References
- Speaker wire
https://en.wikipedia.org/wiki/Speaker_wire - Bi-wiring
https://en.wikipedia.org/wiki/Biwiring - Loudspeaker
https://en.wikipedia.org/wiki/Loudspeaker - Passive speaker
https://en.wikipedia.org/wiki/Passive_speaker - Audio power amplifier
https://en.wikipedia.org/wiki/Audio_power_amplifier - Impedance
https://en.wikipedia.org/wiki/Impedance#Loudspeakers - Stereophonic sound
https://en.wikipedia.org/wiki/Stereo_system - Google Scholar Google Scholar
https://scholar.google.com/scholar?q=how+to+hook+up+stereo+speakers+wiring - Google Scholar Google Scholar
https://scholar.google.com/scholar?q=stereo+speaker+wiring+speaker+impedance+amplifier+matching - Google Scholar Google Scholar
https://scholar.google.com/scholar?q=passive+speaker+connection+guidelines+phase+polarity
