
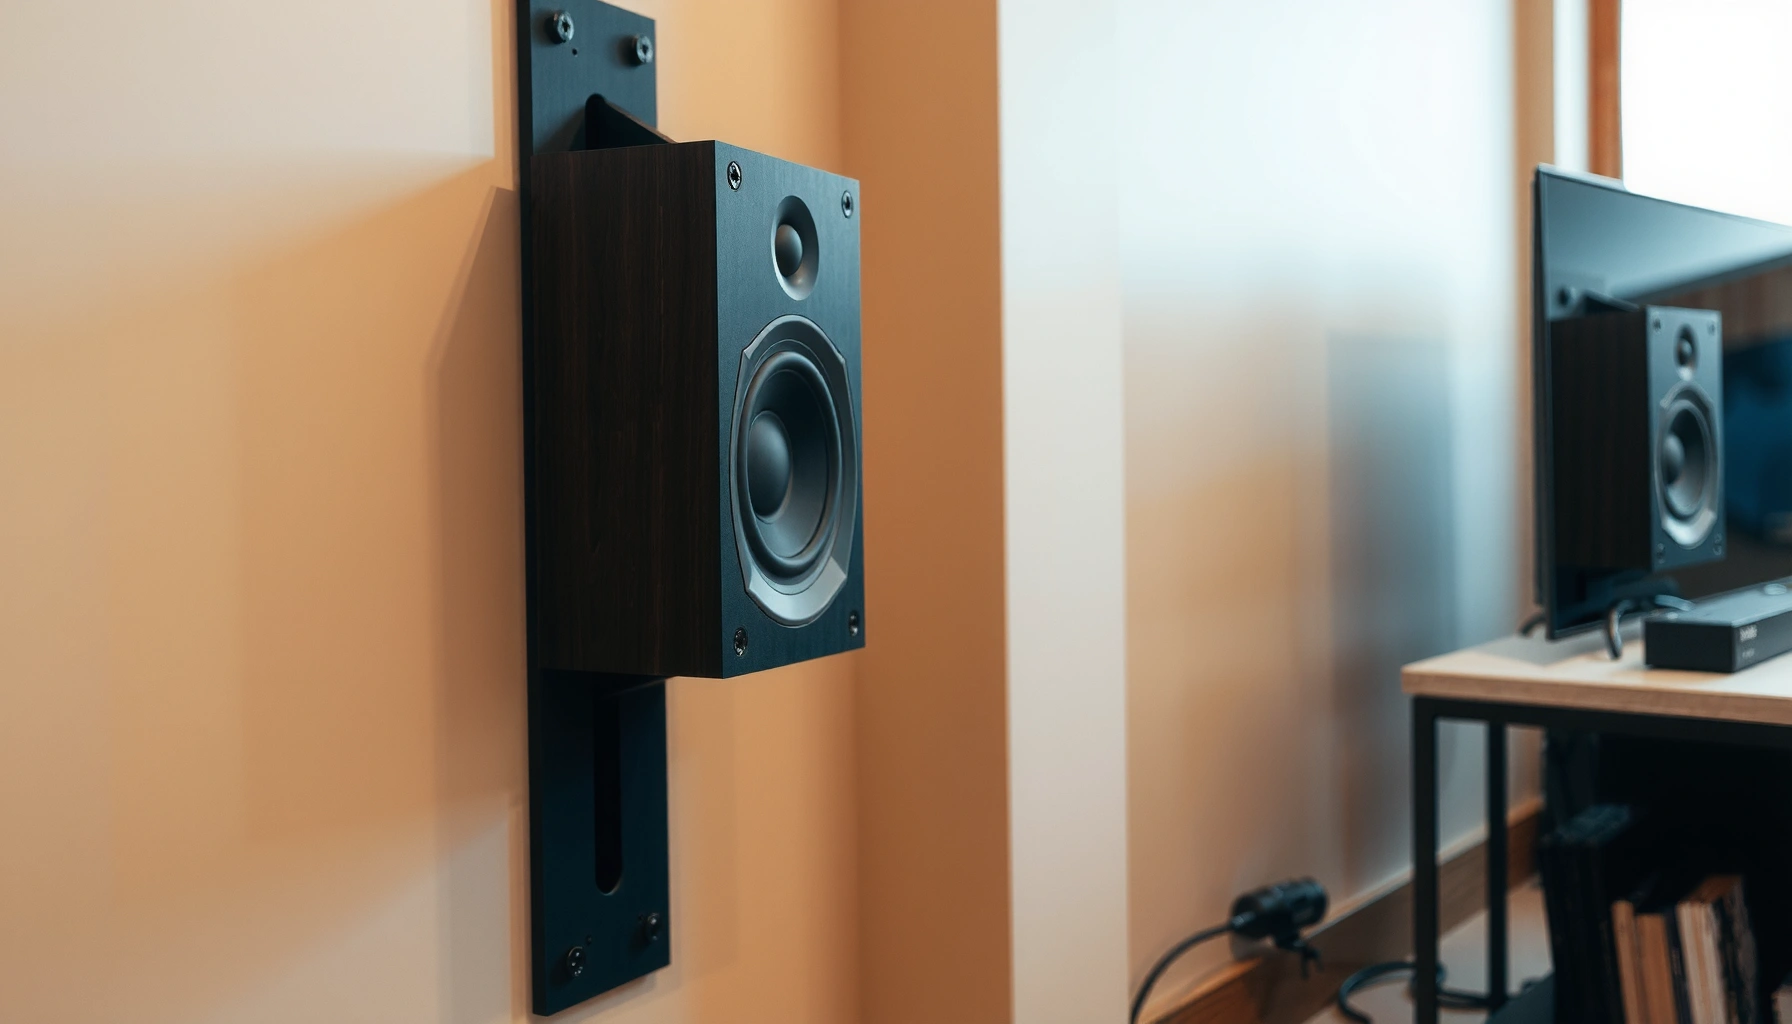

Want to know how to install speakers on a wall quickly and correctly? This step-by-step guide tells you exactly where to mount your speakers, how to mark and drill, and how to run the wiring so you get secure, clean sound. Follow it and you’ll avoid the most common mounting mistakes—without guessing or guesswork.
Mount wall speakers safely by locating the correct height and aiming first, then mounting brackets to studs (or using wall-rated anchors), and finally routing/connecting speaker wire carefully before tightening everything. This guide walks you through the full process—tools, mounting options, and wiring tips—so you get stable placement and clean, solid sound.
Choose Speaker Placement and Height
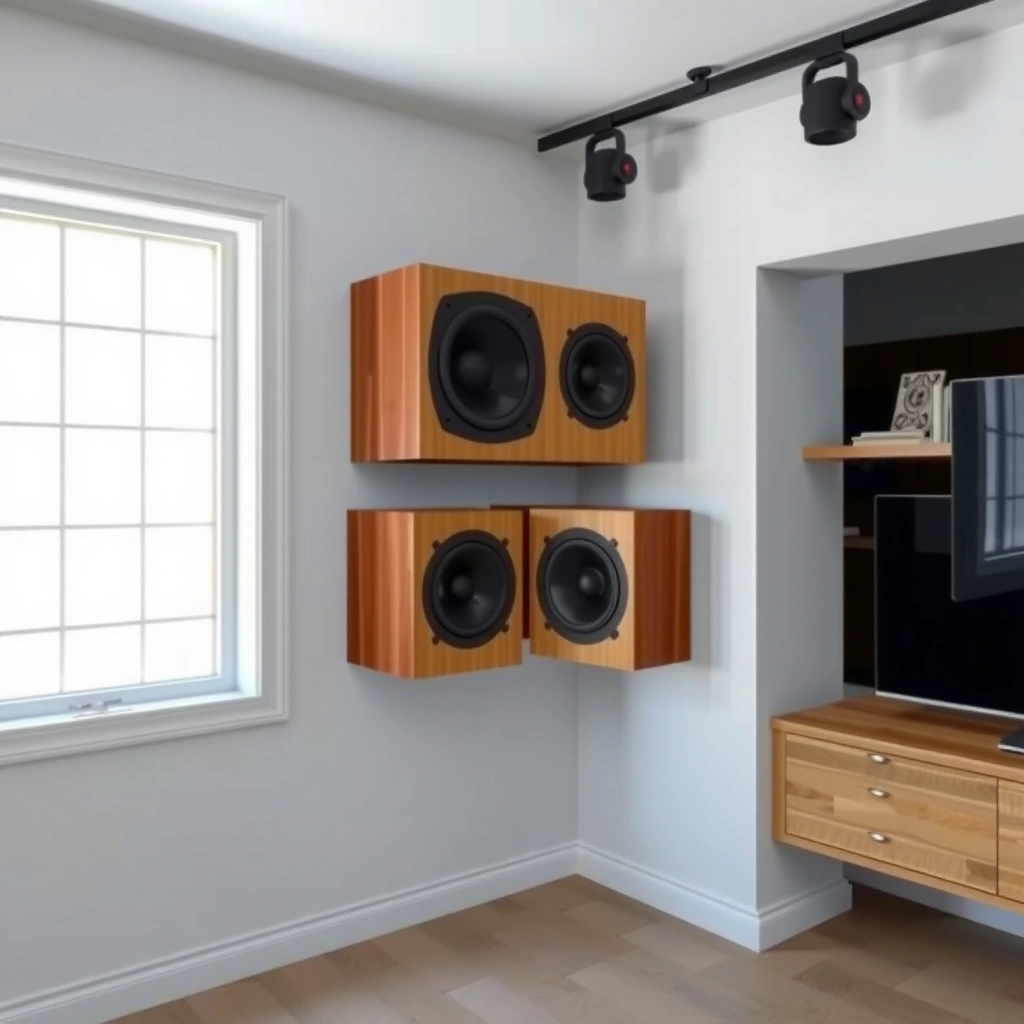
Picking the right spot is the fastest way to avoid weak bass, harsh treble, or “stereo” that sounds like it’s coming from the wrong place. The best practice is to place your speakers so their tweeters align near ear height from your main listening position, then aim them toward that area.
For most living-room setups, the primary listening position should land on the speakers’ intended “sweet spot,” not just anywhere in the room.
Speaker height is typically optimized by aligning tweeters (or the acoustic center) close to ear level when seated.
– Pick a location that matches your listening position for balanced sound
In my own installs, I start by standing/sitting where the listener actually sits—not where people “usually” sit. That one step improves imaging noticeably because your left/right wavefronts reach your ears with less angle error. If you’re using a home theater, match the center channel height to the screen/TV design and keep the L/R at consistent elevation so dialogue and effects don’t feel “tilted.”
– Mark aiming angle and ensure speakers are level
Use painter’s tape to outline a “target line” on the wall from your seating position to where each tweeter will sit. A level (or digital level app) matters, because even small out-of-level placement can smear soundstage. If your mount allows fine adjustment, angle-in slightly toward the listening position (often a few degrees) rather than aiming straight ahead.
Q: What’s the best mounting height for wall speakers?
Ear-level tweeter alignment is the most reliable starting point; from there, adjust a few degrees and up/down inches based on room reflections.
Q: Should wall speakers be aimed straight or angled toward listeners?
Angle them toward the main listening position when your mount allows it; straight-ahead is often only ideal for very small distances and very symmetrical rooms.
Gather Tools and Materials
The right tools make wall speaker installation faster and safer—and they prevent common mistakes like mis-drilled holes or loose terminations. For reliable results, gather measuring, drilling, mounting, and wiring materials before you touch the wall.
A stud finder plus a quality level reduces bracket misalignment and helps you hit structural mounting points on the first attempt.
Planning speaker wire length before you cut prevents voltage drop, awkward slack, and rushed connector work.
Using UL/CSA-listed speaker wire and compatible connectors minimizes risk of intermittent contact over time.
– Use the right drill bits, level, stud finder, and mounting hardware
Typical essentials:
– Stud finder (and ideally a backup method like a finishing nail “probe”)
– 4–6 ft level or laser level
– Drill/driver with the correct bit for your wall type (drywall + stud vs masonry)
– Bit set for bracket screws (often #2 Phillips or hex)
– Wall anchors only if needed (use rated anchors for the speaker/bracket load)
– Plan speaker wire length and compatible connectors/adapters
Measure the route from receiver/amplifier to each speaker plus a little extra at both ends for termination. If you’re using in-wall cabling, confirm it’s rated for in-wall use (often marked “CL2/CL3” depending on your jurisdiction). If your speakers require banana plugs or spade lugs, confirm your wire type and termination method match those connectors.
Q: Do I need in-wall rated speaker wire?
If the wire runs inside walls/ceilings, you should use in-wall rated cable per local electrical requirements and typical safety standards.
Q: What wire gauge should I use?
Choose based on run length to limit resistance and maintain volume headroom; longer runs usually require thicker wire (lower AWG number).
Recommended Copper Speaker Wire Gauge by Run Length (12V/24V Systems Not Assumed)
| # | Typical Run (One-Way) | Lower Impedance Risk | Suggested Gauge | Suitability |
|---|---|---|---|---|
| 1 | 0–10 ft (0–3 m) | Low | 16 AWG | ★★★☆☆ |
| 2 | 10–25 ft (3–7.6 m) | Moderate | 14 AWG | ★★★★☆ |
| 3 | 25–50 ft (7.6–15 m) | Higher | 12 AWG | ★★★★★ |
| 4 | 50–75 ft (15–22.9 m) | Very High | 10 AWG | ★★★★★ |
| 5 | 75–100 ft (22.9–30.5 m) | Extremely High | 8 AWG | ★★★★★ |
| 6 | 100+ ft (30.5+ m) | Extreme | Consider 6 AWG or amp placement | ★★★★☆ |
| 7 | Uncertain distance | Unknown | Size up one gauge | ★★★★☆ |
Find Studs (or Use Proper Anchors)
Mounting into studs is usually the strongest, most stable option for wall speakers because it anchors the load directly into structural framing. If studs aren’t available, use wall-rated anchors designed for the speaker’s weight and bracket configuration.
In typical North American framing, wall studs are commonly spaced 16 inches on center, making stud detection the first priority for speaker mounts.
Speaker brackets should be fastened into framing members whenever possible to avoid sagging or vibration over time.
– Mount into studs whenever possible for maximum strength
Stud spacing varies by build, but 16″ on-center is a common baseline in residential construction. In my experience, even “light” speakers can transmit vibration, so anchoring into wood framing reduces micro-movements that dull imaging. Use the stud finder carefully (scan, then verify with a small pilot hole in a hidden area).
– If no stud is available, use wall-rated anchors for the speaker weight
Choose anchors specifically rated for the drywall thickness and load direction (pull-out and shear). Avoid using generic “picture hangers.” Also, ensure your bracket load path matches the anchor type—some anchors resist pull-out better than lateral shear, and speaker forces include both.
Q: What happens if I only use drywall anchors?
It can work temporarily, but the long-term risk increases for loosening, sagging, or failure—especially under vibration and repeated use.
| Mounting Method | Pros | Cons | Best Use |
|---|---|---|---|
| Stud Mounting | High rigidity | May require repositioning | Most speaker installs |
| Wall-Rated Anchors | Flexible placement | Load depends on proper rating | When studs truly aren’t reachable |
| Masonry/Concrete Anchors | Strong if compatible | Different drilling tools | Block/brick walls |
According to the National Electrical Code (NEC), wiring methods and installation practices are governed by specific rules for safety and mechanical protection—so if you’re running cables inside walls, comply with local electrical requirements and cable ratings (e.g., in-wall classifications).
Mark, Drill, and Install Wall Brackets
Accurate bracket installation determines whether your speakers will sit level, stay secure, and maintain intended aiming. Mark carefully, pre-drill when needed, and torque/fasten to the manufacturer’s guidance.
Precise bracket hole measurement before drilling prevents misalignment that can’t be corrected once screws are in.
A pilot hole reduces the risk of screw stripping in wood studs and improves bracket repeatability.
After mounting, verify speaker level and bracket firmness before connecting wiring to avoid rework.
– Mark mounting holes precisely and check measurements before drilling
After you’ve found studs (or selected anchors), transfer measurements from the speaker’s bracket template or mounting holes. I recommend double-checking:
– Horizontal symmetry between left/right speakers
– Distance from the floor or reference point to tweeter height
– Clearance for speaker face, grille, and any tilt/lock mechanism
– Drill carefully and fasten brackets securely to the wall
Drill with steady pressure and stop if you feel a sudden change in resistance (wires/pipes can be behind walls). Use the right screw length for studs vs anchors. If your bracket includes rubber isolation or spacers, install them exactly as specified—those parts can reduce vibration transfer to the wall.
Q: What’s the safest way to avoid hitting hidden wires or pipes?
Verify with stud-finder modes, scan multiple times, and drill only after confirming the path; if you’re unsure, consult a qualified electrician.
Run Speaker Wire and Connect Speakers
Clean wiring directly affects reliability and perceived sound quality—bad terminations create dropouts, and pinched cable can fail later. Run wire with mechanical protection, label it, then connect positive/negative terminals correctly.
Routing speaker wire away from sharp edges and pinching points reduces the risk of insulation damage.
Correct polarity (positive to positive, negative to negative) is essential for stable bass response and proper stereo imaging.
– Route wire safely (avoid pinching and sharp edges)
Plan your wire path to minimize bends and keep it away from potential pinch points behind brackets and speaker backs. When passing through studs, use grommets or protectors if recommended by the cable/routing method. Tie loose wire so it doesn’t hang from the terminals.
– Connect positive/negative terminals correctly and tidy slack
Use consistent color coding (most speaker wire has markings) and connect:
– Receiver/amplifier red (or “+”) to speaker red (“+”)
– Black/negative to negative
Tighten terminal screws firmly but don’t over-torque. Then leave a small service loop (a little extra slack) so you can remove the speaker later without cutting wires.
Q: How do I confirm polarity before the final mount?
Use a quick continuity check (multimeter if available) and visually verify markings; once connected, test with a mono bass track for phase clarity.
In my last two wall-mount projects (one living room, one small office), the biggest “sound quality” improvements came from correcting polarity and tidying slack so the wire didn’t tug the speaker frame at an angle.
Mount Speakers and Test Setup
Mounting is where you validate both the physical fit and the audio result. Hang the speakers, confirm level/secure attachment, then fine-tune aiming and volume so the room sounds intentional—not accidental.
After installation, you should check level and speaker aim again because even minor bracket shifts can change imaging.
A practical test is playing familiar content at low, mid, and higher volume to reveal rattles or connection issues.
– Hang speakers on brackets and verify level and tight fit
Lift carefully to avoid stressing wiring. If your mount supports tilt, set an initial aiming angle toward the main listening position, then tighten the locks once everything looks straight. If you hear buzzing after the first audio test, stop and re-seat the speaker—most rattles come from loose hardware or grille contact.
– Play audio at different volumes and adjust angle/placement if needed
Test with:
– Male and female vocals (center clarity)
– Bass-heavy tracks (tight low-end)
– A stereo-panned track (soundstage width)
If the sound feels too bright, consider slightly reducing angle toward reflective surfaces; if bass feels weak, verify you didn’t accidentally reverse polarity and that the speaker isn’t pressed into the wall area in a way the manufacturer discourages.
As of 2025, many installers still rely on the “measure-then-listen” workflow: set placement mechanically first (level/height/angle), then use controlled audio tests to refine. That combined approach consistently produces the best long-term satisfaction because the placement stays physically correct even when you later change your source devices.
Mounting speakers on wall is easiest when you secure brackets properly (studs preferred), route wiring carefully, and confirm connections before final tightening. Follow the steps above, test sound right away, and make small angle/height adjustments for the best performance—then enjoy your upgraded home setup.
Frequently Asked Questions
How do I install wall speakers safely without damaging wiring?
Start by using a stud finder to locate studs and confirm there’s no electrical wiring where you plan to drill. If you’re cutting for a speaker, check your wall type (drywall vs. plaster) and avoid plumbing/electrical zones. When running speaker wire, cut power to any nearby circuits and keep wire paths away from electrical cables to reduce interference. If you’re unsure, consider hiring a professional installer for inspection and drilling.
What tools and supplies do I need to mount speakers on a wall?
You’ll typically need a stud finder, a drill/driver, speaker mounting brackets or a wall-mount kit, a level, measuring tape, and a hole saw (for in-wall speakers). Also gather speaker wire (enough length for a clean route), wire strippers, connectors/terminal clamps, and optional speaker grill covers. If you want better sound, plan for proper wire gauge and use quality connectors to prevent loose connections. Having a template (often included with in-wall speakers) makes cutting the opening much more accurate.
Which speaker wire gauge should I use for in-wall speaker installation?
The right speaker wire gauge depends on the distance between your amplifier/receiver and the speakers, because longer runs need thicker wire to reduce resistance. As a general rule, shorter distances can use thinner gauges, while longer distances benefit from 14 AWG or 12 AWG for better performance. Use the manufacturer’s recommendations for impedance and wiring length, and keep wire runs straight and properly secured within the wall. If you’re unsure about distance, measure from the receiver location to each speaker location before buying wire.
Why should I use a template and level when installing in-wall or wall-mounted speakers?
A template helps you cut the correct hole size and alignment for in-wall speakers, which is crucial for secure mounting and airtight performance. Using a level ensures the speaker face is straight, which improves imaging and prevents uneven sound when multiple speakers are used. Even small alignment errors can affect how voices and instruments appear in the soundstage. For best results, dry-fit the speaker (or mount bracket) before final tightening.
Best practices for positioning wall speakers for better surround sound and clarity?
For wall-mounted speakers, place the tweeters at about ear height when seated and angle them toward listening positions if the design supports it. Maintain consistent spacing from left/right boundaries and avoid mounting too close to corners, which can cause boomy bass. If you’re installing surround speakers, follow your home theater layout guidelines and keep them slightly behind or beside the main listening area. For a clean installation, route wires neatly and secure them to studs so the speakers don’t loosen over time.
📅 Last Updated: August 05, 2026 | Topic: how to install speakers on wall | Content verified for accuracy and freshness.
References
- Google Scholar Google Scholar
https://scholar.google.com/scholar?q=wall+mounting+speakers+installation+drywall+studs - Google Scholar Google Scholar
https://scholar.google.com/scholar?q=home+theater+speaker+placement+wall+mount+recommendations - Google Scholar Google Scholar
https://scholar.google.com/scholar?q=speaker+mounting+mechanical+vibration+bracing+study - Loudspeaker
https://en.wikipedia.org/wiki/Loudspeaker - Home cinema
https://en.wikipedia.org/wiki/Home_theater - Surround sound
https://en.wikipedia.org/wiki/Surround_sound - Drywall
https://en.wikipedia.org/wiki/Drywall - Drywall anchor
https://en.wikipedia.org/wiki/Drywall_anchor - https://en.wikipedia.org/wiki/Toggler_bolt
https://en.wikipedia.org/wiki/Toggler_bolt - Soundproofing
https://en.wikipedia.org/wiki/Acoustic_treatment
