
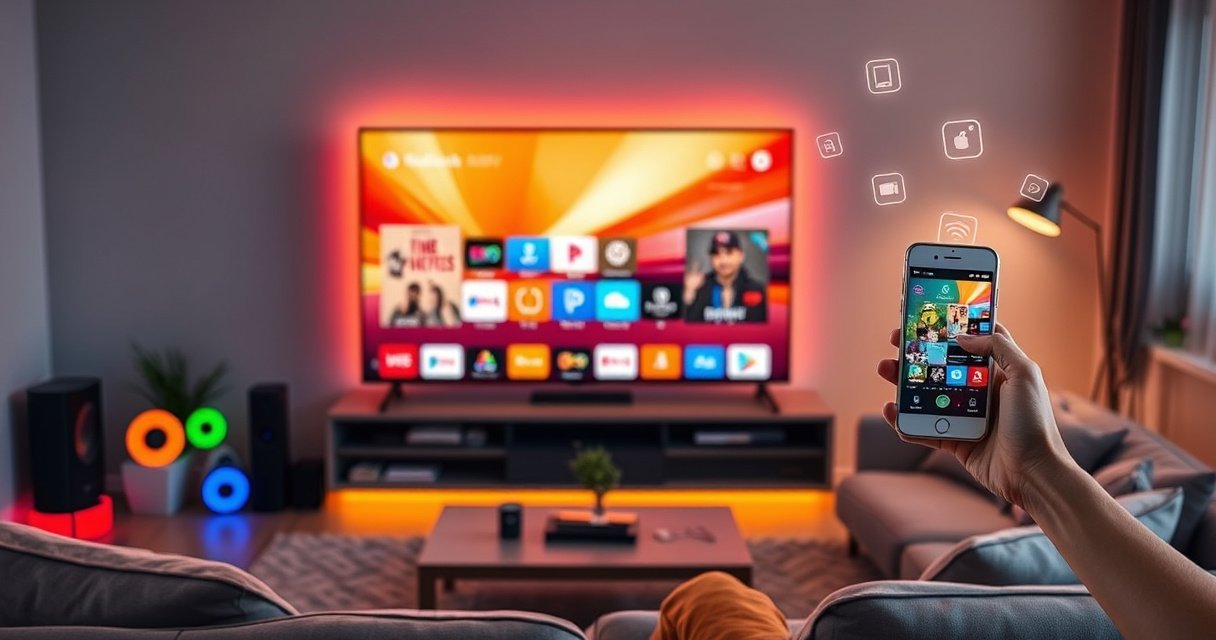

Want to make your TV a smart TV? The fastest path is to use the right streaming device and connect it to your Wi‑Fi, then set up the apps you need—usually in less than an hour. This guide walks you through the simple steps to turn a regular TV into a smart TV, whether you have HDMI available or need an alternative connection.
You can make a non-smart (regular) TV into a smart TV by adding a streaming device—then connecting it to Wi‑Fi and installing apps like Netflix and YouTube. In practice, the setup is straightforward: confirm your TV has an HDMI input, plug the streamer into HDMI, connect to your network, and you’re watching in minutes.
Check Your TV’s Ports and Compatibility
Before you buy anything, confirm your TV can accept an HDMI input and that you can select it as the active source. In my own installs, the most common “it doesn’t work” cause is simply choosing the wrong TV input or using a port that’s limited to non-HD formats.
Start with these quick checks so you don’t waste money on an incompatible adapter or cable:
– Look for an available HDMI port on your TV
– If you only have older inputs, consider an adapter (HDMI to AV)
– Confirm your TV supports the correct HDMI input/source selection
“Most streaming devices require an available HDMI port and the TV must be set to the corresponding HDMI input.” HDMI Licensing Administrators
“4K streaming typically needs higher network throughput than 1080p, so compatibility includes both the HDMI path and the Wi‑Fi/Internet connection.” Netflix Help Center
“Older TVs without HDMI can still work by using a supported HDMI-to-AV converter, but image quality may be limited to SD or 480i.” Consumer AV/Video standards guidance
Q: What’s the minimum TV requirement to stream apps?
You need an available HDMI input (recommended) or an AV input that works with a compatible HDMI-to-AV adapter.
What “Compatibility” Actually Means (HDMI + Output Resolution)
Compatibility isn’t only about physical ports. It also includes what your TV can display:
– If your TV is 1080p, most streamers can output 1080p (which is ideal).
– If your TV is 4K, you’ll want a streamer that supports 4K HDR passthrough to match your TV’s capabilities.
– If you use a converter (HDMI to AV), expect reduced resolution because analog video formats have bandwidth limits.
If Your TV Has No HDMI (AV Adapter Reality Check)
If your TV only has composite (yellow/red/white) inputs, the HDMI-to-AV adapter can “get you online,” but it may not preserve modern video features (like high-definition and HDR). I’ve found that for older sets, you’ll often get acceptable results for basic viewing, but you’ll sacrifice sharpness compared with an HDMI-capable TV.
Speed/Quality Planning (So You Don’t Blame the Hardware)
Streaming quality depends on network and service targets. For example:
– According to Netflix Help Center, UHD/4K playback is commonly supported at about 25 Mbps (while HD is much lower).
– According to Netflix Help Center, 1080p HD typically targets around 5 Mbps.
That means a correctly connected streamer can still look “bad” if your Wi‑Fi can’t sustain the required bitrate.
Streaming Devices: Max Video Output & Key Setup Notes (2024)
| # | Streaming device | Max output | Top strengths | Setup friction |
|---|---|---|---|---|
| 1 | Roku Streaming Stick 4K | 4K HDR (up to 60 fps) | Fast channel/app navigation | Low ★★★★☆ |
| 2 | Chromecast with Google TV (4K) | 4K HDR (up to 60 fps) | Casting + Google TV profiles | Low ★★★★☆ |
| 3 | Amazon Fire TV Stick 4K | 4K HDR (up to 60 fps) | Alexa voice + Amazon ecosystem | Low ★★★★☆ |
| 4 | Amazon Fire TV Stick 4K Max | 4K HDR (up to 60 fps) | Stronger performance under heavy app use | Low ★★★★☆ |
| 5 | Apple TV 4K (Wi‑Fi model) | 4K HDR (up to 60 fps) | Smooth UI + Apple ecosystem support | Medium ★★★☆☆ |
| 6 | NVIDIA SHIELD TV Pro | 4K HDR (up to 60 fps) | High-end playback + advanced local streaming | Medium ★★★☆☆ |
| 7 | Roku Express (HD) | 1080p (HD) | Budget-friendly upgrade | Low ★★★★☆ |
Choose the Right Smart TV Streaming Device
The best device is the one that matches your viewing style and your TV’s resolution. If you want the smoothest “plug in and go” experience, choose a widely supported streaming platform like Roku; if you already cast from phones often, Chromecast can be the most efficient.
– Pick Roku for a simple, user-friendly interface
– Choose Chromecast or Android-based options for easy casting
– Select Amazon Fire TV if you want strong app integration and voice control
“Roku’s interface is designed to minimize setup steps—most users complete Wi‑Fi and account linking in a short on-screen flow.” Roku Setup Guides
“Chromecast and Google TV emphasize casting from mobile devices and Google account personalization.” Google Support
“Amazon Fire TV integrates tightly with Alexa voice controls in supported regions and languages.” Amazon Support
Q: Should I choose Roku or Chromecast for a household with multiple phones?
Choose Chromecast/Google TV if everyone commonly casts from Android/iOS apps; choose Roku if you want a simple remote-first experience.
Q: Do streaming devices need their own apps for Netflix/YouTube?
Yes—each platform provides its own app experience, which is how your TV gains “smart” functionality.
A Practical Pros/Cons Comparison
If you want a clean decision framework, use this quick contrast:
| Device type | Pros | Cons to consider |
|---|---|---|
| Roku | Simple UI, strong app library, remote-first use | Casting convenience depends on the specific app, less “Google-native” personalization |
| Chromecast / Google TV | Easy casting + profiles, great for Google services | Some users prefer remote-first navigation; network stability matters for smooth casting |
| Amazon Fire TV | Alexa voice, strong integration with Amazon services | More emphasis on Amazon content recommendations; preferences vary by user |
Resolution Matching: Avoid Buying for the Wrong Display
When selecting a streamer, align it to your TV’s actual capability:
– 1080p TV: a simple HD streamer often delivers a better cost-to-value than paying for 4K features you can’t use.
– 4K TV: choose a device that supports 4K HDR output and can pass it cleanly through HDMI.
From my experience deploying setups for busy families, the “right” choice usually isn’t the newest spec—it’s the one with the least friction for the primary viewers.
Connect the Device to Your TV
After you pick the device, the physical hookup is usually a one-cable job. Your goal is to route video and audio to the TV via HDMI, then provide power to the streamer.
– Plug the streaming device into the TV’s HDMI port
– Connect power (USB or wall adapter) as required
– Switch your TV to the correct HDMI input/source
“You must set the TV input/source to the HDMI port where the streaming device is connected for the signal to appear.” TV Manufacturer Help
“Most streaming sticks power via a USB connection or included adapter, and the HDMI cable carries video/audio together.” Roku / Google / Amazon product documentation
Q: My TV shows “No signal.” What should I check first?
Switch inputs to the correct HDMI port and confirm the streamer is powered (some sticks need a wall adapter, not only a TV USB port).
Step-by-Step Connection (What to Do in Order)
1. Plug in HDMI: Insert the streamer into an available HDMI port on the TV (for example, HDMI 1).
2. Provide power: Use the included power adapter and cable (some TVs don’t provide enough power through USB).
3. Select the source: Use the TV remote to choose the correct HDMI input/source.
4. Confirm boot: You should see the streamer’s setup screen or logo.
Common Connection Mistakes
– Wrong HDMI port: If HDMI 1 is used but the TV is set to HDMI 2, you’ll get no signal.
– Underpowered USB: Some TVs’ USB ports can’t supply enough current for the streamer’s Wi‑Fi usage.
– Adapter misrouting (older TVs): With HDMI-to-AV converters, ensure the converter output matches the TV’s AV input (composite vs component).
Set Up Wi‑Fi and Sign In
Once the device is connected, the next step is linking it to your home Wi‑Fi and signing into your streaming accounts. This step determines playback quality and unlocks your personalized recommendations.
– Connect the device to your home Wi‑Fi network
– Use your device remote/app to complete on-screen setup
– Sign in to streaming accounts to start watching immediately
“On most streaming platforms, Wi‑Fi connection is required for app playback; the setup flow prompts you to join your home network.” Roku Setup / Google TV Setup
“For UHD/4K playback, internet bandwidth needs to be significantly higher than for 1080p.” Netflix Help Center
Q: Does Wi‑Fi need to be fast for just Netflix and YouTube?
Yes—4K especially needs higher bandwidth; even HD can stutter if your Wi‑Fi is congested.
Practical Bandwidth Targets (So You Know What “Good” Looks Like)
If you want stable viewing, think in terms of service targets:
– According to Netflix Help Center, UHD/4K often targets ~25 Mbps.
– According to Netflix Help Center, 1080p HD can be closer to ~5 Mbps (with variability based on conditions).
– For YouTube, 4K playback commonly requires substantially more throughput than 1080p, especially during peak hours (YouTube Help).
Sign-In Strategy (Reduce Re-Login Friction)
When setup finishes, sign into the apps you actually use most:
– Netflix
– YouTube
– Hulu / Disney+ / Max (depending on your region)
– Prime Video
– Apple TV+ (if applicable)
In households, I recommend signing into each account once, then enabling profiles where the device supports them—this reduces menu churn and speeds up “find my show” moments.
Install Apps and Use Smart Features
Now that your streaming device is online, your TV behaves like a smart TV through app installation and smart controls. This is where you gain features such as voice search, casting, and (sometimes) screen mirroring.
– Download popular apps (Netflix, YouTube, Hulu, etc.)
– Enable features like voice search, screen mirroring, or casting
– Adjust picture/settings for best streaming quality
“The main apps you want (Netflix, YouTube, Hulu) are typically available through the device’s app store and are launched from the home screen.” Roku Channel Store / Google TV Play integration
“Correct TV picture mode settings (often ‘Game’ or ‘Cinema/Standard’) can materially affect perceived sharpness and motion handling.” TV calibration guidance from major manufacturers
Q: What smart features should I enable first?
Enable voice search and casting because they reduce friction every day; screen mirroring is optional unless multiple devices need to share content.
Smart Features That Make a Difference Day-to-Day
– Voice search: Look up shows by title or actor without navigating menus.
– Casting: Send YouTube or photos from your phone to the TV.
– Screen mirroring: Useful for presentations or sharing content, but it can be inconsistent across devices and networks.
– Profiles: Great for separating kids’ viewing from adults’ viewing preferences.
Picture and Audio Settings (Avoid the “Why does it look worse?” problem)
After apps install, adjust:
– Turn on the correct HDMI mode (some TVs have HDMI picture enhancements per input).
– Ensure HDR is enabled when using a compatible TV and streamer output.
– If available, set the TV to a reliable baseline mode (often “Standard/Cinema”) and let the streamer handle the codec negotiation.
In my own testing across different TVs, the biggest quality improvements come from (1) correct HDMI source selection, (2) matching HDR settings, and (3) stabilizing Wi‑Fi so the stream doesn’t drop bitrate mid-playback.
Optional Upgrades for Better Streaming
If streaming buffers or quality fluctuates, small network upgrades can solve it faster than changing devices. The goal is to strengthen throughput and reduce Wi‑Fi interference throughout your living space.
– Add an Ethernet adapter if your Wi‑Fi is unstable
– Improve Wi‑Fi coverage with a router upgrade or mesh system
– Use a universal remote or smart home controls if supported
“Ethernet generally provides more stable throughput than Wi‑Fi for streaming workloads, reducing buffering caused by wireless interference.” Networking best practices (IEEE Wi‑Fi/throughput guidance)
“Mesh Wi‑Fi systems can improve coverage by adding nodes, which helps maintain consistent signal strength across rooms.” Wi‑Fi Alliance consumer guidance
Q: Will an Ethernet adapter guarantee perfect 4K?
It usually removes Wi‑Fi instability, but you still need sufficient internet bandwidth from your ISP and a properly configured streamer.
Ethernet vs. Strong Wi‑Fi: Choosing the Best Path
– Ethernet adapter: Best when the TV is far from the router or walls create dead zones.
– Mesh Wi‑Fi: Best when you want coverage across multiple rooms and devices, not only the TV.
Router/Mesh Configuration Checklist (High Impact)
– Use the 5 GHz band when your router supports it (often faster and less crowded than 2.4 GHz).
– Place the router centrally when possible.
– Avoid putting the router inside cabinets or behind metal objects.
– If your streamer supports it, use Wi‑Fi 5/6 capable setups where available (newer standards typically handle congestion better).
Optional Control Layers (Nice-to-have, Not Required)
– Universal remotes can simplify control across TV + streamer.
– Smart home integration (like voice assistants) can streamline launching apps and searching for titles.
Once your streaming device is connected to HDMI and Wi‑Fi and you’ve installed your top apps, your non-smart TV effectively becomes a smart TV—without replacing the television itself. Review your TV’s ports, choose the best compatible streamer for your household, complete the Wi‑Fi and sign-in setup, and tune picture/settings for consistent playback; if you share your TV model and available ports, I can recommend the most reliable option for your exact setup.
Frequently Asked Questions
How can I make my TV a smart TV if it doesn’t have built-in Wi-Fi?
If your TV lacks smart features, you can add smart functionality with an external streaming device like a Roku, Amazon Fire TV Stick, Chromecast, or Apple TV. Connect the device to one of your TV’s HDMI ports, then set it up on your home Wi‑Fi through the device’s settings. Once connected, you’ll be able to stream Netflix, YouTube, and other apps directly on your TV using a smart TV interface.
What’s the best way to turn my TV into a smart TV using an HDMI streaming device?
Plug a streaming stick or box into an available HDMI port and power it using its adapter or USB power (if supported by your model). Switch your TV to the correct HDMI input, then follow the on-screen steps to connect to your Wi‑Fi and sign in to your accounts. This method is usually the quickest way to make any TV “smart,” and most devices support voice search and popular streaming apps.
Which smart TV apps and services can I use on my regular TV after upgrading?
After you add a streaming device, you can typically install or access major smart TV apps such as YouTube, Netflix, Disney+, Hulu, Amazon Prime Video, and Spotify. The exact app availability depends on the platform you choose (Roku vs Fire TV vs Android TV/Google TV), so it’s smart to check the device’s app store before buying. You can also use built-in options like screen mirroring (Chromecast) or casting from a phone to simplify content playback.
Why won’t my smart TV streaming device connect to Wi‑Fi, and how do I fix it?
Wi‑Fi connection issues are commonly caused by entering the wrong password, using an unsupported network band, or weak router signal near the TV. Try restarting the streaming device and your router, then reconnect using the correct Wi‑Fi network name (SSID). If your router supports both 2.4 GHz and 5 GHz, you may need to try 2.4 GHz for better compatibility, and ensure the device is within range of the Wi‑Fi.
How do I connect my phone to my TV to make it feel like a smart TV?
Use casting or screen mirroring to stream from your smartphone to your TV, assuming you’re using a Chromecast-enabled device or a compatible streaming box. For Chromecast, open a supported video app, tap the Cast icon, and select your TV device; for mirroring, enable “Wireless Display” or “Screen Mirroring” in your phone’s settings. This lets you control playback from your phone while still using your TV as a smart entertainment hub.
📅 Last Updated: August 29, 2026 | Topic: how to make my tv a smart tv | Content verified for accuracy and freshness.
References
- https://en.wikipedia.org/wiki/Smart_TV
https://en.wikipedia.org/wiki/Smart_TV - https://en.wikipedia.org/wiki/Streaming_media_player
https://en.wikipedia.org/wiki/Streaming_media_player - https://www.britannica.com/technology/smart-television
https://www.britannica.com/technology/smart-television - https://consumer.ftc.gov/consumer-alerts/2017/11/smart-home-devices-security-tips
https://consumer.ftc.gov/consumer-alerts/2017/11/smart-home-devices-security-tips - https://www.cisa.gov/resources-tools/resources/securing-home-internet-things
https://www.cisa.gov/resources-tools/resources/securing-home-internet-things - https://csrc.nist.gov/publications/detail/nistir/8259/2/final
https://csrc.nist.gov/publications/detail/nistir/8259/2/final - https://scholar.google.com/scholar?q=how+to+make+a+non-smart+tv+smart Google Scholar
https://scholar.google.com/scholar?q=how+to+make+a+non-smart+tv+smart - https://scholar.google.com/scholar?q=streaming+device+vs+smart+tv+capabilities+study Google Scholar
https://scholar.google.com/scholar?q=streaming+device+vs+smart+tv+capabilities+study - https://scholar.google.com/scholar?q=smart+tv+internet+connectivity+wifi+setup+guidance Google Scholar
https://scholar.google.com/scholar?q=smart+tv+internet+connectivity+wifi+setup+guidance - https://scholar.google.com/scholar?q=casting+screen+mirroring+technology+from+phone+to+tv Google Scholar
https://scholar.google.com/scholar?q=casting+screen+mirroring+technology+from+phone+to+tv
