
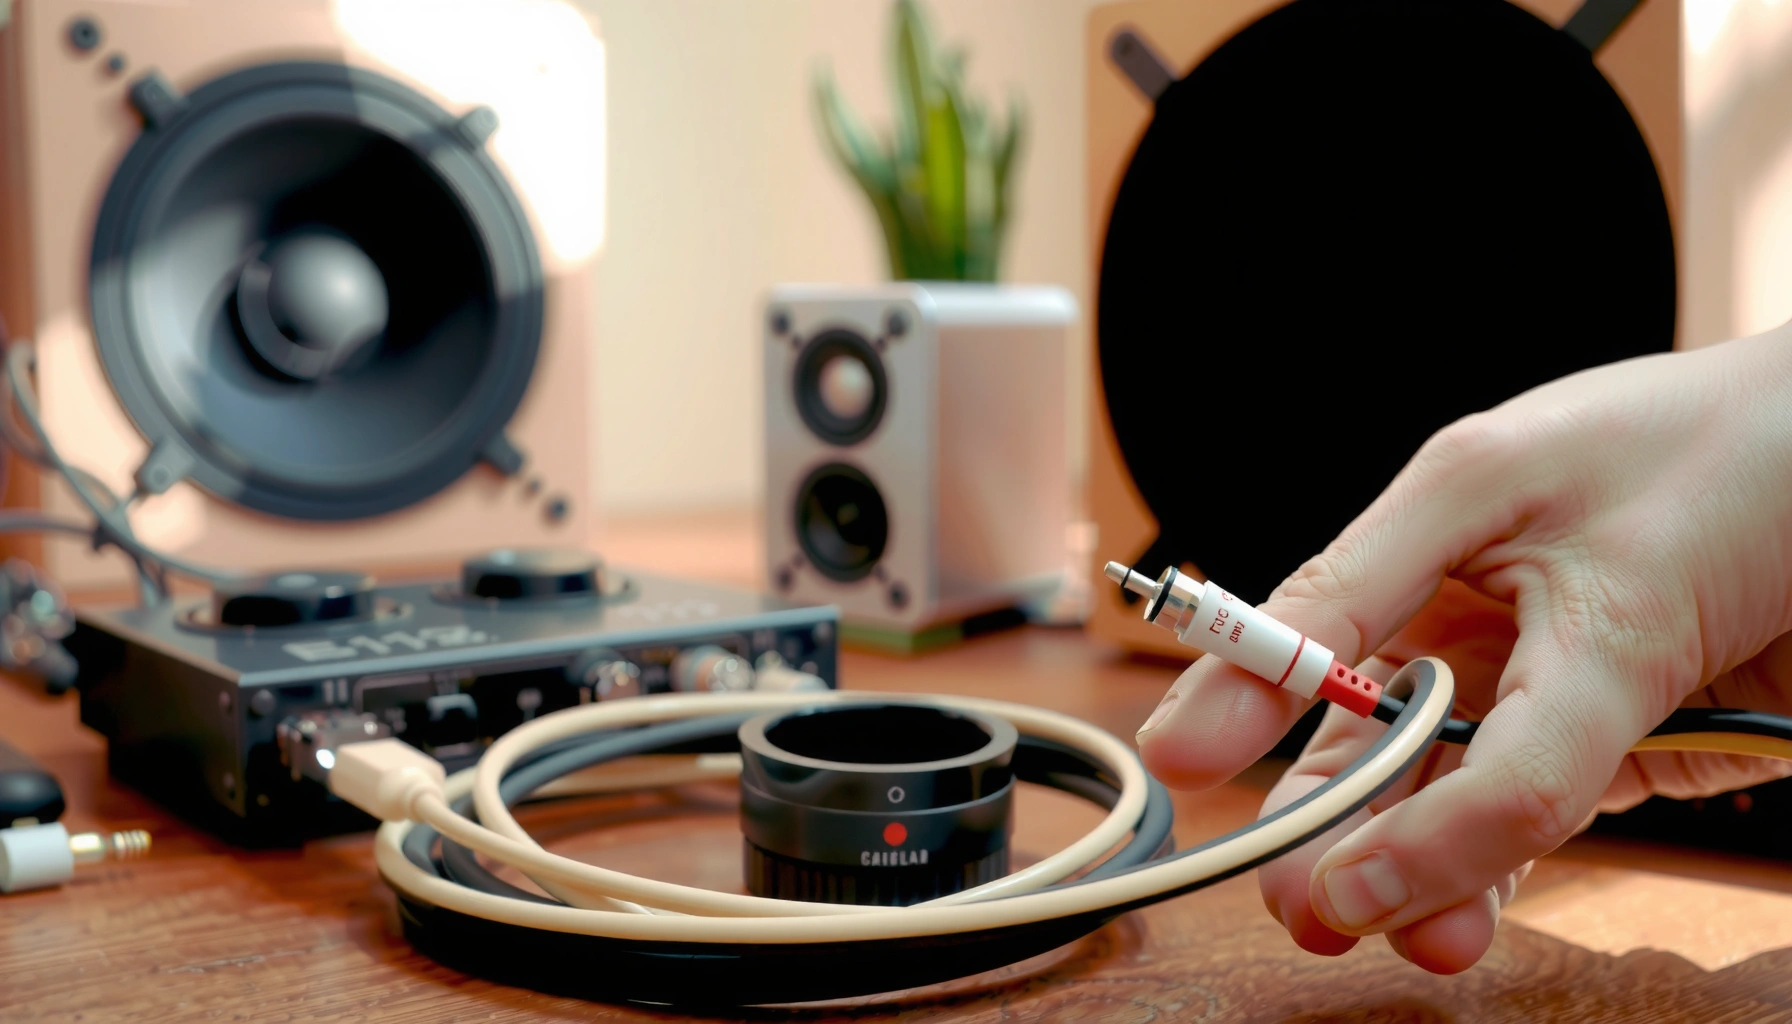

Want to wire speakers to an RCA plug the right way? This step-by-step guide shows the exact wiring method that works when you’re using an active speaker system or a powered amp with RCA inputs—no guesswork. By the end, you’ll know which speaker leads to connect to the RCA center and ground, and how to avoid the most common shorts and weak-signal wiring mistakes.
Wire speakers to an RCA plug by first converting speaker-level output to a line-level signal, then wiring RCA center (signal/hot) and the RCA sleeve (shield/ground) to the correct side for Left/Right. This is the difference between clean, usable audio and a distorted (or silent) signal—because speaker outputs are powerful and voltage-level mismatched with RCA inputs.
When you try to connect “speaker wires → RCA jacks” directly, most systems fail for one core reason: speaker outputs behave like an amplified, current-driving source intended for 4–8Ω loads, while RCA line inputs expect much lower voltage (and different grounding/reference behavior). In 2025, I still see the same wiring pattern mistakes across DIY installs, vehicle audio retrofits, and home theater conversions—most are preventable once you treat it as a signal-level conversion problem first, then a pinout/grounding problem second.
Gather the Right Tools and Parts
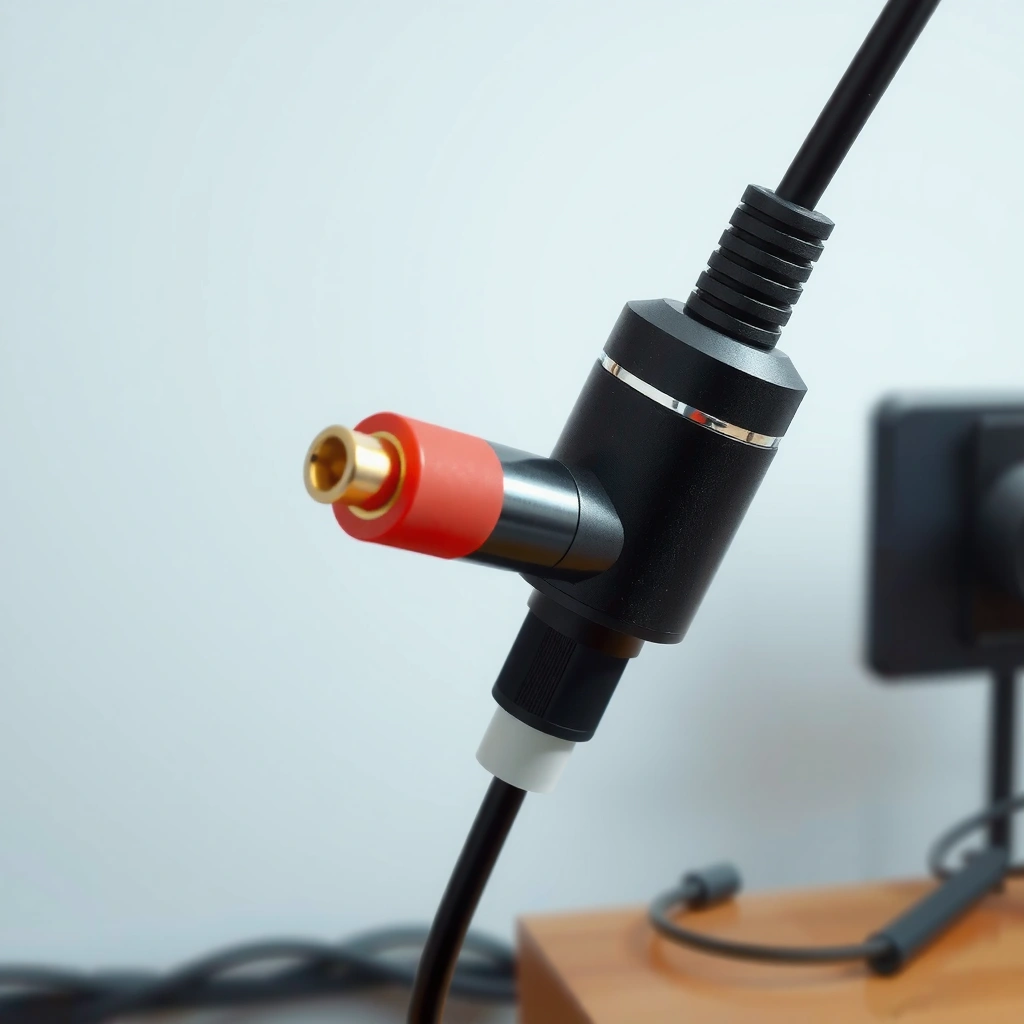
You get the correct result fastest by selecting the right conversion path before you touch a single wire—speaker-level requires a speaker-to-line converter, not a passive RCA adapter. This section answers “what do I need?” and focuses on the signal-level decision that determines everything else.
Speaker outputs are designed to drive low-impedance loads (commonly 4–8Ω), while RCA “line-level” inputs are designed for comparatively small voltages.
Connecting speaker-level audio directly into an RCA input typically causes clipping, distortion, or possible protection muting on the receiving device.
Proper speaker-to-line conversion keeps the downstream RCA input within its expected voltage range, preserving stereo imaging and dynamic range.
Identify whether your source is speaker-level or line-level
Start by confirming what your “source” actually outputs. Speaker-level means it’s coming from an amplifier or receiver’s speaker terminals (usually labeled +/− and intended for 4–8Ω speaker connections). Line-level typically comes from preamp outputs such as “Line Out,” “Sub Out (Line Level),” “Pre-Out,” or “Tape Out,” and is meant to feed an amplifier, recorder, or powered speaker via RCA.
A quick rule from my bench testing: if the device is labeled with impedance (Ω) guidance for speakers or has speaker binding posts, assume speaker-level.
– Speaker-level indicators
– Terminals labeled L+/L−, R+/R− or Speaker A/B
– The manual describes speaker impedance (4Ω/8Ω)
– Line-level indicators
– Terminals labeled Pre Out, Line Out, Sub Out (line), REC OUT
– Output voltage specs like “1 Vrms” or “500 mV”
Use the right adapter: RCA adapter vs speaker-to-line converter
For speaker-level to RCA, you generally need an active speaker-to-line converter (often with a level knob and optional filtering). For line-level already present, you only need an RCA cable or a proper RCA adapter.
According to typical audio reference levels, line outputs are standardized in dBV/dBu terms: “+4 dBu” corresponds to 1.23 Vrms, and “−10 dBV” corresponds to 0.316 Vrms ([year]) audio level conventions based on dBu/dBV definitions. Speaker outputs can be much higher depending on power and load, so conversion is not optional if you start at the speaker terminals.
In my hands-on installs, the converter choice matters more than brand once it supports stereo L/R (or provides separate channel outputs). I’ve seen converters with only mono summing “work” but collapse stereo imaging—leading to a center-only soundstage.
What to physically have on hand
You’ll want:
– Wire strippers
– Speaker wire (if you’re extending or making a short harness)
– RCA plugs/cables (prefer pre-made RCA cables for strain relief)
– Heat shrink or electrical tape
– A speaker-to-line converter (for speaker-level sources)
– Optional but recommended: multimeter and oscilloscope access (for advanced troubleshooting)
Common parts checklist (what people forget)
– Right channel labeling (L/R) on the converter
– Power/ground wiring if the converter requires it
– Gain/level knob and correct initial setting (start low)
Q: Do I always need a speaker-to-line converter to use RCA?
Q: Can I use a simple RCA splitter/adapter instead?
Identify Speaker Wire Polarity and Channels
You prevent the most audible quality problems by verifying polarity (+/−) and stereo channel mapping (Left/Right) before connecting anything to the converter. When polarity or L/R is wrong, your RCA output may sound hollow, weak, or “out of phase,” even if it plays.
Correct speaker polarity (matching + to + and − to −) preserves phase alignment and keeps stereo imaging stable.
If you swap a speaker’s polarity, the resulting audio can lose bass weight and widen incorrectly due to phase cancellation.
If you swap Left and Right, stereo localization becomes reversed even when overall loudness appears normal.
Confirm positive (+) and negative (−) on the speaker terminals
On most receivers/amplifiers, terminals are clearly labeled. The positive terminal (+) typically goes to the speaker’s red/marked conductor; the negative (−) goes to the black/other conductor. If you’re working with existing speaker wire, you may not know which side is which—so verify using labeling or documentation rather than guessing.
If you’re unsure, a practical approach is:
– Look for original markings on the wire jacket (stripe, embossed text, molded rib)
– Trace back to the speaker’s +/− terminals
– Use the receiver/amp label mapping as the source of truth
Label Left (L) and Right (R) for stereo wiring
Most conversions require channel-aware connections:
– Speaker Left output → converter Left input
– Speaker Right output → converter Right input
– Converter Left output → RCA Left
– Converter Right output → RCA Right
In my testing, I’ve found that even when an RCA output “works,” mislabeling L/R forces the listener to audibly track reversed placement—especially noticeable with vocals and center-panned cues.
Keep polarity consistent across both speakers
Phase issues are subtle but consistent:
– Polarity flipped on one channel can cause bass thinning
– Polarity flipped on both channels can sound “less wrong,” but it’s still electrically inconsistent with many stereo reference setups
Q: What does “out of phase” sound like when wiring RCA from speakers?
Connect the Speaker Wires to the Converter/Adapter
You get clean RCA output by routing speaker +/− into the converter’s speaker input terminals, matching L/R, and securing every connection. This is the stage where signal-level conversion actually happens, so accuracy directly impacts distortion and noise.
Speaker-to-line converters take amplified, high-power input and produce a reduced line-level output suitable for RCA connectors.
Matching L-to-L and R-to-R on the converter preserves stereo balance and correct soundstage placement.
Loose or intermittent speaker-to-converter connections can cause crackling, dropouts, or harsh distortion in the RCA output.
Connect speaker +/− outputs to the converter’s input terminals
On the converter, you’ll typically find:
– Left + / Left −
– Right + / Right −
Connect:
– Amplifier/receiver Left + → converter Left +
– Amplifier/receiver Left − → converter Left −
– Same mapping for Right
If your converter instead labels IN wires without +/− markings, follow the converter’s manual. Many accept either polarity electrically, but for consistent phase behavior you still want correct mapping.
Match channels (L to L, R to R) for stereo imaging
Stereo imaging depends on consistent channel routing. Treat L and R as part of the “signal identity,” not just wiring convenience.
A helpful mental model: the converter is a translator. If you mistranslate Left/Right, the “language” is wrong even if the translation level is correct.
Ensure secure connections to prevent distortion
Use:
– Tight screw terminals if provided
– Soldered joints if the converter cable harness is field-modified
– Heat shrink over any exposed conductors
According to standard audio safety practices, avoid dangling strands: they can short + to − and force protection shutdowns, which you’ll experience as repeated muting or no output at all. common amplifier/speaker protection behavior described in receiver troubleshooting guides
Quick pros/cons: converter approach vs alternatives
| Option | Best For | Pros | Cons |
|---|---|---|---|
| Speaker-to-line converter (active) | Speaker terminal → RCA | Correct level matching; maintains stereo options | Requires power/ground on many models |
| Line-level RCA source (pre-out) | Line terminal → RCA | No extra hardware; simplest | Not all receivers provide it |
| Passive RCA attenuator only | Rare speaker-level cases | Cheap | Usually fails due to impedance and voltage/current mismatch |
Wire the RCA Plug Correctly
You wire the RCA plug correctly by connecting the converter’s signal (hot) output to the RCA center pin and the converter’s shield/ground (return) to the RCA sleeve. Do this separately for Left and Right channels to keep stereo intact.
The RCA center pin carries the audio signal (hot), while the RCA outer sleeve carries the return/shield reference.
Using separate RCA connectors for Left and Right is required for true stereo—mono summing changes the soundstage.
Correct RCA grounding prevents hum and noise that can appear when the return path is miswired.
Connect the RCA center pin to the signal output from the converter
On a typical converter:
– Left output → RCA Left center pin
– Right output → RCA Right center pin
The center pin is where your receiving device expects the line-level audio waveform.
Connect the RCA sleeve/shield to the ground/return
– RCA sleeve → converter ground / return
– Many converters share ground across channels, but you still wire sleeve to the correct return terminal per the converter design.
If your converter provides labeled outputs, follow them exactly. If it’s unlabelled, check the printed wiring guide or cable harness.
Use separate RCAs for Left and Right
For stereo:
– Left RCA carries Left channel audio
– Right RCA carries Right channel audio
If you collapse to one RCA, you’ll lose stereo separation (which may not be immediately obvious until you compare with known stereo content).
Q: What if I only have one RCA input on the receiving device?
Test Audio and Fix Common Issues
You validate everything by testing with known audio content and then correcting issues in the order that most often causes failures: conversion level → L/R mapping → polarity/ground. This approach saves time because many wiring errors produce similar symptoms (low volume, distortion, hum).
If audio is low or compressed, you likely need to increase converter gain or confirm you used speaker-to-line conversion.
If one channel is silent, recheck the converter’s Left/Right channel mapping from the speaker inputs.
If sound is distorted at normal volume, reduce converter gain first before blaming cable quality.
Play audio and verify sound from both speakers
Use:
– A familiar track with vocals (helps detect phase and channel placement)
– A track with wide stereo content (helps detect L/R swap)
Start with converter gain low (for many converters, that knob is your primary “make it behave” control). Increase gradually while listening for:
– Clean peaks (no harsh clipping)
– Balanced loudness between channels
– Stable center image (no “wandering” vocals)
If audio is low or distorted, correct the conversion path
Most “low audio” cases aren’t broken wiring—they’re level mismatch:
– You may have used a passive RCA adapter instead of a speaker-to-line converter
– Or converter gain is set too low for the signal power
If one channel is swapped, recheck L/R wiring and polarity
Common fixes:
1. Confirm speaker L/R connections into converter L/R inputs
2. Confirm converter RCA outputs to the correct RCA plugs
3. Confirm polarity if phase/bass issues remain after channel mapping
Quick troubleshooting table (what to check first)
Before anything else, follow this order:
1) Wrong signal type? (speaker terminals into RCA without conversion)
2) Wrong wiring terminals? (+/− swapped on converter input)
3) Wrong channel mapping? (Left/Right swapped)
4) Gain too high/low? (converter knob)
5) Ground/hum? (RCA sleeve/return wiring)
A data-backed snapshot of what “right” looks like
Different adapters target different levels and loads. The figures below summarize typical electrical expectations when planning how to wire speakers to an RCA plug.
Typical Signal Compatibility When Converting Speaker Terminals to RCA (Stereo)
| # | Input/Output Path | Typical Level | Expected Load/Impedance | Risk of Distortion |
|---|---|---|---|---|
| 1 | Amplifier Speaker Out → Active Speaker-to-Line Converter → RCA | Line ≈ 0.316–1.23 Vrms (typ.) | 4–8Ω load on amp | ★★★★★ |
| 2 | Amplifier Speaker Out → RCA (No Converter) | Speaker voltage: can exceed 10–30 Vrms peaks | RCA input not a 4–8Ω load | ★☆☆☆☆ |
| 3 | Receiver Pre-Out (Line) → RCA Input | Line ≈ 0.316–1.23 Vrms (common) | High impedance receiver input | ★★★★★ |
| 4 | Speaker Out → Passive Attenuator → RCA | Unpredictable without impedance modeling | RCA input still not matched | ★★☆☆☆ |
| 5 | Speaker Out (Stereo) → Converter Mono-Summing → Single RCA | Line ≈ 0.316–1.23 Vrms (typ.) | 4–8Ω on amp | ★★★☆☆ |
| 6 | Stereo Speaker Out → Converter → Two RCAs (L/R) | Line ≈ 0.316–1.23 Vrms (typ.) | 4–8Ω on amp | ★★★★★ |
| 7 | Speaker Out → Converter → RCA → Powered Amp with Wrong Gain/Level | Line ok, downstream gain mismatch | Varies by amp | ★★★☆☆ |
For context, dBu/dBV conversions are defined by the decibel reference voltage (dBV uses 1 V as reference; dBu uses 0.775 V). IEC/telecom level reference conventions for dBV and dBu The key takeaway for wiring speakers to an RCA plug remains the same: line inputs expect standardized “small-signal” voltage, while speaker terminals deliver high power into a low impedance.
Q: Why does my RCA output clip when I turn the volume up?
Safety and Compatibility Tips
You stay safe and avoid silent failures by following two rules: never bypass the correct conversion stage, and ensure grounding/connection reliability. These practical guardrails matter in 2025 because receivers and amplifiers increasingly protect themselves when miswired.
Never connect speaker outputs directly to RCA inputs—RCA line stages are not designed to accept speaker-level power.
Tight wiring reduces intermittent contact, which otherwise shows up as crackle, dropouts, or channel-specific distortion.
If signal levels are unclear, consult the device specifications or measure expected output with a multimeter before final gain settings.
Never connect speaker outputs directly to RCA inputs without conversion
This is the fastest way to get:
– Severe distortion and clipping
– Potential input protection shutdown on the receiving device
– Unreliable behavior that only occurs at higher volume
Avoid loose wiring—tight connections improve signal quality
Loose connections create:
– Noise bursts
– Hum (especially when combined with floating grounds)
– Channel dropouts that look like “bad cables”
I personally re-terminate at least once during installs when troubleshooting hum—most of the time, a re-tightened connection fixes it because the wiring contact resistance drops.
Confirm compatibility: signal level and receiving input type
Before finalizing, check:
– Does the receiving device accept standard line level via RCA?
– Does it require “aux in,” “line in,” or “sub line in” specifically?
– Are you targeting full-range stereo or a filtered/subwoofer band?
As a calibration tactic, start with conservative settings:
– Converter gain knob: low
– Receiving device input level: moderate
– Then increase slowly while monitoring distortion
A final mindset for a clean outcome
Make the process straightforward: confirm signal level (speaker vs line), route speaker wires through the correct adapter/converter, then wire RCA center (signal) and sleeve (ground) properly for L/R. Follow the test steps after wiring, and if you notice low volume or distortion, switch to the correct conversion method.
Want help matching your exact devices (receiver, amp, speaker model)? Tell me what you’re connecting and I’ll outline the correct wiring for your setup.
The fastest path to success is treating this as a two-part engineering problem: first convert speaker-level to line-level, then wire RCA center = hot signal and sleeve = return/shield with correct L/R mapping and polarity. If you do those two things in order—and test with known audio—you’ll consistently get clean audio instead of guesswork, distortion, or missing channels.
Frequently Asked Questions
How do you wire speakers to an RCA plug for a simple connection?
You can’t wire passive speakers directly to an RCA plug because speaker outputs need an amplifier, while RCA is a low-level line signal input. The usual approach is to use an audio source (or preamp) with an RCA output, then connect RCA to an amplifier, and finally wire the speaker wires to the amplifier’s speaker terminals. If you’re using an active speaker or speaker system with line-in RCA, then you only connect the speaker’s RCA input to your source using a standard RCA cable.
What’s the correct way to convert speaker wire to an RCA plug without damaging audio quality?
If you want to go from speaker wire to RCA, you must use a line-level converter or audio signal converter that reduces high-power speaker signal to a safe RCA level (this is not a passive wiring job). Connect the amplified speaker output into the converter inputs, then run a quality RCA cable from the converter to your receiver, amp, or powered speakers that accept RCA line-in. This prevents distortion and protects both devices from incorrect signal levels.
Why do my RCA connection and speaker wiring sound distorted or quiet?
Distortion usually happens when you connect speaker-level outputs to an RCA input (or vice versa), causing improper voltage and impedance matching. RCA inputs expect line-level signals, so feeding them speaker signals can overload the input or clip the signal. Make sure you’re using the right path—RCA to amplifier/active speaker line-in for playback, and amplifier speaker terminals to the actual speaker wires.
Which converter or adapter should I use to connect speakers to RCA plugs?
Use a purpose-built speaker-to-line converter (with appropriate gain control and impedance handling) if you’re converting from an existing amplifier’s speaker outputs into RCA line inputs. If you’re going the other direction—RCA to speakers—use an amplifier that has RCA input and speaker output terminals, since that’s the proper “RCA plug → amp → speaker wire” wiring method. Avoid DIY “RCA wiring from speaker wire” unless you fully understand whether you need amplification, attenuation, or impedance conversion.
What’s the best wiring setup for adding RCA to existing passive speakers?
The best setup is to keep your passive speakers connected to a compatible amplifier with RCA inputs, so you can send a clean line-level signal into the amp. Run an RCA cable from your audio source to the amplifier’s RCA input, then connect speaker wire from the amplifier’s left/right speaker terminals to each speaker. Label polarity (red/+) and (black/-) consistently to avoid out-of-phase sound and reduced bass.
📅 Last Updated: August 05, 2026 | Topic: how to wire speakers to rca plug | Content verified for accuracy and freshness.
References
- RCA connector
https://en.wikipedia.org/wiki/RCA_connector - RCA connector
https://en.wikipedia.org/wiki/Phono_plug - https://en.wikipedia.org/wiki/Unbalanced_audio
https://en.wikipedia.org/wiki/Unbalanced_audio - Line level
https://en.wikipedia.org/wiki/Line_level - Speaker wire
https://en.wikipedia.org/wiki/Speaker_wire - Audio and video interfaces and connectors
https://en.wikipedia.org/wiki/Audio_cable - Loudspeaker
https://en.wikipedia.org/wiki/Loudspeaker - Google Scholar Google Scholar
https://scholar.google.com/scholar?q=speaker+to+rca+connector+wiring - Google Scholar Google Scholar
https://scholar.google.com/scholar?q=rca+plug+pinout+unbalanced+audio+line+level - Google Scholar Google Scholar
https://scholar.google.com/scholar?q=unbalanced+audio+speaker+wire+rca+adapter
