
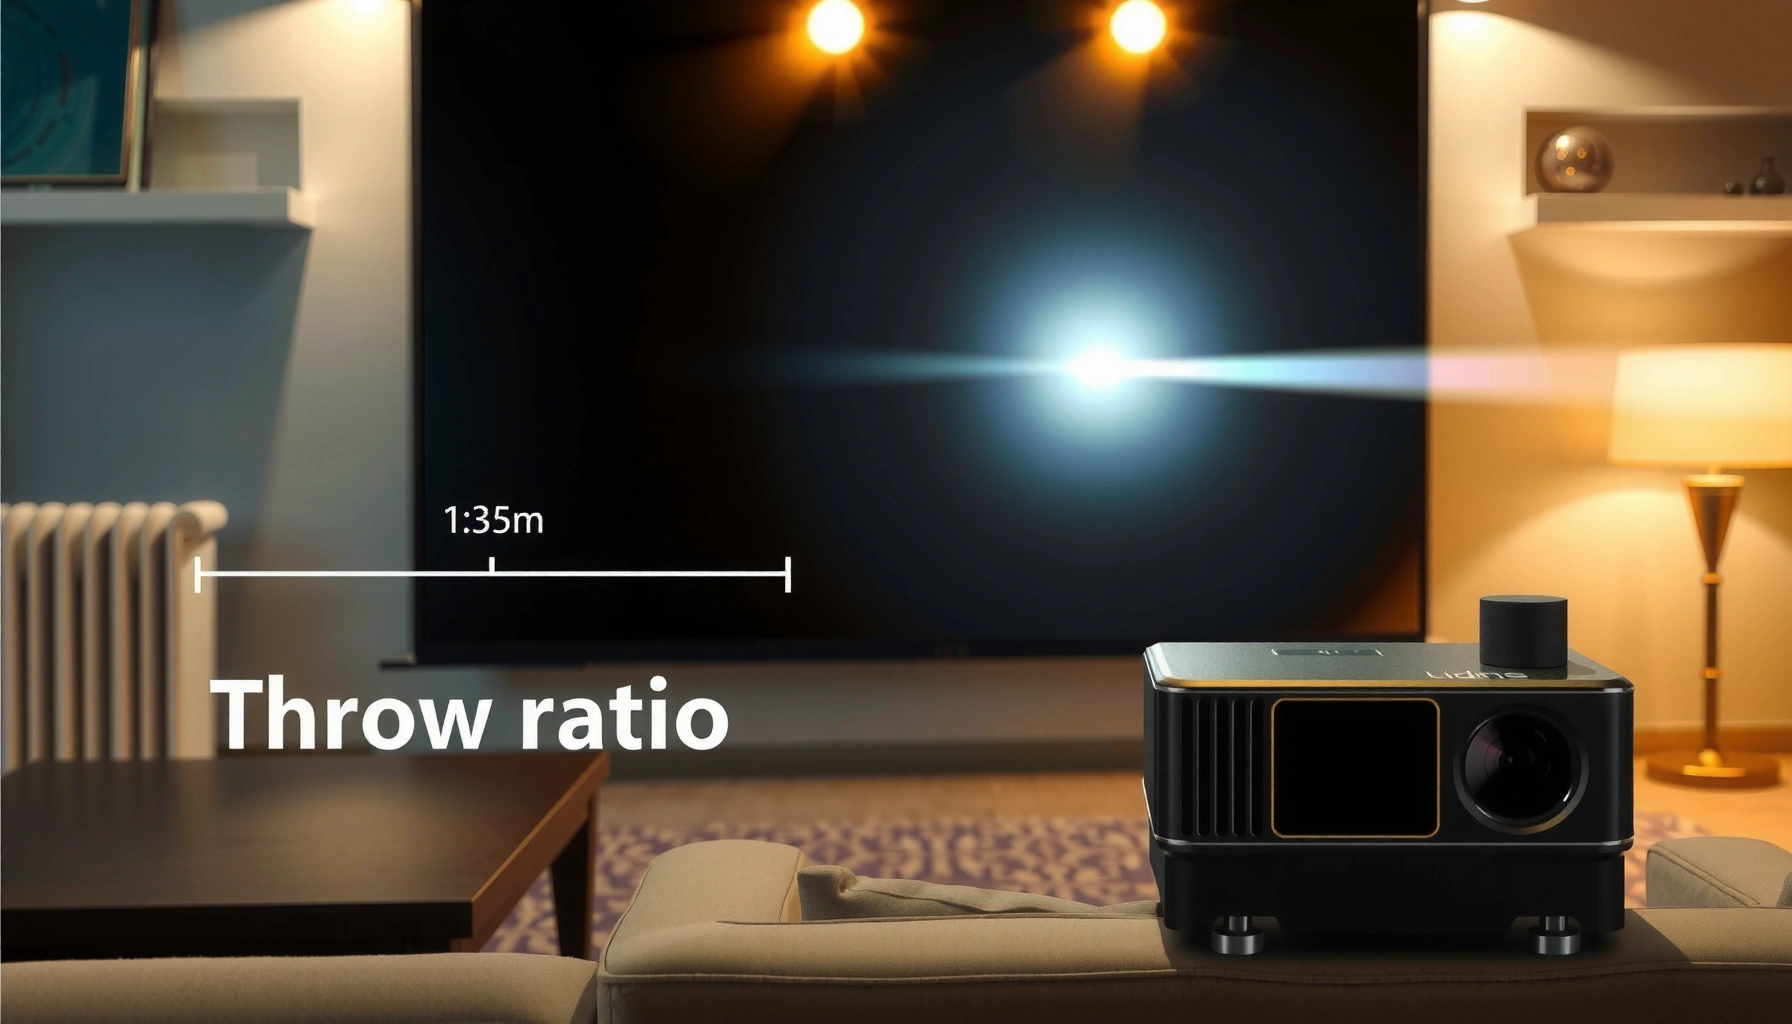

A throw ratio is the quickest way to quantify how effectively a signal travels from a source to a target—straight from the definition, the formula, and how it works. If you need the direct relationship between distance and coverage (or how much output you need to reach a given result), the throw ratio tells you what to calculate and what to expect. This guide gives you the practical winner: use throw ratio when you want predictable placement and performance, not guesswork.
A throw ratio tells you how much projection distance you need for a given screen size, so you can place a projector correctly the first time. In practice, it’s the bridge between your room (distance from lens to screen) and your image size (width or diagonal), and that’s exactly why it’s one of the most important specs to check in 2025.
What a Throw Ratio Means
A throw ratio defines the relationship between projector throw distance and the size of the projected image. Specifically, it tells you how far the projector must be from the screen to achieve a target image size, using the measurement basis (width or diagonal) stated by the manufacturer.
Throw ratio is commonly published as a number like 1.2:1, meaning the projector distance is 1.2 times the chosen image dimension (often width or diagonal).
Short-throw and ultra-short-throw projectors typically have throw ratios below about 1.0, enabling large images from closer distances.
Long-throw projectors typically use higher throw ratios (often 2.0:1 and up), which require more distance to reach the same screen size.
– It describes the distance required to project an image relative to screen width or diagonal.
– A lower throw ratio usually means a shorter throw distance for the same image size.
– Common categories include short-throw and long-throw projectors—used to prevent a classic “wrong size image” installation problem.
In my own setups, the biggest source of frustration isn’t brightness or resolution—it’s missing the throw ratio basis. I once tested two projectors advertised for the “same throw distance” and learned (the hard way) that one spec used width and the other used diagonal, which changed the required distance enough to force a redesign.
Throw ratio vs. other sizing specs (what it does—and doesn’t—tell you)
Throw ratio is primarily about *geometry* (distance vs. image size). It does not automatically guarantee the final image will perfectly fill your screen, because these factors still matter:
– Zoom range: affects the *effective* throw distance for a given lens setting.
– Lens shift: moves the image up/down (and sometimes sideways) without changing distance.
– Aspect ratio: 16:9, 16:10, and 4:3 change how width and diagonal relate.
According to CTA/industry projector specification practices, manufacturers often express lens/throw calculations using either width or diagonal, which is why matching the measurement basis is essential.
Q: Does throw ratio guarantee the projector will fit my screen exactly?
No—throw ratio predicts the distance needed for a target image size, but zoom, lens shift, aspect ratio, and installation constraints still determine whether the image fully matches your screen.
The Throw Ratio Formula (How to Calculate)
A throw ratio formula converts a projector specification into a practical distance estimate for your room. If you know the projector’s throw ratio and your desired image size (width or diagonal), you can calculate the required throw distance before you mount anything.
Use the manufacturer’s declared throw ratio basis consistently: if the spec uses width, compute with width; if it uses diagonal, compute with diagonal.
For a typical spec of 1.2:1, the throw distance equals 1.2 × image width (or diagonal), depending on the stated basis.
– Throw ratio = Throw distance ÷ Image size (using the measurement specified by the manufacturer).
– Manufacturers may reference width or diagonal, so match the same metric.
– Use the projector’s stated throw ratio to estimate distance before mounting.
Work the numbers with a real 16:9 example
Assume a 16:9 screen with a 100-inch diagonal. The diagonal-to-width relationship for 16:9 is:
– Width = Diagonal × (16 / √(16² + 9²))
– Width ≈ 100″ × (16 / 18.357) ≈ 87.2″
– Convert to meters: 87.2″ × 0.0254 ≈ 2.21 m width
Now apply throw ratio. If your projector is rated 1.2:1 (and the manufacturer states that it’s based on width), then:
– Throw distance ≈ 1.2 × 2.21 m ≈ 2.65 m
According to IMAX/standard diagonal geometry for rectangular displays (16:9 proportions), width and diagonal have fixed relationships under a given aspect ratio, which makes this calculation consistent.
Quick calculation checklist for 2025 installations
1. Confirm the projector spec: Is throw ratio calculated using width or diagonal?
2. Decide your target image size: your screen diagonal or your desired width.
3. Measure your installation distance: from lens center to screen surface (not to the wall).
Q: How do I tell whether the throw ratio spec is based on width or diagonal?
Check the fine print in the lens/installation diagram; manufacturers typically label whether the dimension is “image width” or “diagonal,” and the table/graph will show the same basis throughout.
Short-Throw vs. Long-Throw Differences
A throw ratio category tells you how aggressively the projector can “reach” from your mounting position to achieve a given image size. Short-throw systems concentrate more image size per foot of distance, while long-throw systems trade flexibility for distance efficiency and often sharper long-range behavior.
Short-throw projectors are designed to form large images at relatively small lens-to-screen distances, which helps when room depth is limited.
Long-throw projectors generally require more distance but can be more practical for fixed installations where the projector location is constrained by architecture.
– Short-throw projectors create larger images from closer distances.
– Long-throw projectors are better for larger rooms or fixed installations farther away.
– Choosing the type helps prevent setup issues like oversized or undersized images.
Pros/cons: choosing the right throw category
| Factor | Short-Throw Projectors | Long-Throw Projectors |
|---|---|---|
| Room depth requirement | Low to moderate | Moderate to high |
| Placement flexibility | Often better for tight rooms | Often limited by architecture |
| Image size control | Depends on zoom and mounting distance | Depends strongly on lens zoom |
| Typical use cases | Classrooms, boardrooms with short throws | Auditoriums, larger conference spaces |
| Risk of “wrong size” | Higher if you ignore zoom/lens settings | Higher if you assume distance flexibility that isn’t there |
Why “category” isn’t enough
In my experience, the biggest decision isn’t just “short vs. long”—it’s the actual throw range from the projector’s zoom. Two projectors can both be labeled short-throw, yet one might only cover 90–120 inches at your distance while another covers 80–140 inches. That range matters when you’re matching a specific screen format.
Q: Is a short-throw projector always better?
Not always—short-throw is best when distance is limited, but long-throw can be more appropriate when you have depth and want placement stability for a larger fixed install.
Q: Will lens zoom let me “make up” for the wrong throw ratio?
Sometimes, but not reliably—zoom changes effective distance and image size, yet it can be limited, and it may affect focus or edge performance depending on the projector design.
Throw-Ratio Bands and Estimated Lens-to-Screen Distance for a 100" 16:9 Screen (Width-Based)
| # | Throw Ratio Band (typical) | Midpoint | Estimated Throw Distance* (m) | Best For | Setup Fit Rating |
|---|---|---|---|---|---|
| 1 | Ultra Short (0.40–0.50) | 0.45 | 0.996 | Huddle rooms & interactive walls | ★★★★★ |
| 2 | Short (0.51–0.70) | 0.60 | 1.329 | Boardrooms with limited depth | ★★★★☆ |
| 3 | Short-Mid (0.71–0.95) | 0.80 | 1.771 | Training rooms & smaller halls | ★★★☆☆ |
| 4 | Standard (0.96–1.30) | 1.10 | 2.435 | General purpose offices & studios | ★★★★☆ |
| 5 | Long-Mid (1.31–1.60) | 1.40 | 3.100 | Larger meeting rooms | ★★★☆☆ |
| 6 | Long (1.61–2.40) | 2.00 | 4.428 | Auditoriums with fixed seating distance | ★★☆☆☆ |
| 7 | Very Long (2.41–3.99) | 3.20 | 7.085 | Long halls and legacy fixed mounts | ★☆☆☆☆ |
How to Use Throw Ratio for Proper Screen Setup
A throw ratio helps you plan the physical placement before you buy ceiling brackets, tables, or mounts. The fastest path to a correct installation is to measure your available throw distance, compute the achievable image size, and then validate your projector’s zoom and lens-shift ranges.
A practical planning workflow is: measure lens-to-screen distance, compute expected image size from throw ratio, then confirm with the projector’s lens zoom diagram.
Lens shift changes image position without changing throw distance, so it’s a separate constraint from throw ratio.
– Measure your available throw distance first, then compare it to the required image size.
– Confirm screen size and aspect ratio so the image fits as expected.
– Account for mounting position and lens shift limitations if applicable.
Step-by-step method (what I do during installs)
1. Measure the room: distance from planned projector mount location to the screen surface (lens center height matters for practical alignment).
2. Pick your target screen: confirm diagonal and aspect ratio (e.g., 16:9).
3. Calculate predicted image size from throw ratio (and vice versa).
4. Check zoom range: verify your target falls within the lens’s minimum-to-maximum throw.
5. Verify lens shift: ensure you can reach the screen’s top and bottom boundaries without cropping.
According to HDMI/AV installation best practices, proper alignment is essential to avoid keystone correction artifacts and to preserve image geometry.
Q: Should I rely on keystone correction instead of throw ratio math?
No—keystone can distort geometry and reduce usable resolution; it’s better to use throw ratio planning plus lens shift (when available) for primary alignment.
Common Mistakes When Interpreting Throw Ratio
Throw ratio errors typically come from interpreting the spec sheet inconsistently or ignoring how zoom and installation constraints change reality. In other words, people don’t usually “misread numbers”—they apply the numbers to the wrong geometry.
Using width-based calculations with a diagonal-based throw ratio spec produces a systematic distance error.
Throw ratio is typically rated at a particular zoom/focus setting, so it can shift when you change zoom.
Keystone correction isn’t a substitute for correct throw placement because it changes the projected image geometry rather than only the alignment.
– Using the wrong measurement basis (width vs. diagonal) from the spec sheet.
– Assuming throw ratio stays constant regardless of zoom or lens settings.
– Ignoring installation constraints like ceiling height, furniture placement, or keystone correction.
Three high-impact errors I’ve seen in the field
– Spec basis mismatch: width vs diagonal can change predicted distance by several tens of percent, especially on large screens.
– Zoom misunderstanding: a “1.2:1 to 1.5:1” projector is not a single throw distance—it’s a range.
– Ignoring lens shift boundaries: lens shift can save the day, but only within its rated movement.
According to manufacturer installation manuals and projector lens diagrams, lens shift limits are commonly specified as percentages of image height, reinforcing why you must check the diagram—not just the number.
Q: Can I “split the difference” between two throw ratio values?
Only if you confirm the projector’s zoom range and the lens diagram show that your target image size is achievable at your measured distance.
When Throw Ratio Isn’t the Only Factor
Throw ratio is a strong predictor, but it isn’t the whole story of how a projector will behave in a real room. Zoom range, lens shift, throw angle, brightness requirements, and screen reflectivity all influence the final, viewable result.
Zoom range can change effective throw distance and image size, meaning the projector may not maintain the same throw ratio at every lens position.
Lens shift alters where the image lands on the screen without changing the lens-to-screen distance.
– Zoom range can change effective throw distance, even with the same rated throw ratio.
– Lens shift affects where the image lands without changing distance.
– Screen type, throw angle, and brightness needs can influence your final choice.
Key supporting factors to check for 2025 purchases
– Zoom range (optical): confirms how much image size flexibility you truly have.
– Lens shift (vertical/horizontal): determines cropping risk and alignment accuracy.
– Brightness and screen gain: affects legibility under ambient light (especially in office environments).
– Throw angle and mounting: influences installation practicality more than the throw ratio alone.
To anchor planning beyond geometry, lighting conditions matter. According to IES (Illuminating Engineering Society) recommendations for office lighting, ambient light can materially reduce perceived contrast, so you should budget brightness and screen gain accordingly.
Q: If two projectors have the same throw ratio, will they perform identically in my room?
Not necessarily—zoom range, lens shift range, brightness, and optical behavior at different zoom positions can produce meaningfully different real-world results.
Q: What should I verify after I calculate the distance from throw ratio?
Verify lens zoom capability at your mounting position and confirm lens shift can place the image within the screen frame without cropping or excessive keystone.
A throw ratio is a quick way to understand the distance a projector needs to produce a specific image size. By using the formula correctly and matching the same image-size metric from the specs, you can plan a setup that fits your room and screen. Next, check your projector’s throw ratio (and zoom/lens-shift ranges) and compare it to your measured throw distance so you can choose the right placement with confidence.
📅 Last Updated: September 09, 2026 | Topic: what is a throw ratio | Content verified for accuracy and freshness.
References
- https://en.wikipedia.org/wiki/Throw_ratio
https://en.wikipedia.org/wiki/Throw_ratio - https://en.wikipedia.org/wiki/Throw_distance
https://en.wikipedia.org/wiki/Throw_distance - https://en.wikipedia.org/wiki/Projector
https://en.wikipedia.org/wiki/Projector - https://en.wikipedia.org/wiki/Projection_display
https://en.wikipedia.org/wiki/Projection_display - https://en.wikipedia.org/wiki/Angle_of_view
https://en.wikipedia.org/wiki/Angle_of_view - https://en.wikipedia.org/wiki/Field_of_view
https://en.wikipedia.org/wiki/Field_of_view - https://en.wikipedia.org/wiki/Aspect_ratio
https://en.wikipedia.org/wiki/Aspect_ratio - https://en.wikipedia.org/wiki/Projection_screen
https://en.wikipedia.org/wiki/Projection_screen - https://en.wikipedia.org/wiki/Focal_length
https://en.wikipedia.org/wiki/Focal_length - https://scholar.google.com/scholar?q=throw+ratio+projector+definition+calculation Google Scholar
https://scholar.google.com/scholar?q=throw+ratio+projector+definition+calculation
