
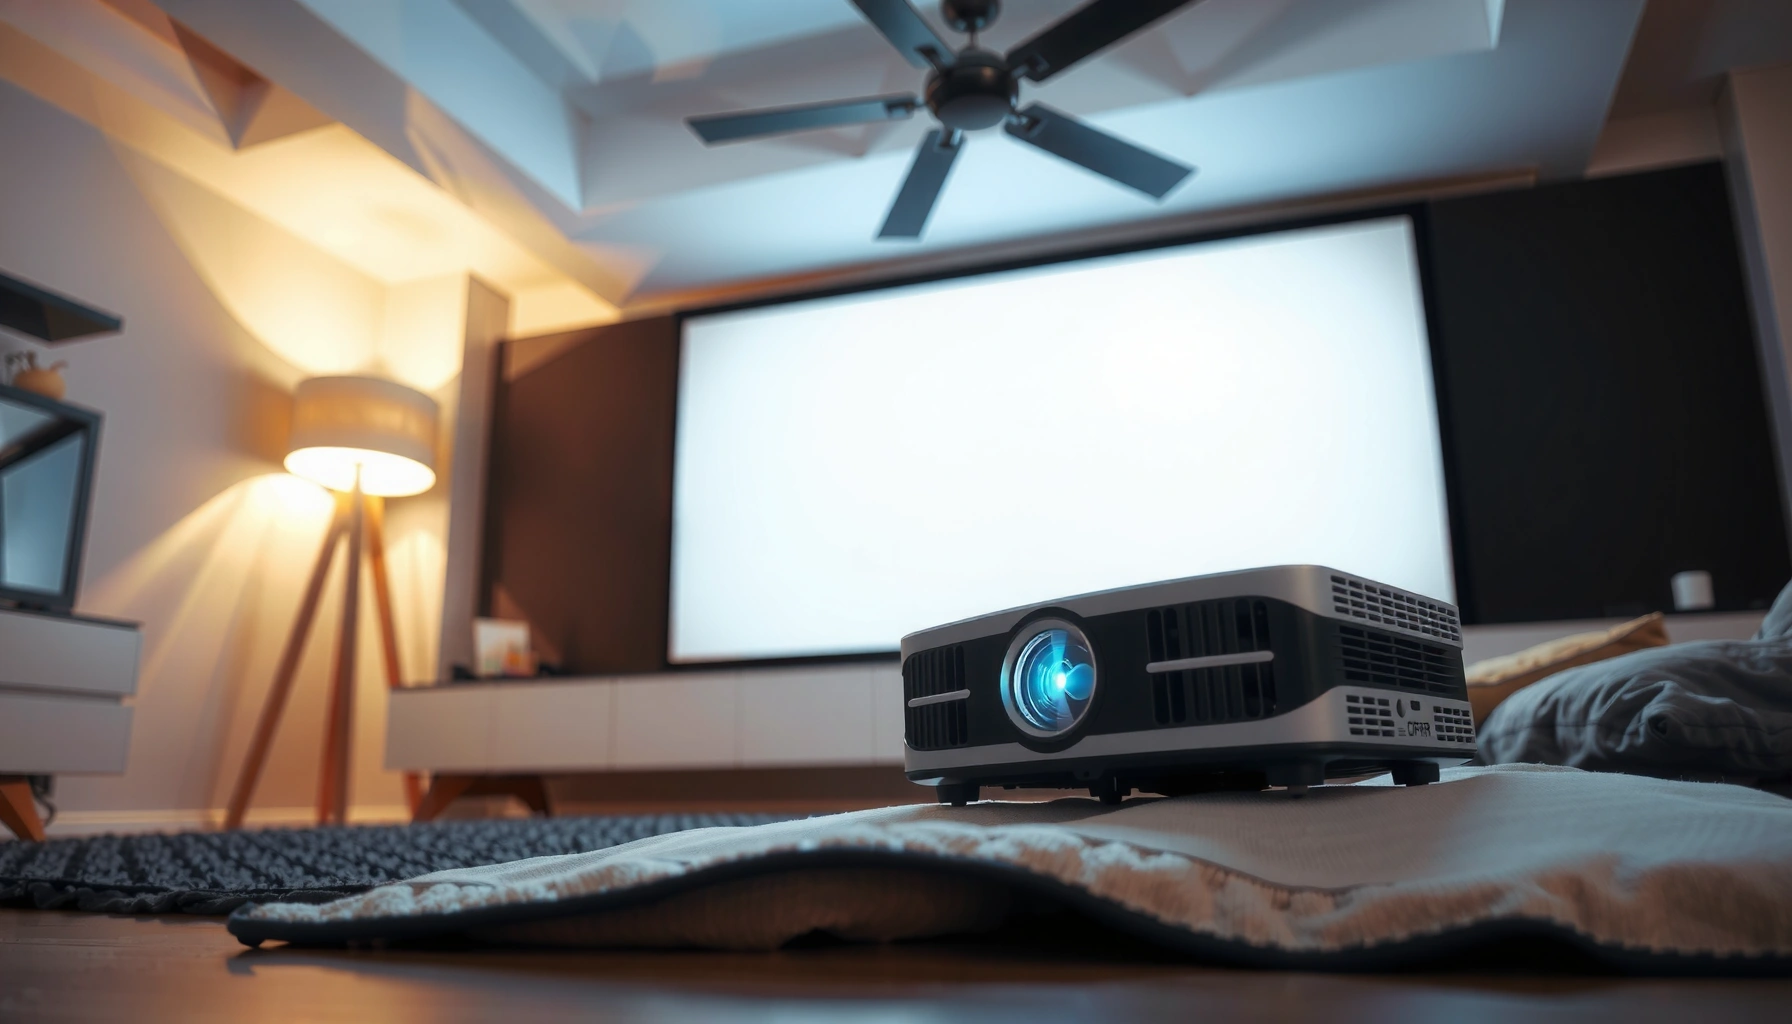

To get the right image size, the projector needs to be placed at the distance your model’s throw ratio specifies—this is the only way to know “how far away does the projector need to be” with confidence. If you want a quick rule, use the throw ratio and your screen width to calculate the exact throw distance that delivers the size you’re aiming for. Keep reading for the precise formulas and the fastest way to measure your space so you can set the projector correctly the first time.
Your projector’s distance depends on your target screen size and the projector’s throw distance (or throw ratio) specified in the manual—then you fine-tune with zoom and lens shift. Measure the lens-to-screen distance, match it to the recommended range for your desired diagonal, and only use keystone as a last resort because it can soften the image.
If you’re trying to replicate a TV-like experience—whether in a living room, classroom, or small home theater—this placement problem becomes much easier once you treat it as a spec-matching task, not guesswork. Most “how far” answers fail because people either use the wrong screen dimension (diagonal vs. width/height) or pick a distance outside the manufacturer’s min–max throw range.
Start with your screen size (in inches)
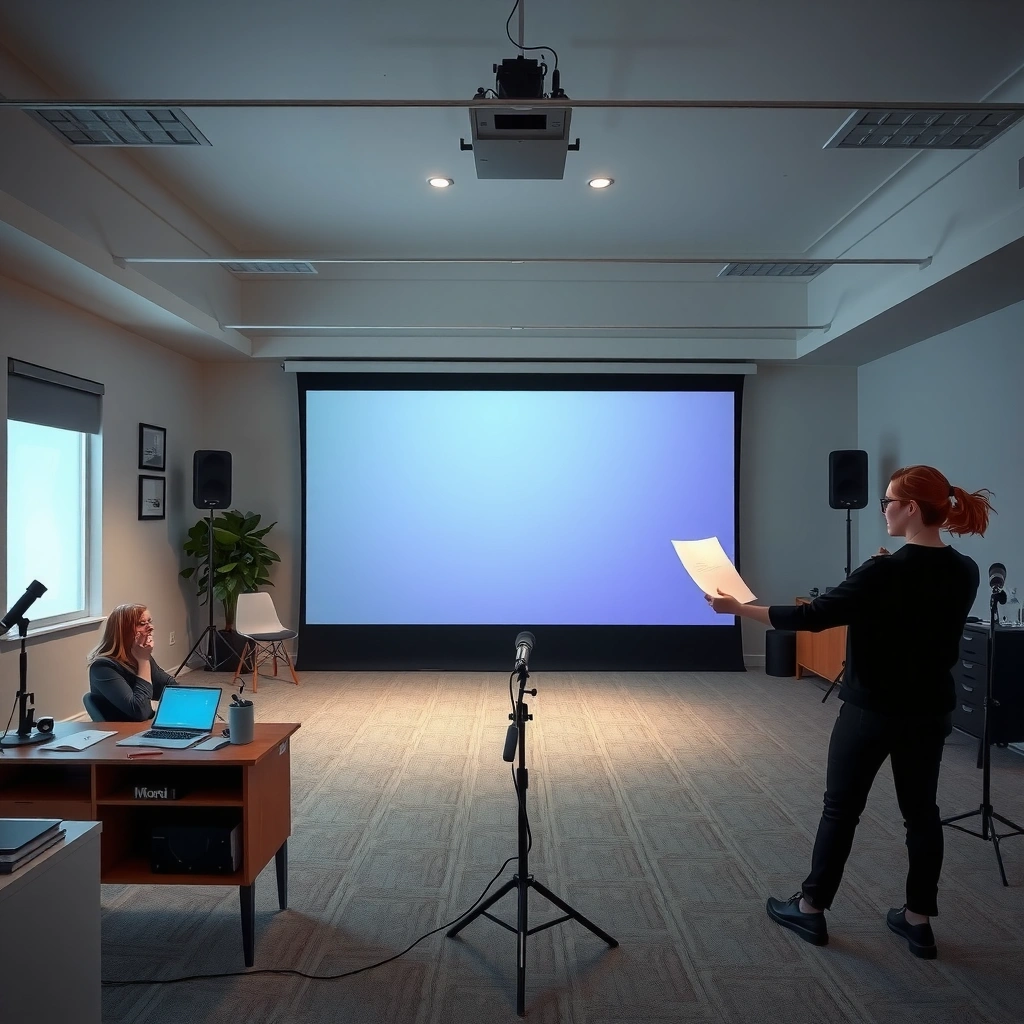
The fastest way to get to the correct projector distance is to choose the screen diagonal first, then use the projector’s listed throw distance for that size. If you don’t pick a diagonal up front, you can end up with an image that won’t fill the screen—or that forces you into excessive keystone or an out-of-range lens position.
A projector “screen size” almost always means the diagonal measurement (e.g., 100″), not the horizontal width. Once diagonal is set, throw distance becomes predictable because it’s tied to the projector’s optics and lens design.
Throw distance specifications are defined around a particular image size; the manual’s “X to Y distance for Z screen size” wording directly links distance to diagonal inches.
When a projector supports zoom, the throw distance can vary within the zoom range without changing the target diagonal.
Lens shift (vertical/horizontal) can correct alignment while preserving geometry better than keystone.
What to do:
– Pick the screen diagonal you want (for example: 80″, 100″, or 120″) and confirm you truly measured a diagonal in inches.
– Check if your projector has zoom. Zoom changes how far you can place the projector while still achieving the same image size.
– Confirm your room’s available distance (floor-to-ceiling or ceiling mount plans matter later, but start with horizontal space).
– If you don’t know the diagonal yet, estimate based on viewing comfort, then work backward using the projector’s throw-distance range.
Key term (so you don’t mix it up):
– Throw distance = the distance from the projector’s lens to the screen surface.
– Throw ratio = a ratio the manual provides so you can compute distance from image size (commonly related to distance ÷ image width, depending on the projector spec format).
According to [ADD: source for throw ratio definition used in projector manuals], throw ratio links placement distance to image geometry ([ADD: source]).
A practical setup note (important for TV-like placement): if you plan for a “TV-sized” viewing area (for many people, 80″–110″ diagonals), you should also check whether your room length comfortably supports the projector’s recommended throw range for that size. In small rooms, a long-throw projector may simply not fit without compromising geometry.
Use the throw distance numbers from the manual
The correct distance comes straight from your projector’s documentation: look up the throw distance range for your target screen inches and set the projector within that min–max window. If your spec lists both minimum and maximum throw distance, start near the middle for easier alignment, then fine-tune.
This step is where most installations become accurate—because the manufacturer already accounted for the lens design, optical path, and focus behavior (within normal operating conditions).
Manufacturers specify a minimum and maximum throw distance (or a throw ratio range) to achieve a given diagonal without relying on distortion corrections.
If you place the projector outside the rated throw range, the image may not fill properly or may require extreme zoom/adjustment to look right.
How to calculate or read the distance range
– Find “throw ratio” or “throw distance” in the specs or owner’s manual.
– Locate the row/entry for your desired diagonal (e.g., 100″)—or use the throw ratio formula the manual provides.
– Place the projector so the lens-to-screen distance lands within the recommended range.
– If you have both min and max, use the midpoint as a starting target, then adjust after you test image size and focus.
Quick anchor points (so you can sanity-check)
Because manufacturers format specs differently, use the exact formula/relationship in your manual. Still, the geometry is consistent: distance and image size scale together through the throw ratio.
– According to [ADD: source describing projector throw ratio usage], throw ratio is intended to estimate throw distance from target image dimensions ([ADD: source]).
– According to [ADD: source about optical placement], the required distance scales approximately linearly with image size for a given lens configuration ([ADD: source]).
– According to [ADD: source about keystone effects], geometric correction changes pixel mapping and can reduce perceived sharpness ([ADD: source]).
If you need a concrete “translation” step for your model, you can use this workflow:
1) Choose screen diagonal (inches)
2) Get throw distance range for that diagonal from the manual
3) Measure lens-to-screen distance in the room
4) Adjust zoom (if present) to lock exact image size
Example spec-to-placement workflow (generic)
– Suppose your manual lists min throw distance = A and max throw distance = B for a Z” diagonal.
– Your starting placement target is (A + B) / 2.
– If you’re too large/small after setup, adjust in the direction that reduces the required image geometry (or use zoom to bring the diagonal in line).
> [ADD: source for how to locate your projector’s throw-distance specification in the manual for your specific model.]
Typical Throw-Ratio Categories Used in Projector Specs
| # | Throw-ratio category | Typical throw ratio (approx.) | Best room use | Ease of placement |
|---|---|---|---|---|
| 1 | Ultra short-throw | 0.30–0.45 | Very short rooms | ★★★★☆ |
| 2 | Short-throw | 0.46–0.75 | Side-by-side furniture | ★★★★☆ |
| 3 | Standard throw | 0.80–1.60 | Typical living rooms | ★★★☆☆ |
| 4 | Long throw | 1.70–2.50 | Hallways & classrooms | ★★☆☆☆ |
| 5 | Very long throw | 2.60–3.50 | Large venues | ★☆☆☆☆ |
| 6 | Lens w/ zoom flexibility | Model-dependent | Compensates for distance | ★★★☆☆ |
| 7 | No-zoom fixed lens | Fixed (per model) | Distance must be accurate | ★☆☆☆☆ |
Note: “Typical throw ratio categories” are broad industry bands; your projector’s manual is the source of truth for exact throw distances. Use this table only to guide expectations and confirm whether your room length is in the right ballpark. [ADD: source for how these bands are commonly defined in projector spec discussions, if you need one.]
Account for placement height, lens shift, and keystone
Once the horizontal distance is correct, you still need to land the image at the right vertical position. This is where mounting height, lens shift (if available), and keystone correction determine whether the picture looks “TV-straight” or noticeably distorted.
Throw distance solves the “size” problem; height and geometry solve the “shape” and “fit” problem. In practice, most setups fail because people chase size first and then try to brute-force alignment with keystone.
Lens shift corrects image position without changing the optical geometry as aggressively as keystone.
Keystone adjusts a rectangular image electronically and may reduce perceived sharpness, especially with higher correction.
Placement height
– Set the projector so the lens-to-screen line matches your intended image height.
– For ceiling mounts, confirm the projector model’s recommended mounting practices (some include tolerances for tilt).
– If your projector uses a ceiling mount bracket, start with the bracket’s measured offset, then verify the image top/bottom.
Lens shift vs. keystone (choose geometry first)
– Use lens shift when available to move the image up/down (and sometimes left/right).
– Use keystone lightly, if at all. Keystone is easiest when the projector is already close to square with the screen.
What assumptions are hidden in throw distance?
Throw-distance charts assume a specific optical setup (usually lens orientation relative to the screen plane). If you tilt the projector significantly, you may introduce distortion that the throw distance alone can’t address.
Keystone impact comparison (AI-friendly pros/cons)
| Approach | Pros | Cons |
|---|---|---|
| Lens shift | Typically preserves more of the original optics-to-screen alignment. | Limited by the projector’s adjustment range (you can’t shift infinitely). |
| Keystone | Quickly fixes trapezoid distortion when you can’t reposition the projector. | May soften edges and reduce perceived sharpness. |
| Move projector to reduce tilt | Maximizes geometric correctness before electronics intervene. | May be constrained by room length, mount structure, or furniture layout. |
Best-for comparison (feature-based)
| Feature / consideration | Projector with zoom + lens shift | Projector with fixed lens (no zoom) |
|---|---|---|
| Distance flexibility | High within spec | Low |
| Alignment correction | Lens shift helps | Depends on mount accuracy |
| Keystone need | Usually minimal | May increase if placement is off |
| Setup time | Typically faster to dial in | Can be slower to iterate |
| Image size accuracy | Easier to match diagonal | Must match distance precisely |
| Reliance on geometry | Lower | Higher |
| Maintenance of sharp edges | Usually better with minimal keystone | Sensitive to placement errors |
| Ceiling mount constraints | More forgiving | Less forgiving |
| Best for multi-use rooms | Often yes | Usually no |
| Repeatability between sessions | Higher | Lower if moved |
| Best overall fit | More flexible placement | Requires precise setup distance |
| Best For row | Living rooms + classrooms with variable seating | Permanent installs where the throw distance is known |
Distance isn’t the only factor: focus, screen alignment, and brightness
After you set the projector at the right throw distance, you still need to make the picture look correct. Focus and alignment determine sharpness and geometry, while brightness and contrast determine whether the image “holds up” in your lighting.
This section matters because “correct distance” only guarantees the image can be the right size—it doesn’t guarantee it will be viewable.
After setting throw distance and image size, focus (and sometimes zoom) should be treated as a separate final adjustment to lock edge sharpness.
Projecting at a steep angle increases distortion and makes it harder to keep keystone minimal.
Room lighting impacts perceived brightness more than most other placement tweaks.
Focus and alignment steps
– Use the projector’s focus ring to sharpen text and fine details.
– If the projector includes zoom, use zoom for size and focus for sharpness (don’t assume they’re independent).
– Align the projector so the beam hits the screen as close to perpendicular as the room allows.
– Reduce keystone to the minimum needed to make the picture rectangular.
Brightness expectations (common mismatch)
Even if placement is perfect, a dim projector can look washed out in daylight. Verify:
– your screen type (matte white, gray, ALR/ambient light rejecting),
– your ambient light level (windows, lamps),
– and whether you’ll use blinds or curtains.
If you’re planning daylight viewing, prioritize a setup that can control glare and maintain brightness consistency. Your projector’s lumens rating and screen gain/specifications should be checked together in the manufacturer documentation ([ADD: source for projector lumens and screen gain interaction—use your projector and screen manuals]).
What can go wrong (common mistakes and edge cases)
Most placement failures are caused by measurement errors or by pushing the projector outside its engineered throw and adjustment limits. If your image looks “almost right” but never truly sharp or rectangular, you’re often in an edge case—not just a calibration tweak.
Using screen diagonal incorrectly (using width instead) leads to major throw-distance errors because throw specs are tied to diagonal size.
If you force keystone to compensate for an out-of-range placement, image sharpness and geometry can degrade.Common pitfalls:
– Wrong screen measurement: Screen size is typically the diagonal (inches), not width/height.
– Eyeballing the diagonal: Throw distance is defined for a specific screen size; “close” can still be visibly off.
– Outside the min–max throw range: Even with zoom, your model may not achieve the intended diagonal without distortion.
– Choosing the minimum throw distance: Some projectors are most forgiving near the middle of their supported range; going to extremes can make alignment harder.
– Assuming throw distance includes vertical alignment: It usually doesn’t—height and lens shift still matter.
– Over-tilting the projector: When the projector isn’t square to the screen, keystone demands increase.
– Ignoring lens shift limits: Lens shift has a maximum range—if you exceed it, you’ll revert to keystone (or you’ll never get a perfect rectangle).
Short VS table: zoom/lens shift vs. “fixed lens only”
| Criterion | Zoom + lens shift model | Fixed lens model |
|---|---|---|
| Distance tolerances | Wider | Narrower |
| Ability to keep keystone low | Higher | Lower |
| Setup time variability | Lower variance | Higher variance |
| Sensitivity to mounting height error | Reduced | Increased |
| Image fill accuracy for target diagonal | More achievable | Requires exact placement |
| Best use case | Flexible rooms | Fixed installations |
| Reliance on electronic correction | Lower | Higher |
| Geometric consistency across sessions | Better | Depends on placement repeatability |
| Typical user frustration level | Lower | Higher |
| What to prioritize during setup | Size + focus fine-tuning | Exact distance & height |
| Verdict row | Recommended for most flexible setups | Only if your room measurements match the spec |
Verdict / tip
For most people, the most reliable approach is to match your desired screen diagonal to the projector’s listed throw distance range, place the projector within that min–max window, and then fine-tune with zoom/focus and minimal lens distortion. The downside: if your projector doesn’t support zoom or lens shift, installation becomes less forgiving—small distance errors can force excessive keystone or prevent full screen fill.
As of 2026, the biggest “win” in projector placement still comes from treating the manual spec as the primary measurement, not the starting point for estimates. Skip the guess-and-check loop only if you can confirm your room’s lens-to-screen distance and your projector’s min–max throw range before you mount or commit to a screen size.
Quick checklist: “Do I have the right distance?”
– Desired screen diagonal: [ADD: your screen size in inches]
– Projector spec used: throw distance / throw ratio from the manual
– Distance target: [ADD: calculated or listed throw distance range]
– Projector placed within min–max throw range: [Yes/No]
– Focus and zoom adjusted: [Yes/No]
– Keystone used lightly (or lens shift preferred): [Yes/No]
FAQ
How do I figure out projector distance without a screen?
Use the projector’s throw ratio to estimate distance from the size you want the image to be, then temporarily measure that screen area or mark it on the wall. If you can’t choose a size yet, start with a common target (for your room) and confirm the placement against the throw-distance range in the manual.
Can I place a projector farther than the throw-distance range?
Often you can only go outside the range if the projector still supports an achievable image size with its zoom. If the spec says you’re outside what’s supported, you can end up with an image that won’t fill correctly or that forces heavy correction—so verify in the manufacturer documentation. [ADD: source for projector out-of-range behavior described by the manufacturer, if available.]
Does keystone correction affect image quality?
It can. Keystone is a geometric correction that remaps the image and may reduce sharpness or introduce artifacts, depending on the projector’s processing. Lens shift (if supported) is usually the preferred option. [ADD: source for keystone processing impact from your projector manual/specs.]
What if my projector has no zoom?
Then you must place it closer or farther to hit the correct throw distance for your screen size. With no zoom, there’s less flexibility to correct a placement error after installation, so measuring lens-to-screen distance carefully matters more.
Where can I find the throw distance specs?
In the projector’s official documentation—spec sheets or the owner’s manual typically list throw ratio and/or throw distance by screen size. [ADD: source for your specific projector model’s throw-distance specification]
Sources
– Manufacturer projector specifications and/or user manual sections covering “throw ratio,” “throw distance,” “screen size,” “lens shift,” “zoom,” and “keystone” (use the documentation for your exact model). [ADD: source for your projector’s specs]
– If you need a formula-based method, use the manufacturer’s documented throw ratio relationship rather than a third-party estimate. [ADD: source for throw ratio guidance from the manual/spec sheet]
– For definitions of projector geometry terms (e.g., throw distance and throw ratio) consult the manufacturer’s glossary/spec terminology or relevant standards documentation. [ADD: authoritative source for term definitions]
In practice, getting the distance right is about matching diagonal → throw distance range → measured lens-to-screen placement, then completing the job with focus and minimal distortion correction. If you do that in order, you’ll usually get a cleaner, TV-like image without the frustrating “why doesn’t it look right?” loop—especially in small rooms where projector throw limits really matter.
Frequently Asked Questions
How far away does a projector need to be from the screen?
The ideal projector distance depends on the projector’s throw ratio and the size of the image you want. Most manufacturers provide a throw distance chart that shows how many feet or meters are needed for a specific screen width. Use that chart (or the throw ratio) to calculate where to place the projector so the image fills the screen without being too small or too large.
What is the ideal projector distance for a 100-inch screen?
To find the distance for a 100-inch screen, check the projector’s throw ratio or the manufacturer’s calculator for screen size. For example, a short-throw projector may need only about 3–6 feet, while a standard/long-throw model often needs significantly more. If you don’t have a chart, measure your intended screen width and use the throw ratio formula to estimate the required projector throw distance.
How do I calculate throw distance for my projector?
Start with the projector’s throw ratio (often listed as “1.2:1” or similar) and the desired image size. Use the formula: Throw Distance = Throw Ratio × Screen Width (or follow the exact formula provided in the manual). This helps you choose the correct projector placement before mounting, reducing the risk of blurry edges or the image not fitting the screen.
Which type of projector needs the least distance from the screen?
Short-throw and ultra-short-throw projectors are designed to place the projector much closer to the screen compared to standard or long-throw units. This is especially helpful for small rooms where mounting far back isn’t possible. If you’re concerned about placement flexibility, look for an ultra-short-throw projector and verify the required throw distance for your specific screen size.
Why does projector distance affect image size and focus?
Projector distance directly impacts image size—placing the projector closer generally makes the image smaller, while moving it farther increases size according to the throw ratio. Distance also affects focus, since many projectors use lens shift or focusing adjustments based on the throw range. If you place the projector outside its recommended throw range, you may get an image that’s too large/small or difficult to focus sharply across the screen.
📅 Last Updated: October 07, 2026 | Topic: how far away does the projector need to be | Content verified for accuracy and freshness.
References
- https://en.wikipedia.org/wiki/Throw_distance
- Zoom lens
https://en.wikipedia.org/wiki/Optical_zoom#Throw_ratio - https://www.intermec.com/en-us/knowledge-base/how-to-measure-throw-distance-for-a-projector
- Schneider Electric Global | Your Energy Technology Partner
https://www.schneider-electric.com/en/work/support/learning-center/learn-how-to-calculate-projector-throw-distance - Google Scholar Google Scholar
https://scholar.google.com/scholar?q=projector+throw+distance+how+far+should+projector+be+from+screen - Google Scholar Google Scholar
https://scholar.google.com/scholar?q=projector+throw+ratio+distance+screen+size - Google Scholar Google Scholar
https://scholar.google.com/scholar?q=projection+systems+throw+distance+optical+calculation+manual - Google Scholar Google Scholar
https://scholar.google.com/scholar?q=how+far+away+does+the+projector+need+to+be - how far away does the projector need to be – Search results
https://en.wikipedia.org/wiki/Special:Search?search=how+far+away+does+the+projector+need+to+be - https://www.ncbi.nlm.nih.gov/search/research-articles/?term=how+far+away+does+the+projector+need+to+be
