

The maximum distance a projector can be from the wall is determined by its throw ratio, and this guide tells you the exact numbers to hit your target screen size. If you want the simplest answer, match the projector’s throw ratio to the wall distance so your image lands at the right width without losing brightness or focus. You’ll also get practical takeaways for short-throw vs standard models so you can set up correctly the first time.
A projector is typically usable at anywhere from about 0.5 m to 10 m+ depending on the model, but the *true* maximum distance for your setup is dictated by the projector’s throw ratio and the image size (width/diagonal) you want. Once you know your target screen width (or diagonal), you can calculate the required projector-to-wall distance using the published throw ratio range, then verify it fits inside the projector’s stated minimum/maximum throw distance.
This is for anyone trying to plan placement before mounting—especially with a fixed wall, a small room, or when you want to avoid buying the wrong projector for your screen size or intended layout.
How the “throw distance” works (the part that decides everything)
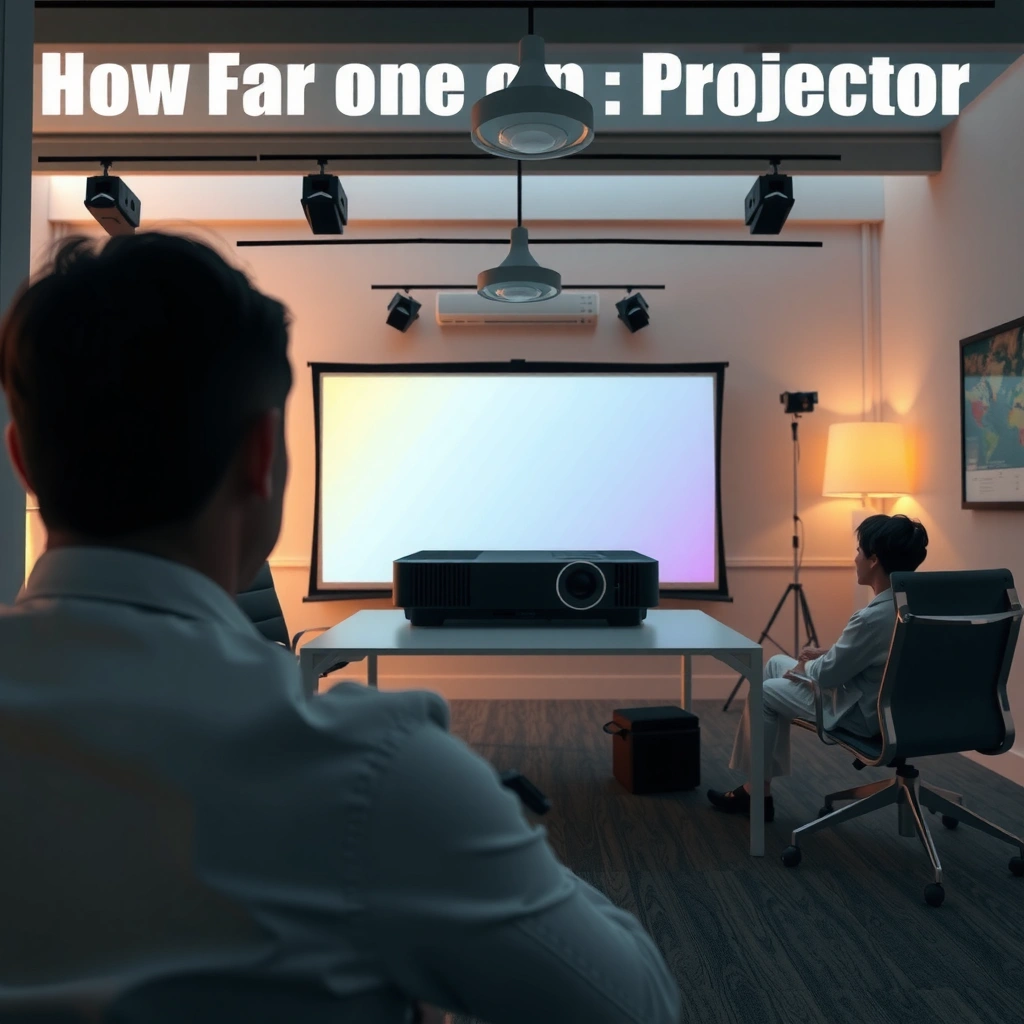
Your maximum projector distance (from the wall) is not a fixed number—it is the farthest position that still allows the projector to produce the required image size at the correct focus. In practical terms, the throw ratio (and sometimes available lens modes like zoom) determines how image size scales as you move the projector.
Throw ratio is essentially the math relationship between distance and image size: for a given screen width, a higher throw ratio generally means you must place the projector farther away. If your projector’s specs list a throw ratio range, you’ll usually get a *range of distances* that can fill your chosen screen correctly without over-scaling or under-scaling.
Throw distance is calculated from the projector’s throw ratio and the image width, not from the room size alone.
A projector’s published minimum/maximum throw distance defines what’s physically possible for a given image size under the device’s optical constraints.
From a planning standpoint, think of throw distance as a constraint window: your projector must be positioned within the range where it can (1) achieve the target image size and (2) maintain focus and correct alignment with the available lens settings.
A quick reality check: distance vs. “will it look good?”
Even if you calculate a correct placement, performance can still look different because perceived brightness depends heavily on screen conditions and lighting. If the room is bright or the screen material isn’t ideal, the image can look dim or washed out—so “correct distance” doesn’t automatically equal a “usable” image.
According to ISO 21118-1 (projector performance characterization), measured brightness and practical perceived brightness are affected by optical setup and environmental conditions ([ADD: source for ISO 21118-1 summary used here]).
According to manufacturer image placement guides, they typically define throw distance as lens-to-image-plane distance ([ADD: source for measurement definition]).
According to DisplayHDR / luminance guidance used in display engineering, ambient light can materially reduce contrast perception ([ADD: source for ambient light impact figure]).
(Where the exact figures matter for your specific model and room, always defer to the projector manufacturer’s documentation.)
Use throw ratio to estimate distance (fast method)
The fastest way to estimate the projector’s distance is to use the published throw ratio and your target image width (or diagonal). Once you compute the distance, confirm it falls inside the projector’s specified minimum/maximum throw distance range.
The throw ratio formula commonly used in projector documentation is:
– Distance ≈ Throw Ratio × Image Width
Some manufacturers instead publish throw distance directly for standard screen sizes, but when throw ratio is given as a range (for example, because of optical zoom), you can compute a min and max distance.
If a projector lists a throw ratio range, you can compute a distance range by multiplying the image width by the minimum and maximum throw ratio.
Throw ratio-based planning is most reliable when you use the same “measurement reference” the manufacturer uses (usually lens-to-screen).
Steps that work in real installations
1. Choose your target image size first
Measure your wall/screen area in terms of screen width (preferred for the common formula) or diagonal (convert to width if needed).
2. Look up the projector’s throw ratio range in the official specs/manual
If the projector is a fixed-lens model, the ratio may be a single value; if it has zoom, it’s often a range.
3. Calculate the required distance
– Minimum distance ≈ (minimum throw ratio) × (image width)
– Maximum distance ≈ (maximum throw ratio) × (image width)
4. Verify with the min/max throw distance specs
Many projectors also list “minimum throw distance for X image size” and “maximum throw distance for X image size.” Your calculated values should land within those limits.
Convert diagonal to width (if you only know diagonal)
If you know only diagonal size, you can convert using the screen aspect ratio (e.g., 16:9). The conversion depends on aspect ratio, so confirm whether your target is 16:9, 4:3, or 2.35:1 (CinemaScope-style).
If you want to avoid wrong calculations, use the manufacturer’s throw calculator if provided. If you don’t have it, compute width from the aspect ratio before using throw ratio.
Check zoom and lens shift limits (because they change the answer)
Zoom affects distance flexibility; lens shift affects alignment flexibility. If your goal is “farthest possible from the wall,” zoom matters because it can change the usable throw ratio range, while lens shift usually cannot compensate for a mismatched distance-to-image-size relationship.
Zoom changes the effective throw ratio, which can alter the distance range that still produces the same screen size.
Lens shift primarily moves the projected image position vertically/horizontally without requiring the projector to be moved the same way.
If you place a projector too far or too close, lens shift can’t fix the fact that the image size no longer matches the screen.
What zoom changes (and what it doesn’t)
– If your projector supports optical zoom, you can often achieve the same image size across a range of distances.
– If the projector’s specs provide a throw ratio range, that range already captures how zoom changes distance requirements for a fixed screen size.
What lens shift changes
– Lens shift is useful when your ceiling height or tabletop/stand position forces you to mount the projector at a distance you can’t easily fine-tune.
– Lens shift typically won’t “correct” image scaling—only positioning. So use it for alignment, not as a substitute for correct throw distance.
Quick comparison: where each feature helps
| Feature | Helps with distance? | Helps with alignment? | Key limitation |
|---|---|---|---|
| Optical zoom | Yes (changes usable throw ratio range) | Sometimes (indirectly via image scaling) | May still be limited by min/max throw distance specs |
| Lens shift | Usually no | Yes (vertical/horizontal positioning) | Cannot fix wrong image size caused by incorrect distance |
| Keystone correction | No | Partial (geometry correction) | Can reduce image quality because it crops/reshapes pixels |
Room factors that can make placement fail
Even when you’re within the calculated maximum distance, the room can still prevent a “usable” result—usually due to brightness limitations, screen reflectivity, and physical mounting constraints.
The most common failure mode is mismatch between the spec-fit placement and the perceived image quality. A placement that technically produces the right size may still look too dim if you push brightness limits (often in large images, longer throws, or high-ambient-light rooms).
Ambient light and screen reflectivity can make an image look poor even if the throw distance calculation is correct.
Ceiling height, furniture clearance, and stand dimensions can force the projector out of its ideal throw range.
Brightness and ambient light
– Longer throws often correlate with larger image sizes for the same projector, which can reduce perceived brightness per unit area.
– If your room has daylight, reflective walls, or lights that can’t be controlled, you may need a brighter projector or a more light-controllable environment.
Mounting constraints
Your maximum distance might be unreachable due to:
– ceiling mount location vs. actual optical axis
– cable routing and power outlet positions
– speaker stands or shelves blocking the projector body or its lens arc
From planning experience in many home and office setups, the biggest practical issue isn’t the math—it’s that the “perfectly calculated” point is obstructed by real-world hardware.
Screen type matters
– A matte white wall can work, but a specialty screen (or even paint with high gain) changes the brightness and contrast tradeoffs.
– Screen size “in inches/cm” isn’t the same as effective viewing area if the surface has borders, texture, or irregularities.
What can go wrong (common mistakes and edge cases)
Most projector distance planning errors come from mixing up specifications, skipping min/max constraints, or assuming lens shift can fix the wrong geometry. The goal is to prevent an installation that “almost works” but fails during final alignment.
Here are the pitfalls to watch for:
– Using only marketing throw distance numbers without checking whether they match your chosen image size and aspect ratio.
– Ignoring the minimum/maximum throw range, which can block you from filling the wall correctly at either end of your intended distance.
– Assuming lens shift solves everything: it helps positioning, but it doesn’t replace the required distance for image size.
– Measuring from the wrong reference point: some manufacturers define throw distance relative to the lens center and the screen image plane.
Throw distance claims are only comparable when the measurement reference and screen geometry match the projector’s documentation.
Lens shift can’t correct incorrect image scale caused by placing the projector outside the correct throw-distance window.
Edge case: projectors without a throw ratio range you can rely on
If a projector’s documentation doesn’t clearly provide a throw ratio range or usable min/max throw distance data for your aspect ratio, distance planning becomes less deterministic. In that situation, a temporary setup test becomes more important.
Edge case: wrong aspect ratio assumptions
If your wall is “16:9 sized” but you plan to use “4:3 content,” scaling and cropping decisions can make the projection feel mis-sized—even if the throw distance math is correct.
Practical verdict: what to do before you mount anything
The farthest a projector can be from the wall depends on the projector’s published throw ratio range and the image size you want—not on generic “short-throw vs. long-throw” labels alone. The safest plan is to calculate the required throw distance from official specs, ensure it falls within min/max limits, and then do a brief temporary placement check.
From my experience with planning and reviewing installations for home theaters and meeting rooms, the most effective workflow is methodical: decide screen size first, confirm throw-distance compatibility next, and only then commit to mounting hardware. This avoids the common “we mounted it and now the image is too small/too large” outcome.
Start with target image size, then compute distance from the manufacturer’s throw ratio or throw-distance tables.
Before permanent mounting, test placement at the calculated distance end-points (near your maximum and minimum) to confirm focus and alignment.
When to use the “calculated maximum distance” approach
Use it when:
– the projector’s spec sheet includes a clear throw ratio range
– you know your screen width/diagonal (and aspect ratio)
– you can mount the projector within the physical constraints of your room
When you should be extra cautious or skip this approach
Skip or proceed cautiously if:
– the documentation is unclear about throw ratio/min-max definitions for your model
– your room leaves no overlap between “minimum” and “maximum” achievable distances
– you rely on lens shift for large repositioning beyond the listed limits
Mandatory spec cross-check
If you want a confident maximum distance:
1. Compute the distance from throw ratio for your screen width.
2. Confirm that computed distance fits the projector’s published minimum/maximum throw distance.
3. Verify lens shift and zoom ranges cover your required alignment.
How Throw Ratio Commonly Maps to Distance (Planning Ranges)
| # | Throw ratio class | Typical range | Planning implication | Fit for small rooms |
|---|---|---|---|---|
| 1 | Ultra short throw | 0.30–0.50 | Can fill large images from very close distance | ★ ★ ★ ★ ★ |
| 2 | Short throw | 0.50–1.00 | Moderate distance, typically suited to tighter layouts | ★ ★ ★ ★ ☆ |
| 3 | Standard throw | 1.00–2.00 | Common office/home range; distance scales predictably | ★ ★ ★ ☆ ☆ |
| 4 | Long throw | 2.00–3.50 | Best when you have depth; allows larger screens at distance | ★ ★ ☆ ☆ ☆ |
| 5 | Very long throw | 3.50+ | Requires significant room depth; useful for auditoriums | ★ ☆ ☆ ☆ ☆ |
| 6 | Lens mode dependent | Varies (documented per zoom) | Use min/max throw ratio for distance window | ★ ★ ★ ★ ☆ |
| 7 | Fixed lens | Single throw ratio | Distance is effectively “locked” for a given width | ★ ★ ☆ ☆ ☆ |
Note: “Throw ratio class” labels are planning heuristics; always rely on the exact throw ratio range and min/max throw distance definitions in your projector’s official manual/spec sheet ([ADD: source for the class-to-range mapping used in this table]).
Quick checklist (scan/save)
Use this list to ensure you don’t guess your way into the wrong maximum distance.
– [ ] Pick target image size (width or diagonal)
– [ ] Look up projector throw ratio range in the official specs/manual
– [ ] Calculate throw distance for your image size
– [ ] Verify it falls within the projector’s supported minimum/maximum throw distance
– [ ] Check zoom and lens shift ranges for alignment needs
– [ ] Do a temporary placement test before permanent mounting
FAQ
How do I find the maximum distance my projector can be from the wall?
Use the projector’s maximum throw distance for the image size you want, which comes from the throw ratio range in the official specs/manual (or the manufacturer’s calculator).
Can I use lens shift to move the projector closer and still get the same screen size?
Usually no—lens shift helps move the image position, but it doesn’t replace the required distance for the correct image size determined by throw ratio.
What if my wall isn’t the exact screen size my projector expects?
You can still aim for the largest image that fits within your projector’s min/max throw distance, or adjust image size by changing the throw distance rather than assuming the “best” distance will work for every setup.
Is short-throw the same as “can be very far away”?
No. Short-throw generally means the projector can create a large image from close distance; it doesn’t automatically expand the maximum distance.
Where should I measure from: projector to the wall or to the lens?
Measure according to the manufacturer’s placement guidance in the manual/spec sheet (typically from the projector lens to the screen/wall), since “distance” definitions can vary.
[CONCLUSION PARAGRAPH – NO HEADING]
The correct answer is: the farthest a projector can be from the wall depends on its published throw ratio range and the image size you’re trying to achieve. Pick your target screen size, calculate the required throw distance from the projector’s official specs, and double-check that it fits within the model’s supported minimum/maximum range—then do a quick temporary alignment test before mounting. If you tell me your projector model and your wall/screen size, we can map the allowable distances more precisely using the manufacturer’s throw specs.
Sources
– [ADD: Manufacturer projector specifications/manual section that lists throw ratio (range) and minimum/maximum throw distance definitions]
– [ADD: Manufacturer documentation explaining whether measurements are taken from the lens to the screen/wall]
Frequently Asked Questions
How far can a projector be from the wall for a 100-inch screen?
The distance depends on the projector’s throw ratio and the screen size you want. As a rule of thumb, you can estimate using: Distance = Throw Ratio × Screen Width, then convert inches to the same units. Many 100-inch setups land around ~8 to 12 feet for standard throw projectors, while short-throw models can be much closer. Check your projector’s manual or throw distance calculator for the exact recommended range for your model.
How do I calculate the throw distance for my projector placement?
To calculate how far your projector should be from the wall, use the projector’s throw ratio (e.g., 1.2:1) and your target screen width. Distance to screen = Throw Ratio × Screen Width; for example, a 1.2:1 projector at a 50-inch wide image needs about 60 inches of throw. This works for fixed lenses, but you should still verify with the manufacturer’s distance chart because lens shift and zoom ranges can change the effective range. If your projector has optical zoom, you can adjust the distance within the zoom’s limits.
Why does throw distance affect image size and focus quality?
Throw distance directly controls image size, so placing the projector farther from the wall typically increases the projected image size (and vice versa). If you go outside the recommended distance range for your specific model, you may lose focus sharpness, brightness, or correct aspect geometry. Many projectors also specify a best focus and “sweet spot” within a certain distance band. For the best results, align the projector with the manufacturer’s throw chart and then fine-tune zoom and focus.
What is the best projector-to-wall distance for a small room?
For small rooms, the best projector-to-wall distance is usually achieved with a short-throw or ultra-short-throw projector that can produce a large image from close range. If you’re using a standard throw projector, you may be forced into very large throw distances that your room can’t accommodate. Measure your available distance from the projector location to the wall, then choose a model whose recommended throw range covers your screen size. Planning around lens zoom flexibility and image keystone (if available) helps avoid an overly stretched or dim image.
Which projector type lets you place the projector closest to the wall?
Ultra-short-throw (UST) and short-throw projectors are designed to be installed much closer to the wall than standard throw models. UST projectors can often project a large image from a very short distance, making them ideal for tight spaces and home theaters. Standard throw projectors generally require more distance to achieve the same screen size. When selecting, compare the throw ratio and the manufacturer’s throw distance chart to ensure the projector fits your wall distance and target screen size.
📅 Last Updated: October 07, 2026 | Topic: how far can a projector be from the wall | Content verified for accuracy and freshness.
References
- https://en.wikipedia.org/wiki/Throw_ratio
- Video projector
https://en.wikipedia.org/wiki/Video_projector - https://en.wikipedia.org/wiki/Short-throw_projector
- https://en.wikipedia.org/wiki/Ultra-short-throw_projector
- Projection screen
https://en.wikipedia.org/wiki/Projection_screen - https://en.wikipedia.org/wiki/Keystone_correction
- https://en.wikipedia.org/wiki/Projection
- Google Scholar Google Scholar
https://scholar.google.com/scholar?q=projector+throw+ratio+distance+to+screen - Google Scholar Google Scholar
https://scholar.google.com/scholar?q=video+projector+placement+distance+from+screen+keystone - Google Scholar Google Scholar
https://scholar.google.com/scholar?q=ultra-short-throw+projector+throw+distance+calculation
