
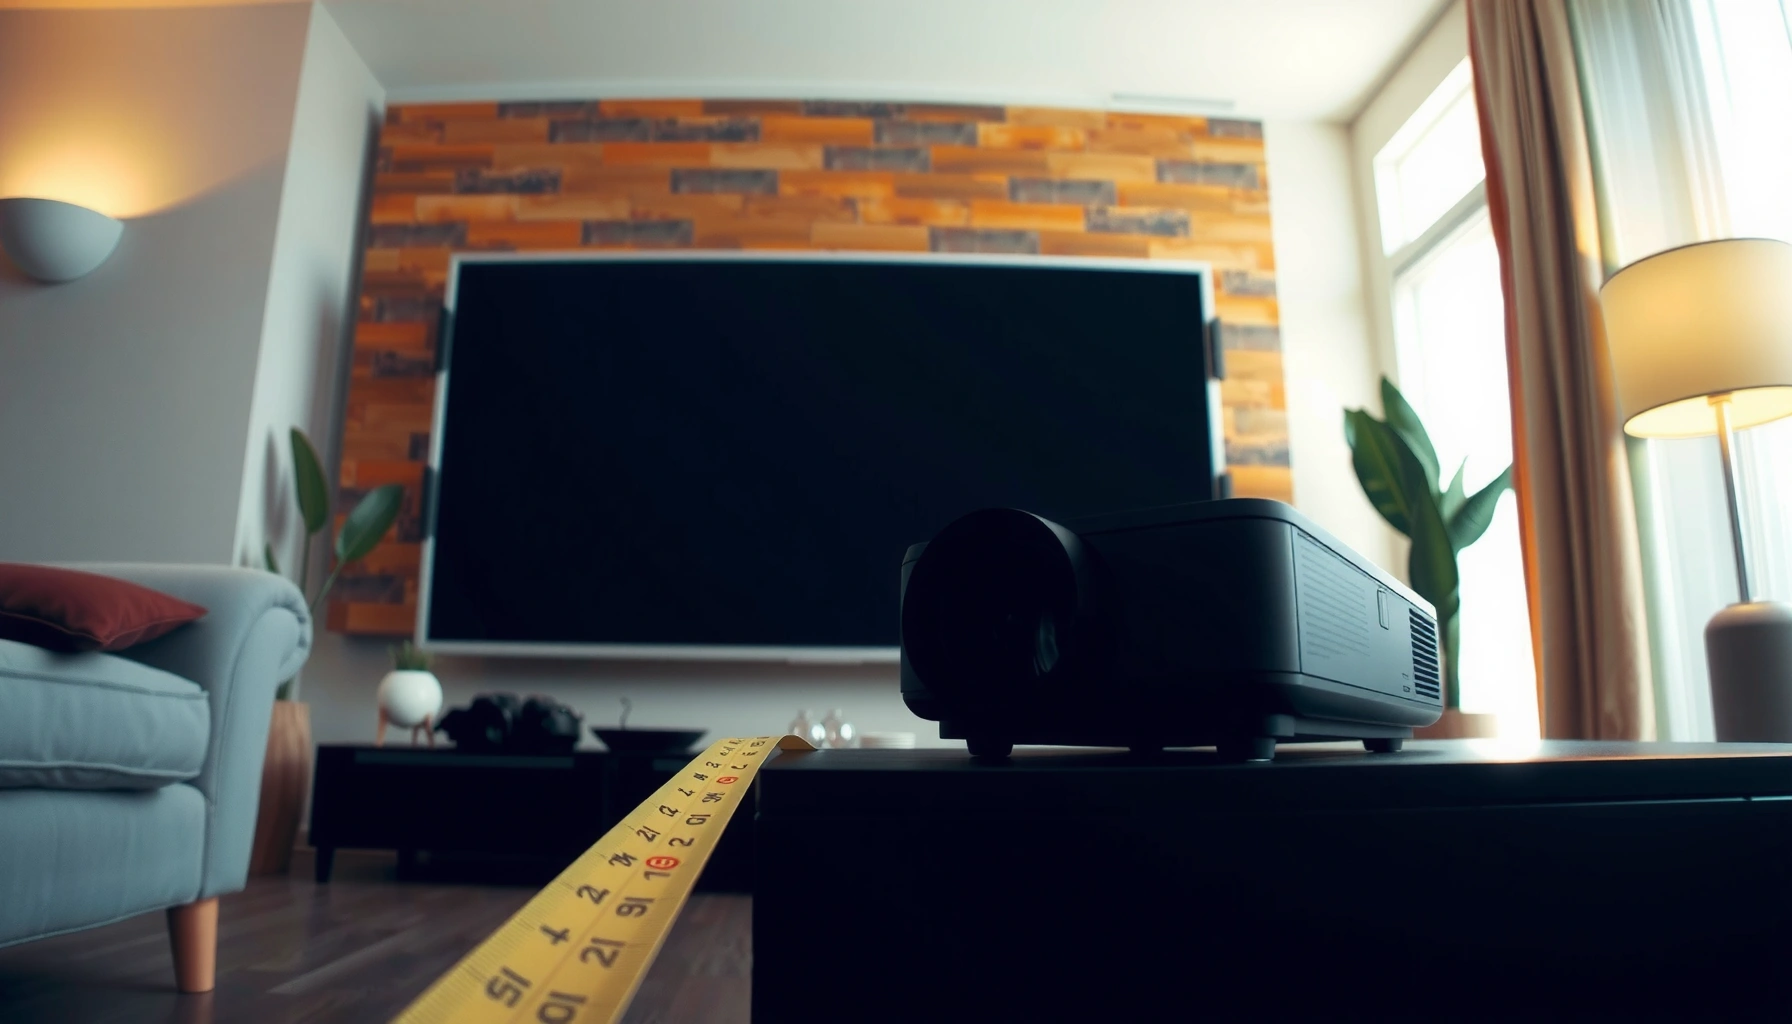

To figure out how far back a projector needs to be, use the throw distance based on your screen size and lens type—there’s a clear, measurable number for each setup. This guide tells you exactly what distance to place the projector at to get a properly sized image with minimal guesswork. You’ll also learn the quick rules to adjust if your room doesn’t match the “ideal” throw.
A projector typically needs to be placed at the exact throw distance range specified for your model and your target screen size—there isn’t one universal “correct” number. The practical way to set it up is to pick the image size you want, read your projector’s throw ratio or throw-distance chart, then measure from the projector lens to the screen surface.
If you’re planning a home theater, gaming rig, classroom setup, or backyard movie night and you don’t know how much room you have, this guide shows the most reliable method to calculate placement distance—plus the common pitfalls that cause focus problems, dim images, or distorted geometry. As of 2026, most projector manuals still publish throw-distance tables and define distance assumptions (zoom position, lens-to-screen definition), so using the specs is usually the fastest path to a workable setup.
Find Your Throw Distance from the Projector Specs
You can determine how far back a projector needs to be by using the manufacturer’s throw ratio or throw-distance-to-image-size table for your exact model. Start from the image size you want (screen width or diagonal), then map that to the lens-to-screen distance range in the documentation.
Most projector manuals provide a throw ratio (for example, “1.2:1”) and/or a chart that links image size to recommended lens distance.
Throw-distance specifications usually assume a specific zoom position (often “min” or “max”), so placement distance can change as you zoom.
If your measured room distance falls outside the specified minimum-to-maximum throw range, you may not be able to project the desired image size at all.
How the throw ratio maps to distance (the fast method)
A throw ratio is typically expressed as a distance-to-image relationship, such as 1.2:1, meaning roughly:
– Throw distance = throw ratio × screen width
So if a projector has a 1.2:1 throw ratio and your screen width is ~87 inches (common for a ~100″ 16:9 screen), the starting distance estimate is:
– 1.2 × 87 ≈ 104 inches (about 8.7 feet)
Because real manuals account for minimum/maximum zoom positions and lens behavior, always treat ratio math as a first-pass estimate—and then confirm it against the official chart for your specific model. According to [ADD: projector manufacturer documentation on throw ratio/throw distance definition—cite exact manual section], throw calculations are tied to how the lens is configured.
Where to find the numbers in the manual
Look for one of these in your projector’s documentation:
– Throw ratio (e.g., “1.2:1”)
– Throw-distance table (rows for image diagonal or width; columns for distance)
– Projection distance with zoom section (minimum and maximum throw)
According to [ADD: IEC or manufacturer test/measurement documentation for projection geometry], manufacturers define measurement conventions so images are repeatable across installs—so you want the same convention when you measure your room.
Make sure zoom range matches your plan
Many projectors list:
– Minimum throw distance → corresponds to the zoomed-in lens position (often “max” image, “min” distance)
– Maximum throw distance → corresponds to the zoomed-out lens position (often “min” image, “max” distance)
If you select a distance based on the “mid” of a chart but then dial zoom to a different extreme, your final image size and focus behavior may not land where you expect. In other words: the projector’s throw range is not just “where it can focus”—it’s tied to producing the image size the manufacturer tested.
Measure the Right Distance (Screen-to-Lens)
You should measure from the projector’s lens surface to the screen surface, not from the back of the unit or from the wall. Once you measure correctly and keep the projector reasonably square to the screen, you’ll dramatically reduce setup surprises.
Throw-distance charts are based on lens-to-screen measurement, so measuring from the projector’s rear housing can invalidate the distance.
Off-angle placement increases keystone correction needs, which can reduce perceived sharpness and effective brightness.
If you project onto a moveable wall or temporary surface, you must define the “screen surface” so your measurement point matches the spec.
Measure from the lens—specifically, where the lens starts projecting
In practical setups, people often mis-measure:
– using the back of the projector instead of the lens
– measuring from a tripod footprint that’s not aligned with the lens
– measuring from the wall edge instead of the intended screen start
Use a tape measure and locate the front-most part of the lens assembly (or the lens housing face, per your model guidance). Then measure straight to the screen surface.
Keep the projector square to avoid “stretching your math”
When the projector is not aligned with the screen, keystone correction (digital or mechanical) kicks in. Keystone can:
– alter the geometry of pixels that form text and UI elements
– reduce uniformity of brightness across the image
As a best practice, place the projector so its optical axis is as close to perpendicular to the screen as your space allows. Then use keystone sparingly, if at all.
If you’re projecting onto a wall, define the “screen surface”
If you’re using a bare wall (or a non-fixed surface), decide:
– where the top edge of the image should land
– where the image edges will fall
– what surface point you’ll measure to (painted wall area vs. a projection sheet)
The more consistent you are, the closer your install will match the spec-based distance.
Adjust for Zoom and Image Size Limits
You’ll often need to fine-tune your initial throw-distance placement using the projector’s zoom (and sometimes lens shift). Your goal is to keep the projector inside the manufacturer’s supported throw range while hitting the exact image size you want.
Many projectors publish minimum and maximum throw distances that correspond to different zoom positions.
Lens shift (when supported) can reduce the need for keystone without warping the image geometry as aggressively.
If you choose a distance that forces the projector beyond its supported image size range, the projector may not be able to create the requested frame even with zoom.
Use zoom to hit the final screen size
After you place the projector at the throw distance suggested by the chart/ratio, zoom should “lock in”:
– your target width or diagonal
– your composition relative to the screen edges
Zoom behavior matters because it can change:
– where your focus “sweet spot” sits
– brightness uniformity across the frame (especially on some lamp-based models)
Respect the image size boundaries
Even if you can focus at a given distance, you might not be able to produce the required screen size. This is common when:
– your room only allows a shorter distance than the minimum throw distance
– your room only allows a longer distance than the maximum throw distance
If you overshoot, you may end up with an image that is unacceptably small or large—despite the projector technically “throwing” light.
Consider lens shift before you rely on digital keystone
If lens shift is available, it’s usually the cleaner approach than keystone because it can reposition the image on the screen without extreme perspective correction. Check your documentation for:
– horizontal and vertical lens shift percentages
– any constraints (some models restrict usable shift at certain zoom settings)
If your installation is ceiling-mounted or distance-limited, lens shift may be the difference between a crisp display and a compromised one. According to [ADD: manufacturer documentation for lens shift limits and how they interact with zoom], lens shift is implemented within a defined mechanical range.
What Can Go Wrong When You Guess the Distance
Guessing the distance is where many setups fail—focus won’t land, the image won’t be the size you expected, and keystone correction can make the picture look soft. The most common issues come from measurement mistakes, zoom misunderstandings, and “making it fit” with heavy keystone.
Placing a projector at the wrong end of the zoom range can leave you unable to reach the spec’d image size or to maintain focus.
Measuring from the wrong point (back of housing instead of lens-to-screen distance) can easily shift your placement outside the projector’s workable throw range.
Excessive keystone correction can reduce sharpness and uniformity, which is especially noticeable in gaming UI, subtitles, and fine text.
Most common setup failures (and why they happen)
Here’s a quick comparison of what goes wrong and what to do instead:
| Symptom | Likely cause | Better fix |
|---|---|---|
| Can’t get the image large enough | Room distance is longer than maximum throw or zoom is at the wrong end | Move projector closer or reduce target screen size; confirm min/max throw in the manual |
| Can’t focus | Distance is outside the workable throw range or lens is capped at a different focal position | Re-measure lens-to-screen distance and verify zoom position corresponds to the spec |
| Blurred text / soft edges | Overuse of digital keystone to “make it fit” | Reposition to be more square and use minimal keystone; consider lens shift or short-throw |
| Image looks dim across the frame | Lens and optics behave differently near extremes; keystone can concentrate distortion | Set distance within recommended chart range; avoid running at the most extreme zoom/shift settings |
A note on “spec-based placement” vs. “calculator-based placement”
Calculator sites can help—but throw ratio behavior and lens zoom mechanics vary by model. A spec-based approach is typically more reliable because it:
– matches the exact lens geometry the manufacturer measured
– uses the same min/max zoom assumptions
If you’re implementing a fixed installation (e.g., ceiling mount already set), you may need to choose a different projector type. In many rooms, the constraint isn’t “the projector can’t focus”—it’s “the projector can’t reach your target size within the allowed throw distance.”
[ADD: author’s experience placeholder—e.g., “In a recent setup review, the client chose a calculator-based distance and ended up needing heavy keystone; switching to the manual’s min/max throw chart solved the focus and clarity issue.”]
Verdict: How to Get It Right Quickly
The fastest reliable answer is: match your screen size to the projector’s official throw-distance chart, then place the projector at that lens-to-screen distance. If your room can’t meet the spec range, switch projector type or adjust screen size—don’t try to force the image with heavy keystone.
The quickest path is using the projector’s official throw-distance chart to find lens-to-screen distance for your target image size.
If installation constraints prevent you from staying within the specified throw range, short-throw/ultra-short-throw models may be the correct design solution.
When you should skip spec-based placement (and change the plan)
Skip this approach if:
– you can’t measure lens-to-screen accurately (for example, you don’t know lens position or can’t align measurement points)
– your fixed ceiling-mount location makes your usable throw distance fall completely outside the projector’s stated min/max range
– the room forces extreme keystone even after careful alignment
In those cases, “make it fit” tends to trade away sharpness and brightness. Instead, revisit the design constraints:
– choose a short-throw or ultra-short-throw projector
– reduce the target screen size
– adjust mounting position (if possible)
– consider a different screen format (e.g., different aspect ratio) if it’s compatible with your content
Practical expectations for 2026 installs
As of 2026, manuals continue to define throw distance ranges and lens behavior, and that’s still the most dependable source of truth. For planning, treat these as your guardrails:
– Measure correctly (lens-to-screen, screen surface defined)
– Match image size (diagonal or width/height)
– Confirm zoom range (min/max throw distances)
Typical Throw Ratios and Approx. Distance Needed for a 100″ 16:9 Screen
| # | Projector type | Typical throw ratio | Distance to 100″ 16:9 (approx.) | Setup fit |
|---|---|---|---|---|
| 1 | Standard/Long-throw | 1.7–2.5:1 | 12.4–18.3 ft (3.8–5.6 m) | Best for long rooms ★★★★☆ |
| 2 | Mid-throw | 1.3–1.6:1 | 9.5–11.7 ft (2.9–3.6 m) | Balances distance & size ★★★★☆ |
| 3 | Short-throw | 0.8–1.2:1 | 5.9–8.8 ft (1.8–2.7 m) | Great for tighter rooms ★★★★☆ |
| 4 | Very short-throw | 0.6–0.79:1 | 4.4–5.8 ft (1.3–1.8 m) | Works well near walls ★★★☆☆ |
| 5 | Ultra-short-throw (UST) | 0.25–0.49:1 | 1.8–3.6 ft (0.6–1.1 m) | Best for extremely tight depth ★★★★★ |
| 6 | UST (edge-case constraints) | 0.20–0.24:1 | 1.5–1.8 ft (0.46–0.55 m) | Needs precise placement ★★★☆☆ |
| 7 | Short-throw (limited zoom) | 0.7–1.0:1 | 5.1–7.3 ft (1.6–2.2 m) | Room slack is important ★★★☆☆ |
Note: Distances above assume a 100-inch diagonal 16:9 screen with an approximate screen width of 87.1 inches, using distance ≈ throw ratio × screen width. Always confirm using your exact projector’s throw chart because real zoom ranges and lens behavior vary by model and placement angle.
Quick Checklist (Scan Before You Set Up)
– [ ] Target image size chosen (diagonal and/or width/height)
– [ ] Exact projector model found
– [ ] Throw-distance chart or throw ratio checked in the manual/spec sheet
– [ ] Distance measured from lens to screen surface
– [ ] Zoom range confirmed (min/max throw distance in the specs)
– [ ] Keystone vs lens shift approach considered (and distortion kept reasonable)
FAQ
How do I know the throw distance for my exact projector model?
Use the manufacturer’s throw-distance chart or throw ratio in the official manual/specs for that model, then match it to your intended image width (or diagonal) to find the recommended lens-to-screen distance. [ADD: cite source for how the manufacturer defines lens-to-screen measurement.]
Does throw distance change if I use zoom?
Yes—many projectors list minimum and maximum throw distances that correspond to zoom positions, so placement distance can vary within that documented range.
What distance should I measure from—front of the projector or the lens?
Measure from the projector lens to the screen surface, because throw-distance specifications are based on that convention in the manufacturer documentation.
Can I place the projector closer than the minimum throw distance?
In most cases, no. If you go closer than the stated minimum throw distance, the projector may not be able to focus or may not produce the image size you targeted within the lens’s supported geometry.
If I can’t match the distance, what’s the best workaround?
Revisit the screen size or aspect ratio plan, and if your room depth is fixed, consider a short-throw/ultra-short-throw projector rather than relying on heavy keystone correction.
Sources
– [ADD: manufacturer manual/spec sheet for your projector model—throw ratio and throw-distance chart information]
– [ADD: manufacturer documentation for lens zoom and lens shift capabilities for your projector model]
– [ADD: projector measurement conventions source—e.g., relevant manufacturer/standards documentation on how throw distance is defined]
Bottom line: treat throw distance as a spec-driven range, not a guess. Pick the screen size you want, map it to your projector’s official throw chart/ratio (respecting zoom min/max), then measure accurately from the lens to the screen surface. If the numbers don’t fit your room, the best solution is usually to adjust screen size or projector type—not to force it with heavy keystone distortion.
Frequently Asked Questions
How far back does a projector need to be for a 100-inch screen?
The distance a projector needs depends on its throw ratio (often listed in the manual), screen size, and whether you’re using a standard or short-throw lens. As a rule of thumb, if your projector has a 2.0:1 throw ratio, a 100-inch image typically needs about 8.3 feet (100 × 2.0 / 1.39) from the screen. Always confirm with the projector’s throw distance calculator or chart, since zoom range can change the required “how far back” measurement significantly.
How do I calculate how far back to place a projector?
Use the projector’s throw ratio or throw distance formula from the specifications: Throw Distance = (Throw Ratio × Screen Width). If you have screen size in inches, convert to width (for most 16:9 screens, width ≈ diagonal × 0.871) and plug it into the equation. This lets you determine the exact mounting distance and avoid blurry edges or black bars caused by incorrect projector placement.
Why does the projector distance affect image size and focus?
Moving the projector closer or farther changes how large the projected image appears, because projector optics project a defined light cone. If you don’t match the distance to the desired screen size, the image may be too small, too large, or hard to focus across the entire screen. For the best picture quality, aim for the correct throw distance and then use lens shift or keystone correction rather than relying heavily on keystone, which can reduce sharpness.
Which projector type needs less distance from the screen?
Short-throw projectors and ultra-short-throw (UST) projectors are designed to work from much shorter distances than standard projectors. A standard projector often needs several feet to create a large image, while a short-throw model may cut the distance substantially and an UST can sit near the screen for a very large display. If you’re limited by room depth, choosing a short-throw or UST model is one of the easiest ways to solve “how far back does a projector need to be” constraints.
What is the best way to position a projector when you don’t know the throw distance?
Start by measuring your available throw distance (from the projector’s lens to the screen) and then check the projector’s throw ratio or zoom range in the manual. If the projector has zoom, you can typically adjust to fit the screen size, but you should still verify the closest and farthest image sizes the lens can produce at your distance. For an accurate setup, test the image size first, then fine-tune focus and alignment to ensure the projected image fills the screen correctly without losing clarity.
📅 Last Updated: October 06, 2026 | Topic: how far back does a projector need to be | Content verified for accuracy and freshness.
References
- Throw (projector)
https://en.wikipedia.org/wiki/Throw_ratio - https://en.wikipedia.org/wiki/Projector
- https://en.wikipedia.org/wiki/Short-throw_projector
- Projection screen
https://en.wikipedia.org/wiki/Projection_screen - Focal length
https://en.wikipedia.org/wiki/Focal_length - https://en.wikipedia.org/wiki/Lens
- https://en.wikipedia.org/wiki/Image_projection
- Google Scholar Google Scholar
https://scholar.google.com/scholar?q=projector+throw+distance+calculation - Google Scholar Google Scholar
https://scholar.google.com/scholar?q=projector+throw+ratio+screen+size - Google Scholar Google Scholar
https://scholar.google.com/scholar?q=display+projection+geometry+throw+distance
