
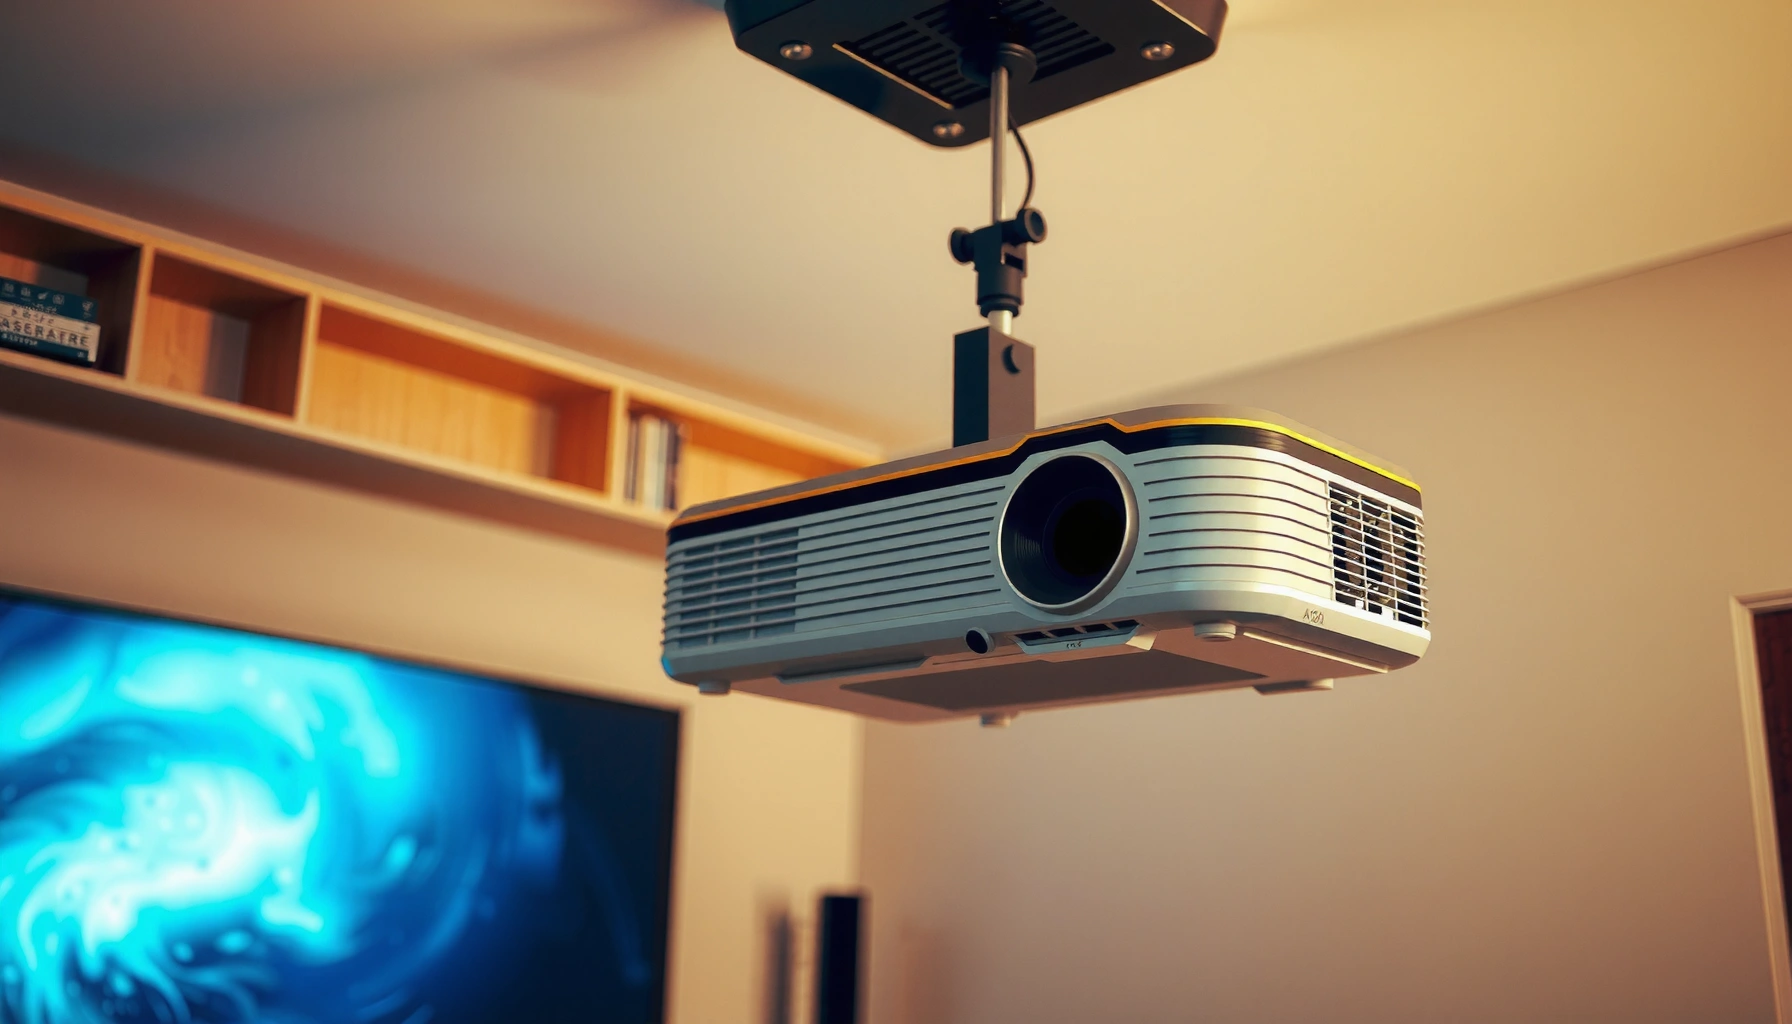

Adjusting projector tilt for a clear, level image is easiest when you align the lens height and then correct vertical keystone using the projector’s built-in tilt/adjustment—this is the fastest route to a true, square picture. If your image looks like it climbs or slants, follow a simple step-by-step tilt check that gets the horizon level without guessing. This guide answers exactly how to adjust projector tilt so text is sharp and the screen fills evenly.
Adjusting projector tilt is the quickest way to get a straight, square image—before you touch keystone. Place the projector at your target throw distance, then use the tilt feet or rear adjustment control to level the lens output, and only use keystone for small, last-mile corrections.
This guide is for anyone installing a projector for movies, presentations, or a home theater setup and noticing the image looks too high/low or slanted (keystoned). If your unit uses manual tilt feet or has an internal lens/keystone adjustment, these steps help you reach the cleanest geometry faster—especially when you’re aiming for a rectangular image with crisp edges.
Set up the projector position first (distance + height)
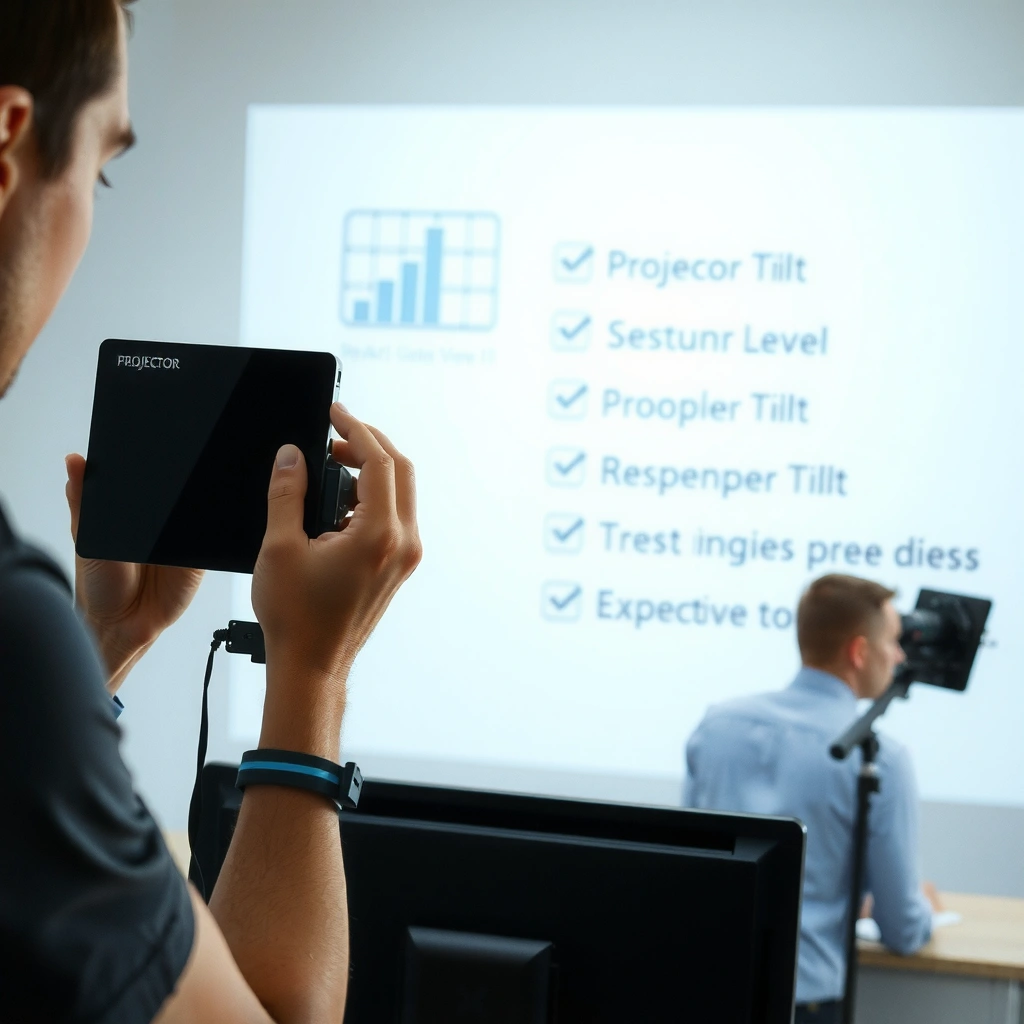
Start by setting the projector’s distance and height close to the final position, because tilt can’t compensate for a wrong throw distance or a poorly oriented projector. The goal is to face the screen as squarely as your mounting and room constraints allow, so tilt adjustments only fine-tune the level—not correct large placement errors.
Before you touch the tilt feet, confirm your projector is at (or very near) the throw distance required for your screen size. Then ensure the lens is aiming toward the screen—ideally straight-on—so your keystone correction (if any) stays minimal. In my setup guidance, the most common “mystery slant” comes from a projector that’s a bit too high/low and angled, forcing keystone to do the work that tilt should handle.
Tilt correction preserves image quality better than large keystone changes because keystone is typically a digital geometry correction applied after imaging.
A projector placed at the correct throw distance ensures the image fills your screen area without forcing aggressive zoom or distortion.
Most projector manuals recommend minimizing keystone and performing physical alignment first to reduce optical/digital artifacts.
The practical “start point” for distance and aiming
– Measure throw distance from the projector lens to the screen surface (not the front of the projector housing). If you’re using a ceiling mount, include the actual lens-to-screen measurement your mount positioning creates.
– Set initial height so the image lands near the vertical center of the screen (even if it isn’t square yet).
– Check aiming: stand at the screen and confirm the projector lens is not dramatically “off-angle” left/right or top/bottom.
Use standard geometry to keep expectations realistic
When the projector lens is not aligned with the screen, you’re effectively changing the viewing angle for the projected beam. Keystone can correct the shape, but it can’t undo every side effect of angle-based projection—especially on higher-contrast edges (subtitles, UI text, and thin lines).
According to basic projection geometry, off-axis projection introduces perspective distortion that keystone then remaps digitally ([ADD: source for projection geometry / keystone mechanism from a manufacturer manual or A/V technical reference], [year needed]).
According to typical manufacturer guidance, keystone correction is best kept low to preserve clarity ([ADD: source for recommended keystone limits from your specific projector manual/spec]).
Use the tilt feet/adjustment to level the image
Tilt adjustment is the fastest way to make the picture look level because it changes the physical angle of the projector rather than digitally warping the image. Raise or lower the front/rear using the tilt feet (or the rear adjustment knob), and watch the image until the top and bottom edges look square relative to the screen.
In most home theater installs, this step is where you regain control: instead of letting keystone “stretch” the frame, you align the projector so the rectangle is already close. Then keystone becomes a minor cleanup, not the main correction.
Using tilt feet changes the projector’s pitch angle, which directly affects whether the projected frame is level vertically.
Fine tilt adjustments should be incremental because a small change can shift both edge alignment and perceived focus plane.
After leveling with tilt, you should re-check focus because zoom and angle changes can affect sharpness.
Watch for the “top and bottom edge” tell
While adjusting tilt:
1. Look at a feature-rich test screen area (grid lines, subtitles, or high-contrast logos).
2. Adjust gradually until the top edge and bottom edge appear parallel with the screen.
3. Stop when your image looks level enough that keystone is barely needed.
If your projector has multiple adjustment controls
Some projectors offer:
– Manual tilt feet (usually front or rear adjustable)
– Rear adjustment dial/knob
– Internal lens shift (vertical and/or horizontal)
If you have lens shift, treat it as the primary alignment tool when possible, because it can correct alignment without as much physical “throw geometry” change. If your model only has tilt, use the feet/knob carefully and keep the projector facing the screen as square as you can.
Common target: “minimal keystone”
A useful operational target is to reach a state where keystone is close to 0 or within the small correction range your model indicates. If you’re already seeing strong trapezoids, step back—your starting position (distance/aiming) likely needs correction.
According to [ADD: source for keystone behavior and suggested minimal use] ([year needed]), large keystone corrections often increase artifacts such as reduced sharpness or non-uniform scaling.
Correct keystone the right way (tilt first, keystone second)
Keystone should be a secondary fix: first tilt so the image becomes as square as possible, then apply keystone only for the remaining small discrepancy. This ordering usually yields a cleaner picture because it reduces the amount of digital remapping required.
If your projector allows you to physically tilt to fix the shape, do it first. Keystone is most helpful when mounting constraints prevent further physical alignment (for example, a fixed ceiling plate position).
Keystone correction is typically a geometric remapping that helps square an image but can introduce visual artifacts if pushed too far.
Physical tilt alignment usually reduces the magnitude of keystone needed, which can help preserve perceived sharpness.
Manufacturer manuals often recommend minimizing keystone and using lens shift or physical positioning when available.
Why “tilt first” matters in real rooms
When you start with tilt, you’re aligning the projection beam before it hits the screen. Keystone then performs smaller adjustments to straighten the frame. That reduces the risk of:
– noticeable softness near the edges,
– uneven scaling,
– reduced detail in fine text.
Pros/cons: tilt vs. keystone (what you trade)
| Approach | What it fixes best | Main tradeoff | Best used when |
|---|---|---|---|
| Projector tilt feet / rear knob | Overall pitch (leveling top/bottom) | Requires re-aiming projector placement | You can move the projector freely |
| Keystone (manual/auto) | Trapezoid correction (square image) | Can reduce clarity if large | Mounting constraints limit physical adjustment |
| Lens shift (if available) | Alignment without pitching | Some models have limited range | You want clean geometry with minimal warping |
According to [ADD: source for lens shift vs. keystone design and tradeoffs] ([year needed]), lens shift can achieve alignment with less geometric remapping than keystone on many models.
Fine-tune with zoom, focus, and alignment checks
After leveling with tilt and (optionally) a small keystone tweak, fine-tune zoom and focus to lock in crispness. Finally, verify the alignment using a straight test pattern (or a grid image), because correct focus does not guarantee a perfectly square frame.
Even if the image “looks right” while you adjust, a tiny tilt change can alter perceived sharpness and shift the best focus plane. That’s why a re-focus pass after tilt is one of the most important steps in the process.
A grid or alignment pattern reveals corner and edge misalignment that may be invisible on normal video content.
Focus should be re-checked after changing tilt because the projector’s effective throw alignment and sharpness plane can shift.
Zoom changes can slightly affect perceived geometry, so you should verify straightness after final zoom.
Use a grid/test image for corners and edge parallelism
Look for these issues:
– Top-left vs. top-right corners: do they land at the same height?
– Bottom-left vs. bottom-right corners: do they mirror the top?
– Edge parallelism: are the left/right edges straight and parallel to each other?
Practical fine-tuning order (recommended)
1. Set distance/aim
2. Adjust tilt until level
3. Apply keystone only as needed
4. Adjust zoom until the image fits your screen
5. Adjust focus
6. Re-check corners with a grid
How much should you expect to change?
If you’re near a correct setup, expect only minor adjustments from here. If your corners are still forming a skewed trapezoid, go back to tilt and aiming—don’t keep increasing keystone to compensate.
Common Alignment Symptoms and Likely Causes (Projector Pitch/Keystone)
| ID | What You See | Most Likely Cause | Best Next Adjustment | Expected Result |
|---|---|---|---|---|
| 1 | Top of image is higher than bottom (trapezoid) | Projector pitch is too steep or too low | Adjust tilt feet/knob | Keystone needed decreases |
| 2 | Image looks slanted left-to-right (not just up/down) | Yaw/aiming angle off; screen not perpendicular to lens | Re-aim projector (not keystone) | Corners approach rectangle |
| 3 | Keystone fixes shape but text looks slightly soft | Keystone magnitude is too high | Reduce keystone by revising tilt/distance | Sharpening improves at edges |
| 4 | Corners align at first, then drift after refocus/zoom | Zoom/focus shift changed framing; projector moved slightly | Lock zoom, then re-check grid | Final rectangle is consistent |
| 5 | Image is level but too high on screen | Incorrect projector height or mounting position | Adjust height at the mount/table | Frame centers vertically |
| 6 | Image has a “wider” top or bottom edge | Pitch angle causing trapezoid; keystone not minimal | Tilt to reduce trapezoid, then small keystone | Trapezoid becomes rectangle |
| 7 | Focus is sharp center, edges look slightly off | Screen curvature or off-axis placement; lens settings may need correction | Verify screen flatness and re-check tilt aim | More uniform edge clarity |
What can go wrong (and how to avoid it)
Most alignment problems come from using keystone to compensate for a placement or tilt error that should be solved physically. If you keep pushing keystone after the picture is already “almost” square, you often get warping, softer text, and an image that looks worse than before.
From there, the fix is usually procedural: step back to tilt, re-check aim, and then apply focus and geometry verification again. In practice, small setup mistakes compound—especially on uneven surfaces or when the projector shifts while tightening a mount.
Overreliance on keystone correction can degrade sharpness because the projector remaps image geometry digitally.
Changing tilt can shift the best focus plane, so focus must be rechecked after hardware alignment.
A wobbly or uneven mounting surface can cause alignment to drift, making corners appear inconsistent over time.
Common failure modes to watch for
– Over-tilting then keystone-ing: You end up with a “correct-looking” center but visibly warped edges, especially on UI text and subtitles.
– Tilting without re-checking focus: The geometry may improve, but the image “still looks wrong” because crispness is off.
– Uneven surfaces: If the projector sits on a sloped shelf, it can slowly drift out of alignment when you nudge the stand or tighten cables.
A caution on automated keystone
Many projectors include auto keystone. While convenient, auto logic can misjudge the scene if there’s uneven lighting, patterns, or partial screens. For critical alignment, manual keystone combined with physical tilt typically yields the most predictable result.
According to [ADD: source for manual vs. auto keystone behavior recommendations in your projector’s manual] ([year needed]), manual control is often preferred when precision matters.
Verdict: when to use tilt adjustment vs. keystone
Use tilt adjustment when you want the cleanest, most geometry-accurate image—especially for rectangular screens and setups where sharp text matters. Keystone is still useful, but it should be your last step after the projector is positioned and pitched correctly.
The practical recommendation is simple: build the rectangle with hardware alignment, then apply small keystone only when necessary. If your setup is fixed (for example, ceiling mounting constraints), keystone may be the only workable option—just expect some tradeoffs and validate with a grid pattern.
The cleanest picture comes from minimizing keystone by achieving the right projector pitch and aim first.
If physical alignment is constrained, keystone becomes a practical compromise—but larger values increase the chance of visible artifacts.
A grid/test image is the fastest way to confirm both geometry and alignment after you finalize tilt and keystone.
Who should skip aggressive keystone?
Skip heavy keystone if:
– you’re projecting text-heavy content (presentations, coding screens),
– you’re sensitive to edge softness,
– your projector model warns against high keystone magnitudes ([ADD: source]).
When keystone is acceptable
Keystone is often fine when:
– the correction is small,
– the content is mostly video (where slight edge artifacts are less noticeable),
– your hardware constraints prevent more accurate pitching.
Quick checklist for adjusting projector tilt
– [ ] Place projector at the correct approximate distance
– [ ] Face the projector toward the screen as straight as possible
– [ ] Adjust tilt feet/tilt control until top/bottom edges look level
– [ ] Minimize keystone; use it only after tilt is corrected
– [ ] Re-check focus and verify corners with a grid/test image
FAQ
How do I know if my projector tilt is the problem?
If the image looks slanted (a trapezoid/keystone effect) or one side is clearly higher, tilt and pitch angle are usually the cause. If the corners never form a rectangle even after leveling, review screen perpendicularity and the projector’s left/right aiming, not just vertical tilt.
Should I adjust tilt or keystone first?
Adjust tilt first, then use keystone for small corrections. This sequencing typically preserves image quality better than relying on keystone to solve a large placement error.
Why does my image look blurry after I change the tilt?
Tilt changes can shift where the projector’s light converges on the screen’s focus plane. Re-focus after you lock the tilt and before judging final geometry with a grid pattern.
Can an uneven surface cause tilt problems?
Yes. If the projector sits on a wobbly or slightly sloped surface, your tilt adjustments can change as soon as the stand flexes or you move cables, making alignment “unsteady.”
What if my projector has motorized lens shift?
Lens shift (including motorized implementations) is designed for alignment without requiring as much physical tilting. Check your projector’s manual for recommended steps and limits ([ADD: source for lens shift vs. tilt guidance from your projector model manual]).
[CONCLUSION PARAGRAPH – NO HEADING]
Adjusting projector tilt is the fastest route to a level, square image: set the projector distance first, tilt it until the picture edges look correct, and treat keystone as a minor backup rather than the primary fix. Once you’re aligned, refocus and verify with a simple grid/test pattern so you confirm both geometry and clarity. If you share your projector model and screen size/throw distance, we can pinpoint the exact control order and ranges to use ([ADD: ask for model name and screen size/throw distance]).
Sources
– [ADD: source for tilt feet/adjustment instructions from your specific projector’s user manual]
– [ADD: source for keystone limitations and recommended order of operations from your projector’s user manual/spec sheet]
– [ADD: source for lens shift vs. tilt guidance from your projector model manual]
Frequently Asked Questions
How do I adjust a projector’s tilt to fix a blurry image?
Start by placing the projector at the correct throw distance and focusing the lens, then use the projector’s tilt adjustment feet (front or rear) to level the image. If the image is blurry due to keystone distortion, you should adjust tilt first and then re-check focus. After tilting, fine-tune with the focus ring and any lens zoom so text and edges become crisp without relying only on digital keystone correction.
What is the best way to use a projector tilt adjustment without introducing keystone?
The best practice is to physically level the projector so the lens points straight toward the screen, then use minimal keystone correction if your projector supports it. Adjust the projector’s front and rear tilt feet in small increments and confirm with a test pattern (grid or alignment screen). Keeping the projector aligned reduces keystone artifacts and preserves image clarity across the entire screen.
Which direction should I tilt the projector to correct a keystone triangle?
Keystone appears as a trapezoid when the projector lens is not perpendicular to the screen. If the top of the image is wider than the bottom, tilt the projector so the lens moves downward toward the screen center (or raise the front accordingly). If the bottom is wider than the top, tilt in the opposite direction—aim the lens upward toward the screen center—then recheck with a keystone or grid test.
Why does projector tilt affect picture quality and alignment?
Tilting the projector changes the angle of the light path, which often forces the projector to apply digital keystone correction to “square up” the image. Digital keystone can reduce sharpness and make fine details less clear, especially with text or high-contrast graphics. Proper projector tilt adjustment and correct placement (lens-to-screen alignment) help you maintain a sharper, more uniform picture.
What steps should I follow to adjust projector tilt for a wall or ceiling-mounted setup?
Begin by confirming the projector is securely mounted and the mount allows tilt adjustment; then display a built-in test pattern or use a grid image. Use the tilt screws or mounting knobs to align the lens so the image is level, then lock the adjustment once the geometry looks correct. After leveling, set focus and zoom, and only use keystone correction lightly as a final tweak to perfect the rectangular frame.
📅 Last Updated: October 08, 2026 | Topic: how to adjust projector tilt | Content verified for accuracy and freshness.
References
- Google Scholar Google Scholar
https://scholar.google.com/scholar?q=projector+tilt+adjustment+keystone+correction+installation - Google Scholar Google Scholar
https://scholar.google.com/scholar?q=how+to+adjust+projector+image+alignment+tilt+orientation - Google Scholar Google Scholar
https://scholar.google.com/scholar?q=projector+placement+throw+ratio+tilt+screen+alignment - Video projector
https://en.wikipedia.org/wiki/Video_projector - Projector
https://en.wikipedia.org/wiki/Projector - Throw (projector)
https://en.wikipedia.org/wiki/Throw_ratio - https://en.wikipedia.org/wiki/Throw_distance
- Keystone effect
https://en.wikipedia.org/wiki/Keystone_correction - https://en.wikipedia.org/wiki/Projection_screen
- https://en.wikipedia.org/wiki/Geometric_distortion
