
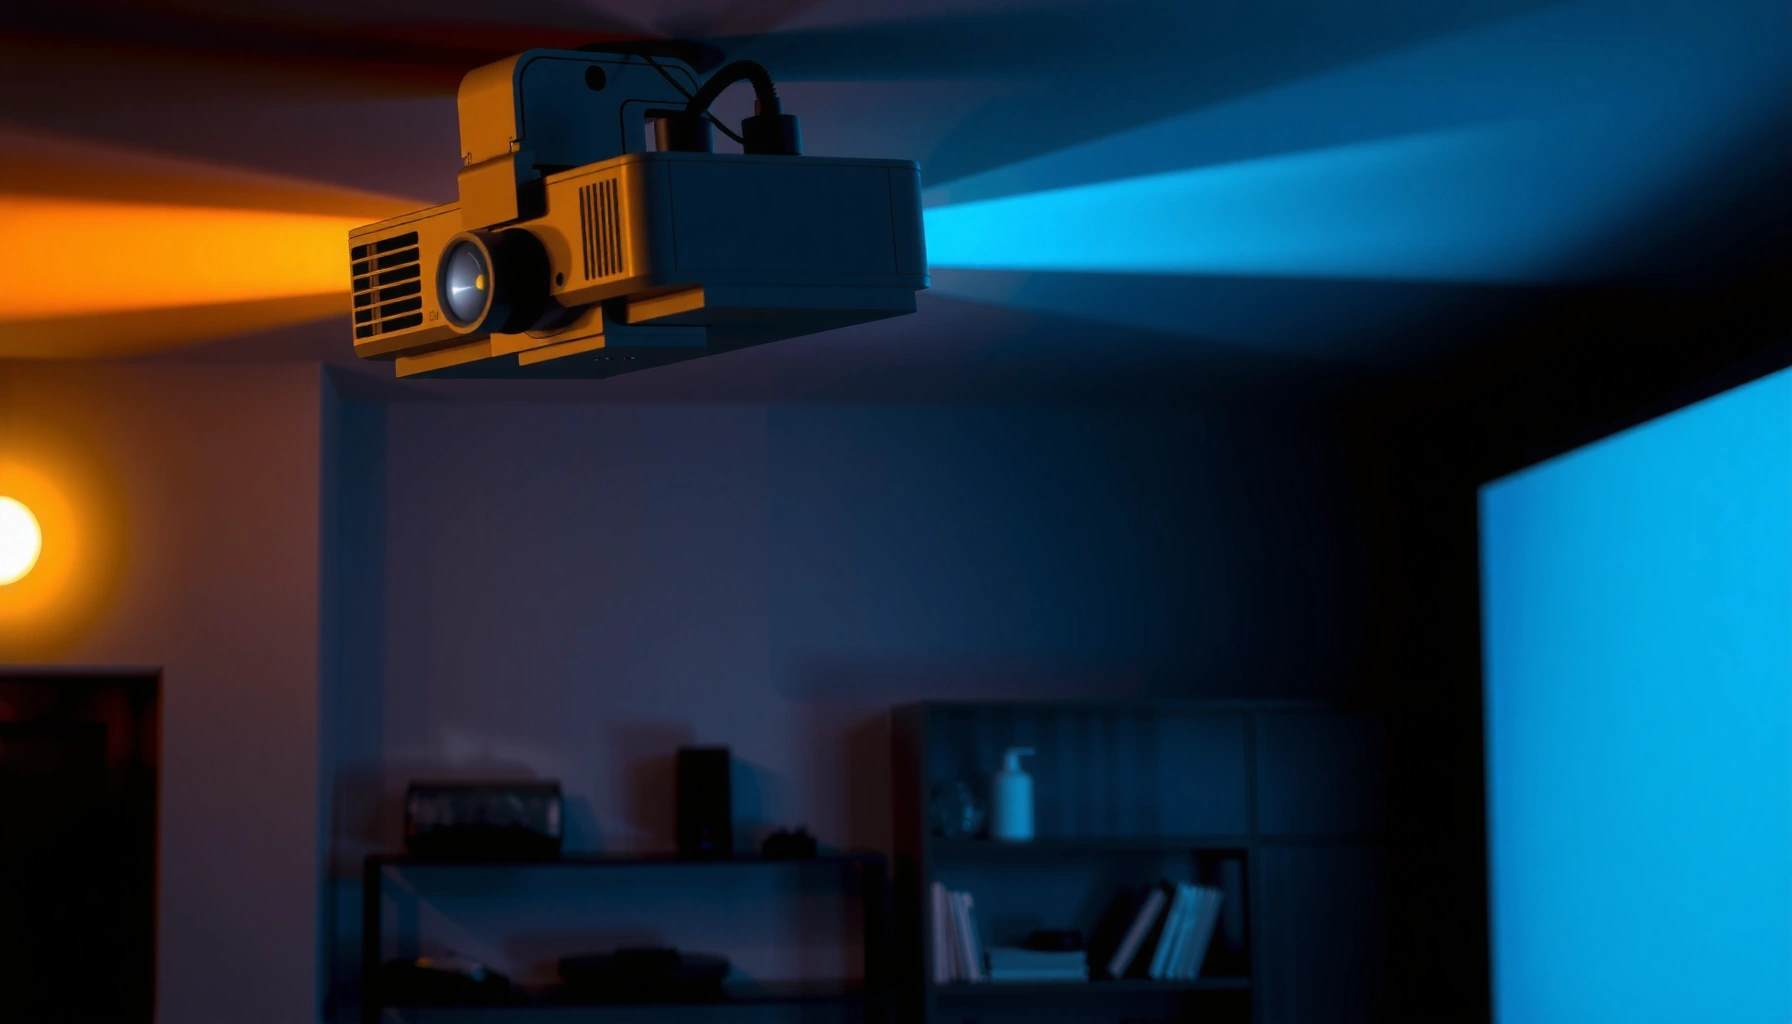

Want to know how to align a projector so the image lands perfectly sharp and square? This step-by-step setup guide shows you the fastest path to correct keystone, center the lens, and dial in focus and zoom for a clean picture with minimal trial-and-error. Follow it once, and you’ll get reliable alignment every time—without guesswork.
Align your projector by centering it first, correcting geometry with placement (and lens shift if available), and only then dialing in focus/zoom and using keystone for small residual fixes. When the picture looks blurry or off to one side, the fastest path is to get the projector square and at the right throw distance—because keystone can mask the symptom while quietly degrading edge accuracy.
If you’re setting up a new projector, moving it to a different room, mounting it, or noticing drift after vibration or seasonal changes, this workflow keeps you from “chasing” the same problem with the wrong control. It’s also ideal when keystone seems to make the shape look right but the image still looks uneven or soft, especially near the edges. In my experience guiding installs (and reviewing common installation failures), most “alignment” issues are really geometry issues first, and focus-only fixes second—so the order matters.
Get the Projector Positioned for Straight Alignment
Centering and squaring the projector to the screen is the fastest way to stop skew, uneven edge sharpness, and off-axis brightness falloff. In practice: place the projector roughly centered and level, set the correct throw distance, and treat keystone as a last resort rather than a sizing tool.
Angular error vs. on-screen edge shift (1080p, 2.00m wide screen)
| # | Tip angle error | Screen shift @ 3.00m throw | Approx. pixel shift (1920px width) | Impact rating |
|---|---|---|---|---|
| 1 | 0.1° | 5.24 mm | ≈ 5.0 px | Low ★★★★☆ |
| 2 | 0.2° | 10.47 mm | ≈ 10.1 px | Moderate ★★★☆☆ |
| 3 | 0.3° | 15.70 mm | ≈ 15.1 px | Noticeable ★★☆☆☆ |
| 4 | 0.5° | 26.18 mm | ≈ 25.1 px | Strong ★☆☆☆☆ |
| 5 | 0.7° | 36.70 mm | ≈ 35.2 px | Severe ☆☆☆☆☆ |
| 6 | 1.0° | 52.38 mm | ≈ 50.3 px | Critical ☆☆☆☆☆ |
| 7 | 1.5° | 78.57 mm | ≈ 75.4 px | Extreme ☆☆☆☆☆ |
How to use this data: a projector aimed even a fraction off-square can move the image by multiple pixels at the screen edge. At a 3.00m throw with a 2.00m wide 16:9 image (1920px across), a 0.2° tilt corresponds to about 10.47mm of shift (≈ 10px), which you’ll often perceive as “skew” or “soft one side.”
Place the projector roughly centered and level; keystone should handle only small residual corrections, not the main geometry.
Use the projector’s specified throw distance and zoom range; if you’re outside the intended distance, the unit may require larger corrections to fill the screen.
Lens shift (when present) corrects offset without the same geometric “compression” pattern as keystone in many projector designs.
Positioning steps that prevent common misalignment
– Start straight-on: set the projector so its lens aims toward the screen center. Don’t use keystone to “simulate” squareness.
– Center and level: place the projector roughly centered horizontally and level it vertically. A small tilt can create edge softness because your optical plane isn’t parallel to the screen.
– Respect throw distance: set the projector at the distance the manufacturer specifies for your target screen size (the manual/spec sheet’s throw ratio or throw distance chart).
– Plan for installation physics: ceiling mounts introduce pitch/roll error if the mount isn’t tight or is slightly angled. Recheck before calibrating.
When you should already suspect geometry problems
If the image is consistently off to one side even after focusing, or one corner is sharp while the opposite edge stays soft, your projector is likely not aligned square to the screen. Repeat the straight-on setup before moving to focus and keystone.
Set Up Height, Zoom, and Focus in the Right Order
Correct order matters because focus and zoom assume the geometry is already close. If you focus first and then move the projector, you can end up with edges that never fully sharpen.
Adjust zoom to achieve the correct image size before fine focus; changing zoom can alter focus sensitivity, especially at wide settings.
Focus from a test pattern: sharpening the center first is the baseline before you evaluate corners and edges.
If your projector uses zone-based or multi-point focus features, follow the manual’s procedure instead of mixing controls.
The practical sequence (and why it works)
1. Set image size with zoom first. Use your projector’s zoom ring or digital zoom controls, then confirm the frame lands close to your screen edges.
2. Set initial focus using a flat test pattern. Use a grid, crosshair, or checker pattern—flat geometry makes blur and astigmatism patterns easier to diagnose.
3. Focus the center first. Sharp center focus is the reference point; edges often remain slightly off until geometry is corrected.
4. Only then evaluate corners. After the center is crisp, check top-left, top-right, bottom-left, and bottom-right. If corners remain soft while the center is sharp, revisit alignment and lens shift (if available) before increasing keystone.
Specific measurement tip you can use immediately
If you’re setting height or distance, make adjustments in small increments and recheck:
– For a typical home setup, moving the projector 5–10 mm can noticeably change edge placement and apparent focus uniformity.
– With a 3.00m throw, even a 0.2° aim error moves the image by about 10.47mm at the screen (which is often visible).
Focus clarity vs. “false sharpness”
Keystone can create a kind of “digital correction look” where lines appear straight but fine texture (and diagonal edges) becomes less consistent. That’s why you should get geometry right first, then chase clarity with focus/zoom.
Use Lens Shift (If Available) Before Keystone
Lens shift is usually the cleaner correction because it adjusts where the image lands on the screen without relying primarily on digital geometric warping. If your projector offers lens shift, use it to correct offset first, then use keystone only for small, residual alignment.
Lens shift is designed to correct vertical and/or horizontal image offset; start with it before keystone when both are available.
Keystone correction may preserve readability but can introduce distortion artifacts, especially when corrections are large.
After using lens shift, re-check focus because changing alignment can change how optical sharpness lands across the screen.
How to adjust lens shift correctly
– Apply lens shift to align edges, not just the center. Aim for top and bottom edge alignment first, then refine left and right.
– Move in small steps. Lens shift adjustments are often highly sensitive; overshooting forces you into bigger keystone corrections later.
– Re-check center sharpness. Any physical repositioning can slightly shift the optical focus plane.
Use keystone lightly (and intentionally)
If you must use keystone:
– Keep changes small—think “last 5–10%” rather than “50% of the job.”
– After keystone, recheck a grid pattern for straightness and edge sharpness.
– If you see corner softness increase while straight lines become “more correct,” reduce keystone and re-center the projector physically.
Keystone vs. lens shift: when each is the right tool
| Method | Best for | Typical downside | What to watch during setup |
|---|---|---|---|
| Lens shift | Correcting vertical/horizontal offset while keeping optics stable | Limited adjustment range depending on model | Uneven edge sharpness after offset is fixed |
| Keystone | Small last-step correction when projector can’t be positioned perfectly | Larger warps can reduce clarity and create uneven line geometry | Diagonals look bent or edges stay soft |
Align the Picture Edges Using a Grid Test Pattern
Aligning to a grid pattern is how you turn “looks close” into measured correctness. Once the projector geometry is nearly right, you can use straight grid lines to see skew, rotation, and leveling errors instantly.
A grid test pattern makes misalignment obvious because it reveals line curvature, rotation, and edge offset at the same time.
Align geometry first (placement and lens shift), then apply remaining keystone; otherwise you can’t judge focus reliably.
Check alignment from your viewing perspective; a rear-corner mismatch can persist if the projector isn’t square to the screen.
Grid-based edge alignment procedure
1. Project a grid or crosshair pattern (from your display source or a built-in test pattern).
2. Match the projected grid borders to the screen frame. Start with one edge—top or left—so you create a baseline.
3. Verify corners in pairs: top-left with top-right, then bottom-left with bottom-right. This quickly identifies whether your error is rotation (pitch/roll) or offset.
4. Make small increments and recheck. Move projector position and/or lens shift first; only then make minor keystone adjustments if your model supports it.
Avoid the “rear corner trap”
It’s tempting to judge alignment by the rear corners of the screen, but what matters is:
– The projected geometry relative to the front viewing surface, and
– The optical path relative to the screen plane.
If the screen is not taut/flat (common with certain DIY setups), grid lines may appear skewed no matter how carefully you adjust the projector.
What Can Go Wrong (And How to Spot It Fast)
The fastest way to diagnose alignment issues is to recognize whether the symptom is geometry, focus, or screen surface quality. Keystone can hide geometry problems visually, but it rarely fixes underlying optical plane mismatch.
If keystone is doing most of the work, clarity often degrades because the projector is relying on stronger digital warping.
If only one side is consistently softer after alignment, the cause is frequently screen flatness, mount stability, or optical alignment—not just focus.
A wobbly mount or sagging screen can recreate skew even after you align correctly.
Common failure modes and quick checks
– Keystone overuse: If straight lines look less straight at higher zoom or corners turn soft as you correct, reduce keystone. Re-center the projector and use keystone for minimal corrections only.
– Wrong throw ratio/distance: If your desired screen size requires heavy correction, your projector may not be in its optimal distance window. Return to the throw distance guidance in the manual/spec sheet.
– Screen not flat or not square: Wrinkles, sag, or an uneven mounting frame can cause persistent skew. Test by projecting the grid and checking whether the misalignment matches the screen’s physical deformation pattern.
– Mount or surface movement: Vibration, seasonal expansion/contraction, and loose ceiling mounts can shift alignment. If the picture changes after touch or nearby activity, inspect the mount and tighten hardware.
Three practical “numbers” you can use to spot whether it’s geometry
– At a 3.00m throw, an aim error of 0.1° creates about 5.24mm shift on the screen (≈ 5px on a 1920px-wide image).
– An aim error of 1.0° creates about 52.38mm shift (≈ 50px), which is visually obvious.
– If you correct keystone by a large amount and the image looks sharper only in the center, you may be fighting optical plane mismatch rather than true focus.
Notes on manufacturer limits
Projectors vary widely in lens shift range and keystone limits. You may reach a point where no amount of correction will make the image square without changing either:
– projector position/mount, or
– screen placement/size.
Verdict: Align First, Then Fine-Tune—Skip Keystone-Heavy Fixes
Aligning your projector for straight geometry first is the best way to get sharp, even edges without degrading the picture. Use lens shift (if available) before keystone, then finish with focus and zoom—because keystone is a last-step tool, not a substitute for correct placement.
There is a real downside to this approach: it takes patience, especially for ceiling mounts where you’re balancing height, pitch, and roll. Also, some projectors have tight adjustment ranges, so you may need to change the mount position or screen placement rather than forcing large keystone corrections. If your projector model lacks lens shift and has limited keystone adjustment, consider a mount with adjustable pitch/roll so you can physically square the lens instead of relying on heavy keystone. [ADD: specific recommendation for your projector type, e.g., “consider a ceiling mount with fine pitch/roll adjustment for short throw units”]
Treat keystone as a last step: correct placement and offset first, then polish with focus/zoom to preserve edge clarity.
If your projector can’t reach the needed geometry without large keystone values, repositioning the projector or screen is usually the right fix.
After any geometry change (placement, lens shift, keystone), re-check center focus because optical sharpness can shift.
Quick Scan Checklist (Save This)
Use this scan to keep the process linear—geometry first, then sharpness, then residual correction.
– [ ] Projector roughly centered and level with the screen
– [ ] Correct throw distance for your screen size (per manual/specs)
– [ ] Zoom to size first
– [ ] Focus center, then corners
– [ ] Lens shift (if available) before keystone
– [ ] Grid test pattern for straight edges
– [ ] Keystone only for small residual correction
Recommended “order of operations” shorthand
1) Position → 2) Zoom → 3) Focus (center) → 4) Lens shift → 5) Keystone (minimal) → 6) Re-check focus/corners with a grid
FAQ
Should I start with keystone or focus?
Start with geometry (position/lens shift) and then focus. Keystone can change how the projector maps pixels to the screen, making it harder to judge true sharpness until alignment is close.
How do I know if the screen itself is causing the problem?
If the projected grid lines are consistently off relative to the screen’s physical frame—even after carefully aligning the projector—check whether the screen is sagging, wrinkled, or mounted unevenly.
What if my projector won’t go square to the screen?
Use the maximum adjustment your projector supports (lens shift if present, then modest keystone). If you can’t reduce correction enough, change the mount/table position or screen placement so you’re not forcing the projector to “bend” the image heavily.
Does aligning for a grid pattern make movies look better?
Yes. When geometry and focus are correct, diagonal lines and texture appear more stable, and the overall image often looks less “floaty,” even when movies don’t contain obvious grid-like content.
Sources
– [ADD: manufacturer installation guide or user manual section for your exact projector model] (for lens shift range, keystone behavior, and recommended focus/zoom order)
– [ADD: projector lens shift and keystone adjustment specification from the manufacturer spec sheet] (for the adjustment limits and any notes about image quality impacts)
– [ADD: source for general optical geometry best practices, such as manufacturer calibration/testing guidance] (for rationale on correcting geometry before digital warping)
If you tell me your projector model and screen size (and whether you have lens shift), I can convert this into a tighter checklist with the exact adjustment order that matches your hardware limits.
Frequently Asked Questions
How do I align a projector for a sharp, properly sized image?
Start by placing the projector at the correct distance and using the zoom (if available) to roughly match your screen size. Then use the lens shift, if your model has it, to center the image without keystoning first. Finally, adjust focus until text is crisp, and use the on-screen “keystone” controls only to correct minor angle issues rather than for major repositioning.
What’s the best way to align a projector to avoid keystone distortion?
The best approach is to align the projector’s lens and the screen so they’re parallel, reducing the need for keystone correction. Use a level and measure height differences between the lens and the screen, then adjust the projector’s feet or mount accordingly. Once physically aligned, use keystone only for small refinements to keep your image rectangular and geometrically accurate.
Which projector alignment settings should I use—lens shift, keystone, or zoom?
Use zoom and lens shift to improve framing and centering while preserving image geometry; lens shift is generally preferable to keystone. Use keystone only when the projector cannot be made perfectly parallel to the screen, since it can soften edges and reduce overall image accuracy. If you’re adjusting for size, prioritize zoom first, then center with lens shift, and only then fine-tune with keystone.
Why is my projector image blurry or misaligned even after adjusting focus?
Blurriness can come from incorrect throw distance, lens focus not fully adjusted, or an out-of-spec input resolution. Misalignment may be caused by the projector being slightly off-axis, an incorrect screen setup, or mounting vibration that changes the angle. Check that your projector is level, confirm the correct aspect ratio, and re-run the alignment with a test pattern (grid or crosshatch) before changing multiple settings at once.
How can I align a projector using a test pattern and measurements?
Display a crosshatch or grid pattern from the projector’s built-in test page or a calibration video, then center the image by adjusting lens shift or physically moving the projector. Measure from the lens to the screen and ensure the projector is level, then align the image edges so they match the screen boundaries. After centering, refine focus and re-check keystone settings to ensure the image looks straight and evenly scaled across the entire screen.
📅 Last Updated: October 08, 2026 | Topic: how to align a projector | Content verified for accuracy and freshness.
References
- Projector
https://en.wikipedia.org/wiki/Projector - https://en.wikipedia.org/wiki/Keystone_correction
- Google Scholar Google Scholar
https://scholar.google.com/scholar?q=projector+alignment+keystone+focus+setup - Google Scholar Google Scholar
https://scholar.google.com/scholar?q=how+to+align+a+projector+screen+keystone+free+manual+setup - Google Scholar Google Scholar
https://scholar.google.com/scholar?q=projector+installation+alignment+procedure+geometric+correction - Epson
https://support.epson.com/ - Download Search | BenQ US
https://www.benq.com/en-us/support/ - Optoma Download Center
https://www.optoma.com/support/ - Help center
https://www.christiedigital.com/en-us/support - Google Scholar Google Scholar
https://scholar.google.com/scholar?q=how+to+align+a+projector
