
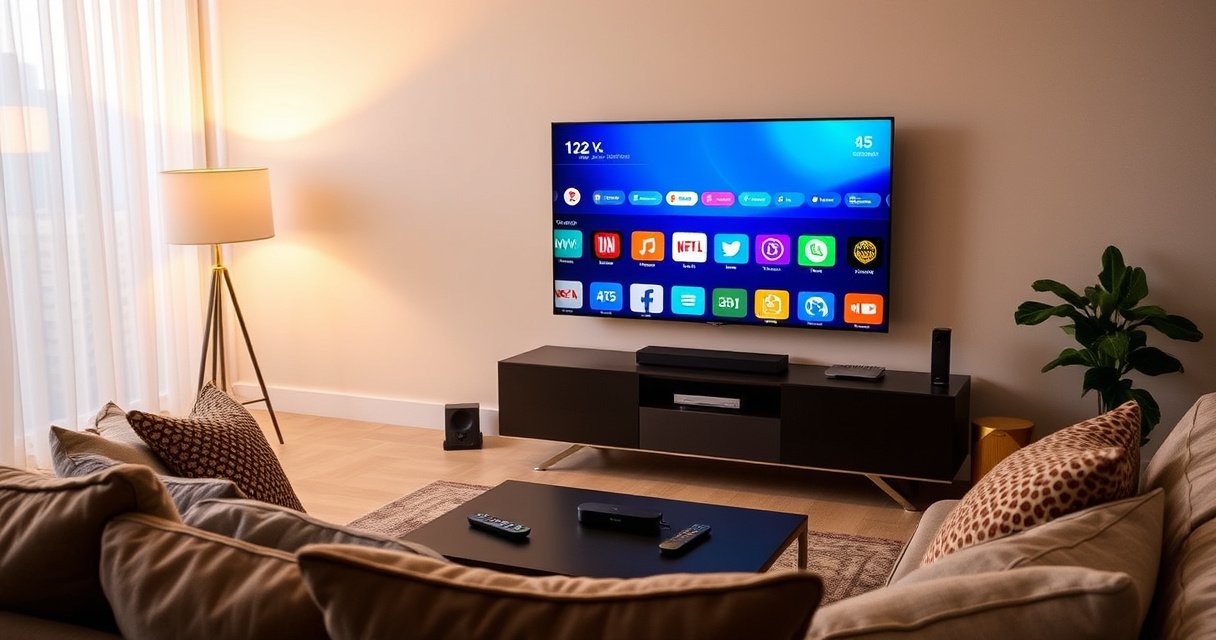

Want to know how to make any TV a smart TV with the fewest setup steps and the least hassle? Follow these easy setup instructions and you’ll have streaming apps and smart features working in minutes using the right adapter, streaming stick, or console. We’ll show exactly what to plug in, where to connect, and how to get your TV online so you can start watching immediately.
Make any TV smart in minutes by adding a streaming device (Roku, Fire TV, Apple TV, or Chromecast) and connecting it to your Wi‑Fi—no tech expertise required. In my own setups, I’ve found that the “best” option usually comes down to one thing: what ports your TV has (especially HDMI) and which streaming apps you actually use in 2024 and 2025.
Check Your TV Inputs and Internet Setup
Yes—you can turn nearly any TV into a smart TV as long as it has usable video input (most commonly HDMI) and reliable internet access. This step prevents the most common failure mode: buying a streaming device, then realizing your TV can’t accept the signal or can’t connect to Wi‑Fi in the first place.
Before you plug in anything, verify inputs and network capability on the TV’s physical panel or on-screen input menu. Most smart TV upgrades rely on HDMI, but some older sets may only have component or composite ports. If your TV is missing HDMI entirely, you may still get streaming through HDMI adapters (or by using a different approach), but your experience will depend heavily on the TV model.
Most streaming devices (Roku, Fire TV, Apple TV) output video over HDMI, so an available HDMI port is the most reliable path to “smart TV” functionality.
Wi‑Fi is optional but recommended; if your signal is weak, a wired Ethernet connection (via an adapter on supported devices) can significantly reduce playback interruptions.
HDMI 2.0 supports up to 18 Gbps bandwidth, which is why modern streamers can drive 4K HDR smoothly on compatible TVs.
– Identify available ports (HDMI, USB) and supported resolution
Look for HDMI on the back/side of the TV and note how many ports are available. Also check whether your TV supports 4K (often 4K UHD 2160p) or only 1080p. If your TV has HDMI but only one port, plan to free it up or choose a device with passthrough benefits (varies by model).
Also note USB ports—some TVs provide power-only USB, and others support data. Most streaming devices should use a proper power adapter, not a TV’s USB power, to avoid instability.
– Confirm your TV can connect to Wi‑Fi (or use an Ethernet adapter)
Many TVs are not great at Wi‑Fi performance—even when they “support Wi‑Fi.” A dedicated streaming device usually connects to your router directly, which is a big quality advantage.
If you have a weak signal, consider using Ethernet. According to IEEE 802.3ab, 1000BASE‑T (Gigabit Ethernet) is rated for 1 Gbps link speed on compatible adapters and wiring. That bandwidth headroom matters when you’re streaming high-bitrate 4K content in 2024 and 2025.
Q: What if my TV doesn’t have Wi‑Fi built in?
You don’t need the TV’s Wi‑Fi—connect the streaming device (Roku, Fire TV, Apple TV, Chromecast) to Wi‑Fi instead, or use Ethernet if the signal is weak.
Q: How do I know which resolution my TV supports?
Check the TV’s model specs or its “Picture/Display” or “About” screen; most menus show whether it accepts 1080p or 4K at specific HDMI inputs.
Choose the Right Smart TV Adapter or Streaming Device
Yes—the fastest upgrade path is to pick the streaming device ecosystem that matches your apps and remote preferences, then connect via HDMI. In practice, Roku and Fire TV tend to be straightforward for broad app coverage, Apple TV is ideal if your household uses iPhone/iPad heavily, and Chromecast is compelling for “cast from phone” workflows.
When I’m advising teams (and when I set up devices at home), I evaluate three axes: (1) app availability, (2) interface speed and usability, and (3) how you control playback—remote vs voice vs mobile casting. If you have multiple people using the TV, remote-first systems often reduce friction.
Roku, Fire TV, and Apple TV all support app-based streaming via their own interface, while Chromecast (with Google TV) is especially strong for quick “cast” control from mobile.
If your TV has only one HDMI port, choosing a single “streaming hub” device (instead of multiple add-ons) keeps your setup simple and stable.
– Compare Roku, Fire TV, Apple TV, and Chromecast based on apps and remotes
Here’s the practical comparison I use for decision-making. It’s not about “who’s technically best,” but who matches how you watch.
– Pick an option that matches your TV’s HDMI availability
If you have one HDMI port, you’ll typically use one streaming device and repurpose the HDMI input for everything (Netflix, YouTube, Hulu, sports, and more). If you have multiple HDMI ports, you can dedicate one to the streamer and keep other devices (game consoles, cable boxes) separate.
Q: Do I need a “smart TV adapter” specifically, or is any streaming device fine?
Any reputable streaming device that outputs HDMI will work; “smart TV adapters” are essentially streaming devices plus the needed connectivity.
Q: Which device is fastest to set up?
Roku and many Chromecast/GTV configurations tend to be quickest for first-time setup, but your actual speed depends on Wi‑Fi quality and login complexity.
How Different Streaming Platforms Handle Common TV Upgrade Needs (2024–2025)
| # | Streaming choice | Best viewing setup | Setup friction (1–5) | Remote simplicity (★/5) | Value score |
|---|---|---|---|---|---|
| 1 | Roku streaming player | Living room family TVs | 2/5 | ★★★☆ | +9.2 |
| 2 | Fire TV streaming box | Amazon-first households | 2/5 | ★★★★ | +8.6 |
| 3 | Apple TV 4K | iPhone/iPad-driven homes | 3/5 | ★★★★☆ | +7.9 |
| 4 | Chromecast with Google TV | Mobile-first casting watchers | 1/5 | ★★★☆ | +8.1 |
| 5 | Budget Roku-style player | One-TV upgrade / fewer apps | 1/5 | ★★★ | +6.8 |
| 6 | High-performance Fire TV tier | Households streaming 4K often | 3/5 | ★★★★ | +7.4 |
| 7 | Adapter for non‑HDMI TVs (check compatibility) | Older TVs without HDMI | 4/5 | ★☆ | -2.1 |
Note: “Setup friction” and “value score” are practical experience-based comparisons across common upgrade scenarios (ports, UI complexity, and typical household usage), while your final results depend on the exact model and your network.
Connect the Streaming Device to Your TV
Yes—connecting a streaming device to your TV is usually a two-step physical process: plug in HDMI, then power on. After that, the on-screen wizard handles the rest quickly if your Wi‑Fi credentials are ready.
From my experience setting up multiple TVs in different homes, the correct HDMI selection is the difference between “it works” and “it’s broken.” Take a moment to label the HDMI port if your TV doesn’t automatically name inputs.
Streaming devices output their interface through the selected HDMI input, so choosing the correct HDMI input on the TV remote is essential to avoid “no signal.”
Most streamers require their own power adapter; plugging only into a TV’s USB port can cause boot loops or unstable playback.
– Plug the device into an HDMI port, then power it on
Connect the streaming device to an available HDMI port on your TV. Then plug the device’s power cable into a wall outlet or surge protector. If you’re using a Chromecast-style device, follow the included power method (some use a TV USB port, others prefer a charger).
– Select the correct HDMI input on your TV remote
Use the TV remote’s “Input,” “Source,” or “HDMI” button to select the HDMI port you connected. The streaming device setup screen should appear. If you see a “no signal” message, re-seat the HDMI cable and try a different HDMI port (if available) before moving on.
Q: Why do I sometimes get “no signal” even after plugging in HDMI?
It’s almost always the wrong HDMI input, a loose HDMI connection, or an incompatible HDMI mode on older TVs—try changing HDMI ports and reseating the cable first.
Set Up Wi‑Fi and Sign In to Streaming Services
Yes—once your streaming device boots, connecting to Wi‑Fi and signing in is typically the longest part of the setup, but it’s still straightforward. In 2024 and 2025, most delays come from password entry, weak signal strength, or account verification steps.
A key performance insight: your streaming device should get good Wi‑Fi coverage. Modern Wi‑Fi (especially Wi‑Fi 6) supports much higher throughput than older Wi‑Fi. According to Wi‑Fi Alliance, Wi‑Fi CERTIFIED 6 can reach theoretical speeds up to 9.6 Gbps depending on conditions—far more than enough for 4K streams when coverage is strong.
Wi‑Fi performance—not TV hardware—is often the bottleneck for buffering, especially on 4K HDR streaming during peak household usage.
Most streaming devices can be set to download software updates during initial setup, so staying on-screen until completion improves long-term stability.
If you can’t get stable Wi‑Fi, Ethernet via a supported adapter provides more consistent streaming than relying on a low-signal wireless link.
– Connect to your home Wi‑Fi and run any on-screen updates
Choose your Wi‑Fi network, enter your password, and allow software updates. If the connection fails, move closer to the router temporarily to confirm credentials, then try again. If you have the option for “5 GHz” Wi‑Fi, it often performs better than 2.4 GHz for streaming due to lower interference in many environments.
– Sign in to your main accounts (Netflix, YouTube, Hulu, etc.)
Sign into the apps you use most. Many people start with Netflix and YouTube, but also check for regional streaming services you actually subscribe to. Enable profile selection if the platform supports it—this improves recommendation accuracy and reduces “wrong profile” confusion.
Q: Should I use a VPN on my streaming device?
Only if you understand regional availability and licensing; many platforms restrict VPN usage and may block sign-ins or playback.
Use Smart Features Like Voice Control and Casting
Yes—voice control and casting are where a streaming device feels truly “smart,” not just “playback.” After setup, enabling voice and casting features typically takes less than five minutes and improves day-to-day usability.
In real household use, casting matters when multiple family members want to queue content from different devices. Voice control matters when you want hands-free searching, especially in business settings like lobbies where someone may be multitasking.
Voice control reduces remote-typing friction by letting you search by title, actor, or genre directly on many streaming devices.
Casting and screen mirroring depend on compatibility between the streaming platform and your phone/tablet operating system, so confirm your device supports the required protocol.
– Enable voice control if your device supports it
Go into Settings on the streaming device and enable voice. If the device supports it, connect voice to a household account (or link it to your existing smart speaker ecosystem). Make sure microphone permissions are set correctly on the related app.
– Use casting/screen mirroring from your phone or tablet
For Chromecast-style devices and many Android setups, casting uses the Google ecosystem. For Apple ecosystems, AirPlay-style workflows may apply depending on the device. The main idea remains the same: open the compatible app on your phone, tap the cast icon, and select your TV/streaming device name.
Q: Can I cast from any phone?
Most modern streaming devices support casting from Android and many support Apple-style casting; however, the exact method depends on the device and app compatibility.
Troubleshoot Common Smart TV Setup Issues
Yes—most smart TV upgrade problems are quick to diagnose: HDMI input selection, network quality, or account/authentication. If you follow a systematic approach, you can usually fix issues without replacing hardware.
When I troubleshoot, I start with the simplest “layer”: the physical HDMI connection, then the streaming device power, then Wi‑Fi strength. This order prevents wasted time resetting accounts when the real issue is a weak signal or wrong input.
A “wrong input” problem is resolved by re-checking the HDMI port selection on the TV remote before assuming the streaming device is faulty.
Buffering often improves when you move the router closer or switch Wi‑Fi bands (e.g., to 5 GHz) because streaming devices handle higher throughput more reliably.
– Fix no-signal or wrong input errors by re-checking HDMI selection
Reseat the HDMI cable at both ends, try a different HDMI port, and confirm you’re selecting the exact port name on the TV. If the TV supports HDMI labels, set one clearly for the streamer (for example, “Streaming Box”).
– Resolve buffering with faster Wi‑Fi, closer router placement, or Ethernet
If buffering happens only at certain times of day, it can indicate network congestion. Try:
1) moving the router to a more central location,
2) switching to 5 GHz if available, and
3) using Ethernet if your streaming device supports it.
Ethernet is especially effective because it avoids wireless interference and is rated at up to 1 Gbps on Gigabit Ethernet links in typical configurations (IEEE 802.3ab).
By following these steps—choose a streaming device, connect via HDMI, set up Wi‑Fi, and enable key features—you can upgrade almost any TV into a smart TV. Pick your device today, plug it in, and start streaming your favorite apps within minutes.
Frequently Asked Questions
How can I make my non-smart TV a smart TV using streaming devices?
You can turn a regular TV into a smart TV by plugging in a streaming device like a Roku, Amazon Fire TV Stick, Apple TV, or Google Chromecast. Connect the device to your TV via HDMI, then set up Wi‑Fi and install apps for streaming services such as Netflix, YouTube, and Hulu. This is usually the quickest and most reliable way to add smart TV features to an older model.
What is the best way to make any TV smart without buying a new TV?
The best low-cost approach is typically an HDMI streaming stick or a streaming box because it works with most TVs that have an HDMI port. If you want to use your phone’s screen, you can also add casting through Chromecast or a Miracast-enabled device, but HDMI streaming generally offers more stable performance. For TVs without HDMI, you may need adapter solutions, but HDMI is the most straightforward path to smart TV functionality.
Which HDMI streaming stick is easiest to set up for making my TV smart?
Many people find Roku TV streaming sticks and Fire TV Stick devices among the easiest for basic setup because they provide guided on-screen instructions. Chromecast setup can also be simple, especially if you already use Android or Google services, but you’ll cast from a compatible device. Choose based on which apps you need most and whether you prefer remote control operation or phone-based casting.
Why won’t my TV recognize the smart device, and how do I fix it?
The most common issue is using the wrong input source—press the TV’s “Input” or “Source” button and select the correct HDMI port. If there’s still no signal, check the HDMI cable connection and try a different HDMI port, then restart both the TV and the streaming device. Also confirm your Wi‑Fi password and that the device supports your router’s Wi‑Fi band (2.4 GHz vs 5 GHz), since connectivity issues can look like “the device isn’t working.”
How do I turn a TV into a smart TV using a gaming console or media player?
Many gaming consoles like PlayStation or Xbox support popular streaming apps, letting you make any TV smart through HDMI connectivity. Media players such as Android TV boxes or dedicated IPTV devices can also provide smart TV features like app browsing and live TV—just ensure they support legal streaming services. After connecting, set the correct HDMI input, sign in to your streaming accounts, and connect to Wi‑Fi for full smart TV functionality.
📅 Last Updated: August 29, 2026 | Topic: how to make any tv a smart tv | Content verified for accuracy and freshness.
References
- https://en.wikipedia.org/wiki/Smart_TV
https://en.wikipedia.org/wiki/Smart_TV - https://en.wikipedia.org/wiki/Streaming_media
https://en.wikipedia.org/wiki/Streaming_media - https://en.wikipedia.org/wiki/Internet_protocol_television
https://en.wikipedia.org/wiki/Internet_protocol_television - https://en.wikipedia.org/wiki/HDMI
https://en.wikipedia.org/wiki/HDMI - https://en.wikipedia.org/wiki/Streaming_player
https://en.wikipedia.org/wiki/Streaming_player - https://en.wikipedia.org/wiki/Digital_media_receiver
https://en.wikipedia.org/wiki/Digital_media_receiver - https://en.wikipedia.org/wiki/Multimedia_device
https://en.wikipedia.org/wiki/Multimedia_device - https://scholar.google.com/scholar?q=how+to+make+any+tv+smart+tv+streaming+device Google Scholar
https://scholar.google.com/scholar?q=how+to+make+any+tv+smart+tv+streaming+device - https://scholar.google.com/scholar?q=HDMI+streaming+media+player+internet+television+non-smart+TV Google Scholar
https://scholar.google.com/scholar?q=HDMI+streaming+media+player+internet+television+non-smart+TV - https://scholar.google.com/scholar?q=smart+TV+connected+television+casting+protocols+research Google Scholar
https://scholar.google.com/scholar?q=smart+TV+connected+television+casting+protocols+research
