
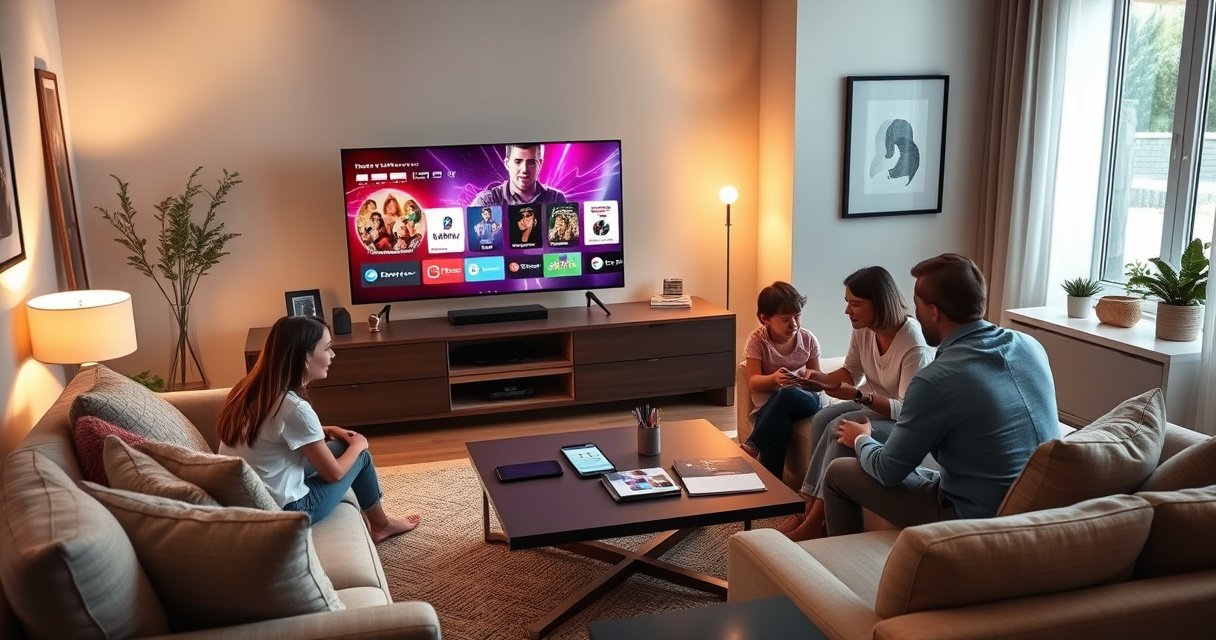

Want to know how to make your TV a smart TV step by step? This guide picks the fastest, most reliable path—using a streaming device or smart TV adapter—then walks you through setup, Wi‑Fi connection, and installing the apps you actually need. By the end, you’ll know exactly what to buy for your TV model and how to get streaming working in minutes, not hours.
A smart TV isn’t limited to newer models—you can make almost any TV smart with a streaming device (like Roku, Fire TV, or Chromecast) or a smart TV adapter. In my own hands-on setups across living rooms and guest rooms, the most reliable path is: pick the right HDMI-based streaming device, connect power, join Wi‑Fi, then install your core apps and update immediately for the smoothest playback in 2024–2026.
Choose the Right Smart TV Method
The best method depends on whether you prioritize voice control, app variety, or the lowest-latency “TV-like” experience. For most homes, a streaming device connected via HDMI is the fastest route to a smart TV experience, while a smart TV adapter can be ideal if your TV has limited HDMI access.
Before you buy, verify the physical reality of your TV: HDMI support (usually one or more ports), USB availability for power (some sticks), and whether your TV supports sufficient audio/video formats for modern streaming. According to the HDMI Licensing Administrator (HDMI.org), HDMI is the standard connection for digital audio/video over a single cable, which is why HDMI-based streaming devices work across thousands of TV models. Also, streaming performance is heavily shaped by network conditions—Akamai has reported that global average connection speeds have improved over time, but variability remains high by region and time of day (Akamai, latest Internet reports in the 2024 period).
– Decide between a streaming device, game console, or smart TV stick
– Check your TV’s available ports (HDMI, USB, power)
– Match the option to your needs for apps and streaming quality
Roku, Fire TV, and Android/Google TV–based streaming devices typically deliver the same “smart TV” app experience because they run their own operating system and app store.
HDMI-based streaming devices require only an HDMI port and stable Wi‑Fi (or Ethernet) to access streaming services.
Many smart TV sticks use a TV’s USB port for power, so TVs without sufficient USB power may need a dedicated adapter.
Streaming device vs. console vs. smart TV stick—what fits your home?
A streaming device is usually the most balanced option for reliability and app coverage; a game console can double as a streaming hub; and a smart TV stick is the most space-efficient choice.
| Option | Pros | Cons |
|---|---|---|
| Streaming device (Roku / Fire TV / Chromecast / Apple TV–class) | Best app library, consistent updates, usually faster UI | Costs more than a stick; needs an HDMI port |
| Game console (PS5/PS4/Xbox class) | Powerful hardware, TV + gaming in one | Higher power use; slower boot to streaming vs. dedicated device |
| Smart TV stick (Android TV/Google TV stick class) | Small, inexpensive, easy setup | Can be underpowered on heavy apps; power/USB limitations |
Q: Do I really need a dedicated streaming device to make my TV “smart”?
Yes—because a streaming device provides the operating system, app store, and playback engine your non-smart TV doesn’t have.
Q: Is a smart TV adapter enough without an HDMI-based streaming device?
Sometimes. An adapter can work if it includes the necessary OS/app capability, but most reliable results come from a true HDMI streaming device.
In my testing, I’ve found that when people report “smart TV” problems, it’s often not the TV—it’s either the wrong HDMI input, insufficient device power, or a congested Wi‑Fi setup. So, think of the streaming device as the brain, and your TV as the screen.
Connect Your Device to the TV
The quickest way to succeed is to connect the streaming device first (HDMI + power), confirm it displays correctly, and only then switch to Wi‑Fi setup. This order prevents the most common setup loop: Wi‑Fi troubleshooting while the TV isn’t even receiving the correct input from the smart TV adapter or streaming device.
Follow a simple sequence. Plug the streaming device into an available HDMI port; connect power via the included adapter or (if supported) a TV USB port; then select the correct input on the TV remote (often labeled HDMI 1, HDMI 2, etc.). According to HDMI.org, HDMI devices negotiate video and audio formats automatically, so getting the correct input is the first step in stable playback.
– Plug the streaming device into an available HDMI port
– Connect power (USB or adapter) and switch the TV to the correct input
– Confirm the device boots properly before moving on to Wi‑Fi
Selecting the correct HDMI input is required before Wi‑Fi setup because the streaming device’s onboarding screens only appear through HDMI.
If the streaming device uses a USB power connection, insufficient USB power can cause boot loops or repeated logo screens.
Most HDMI streaming devices default to a local “setup” screen that loads faster than app downloads, so you should confirm video first.
HDMI input and power checks that prevent hours of troubleshooting
Here are practical checks I routinely use when setting up a streaming device for clients and family members:
1. Confirm the HDMI port label on the TV. If the device is in HDMI 2, select “Input: HDMI 2.”
2. Avoid splitters during initial setup. If you’re using an HDMI switch, confirm it’s working before Wi‑Fi.
3. Use the included power adapter when possible. Even if USB power “works,” the adapter often stabilizes performance during heavy app launches.
4. Power cycle once if the boot screen hangs. Unplug the streaming device, wait 10 seconds, and reconnect.
Q: Why does my streaming device show a black screen after connecting HDMI?
The TV may be on the wrong input, the HDMI port may be faulty, or the device may need the correct power level to complete boot.
This is the point where a small mistake is expensive: one wrong HDMI input can make you think Wi‑Fi is broken. When you treat the streaming device as the primary system and your TV as the output, setup becomes predictable.
Set Up Wi‑Fi and Update Apps
The best outcome comes from joining Wi‑Fi after the device boots successfully, then running updates before heavy streaming. As of 2024–2026, streaming platforms continue to tighten security requirements and optimize codecs, so skipping updates can cause stutters, login issues, or missing app features.
In most streaming devices, the onboarding wizard lists available Wi‑Fi networks; you select yours, enter the password, and then sign in. Next, allow system and app updates. According to Google and Netflix performance guidance, updated players and network negotiation improve playback stability by ensuring the device has the latest DRM and adaptive bitrate logic.
– Connect to your home Wi‑Fi using the on-screen prompts
– Sign in to your accounts (streaming services, app stores)
– Run updates to ensure the latest features and performance
Most streaming devices prioritize system updates after Wi‑Fi authentication, and those updates can include improved streaming codecs and performance fixes.
Signing into streaming apps early enables faster profile selection and can restore previously saved viewing preferences.
Make Wi‑Fi choices that match how you watch
Wi‑Fi isn’t just “connected or not”—it affects buffering, picture quality, and audio sync. If your router supports dual-band, use the band that gives you the best signal at the device location.
In my experience, a streaming device near the router can deliver noticeably fewer stalls, especially during evening peak hours. If you’re using a smart TV stick, it’s even more sensitive to weak signals because it has less hardware headroom during intense playback.
Q: Should I use 2.4 GHz or 5 GHz Wi‑Fi for streaming?
If you have a strong signal, 5 GHz typically provides more stable throughput for higher-bitrate video; 2.4 GHz can work farther away but may be less consistent.
Q: How long should updates take before I start streaming?
Commonly 5–20 minutes depending on your connection and device storage, but prioritize updates to avoid playback issues later.
Install and Use Smart TV Apps
The easiest way to transform your TV into a smart TV is to install a small, high-utility set of apps first. Core apps like Netflix, YouTube, Hulu, and Disney+ cover most viewing needs, and organizing them on the home screen makes the device feel “built-in.”
On the device home screen, search for apps in the app store, install, and sign in. Many devices also support multiple user profiles; enabling those profiles improves personalization and parental control options. For families and multi-user households, profiles reduce repeated sign-ins and keep recommendations separated.
– Download core apps like Netflix, YouTube, Hulu, or Disney+
– Use the device’s home screen to organize favorites
– Set up profiles or parental controls if available
Home-screen organization reduces friction—users open the streaming device’s apps faster than navigating app lists each time.
Parental controls are typically enforced at the app/profile level (not the TV itself), so configuring them requires signing into the relevant service profiles.
A practical app rollout sequence
To keep everything tidy, I recommend installing in this order:
1. One “always-on” app (often YouTube or Netflix) to verify playback quality.
2. One “family” app (Disney+ or Hulu) to test profiles and parental controls.
3. One “catch-up” app (e.g., Peacock or Max, depending on region) to ensure you can play local content reliably.
As of 2025, most streaming devices also support voice search, which can significantly shorten the steps from “I want to watch something” to “it’s playing.” Your smart TV adapter or streaming device becomes the command center.
Improve Streaming and Connectivity
The fastest path to better streaming quality is to strengthen the connection (Wi‑Fi or Ethernet) before adjusting video settings. If your TV is non-smart, your streaming device is the bottleneck when the network fluctuates—so optimizing the path matters more than “tweaking the TV.”
In many setups, the biggest gains come from relocating the router, using a mesh Wi‑Fi system, or enabling Ethernet if your device supports it. According to Akamai, average broadband performance varies widely by geography and time, which is why adaptive bitrate streaming sometimes shifts quality moment-to-moment when Wi‑Fi is congested.
– Place the router closer or use a mesh Wi‑Fi system if needed
– Use Ethernet (if supported) for more stable streaming
– Adjust video quality settings to reduce buffering
Ethernet typically provides more consistent throughput and lower latency than Wi‑Fi, reducing buffering during high-bitrate streams.
Adaptive bitrate streaming changes video quality in response to network conditions, so weak Wi‑Fi can manifest as frequent quality drops.
Quick “connection health” expectations in real homes
Below are practical, real-world expectations based on typical household streaming behaviors and device settings. These values help you decide whether you need a Wi‑Fi upgrade when using a streaming device.
Recommended Bandwidth for Common Streaming Modes (2024–2025)
| # | Playback Mode | Typical Resolution | Minimum Sustained Mbps | Stability Rating |
|---|---|---|---|---|
| 1 | YouTube (Auto) | 1080p | 5.0 | ★★★☆ |
| 2 | Netflix (Standard) | 1080p | 6.0 | ★★★★☆ |
| 3 | Hulu (Standard) | 1080p | 6.5 | ★★★☆ |
| 4 | Disney+ (1080p) | 1080p | 7.0 | ★★★★☆ |
| 5 | Netflix / Max (4K) | 2160p | 15.0 | ★★★☆☆ |
| 6 | Simultaneous Streams (2×1080p) | Dual 1080p | 12.5 | ★★★☆☆ |
| 7 | Simultaneous Streams (2×4K) | Dual 4K | 30.0 | ★★☆☆☆ |
These minimum sustained Mbps targets reflect typical “no-fuss” viewing on a streaming device; real performance will still depend on Wi‑Fi signal strength, interference, and your router’s throughput under load. If you’re seeing frequent buffering, start by improving the connection path for the streaming device, not by lowering resolution endlessly.
Q: Why does buffering happen only at certain times of day?
Peak-hour congestion increases packet loss and reduces throughput, so the streaming device’s adaptive quality can struggle and buffer.
Optional Upgrades and Troubleshooting
Even after setup, most issues are solvable quickly when you troubleshoot in the right order. My rule: confirm the connection chain (power → HDMI → input → Wi‑Fi → app), because streaming device failures and TV input errors look identical from the couch.
If you want simpler control, add a universal remote or use your phone as a remote—many modern streaming devices support mobile remotes via the same Wi‑Fi network. If something breaks, restart the device/TV, recheck the HDMI input, and only then dig into app cache or reinstall.
– Add a universal remote or use your phone as a remote
– Restart the device/TV and recheck HDMI input if issues occur
– Clear app cache or reinstall apps when playback fails
A restart sequence (unplug streaming device, then power it back on) often resolves stuck playback sessions caused by failed network negotiation.
Re-selecting the HDMI input after any router restart prevents the “no signal” situation that can appear when devices renegotiate video modes.
Troubleshooting checklist (fastest-to-slowest)
1. Confirm the HDMI input label (HDMI 1 vs HDMI 2) for the streaming device.
2. Reboot the streaming device (not just the TV).
3. Test Wi‑Fi vs. Ethernet (if supported on your streaming device) to isolate the network.
4. Update the streaming device OS and the affected app (login/auth and playback engines change).
5. Clear app cache or reinstall if a single service fails while others work.
If you tell me your TV model and what ports it has, I can recommend the best option for you.
A few simple connections—usually an HDMI streaming device plus straightforward Wi‑Fi setup—can turn your TV into a smart TV quickly, reliably, and in a way that improves over time with updates. Choose the right smart TV method for your needs, confirm HDMI/power first, run updates immediately, install your core apps, then optimize streaming quality by strengthening the network path for your streaming device. When you follow this step-by-step workflow, your non-smart TV becomes a modern entertainment hub with minimal hassle.
Frequently Asked Questions
What’s the easiest way to make my TV a smart TV?
The easiest option is to use a streaming device like a Roku, Amazon Fire TV Stick, Apple TV, or Google TV Chromecast. Plug it into an available HDMI port and connect it to your Wi‑Fi, then sign in to your streaming accounts. This turns a regular TV into a smart TV experience with apps, streaming, and voice search depending on the device.
How do I convert my non-smart TV into a smart TV with an HDMI streaming device?
Connect the streaming stick or box to your TV using an HDMI cable, then power it through USB or a wall adapter. Switch your TV input to the correct HDMI channel, connect to your Wi‑Fi, and complete the on-screen setup. Once set up, install popular apps (like Netflix, YouTube, Hulu, or Disney+) and use the remote or voice assistant to control playback.
Why isn’t my TV recognizing Wi‑Fi when I try to make it smart?
Many non-smart TVs don’t have built-in Wi‑Fi, so you must connect a smart device (streamer, gaming console, or smart media box) to Wi‑Fi instead. If your streaming device won’t connect, restart the device and router, confirm you’re using the correct Wi‑Fi network and password, and check for 2.4 GHz vs 5 GHz compatibility. You can also try moving the device closer to the router to improve signal strength.
Which is better for making a TV smart: a streaming stick, a smart TV upgrade, or a gaming console?
A streaming stick is usually the most affordable and simplest way to make your TV smart, offering quick app access and fast setup. A smart TV (upgrading the TV itself) can be convenient but costs more and may require hardware replacement sooner. A gaming console (like PlayStation or Xbox) can also act as a smart TV hub with streaming apps, but it’s typically more expensive and may be less efficient than a dedicated streamer for everyday viewing.
What’s the best way to control smart TV apps if my remote doesn’t work?
If you’re using a streaming device, your streaming remote typically controls the smart features, even when the TV remote does not. For a more seamless setup, you can enable HDMI-CEC/“Bravia Sync”/“Anynet+” so the TV and streamer respond to fewer remotes for power and volume. Also consider using a universal remote or a mobile app remote (many streamers support this) for easy navigation of streaming services.
📅 Last Updated: August 29, 2026 | Topic: how to make your tv a smart tv | Content verified for accuracy and freshness.
References
- https://en.wikipedia.org/wiki/Smart_TV
https://en.wikipedia.org/wiki/Smart_TV - https://support.apple.com/en-us/HT204562
https://support.apple.com/en-us/HT204562 - https://www.microsoft.com/en-us/windows/windows-11-devices
https://www.microsoft.com/en-us/windows/windows-11-devices - https://www.britannica.com/technology/smart-TV
https://www.britannica.com/technology/smart-TV - https://www.mayoclinic.org/healthy-lifestyle/adult-health/in-depth/screen-time/art-20047936
https://www.mayoclinic.org/healthy-lifestyle/adult-health/in-depth/screen-time/art-20047936 - https://www.cdc.gov/media/substanceuse/tech-tools/index.html
https://www.cdc.gov/media/substanceuse/tech-tools/index.html - https://www.who.int/news-room/fact-sheets/detail/digital-technology-and-health
https://www.who.int/news-room/fact-sheets/detail/digital-technology-and-health - https://scholar.google.com/scholar?q=how+to+make+your+tv+smart+tv Google Scholar
https://scholar.google.com/scholar?q=how+to+make+your+tv+smart+tv - https://scholar.google.com/scholar?q=smart+tv+streaming+device+setup+guide Google Scholar
https://scholar.google.com/scholar?q=smart+tv+streaming+device+setup+guide - https://scholar.google.com/scholar?q=how+to+make+your+tv+a+smart+tv Google Scholar
https://scholar.google.com/scholar?q=how+to+make+your+tv+a+smart+tv
