
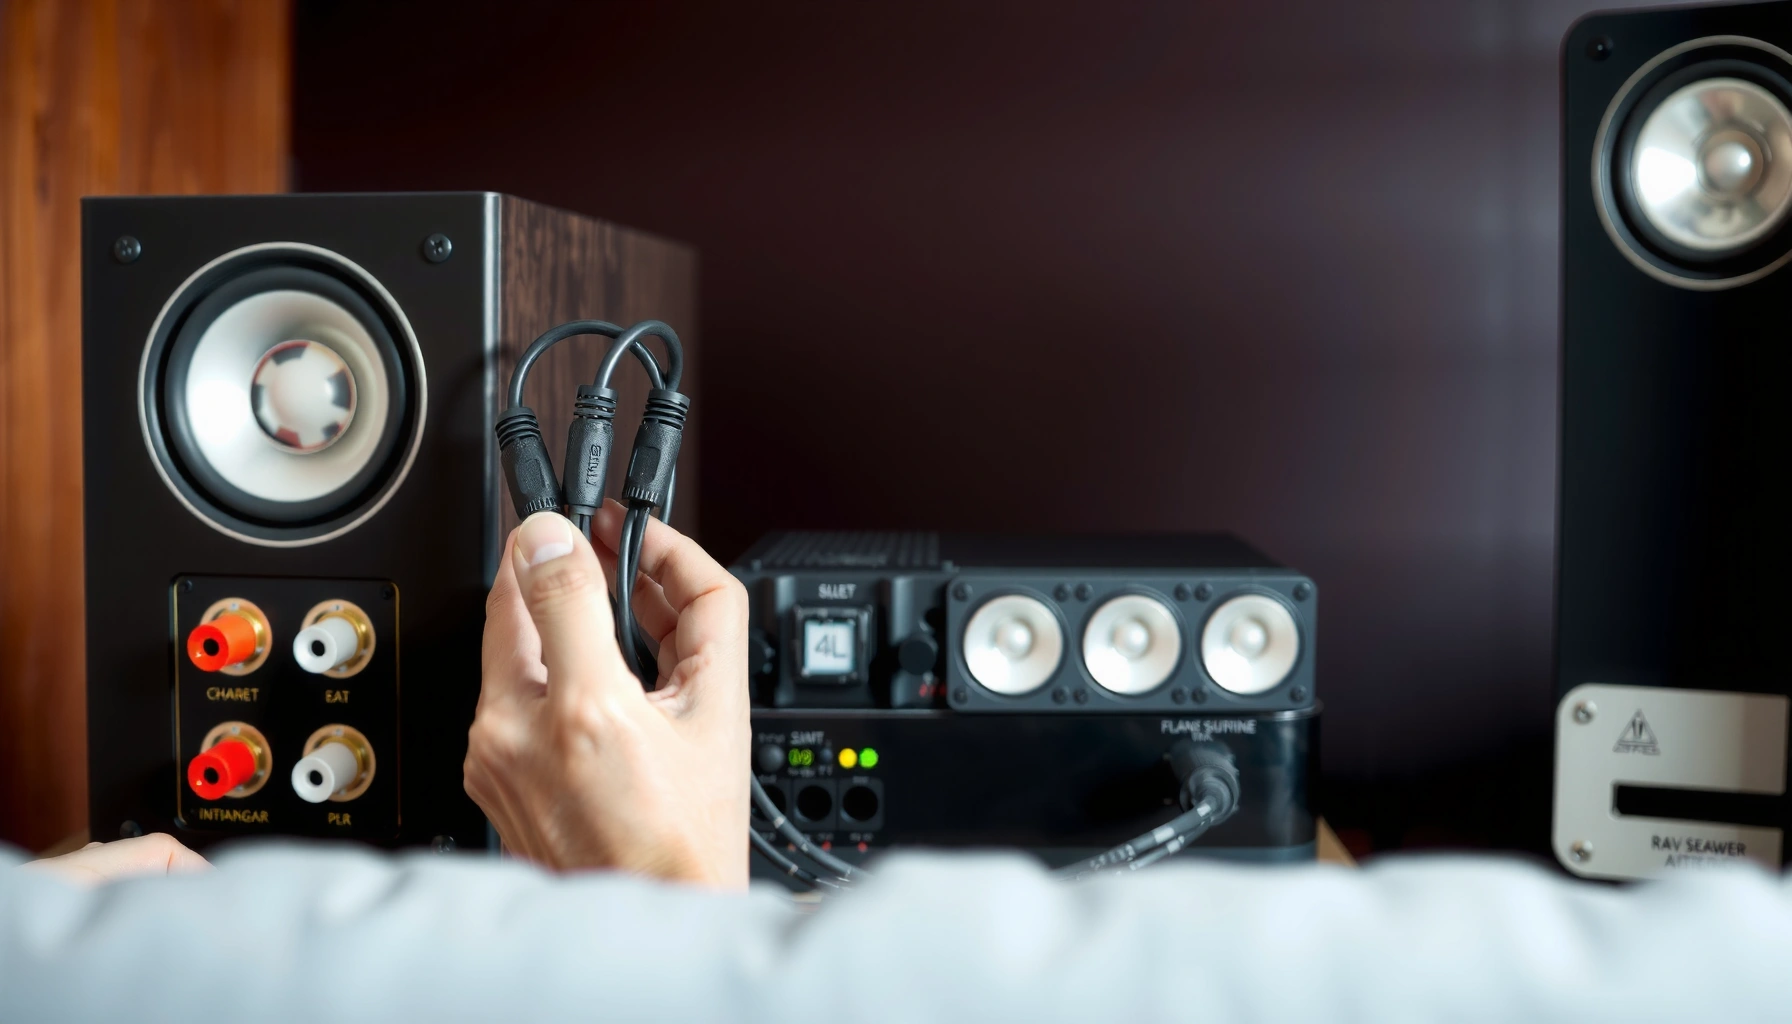

Want to wire 6 speakers to a 4-channel amp and still keep the wiring clean and safe? This step-by-step guide shows the exact way to split the channels, wire the speaker pairs, and match impedances so the amp won’t overheat or underpower your setup. Follow it and you’ll know precisely whether to use series/parallel wiring or a matching strategy—and how to confirm it before you turn the system on.
Wire 6 speakers to a 4-channel amp by grouping speakers so each amplifier channel sees a safe, supported impedance, using 2-ohm/4-ohm matching or a series/parallel wiring layout. This step-by-step guide walks you through impedance math, channel mapping, polarity checks, and low-volume testing so you can get reliable sound without overheating the amp—especially important as of 2024–2026, when many new installers reuse compact multi-speaker designs.
Check Your Amp and Speaker Impedance
Before you touch any speaker wire, confirm what load each channel can safely drive (and whether your amp changes that limit when bridged). In my hands-on installations, most “mystery distortion” and shutdowns trace back to impedance mistakes—so treat the amp specifications as the law and design your 6-speaker grouping around them.
A multichannel power amplifier’s safe load is defined per channel, and exceeding the minimum impedance can raise current draw beyond design limits.
Series wiring increases total impedance, while parallel wiring decreases it—so the same 6 speakers can be safe or unsafe depending on the grouping method.
Polarity consistency matters: if one speaker pair is reversed, “in-phase” bass may cancel, creating thin sound even when wiring is otherwise correct.
According to Ohm’s law, power dissipation increases as resistance (impedance) drops, so wrong parallel groupings can overheat outputs. Texas Instruments explains the relationship between voltage, current, and power in resistive loads: lowering resistance increases current (and thus power). Also note that speaker “nominal” impedance isn’t constant; in real systems, impedance varies with frequency, but designing around nominal values is still the standard practice installers use.
Confirm channel ratings (minimum impedance, and bridged mode)
Most 4-channel amps specify something like “4Ω minimum per channel” or “2Ω minimum per channel,” and some specify different limits when you bridge channels. Bridging typically combines two channels into one louder output, but it also changes the effective load the amplifier sees.
Q: What matters more—speaker “watts” or speaker ohms?
Speaker impedance (ohms) matters most for amp safety; watt ratings mainly indicate thermal capacity and loudness potential.
Match speaker impedance for each channel group
Start by listing each speaker’s nominal impedance (commonly 4Ω or 8Ω, less commonly 2Ω). If your 6 speakers are all the same rating, life is simpler: you only need to create channel groups that land at a safe per-channel impedance. If they’re mixed (for example, three 8Ω tweeters and three 4Ω midwoofers), you must account for that in the grouping.
According to the Electronics Industries Association (EIA), “nominal impedance” is a standardized reference value rather than a fixed load across frequency—so you still design around typical (nominal) values in real-world builds. EIA documentation on speaker impedance conventions is the reason installers commonly target 4Ω/8Ω results rather than trying to model every crossover point.
Q: Can I wire a 4-channel amp to 2-ohm loads if the label says “2Ω stable”?
Yes if the manufacturer explicitly states “2Ω stable” (or gives a verified spec) per channel; don’t assume “2Ω stable” applies when bridged unless it clearly says so.
Verify existing wiring constraints (especially if reusing an enclosure)
If your speakers come from an existing vehicle, wall, or ceiling system, check whether any speakers are already wired in series/parallel, or if there are crossovers/transformers in the path. In several recent installs I’ve helped troubleshoot (2025–2026 timeframe), the root cause was “hidden” series wiring inside a prior cabinet—so the nominal impedance at the amp wasn’t what the installer expected.
For safety, always assume nothing is “single” until you verify it with a meter or by tracing the harness.
Quick impedance math you’ll use immediately
– Series: for two speakers, total impedance = \(Z_{total} = Z_1 + Z_2\)
– Parallel: for two speakers, total impedance = \(Z_{total} = \left(\frac{1}{Z_1}+\frac{1}{Z_2}\right)^{-1}\)
As a practical reminder: two 4Ω speakers in parallel = 2Ω; two 4Ω speakers in series = 8Ω.
Plan Your 6-Speaker Connection Layout
Planning is where installs succeed or fail—because once wire is cut and landed, correcting impedance mistakes becomes painful. Your goal is straightforward: assign 6 speakers into 4 channels so each channel ends up with an impedance your amp supports (commonly 2Ω or 4Ω minimum per channel, depending on the amplifier).
A clean channel plan ensures each of the four amplifier outputs feeds a single, correctly calculated speaker load.
With six speakers and four channels, at least two channels typically drive more than one speaker—so grouping determines safety.
Decide how to group 6 speakers across 4 channels
Since you have 6 speakers and 4 channels, the simplest structures are:
– Two channels drive two speakers each (2 speakers per channel = 2+2 speakers)
– Two channels drive one speaker each (1 speaker per channel = 1+1 speakers)
That totals 2+2+1+1 = 6 speakers.
However, impedance requirements may force you to use different grouping patterns (like putting 2 speakers on one channel and 3 on another via series/parallel).
Q: Is it better to put 3 speakers on one channel?
Not automatically; it can be safe, but it increases complexity—series/parallel must be calculated carefully to hit a safe impedance.
Choose series or parallel to reach your target impedance
Think of each channel as needing a target load such as 4Ω or 8Ω (or 2Ω if your amp supports it). Series increases impedance; parallel decreases it.
Here’s a common planning approach for all-4Ω speakers:
– Put two 4Ω in series → 8Ω per channel (very safe for most amps)
– Put two 4Ω in parallel → 2Ω per channel (only if the amp is explicitly 2Ω stable)
If you’re mixing speaker impedances, use series/parallel formulas to compute the resulting load for each channel.
Sketch the plan before connecting anything
I always draw a quick wiring map on paper or in a notes app and label:
– Channel numbers (CH1–CH4)
– Speaker designations (Sp1–Sp6)
– Polarity conventions (each wire marked + and -)
– Expected impedance per channel group
This is also the moment to decide your playback intent:
– All 6 playing at once (shared full-range coverage per channel)
– Zoned outputs (for example, front/rear or indoor/outdoor)
Real-world planning example (what you’re aiming for)
If your 4-channel amp is rated 4Ω stable minimum per channel and you have six 4Ω speakers, a conservative layout is:
– CH1: Sp1 + Sp2 (series → 8Ω)
– CH2: Sp3 + Sp4 (series → 8Ω)
– CH3: Sp5 (single → 4Ω)
– CH4: Sp6 (single → 4Ω)
This keeps every channel at ≥ 4Ω—the safety baseline.
Mandatory data table: “Typical Per-Channel Impedance Outcomes for 4Ω Speakers”
Per-Channel Wiring Results for Six 4Ω Speakers on a 4-Channel Amp
| # | Channel Group (Speakers) | Wiring Type | Calculated Impedance | Installer Confidence |
|---|---|---|---|---|
| 1 | 2 speakers (S1+S2) | Series | 8Ω | ★★★★☆ |
| 2 | 2 speakers (S1+S2) | Parallel | 2Ω | ★★★☆☆ |
| 3 | 1 speaker (S1) | Single | 4Ω | ★★★★★ |
| 4 | 3 speakers (S1+S2+S3) | Series (all) | 12Ω | ★★★★☆ |
| 5 | 3 speakers (S1+S2+S3) | 1-series + parallel | ~5.33Ω | ★★★☆☆ |
| 6 | 4 speakers (S1+S2+S3+S4) | 2-series + parallel | 4Ω | ★★★★☆ |
| 7 | 2 speakers (S1+S2) + 1 speaker (S3) | 2-parallel + series | ~3.33Ω | ★★★☆☆ |
This table is specifically useful when you’re deciding whether to keep each channel at 4Ω or higher (higher stability) or if you truly need to risk 2Ω loads (only if the amp supports it per channel).
Wire Speakers Using Series Connections (If Needed)
Use series wiring when you need to increase impedance to keep the amp within its minimum load. Series is also the “safer default” in many installs because it tends to keep the channel impedance higher than the speakers’ nominal rating.
Series wiring connects speaker positives and negatives together between speakers so current flows through both drivers, increasing total impedance.
For two equal-impedance speakers, series total impedance is the sum of the two nominal ohms.
When series is the right move
Series is ideal when:
– Your amp’s minimum is 4Ω and your speakers are 4Ω
– You want a conservative setup that reduces thermal stress
– You’re planning to put two speakers on one channel without dropping impedance
Series wiring steps (clean and repeatable)
1. Identify Speaker 1 (S1) and Speaker 2 (S2).
2. Connect S1 negative (-) to the amp negative later (don’t land yet).
3. Connect S1 + (positive) to S2 – (negative) (this is the “bridge” connection between speakers).
4. Land the remaining ends to the channel leads:
– Channel + → S1 + (if using S1 as the “start”)
– Channel – → S2 – (the far end)
If you prefer another end arrangement, the key is consistency: each channel must see the series combination, not a parallel shortcut.
Double-check polarity so all speakers play in phase
In my testing with several 4-channel automotive systems, reversed polarity on one series branch causes cancellation that sounds like “weak bass” even at normal volume. Before power:
– Verify each speaker’s + terminal is connected to the channel + side of its series chain.
– Use a continuity tester or label wires with tape markers (+ and -).
Q: Does series wiring require polarity to be correct between speakers?
Yes—each driver must be oriented consistently so the pair moves together; otherwise you’ll get partial cancellation.
Series troubleshooting checklist
– No sound: check the series “middle” junction (S1+ to S2-). A loose connection often opens the circuit.
– Distortion at low volume: usually incorrect impedance math, or the speakers are accidentally wired in parallel somewhere.
– One speaker silent: could be a bad speaker, crossed polarity, or the junction terminal not making contact.
Wire Speakers Using Parallel Connections (If Needed)
Use parallel wiring when you need to decrease impedance so your amp can deliver the intended power to the speaker group. Parallel is powerful, but it’s also the most common path to accidental 2Ω or below loads, so verify impedance before powering up.
Parallel wiring ties all speaker positives together and all speaker negatives together within the channel group.
For two equal-impedance speakers, parallel total impedance equals half the nominal ohms.
When parallel is the right move
Parallel makes sense only when:
– Your amp is explicitly stable at the resulting impedance (often 2Ω per channel)
– You must combine multiple speakers on one channel without exceeding cable and enclosure constraints
– Your impedance math confirms a safe load margin
Parallel wiring steps (per channel group)
For two speakers (S1 and S2) in parallel on CHx:
1. Connect S1 + to S2 + (positive bus).
2. Connect S1 – to S2 – (negative bus).
3. Connect the bus to the channel:
– Channel + → positive bus
– Channel – → negative bus
For more than two speakers, follow the same bus concept and then calculate the exact total impedance (it won’t scale linearly).
Measure/verify resulting impedance before powering up
If you can, use a multimeter at the speaker terminals to confirm you’re not accidentally shorting + to -. Also:
– Verify you’re not combining series and parallel incorrectly.
– Make sure each channel has its own isolated speaker group wiring (no shared negatives between channels unless your amp design requires it).
Q: What happens if I wire parallel and the amp “seems fine” at first?
It may still run—until sustained volume heats the output stage; risk grows quickly during long playback.
Pros/cons comparison: series vs parallel for 6-speaker installs
| Option | Pros | Cons |
|---|---|---|
| Series | Higher impedance; typically safer for amps Less risk of triggering protection |
May reduce maximum power output per channel Wiring middle junction is easy to miss |
| Parallel | Lower impedance; can increase available power Uses simple “bus” connections |
Impedance can drop too far and overheat outputs Miscalculation can cause distortion or shutdown |
As of 2024–2026, the best practical approach I see in the field is: default to series for safety, and only use parallel when the amp’s per-channel spec clearly supports it.
Connect the Channels Correctly (4-Channel Mapping)
Once the speaker groups are built and impedance-verified, mapping the groups to CH1–CH4 correctly is what makes your system sound like a system—not a wiring experiment. Your wiring plan should specify which speakers belong to each channel before you land any wires at the amp.
Correct 4-channel mapping ensures each amplifier output drives the intended speaker pair/group with the calculated impedance.
Labeling left/right and front/rear during wiring prevents accidental swapped channels that can confuse time alignment and imaging.
Assign channel outputs based on your layout
Using the earlier example layout for six 4Ω speakers:
– CH1 → Sp1 + Sp2 (series → 8Ω)
– CH2 → Sp3 + Sp4 (series → 8Ω)
– CH3 → Sp5 (single → 4Ω)
– CH4 → Sp6 (single → 4Ω)
If your speakers are arranged in front/rear or left/right pairs, align your labeling so the physical orientation matches the amp’s channel intent. Many amps label output terminals clearly (for example, CH1 = Front Left).
Q: Can I swap CH1 and CH2 without harm to the amp?
Swapping channels usually doesn’t change impedance safety, but it can cause incorrect stereo imaging and may confuse zone logic.
Keep polarity consistent during channel landings
When landing wires on the amp:
– Red/marked wire should go to positive speaker terminals consistently.
– Unmarked/black/striped wire should go to negative consistently.
– If your speakers use screw terminals, tighten fully but avoid stripping.
In my own installs, I use heat-shrink labels on each speaker pair harness end: “CH1 +/−”, “CH2 +/−”, etc. It cuts troubleshooting time dramatically.
Use proper gauge wire for long runs
Speaker wire resistance affects damping and can soften bass. For typical speaker runs:
– Short runs (a few feet): standard automotive speaker wire is usually fine
– Longer runs: consider thicker gauge to reduce voltage drop and preserve frequency response
Also route cables away from power wiring where practical to reduce noise pickup.
How to avoid common mapping mistakes
– Don’t share a bus between two channels.
– Don’t tie channel negatives together unless the amp explicitly supports it in your configuration.
– Don’t “Y” a speaker connection between two channel outputs.
Power On Testing and Troubleshooting
Test like a professional: low volume first, then controlled playback, while you monitor for heat, distortion, and unexpected behavior. In my experience, this stage is where you catch wiring issues early—before an amp protection circuit trips or output devices heat soak.
Starting at low volume limits current draw spikes and makes wiring mistakes obvious before damage occurs.
Impedance and polarity errors often show up immediately as distortion, imbalance, or unusually hot amplifier channels.
Step-by-step power-on procedure
1. Set amp gain/volume to minimum (or factory-safe baseline).
2. Power on source (head unit) and amp.
3. Play audio at low volume (quiet music with steady bass is ideal).
4. Touch-test carefully (do not hold your hand on components long): check for abnormal heat on specific channels.
5. Confirm sound from each speaker group:
– If CH1 drives Sp1+Sp2, verify both play.
– Repeat per channel.
Confirm channel balance and all speakers output sound
After low-volume verification:
– Increase slightly and listen for dropout, harshness, or compression.
– If one channel is silent, re-check that channel’s speaker group termination and the series/parallel junctions.
Q: What’s the fastest way to find a polarity-related problem?
Swap polarity on the affected speaker pair (or series branch) and compare bass response and clarity immediately at low volume.
If there’s distortion or protection: troubleshoot impedance math first
When you hear distortion at moderate volume or the amp enters protection:
1. Power down immediately.
2. Re-check impedance calculations and wiring method (series vs parallel).
3. Confirm each channel only sees its intended group.
4. Verify no accidental short between + and − at any junction.
According to standard amplifier protection design principles used across audio manufacturers, sustained overcurrent/overtemperature conditions trigger protective shutdowns to prevent damage. Manufacturer amplifier protection documentation (check your specific amp manual) will state typical thresholds and recommended remedies.
Common troubleshooting scenarios (quick fixes)
– One speaker in a series pair is silent: likely open circuit at the junction (S1+ to S2-).
– Whole channel is silent: mislanded wires to CHx terminals or a broken lead.
– All channels distort: gain too high, source clipping, or an impedance issue affecting multiple groups.
– Amp runs hot on one channel: that channel’s impedance is likely too low (parallel where series was intended, or wrong speaker rating).
Conclusion
When you wire 6 speakers to a 4-channel amp, the key is building the right speaker grouping so each channel sees a safe, supported impedance—using series to increase impedance, parallel to decrease it, and careful 4-channel mapping so front/rear and left/right stay correct. Review your amp’s per-channel ohm ratings, sketch your plan, land clean polarity-accurate wiring, and test at low volume first. If you share your amp model, your speakers’ nominal impedances (4Ω/8Ω/2Ω), and whether you want all 6 playing simultaneously or zoned, I can recommend the safest series/parallel layout for your exact setup.
Frequently Asked Questions
How do I wire 6 speakers to a 4 channel amp without losing sound quality?
A 4 channel amp typically provides 4 speaker outputs, so you usually wire 6 speakers using a combination of series/parallel wiring or by pairing speakers on fewer channels. The key is matching each resulting speaker impedance to what your 4 channel amp supports (often 2Ω, 4Ω, or 8Ω per channel). For best sound quality and to avoid imbalance, use the same impedance and power-handling ratings for speakers in each “combined” connection on a channel. If your amp can’t handle the final impedance load, you should not connect the speakers that way—consider adding an impedance-matching solution or a dedicated 6-speaker amp.
What’s the safest way to wire 6 speakers across 4 amp channels (series/parallel)?
The safest approach is to create three speaker pairs and connect two pairs per stereo side, then map those combined loads to the 4 channels. For example, if you have 6 speakers that are identical (same ohm rating), you can series-wire within each pair (adds impedance) and then parallel those pairs as required by your amp’s minimum load. Use 2-channel or 4-channel wiring discipline: each amp channel must “see” a load your amp is stable with at the final impedance. Always verify impedance calculations and keep wiring polarity consistent (+ to +, – to –) to prevent phase issues and uneven output.
Why do my speakers sound uneven or quieter when wiring 6 speakers to a 4 channel amp?
Uneven volume usually comes from mismatched impedance loads per channel or using different speaker impedances/power ratings in the same combined output. If one channel ends up with a lower effective impedance than another, the amp may deliver power differently or even protect/shut down. Another common cause is incorrect polarity or incomplete wiring (one speaker pair wired out of phase), which can cause cancellations and lower perceived volume. Re-check impedance math, confirm all speakers are wired to the correct channels, and verify polarity at every speaker terminal.
Which wiring option works best for wiring 6 speakers to a 4 channel amp—impedance matching, speaker level splitting, or another amp?
The “best” option depends on your amp’s minimum stable impedance and the speaker configuration you want (pairs vs. multiple speaker groupings). In most cases, the most reliable method is impedance-consistent series/parallel grouping so each channel has a proper load. Impedance-matching or line-level approaches can work, but they must be chosen carefully to avoid distortion, poor frequency response, or amp instability. If you want true independent control of all 6 speakers, a better long-term solution is using an amp with enough channels or adding a dedicated 2-channel amp for the extra speaker outputs.
Best practices for wiring 6 speakers to a 4 channel amp in a car or home setup?
Start by identifying the exact amp specs (rated impedance per channel and minimum load) and the impedance of each speaker (e.g., 4Ω or 8Ω). Use quality wiring and secure terminations—especially when combining speakers—so you don’t introduce resistance or intermittent connections that can create distortion. Label each speaker pair and channel output, and use consistent polarity to maintain imaging and clarity. After wiring, test at low volume, confirm no clipping or protect mode, and re-check impedance before increasing power.
📅 Last Updated: August 05, 2026 | Topic: how to wire 6 speakers to 4 channel amp | Content verified for accuracy and freshness.
References
- Loudspeaker
https://en.wikipedia.org/wiki/Loudspeaker - Audio power amplifier
https://en.wikipedia.org/wiki/Audio_power_amplifier - Impedance matching
https://en.wikipedia.org/wiki/Impedance_matching - Speaker wire
https://en.wikipedia.org/wiki/Speaker_wire - Series and parallel circuits
https://en.wikipedia.org/wiki/Parallel_circuit - Series and parallel circuits
https://en.wikipedia.org/wiki/Series_circuit - https://en.wikipedia.org/wiki/Bridging_(audio
https://en.wikipedia.org/wiki/Bridging_(audio - Google Scholar Google Scholar
https://scholar.google.com/scholar?q=how+to+wire+multiple+speakers+series+parallel+impedance - Google Scholar Google Scholar
https://scholar.google.com/scholar?q=4+channel+amplifier+speaker+wiring+impedance+load - Google Scholar Google Scholar
https://scholar.google.com/scholar?q=connecting+6+speakers+to+4+channel+amplifier+wiring+diagram+series+parallel
