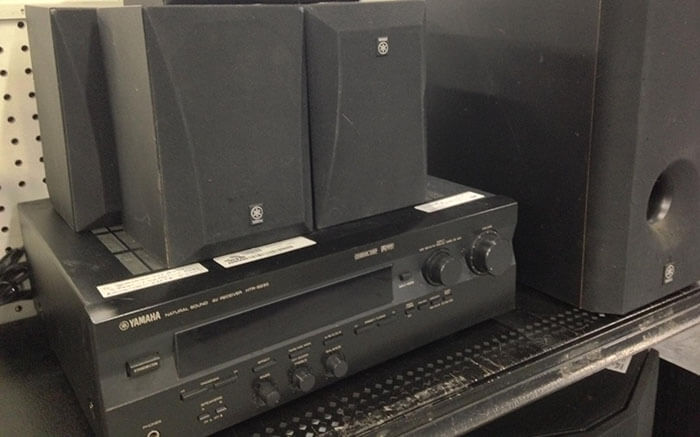
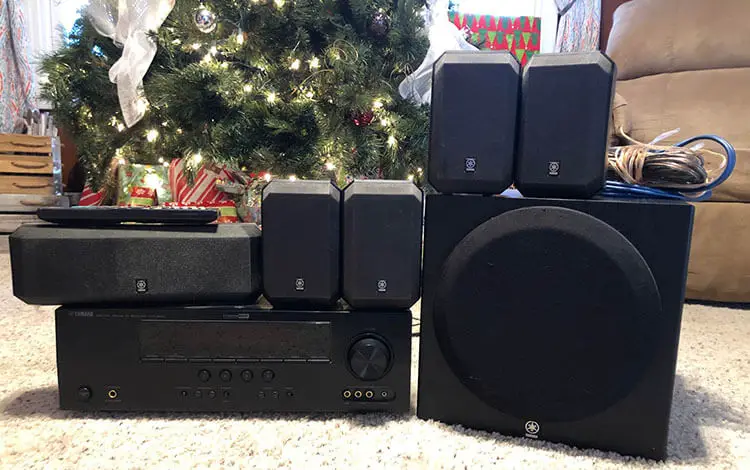
Unless you are an absolute audiophile, then you would definitely want a simple but loud, bassy, clean sound system. Obviously, they would need a whole setup consisting of amps, AVR, a set of speakers, and a woofer.
But what happens if your receiver isn’t finding your subwoofer? My buddy who owns Yamaha Rx-v567 struggled quite a bit in connecting his subwoofer to that receiver. Eventually, with a lengthy overhaul of tries, we finally managed to make those two devices work.
Now, I believe you are going through a similar issue with your Yamaha receiver. Worry not! As I’ll try to enlighten you with what I know.
Why isn’t the Yamaha receiver not recognizing the subwoofer?

There could be various reasons together that could affect your receiver not recognizing the subwoofer. It could be due to much usage, the circuit board has been fried, or somehow you have gotten bad ground where you are seeing that Ohms of the ground have spiked way above the average rate, or it could be that you have the wrong, unbalanced RCA cables which are causing the woofer to creator humming and popping noises. Often some devices also have just low frequencies which your subwoofer can’t even recognize.
But, overall, the steps to troubleshooting are somewhat similar.
So, if you own any of the Yamaha RX-V457, RX-V485, RX-V557, RX-V567, RX-671, HTR-5840 HTR-5850, DSP-AX457, DSP-AX557, then hang tight.
Tools may be required:
Before we proceed, here are some of the core tools you will be needing to go through all the troubleshooting steps.
- Soldering Iron Kit
- Digital Multimeter
- Hookup Wires
- Screwdrivers
Troubleshooting steps: What can you do to make your receiver work?

Now, let us go through why it’s happening and how we can fix it. I’ll go through the issues step by step. We will be using a lot of multimeters, so bring that out! (Steps on how to dismantle your receiver down below)
1. Ground issue
So, you are trying to connect the subwoofer to the receiver, then you start noticing that there are a lot of popping sounds. The sound is not coming at all, but rather you are receiving constant humming noises. This could possibly that you are grounds are not perfect in this case.
Troubleshooting steps:
Now, you need to take out your multimeter and put it on Ohms. If you test the testers, then you will see that you are getting around 0.3 Ohms which is actually normal.
- Now you need to test the ground of the Sub-woofer output to any other output. If you see that there’s any sort of spike. Let’s say that the Ohms have gone past 5 thousand Ohms. Then it is pretty evident that something is wrong.
- So, you need to take out your receiver from the back and take out the sub-woofer output.
- Check the solder connections and test it with your multimeter, and you may notice that the screws are loosened. Tighten the screws to fix the ground.
2. Transistors
Now, if you have seen that it is still not working after fixing the ground, then it might be that your capacitor and your resistors have blown up. For this test, it gets very complicated I don’t want you to proceed with it unless you will confident.
Troubleshooting steps:
So, you need to take out the schematics for this method. You need the mapping for all the transistors, capacitors, resistors, and tracers to understand what’s going on. From the circuit board, locate the traces of the subwoofer and the subwoofer earth and find the transistors.
The subwoofer lead will show you the transistors, starting with R or C. Like R301 (Apex Legends Pun) or R400. If your resistors are compromised, then chances are that the Op amp has also been damaged.
While testing, if you see that the Ohms are higher than the average amount, then I don’t see any other way apart from changing your Reciever because your Transistors are compromised.
3. Circuit traces
Moving on, if you see that your capacitor and transistors are fine, then you need carefully inspect the circuit board where the subwoofer is connected. If you see that the Ohms are okay, but the traces are burned off, then clearly, you need to make some adjustments.
You may notice that the jumper board for the sub-woofer has burned off traces, which is affecting the conformal coating, and in the circuit board, if you try to locate the traces from the subwoofer, then you also may see that there’s burned off traces.
Troubleshooting steps:
For this, you will be needing a soldering iron kit and hookup wires to fulfill the broken traces.
- Peel off the burned traces.
- Heat up the leads, both ends so that you are able to attach the hookup wires.
- Then finally, heat up the hookup wires with the solder. That should complete your traces with no such problems for the future.
4. Factory Reset (You may do this first if the rest seems complicated)

Sometimes your settings may be the cause of all the issues. You may require to factory reset your receiver to put things back to as it was. I will be showing you how to reset on an RX-V485.
- Hold the straight button and press the power button
- Then select the program button where you will need to find the INIT….CANCEL.
- Then press the straight button again and turn it off.
- Turn on the receiver, and it should be reset.
- You will need to get your wireless connection with the subwoofer again. Hold the WPS button after you are done connecting.
5. Obstruction
Your devices around the subwoofer could be one of the reasons why your receiver is not recognizing. You may hear long beeping sounds or humming noises due to electrical interferences. The other electrical devices are generating frequencies that are interrupting the connections between those devices.
Either change the position of the subwoofer and the receiver or identify and remove those devices around you. Also, often various metallic objects can cause many distortions as well.
Other issues can be that your speaker settings to the receiver are put at “Large”, which is why you do not see any output from the sub-woofer. Setting the speakers to small while manually going through the settings might do the trick.
If you would further like to know a few more details about why this issue is happening, then you can go through Yamaha’s Manual.
Caution: I would like to aware you that performing some of those steps may make your product’s warranty void. So, be cautious before proceeding.
Important: Know how to disassemble a receiver
You clearly need to know how to remove the parts from your receiver before you make a fix. Unless you feel competent in this equipment, then I suggest you take your receiver to the nearest maintenance shop.
The video above will not only show you a few solutions but will also teach you how to dismantle your receiver. Nevertheless, I will briefly tell on how to open everything up. You will not need to disassemble the receiver completely. Just the sub-woofer output sections will be enough.
- Take out all the necessary schematics of the receiver.
- Start off by removing the back panel by opening up all the screws.
- Take off the shielding paper.
- Carefully unplug the circuit board along with the tuners and video inputs.
- Then you may find the subwoofer outputs along with the other outputs.
- The jumper board should be right beside the subwoofer output.
FAQs (Frequently Asked Questions)
What happens if my Yamaha receiver does not have any sub-woofer amp?
There is a possibility that your receiver does not have any pre-installed dedicated amplifier like most receivers. It has a low line-level pass output and which is why I think you may need to get a dedicated amplifier for the receiver to work with the sub. The Yamaha RX-V640 most likely does not have a sub-woofer amplifier.
What is an easy way to understand that something is wrong with the sub or the cable?
An excellent cue to understand that something is wrong is to rub the cables from the sub-pre-outs. If you are seeing loud static noises, then either your subwoofer has become the issue, or you probably need to change your cables.
To Summarize!
Thus, I hope with whatever I have said. You have found your solution. Your Yamaha receiver not recognizing your subwoofer can be a complicated issue or an easy one depending on the usage, placement, and age of the product.
At the very beginning, I honestly don’t think you should start off by testing the ground or Ohms but instead check if there are any electrical interferences or if the controls have changed or not. More often than not, a reset will fix the issue, but if all fails, then you probably need to go through the first three troubleshooting steps.
Thank you, and I will see you in another quandary!
