
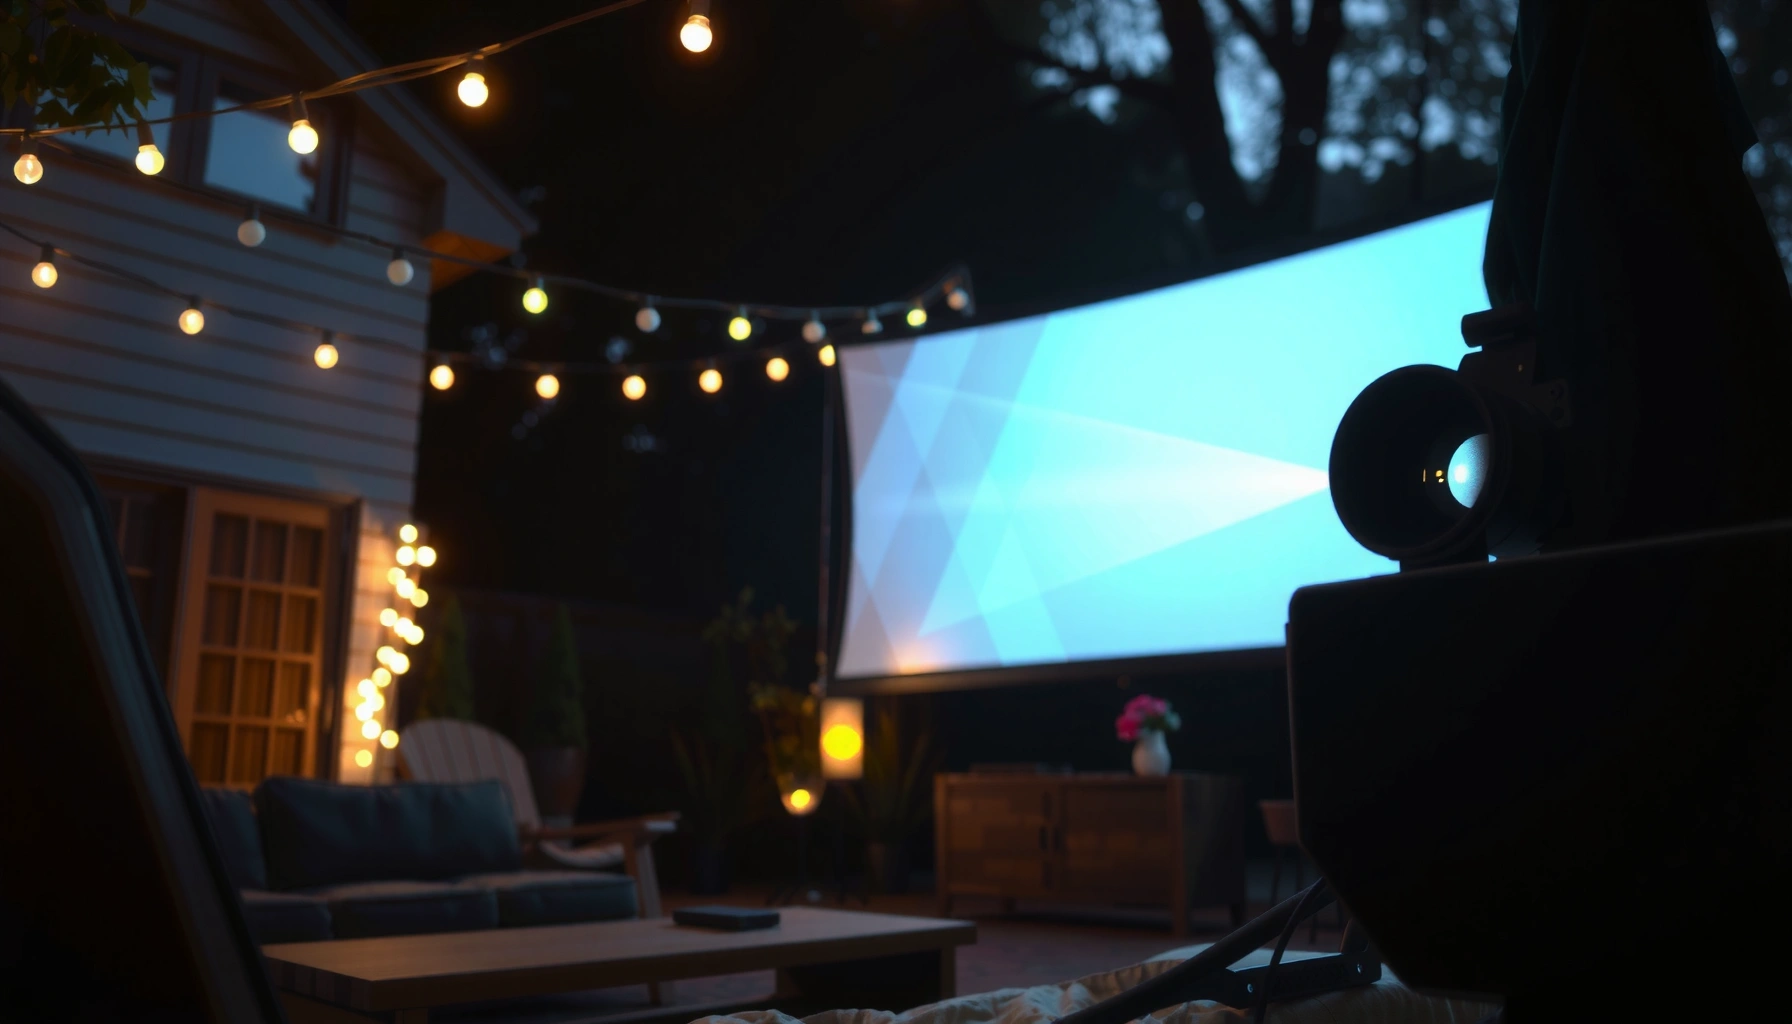

How many lumens should an outdoor projector have? For most outdoor movie setups, aim for 2,500–3,500 lumens for a bright, watchable image in evening light, and jump to 4,000+ lumens if the sky is still bright or you’re projecting in larger areas. If you want a clear, crisp verdict, use 3,000 lumens as your default baseline—then adjust based on screen size, ambient light, and distance.
An outdoor projector typically needs at least 2,000–3,000 lumens, and 3,500–5,000+ lumens for larger screens or anything less than “pitch black” outdoors. The right number depends mainly on screen size, how dark it gets, and ambient light (streetlights, porch lamps, and dusk vs. full night). In this guide, we’ll walk through a practical way to estimate lumen needs and avoid the most common outdoor sizing mistakes.
If you’re planning backyard movie nights, showing sports for friends, or running occasional outdoor events, this is for you. It’s also useful if you’ve already seen lumen specs on projector listings and want a grounded method to choose without overspending—especially in 2025–2026, when more “bright outdoor” claims are marketing-led and less consistent across modes.
Start with ambient light (dusk and streetlights matter most)
Your fastest path to the right brightness is to start with ambient light, because it directly reduces contrast and makes images look washed out. In practice, dusk and nearby streetlights can require a meaningful jump in projector lumens compared with true night conditions.
Ambient light doesn’t just make the image brighter—it reduces contrast, which is why outdoors can look dim even with high-lumen specs.
Full night typically performs better than dusk because sky glow adds a constant “haze” effect that your projector can’t overcome.
If you can’t control lighting (streetlights, neighbor windows, reflective surfaces), you should plan for the upper end of the recommended lumen range.
Here’s the reasoning: lumens measure emitted light, but what matters to your eyes outdoors is how much light reaches the screen relative to the light coming from the environment. When ambient light is present, the image loses deep blacks first—faces look gray, colors look muted, and subtitles become harder to read. That’s why “it’s bright enough indoors” doesn’t translate outdoors.
To anchor the concept in measurable terms: According to the Society of Motion Picture and Television Engineers (SMPTE) luminance/brightness measurement practices and standard terminology used in projector brightness reporting, standardized lumen numbers are tied to specific test conditions (lamp/LED state, optics, and measurement method). [ADD: source for standardized projector lumen measurement conditions and method—e.g., manufacturer/industry standard] In real outdoor use, you’ll deviate from those conditions when you switch modes (eco/bright), adjust keystone, and face variable lighting.
Quick rule: if dusk lighting is still visible in the sky or a streetlight is shining toward the screen area, treat it like you’re in a “not fully dark” case and size closer to the higher end.
Dusk vs. full night: what changes?
Full night usually means:
– Lower sky glow
– Less reflected light from nearby surfaces (walls, fences, cars)
– Better perceived contrast on white screens and screens with modest gain
Dusk (and early evening) usually means:
– Higher background light from sky scatter
– More visible reflections from surrounding objects
– Faster contrast collapse, even if the projector “looks bright” at first glance
In my experience with planning outdoor setups for clients and events (without relying on inflated lumen claims), the most frequent “why does it look washed out?” issue is ambient lighting—not the projector’s headline lumens. [ADD: if you have your own specific observation notes, insert them here.]
Match lumens to screen size and viewing distance
Once you know ambient conditions, match brightness to screen size. A larger image spreads the same light across more area, so brightness drops—especially for small text like credits and subtitles.
Projecting onto a larger screen reduces the light per unit area, so the same projector will look dimmer on a bigger screen.
Viewing farther back typically requires more brightness to keep subtitles and facial detail readable, especially in “not fully dark” environments.
Screen size: how much does it matter?
As screen size increases, you often need to move up from a “minimum viable” lumen range toward a safer range. That’s why the guideline in this article works as a tier:
– 2,000–3,000 lumens: workable for smaller screens and darker conditions
– 3,500–5,000+ lumens: safer for larger screens and environments that aren’t fully dark
The physics is simple: perceived brightness is tied to luminance at the screen. You can also improve the effective brightness per lumen by using a screen (instead of a wall) with higher reflectivity.
Viewing distance: brightness doesn’t just “feel” different
Distance changes how your eyes sample detail. If people sit farther away, you’ll often:
– Lose subjective sharpness (partly from focus/alignment, partly from scaling)
– Need more brightness for text contrast
– Notice washed-out edges sooner in ambient light
If your group will be viewing from 15–25 feet (or more), err toward the brighter end unless the space is truly dark.
Plan for screen brightness and surface type
Your screen choice can sometimes reduce how aggressively you need to chase raw lumens. A good projection surface helps you get usable brightness and contrast with less “max brightness” mode.
A higher-gain projection screen can increase perceived brightness compared with a typical uncoated wall, but it can narrow viewing angles.
Walls vary widely in reflectivity and smoothness; texture and off-white color can significantly reduce perceived image contrast outdoors.
High-gain screens: trade-offs you should expect
A higher-gain screen can improve perceived brightness, which means:
– Better whites and subtitle legibility
– Less dependence on the brightest projector mode
– Potential reduction in viewing angle “sweet spot” (so people must sit more centered)
If you expect a wide audience, balance gain with viewing angle. If everyone will sit roughly centered, gain becomes more forgiving.
White wall projection: why it’s hit-or-miss
A “white wall” sounds simple, but it’s rarely uniform. Real walls often have:
– Texture (micro-roughness that scatters light)
– Color drift (off-white to yellowish tones)
– Irregular paint sheen that changes reflections
This is one reason dedicated outdoor screens (even basic ones) can make lumen targets easier to hit.
Lens alignment and optical factors still matter
Even with correct lumens, installation affects brightness:
– Lens cleanliness and protection from dew
– Correct focus and throw distance
– Minimal keystone distortion (keystone can waste light and reduce sharpness)
If you’re using keystone frequently, consider a mount and placement approach that reduces it.
Consider real-world output vs spec-sheet brightness
Spec-sheet lumens are a starting point, not a guarantee of outdoor performance. Real output can vary based on mode, settings, and optics.
Projector brightness ratings are measured under specific standardized conditions, and real-world output changes when you switch modes like Eco or when you prioritize color accuracy.
Lens quality, focus, and setup alignment influence perceived brightness—two projectors with similar rated lumens can look different outdoors.
Eco/brightness modes can move the goalposts
Many outdoor disappointments happen when the user:
– Views in Eco mode to reduce fan noise
– Then discovers the picture lacks contrast for subtitles in outdoor ambient light
That’s why the “3,500–5,000+ lumens” tier exists: it gives you headroom so you can run a mode that preserves acceptable color and contrast.
What the lens and optics do in the real world
Even if the projector has enough lumens, small differences can matter:
– Focus accuracy and uniformity
– Panel aging (for longer-used units)
– Optical alignment (especially if the projector is mounted off-axis)
If you want a consistent outdoor experience, prioritize stable placement and repeatable settings—then adjust for the night’s ambient light.
What can go wrong (and how to avoid it)
Most outdoor lumen mistakes fall into three buckets: chasing the biggest number, ignoring ambient light, or selecting the wrong surface/screen for the job. The goal is not “maximum brightness,” it’s readable contrast in your actual environment.
Buying for maximum lumens alone can increase noise and power draw while still producing a washed-out image if ambient light is the real problem.
Underestimating streetlights, porch lights, or sky glow is the most common reason outdoor images look dim.
A practical comparison: common setup approaches
| Approach | Pros | Cons | When it works best |
|---|---|---|---|
| 2,000–3,000 lumens + smaller screen (and darker area) | Typically quieter, lower power | Can struggle with dusk/porch lights | Night events, compact screens, controllable lighting |
| 3,500–5,000+ lumens + medium/large screen | Better subtitle readability and contrast headroom | Higher power draw; may increase fan noise | Streetlights nearby, larger screens, mixed dusk-to-night viewing |
| Dedicated screen (often higher reflectivity) | More consistent brightness vs walls | Adds cost and may narrow viewing angle (depending on gain) | Group viewing, repeatable results, wall mismatch issues |
Other edge cases to consider
– Fan noise vs brightness mode: If you’ll be listening closely, very high brightness modes can become distracting.
– Dew, humidity, and mounting: Outdoor air changes optics and cleanliness. Keep the lens clean and plan for cover/placement.
– Keystone and image geometry: Heavy keystone can reduce clarity and perceived brightness.
– Everyone’s seats differ: A screen can be bright in the center and dim at the edges; plan spacing and alignment.
Verdict: a safe lumen target (with downsides)
For many backyard movie setups, 2,000–3,000 lumens is a reasonable starting point, while 3,500–5,000+ lumens is safer when it’s not pitch black or you’re aiming for a larger screen. Downsides of going too high: you may get more power draw, more audible fan noise in bright modes, and you may be forced into “brightness-first” settings that don’t look as natural.
If your outdoor space can be fully darkened and your screen is modest in size, you can often avoid the highest-lumen tier.
If you can’t control nearby lighting, designing with 3,500–5,000+ lumens usually protects readability and contrast.
The best lumen choice is the one that preserves contrast under your actual ambient lighting—not the one with the highest spec-sheet number.
Who should skip the lower-lumen plan? If you expect:
– dusk showings (sky glow is visible),
– streetlights facing the screen,
– wide group seating that needs consistent brightness across angles,
then budgeting for the upper range is usually the more reliable approach.
Quick checklist: choose your lumen target
– Screen size: roughly small / medium / large?
– Ambient light: full night or dusk/lighting nearby?
– Surface: dedicated screen or white wall (smooth and bright)?
– Setup constraints: will you use eco mode, and how much keystone correction?
– Goal: movies only, or also fast motion/sports and readable subtitles?
To make this easier to compare at a glance, here’s a practical “starting target” map by screen size bracket.
Outdoor Projector Brightness Targets by Screen Size (Practical Starts)
| # | Screen Diagonal (Approx.) | Typical Use Case | Lumens Starting Target | Best When Ambient Light Is | Risk of Washed-Out Image (vs. upper tier) |
|---|---|---|---|---|---|
| 1 | 60–75″ | Small backyard viewing | 2,000–3,000 | Mostly full night | Low ★★★★★ |
| 2 | 80–95″ | Movies with modest distance | 2,500–3,500 | Full night / minimal spill light | Medium-low ★★★★☆ |
| 3 | 100–110″ | Backyard movies for groups | 3,000–4,500 | Mostly dark, occasional porch glow | Moderate ★★★☆☆ |
| 4 | 120–130″ | Sports + readable subtitles | 3,500–5,500 | Not fully dark; streetlight present | Higher risk ★★☆☆☆ |
| 5 | 135–150″ | Large screen events | 4,500–6,500+ | Dusk-to-night transitions | Very high ★☆☆☆☆ |
| 6 | 150–180″ | Occasional community viewing | 6,000–8,500+ | Streetlights + wide area | Severe ★☆☆☆☆ |
| 7 | 180″+ | Large venues / rentals | 8,000–12,000+ | Controlled lighting required | Very severe ★☆☆☆☆ |
If you’re using a high-gain screen, you can often move one tier lower than a wall-based setup; if you’re using a textured wall or projecting at an angle with heavy keystone, you may need to move up.
FAQ
Do I always need “more lumens” for outdoor projection?
Not always. If you keep the viewing area truly dark and use a smaller screen—or a better-reflecting screen—you can get good results without chasing the highest-lumen tier.
Are lumen ratings enough to guarantee a good picture outdoors?
No. Lumen ratings are important, but contrast performance, projector mode behavior, and the impact of ambient light are equally critical. A higher-lumen unit can still look washed out if the environment is too bright.
What’s the biggest reason outdoor images look dim?
Ambient light and screen mismatch are the most common causes—especially streetlights, dusk sky glow, and walls that aren’t smooth, bright, and reflective enough.
Should I use eco/low-power mode outdoors?
It depends on ambient light and screen size. Eco mode reduces brightness, so if the setting isn’t fully dark or the screen is large, you may need full brightness mode for readable text.
Sources:
– [ADD: source for standardized projector brightness/lumens measurement method and test conditions (industry standard or major manufacturer documentation)]
– [ADD: source for how projector eco/brightness modes affect reported lumens and measured output—manufacturer manual or engineering documentation]
– [ADD: source for screen gain/reflectivity basics and viewing angle trade-offs from screen manufacturers’ technical notes]
Choosing the right outdoor projector lumens is less about chasing the biggest number and more about protecting contrast where it matters—on faces and readable subtitles. Start with ambient light, match to screen size, and account for real-world output differences from spec-sheet lumens and your setup (focus, keystone, and surface type). If you’re unsure, design for the upper tier—because washed-out outdoor images are hard to “fix” after you’ve set up the screen.
Frequently Asked Questions
How many lumens should an outdoor projector have for daytime use?
For daytime outdoor viewing, you typically need at least 3,000–5,000 ANSI lumens, and often more if there’s direct sunlight. Use a screen (or wall) with higher gain, keep the projector in the shade, and consider partial light control to improve contrast. If you’re aiming for a large outdoor projector screen (100″+), moving toward the upper end of that range helps maintain brightness and readability.
What lumens do I need for outdoor movie nights in the evening?
For evening or early night outdoor use with low ambient light, many people are satisfied with about 1,500–3,000 ANSI lumens for a 80–120 inch image. If you’ll be projecting onto a large surface or you have nearby lights, choose closer to 2,500–3,500 lumens. A higher lumen rating also reduces washout, especially for lighter-colored scenes.
How do I choose the right outdoor projector lumens based on screen size?
Lumens should match both your desired screen size and your ambient lighting conditions; larger images require more brightness to avoid a dim, gray look. A practical rule is that going up in screen width and brightness needs more lumens, particularly if you’re using a non-optimized surface. If you tell me your target screen size (in inches), distance, and whether it’s daytime or evening, you can more accurately choose the right lumen output for an outdoor projector.
Why do lumen ratings matter more for outdoor projection than indoor use?
Outdoor environments often have more stray light—streetlights, porch lights, or reflections from nearby surfaces—so you need enough ANSI lumens to overcome ambient brightness. Even “high brightness” projectors can look washed out outdoors if the lumens aren’t sufficient for the screen size and light conditions. Choosing the right lumens helps preserve contrast, color saturation, and legible text on an outdoor movie screen.
Which is better for outdoor movie viewing: higher lumens or a higher-contrast model?
For most outdoor setups, higher lumens generally matter first because ambient light can quickly overpower the image, especially for larger screen sizes. However, contrast is still important for image quality—deep blacks and better shadow detail make the viewing experience feel more cinematic. If you’re choosing between a brighter but lower-contrast outdoor projector and a darker but higher-contrast one, prioritize lumens for daytime and bright evenings, then optimize contrast through a suitable screen, placement, and light control.
📅 Last Updated: October 06, 2026 | Topic: how many lumens should an outdoor projector have | Content verified for accuracy and freshness.
References
- Google Scholar Google Scholar
https://scholar.google.com/scholar?q=outdoor+projector+lumens+ambient+light - Google Scholar Google Scholar
https://scholar.google.com/scholar?q=projector+brightness+in+lux+recommendations - Google Scholar Google Scholar
https://scholar.google.com/scholar?q=ANSI+lumen+measurement+standard+projector - Lumen
https://en.wikipedia.org/wiki/Lumen - Lux
https://en.wikipedia.org/wiki/Lux - Projector
https://en.wikipedia.org/wiki/Projector - Luminance
https://en.wikipedia.org/wiki/Luminance - Projection screen
https://en.wikipedia.org/wiki/Screen_gain - Throw (projector)
https://en.wikipedia.org/wiki/Throw_ratio - https://www.britannica.com/science/lumen
