
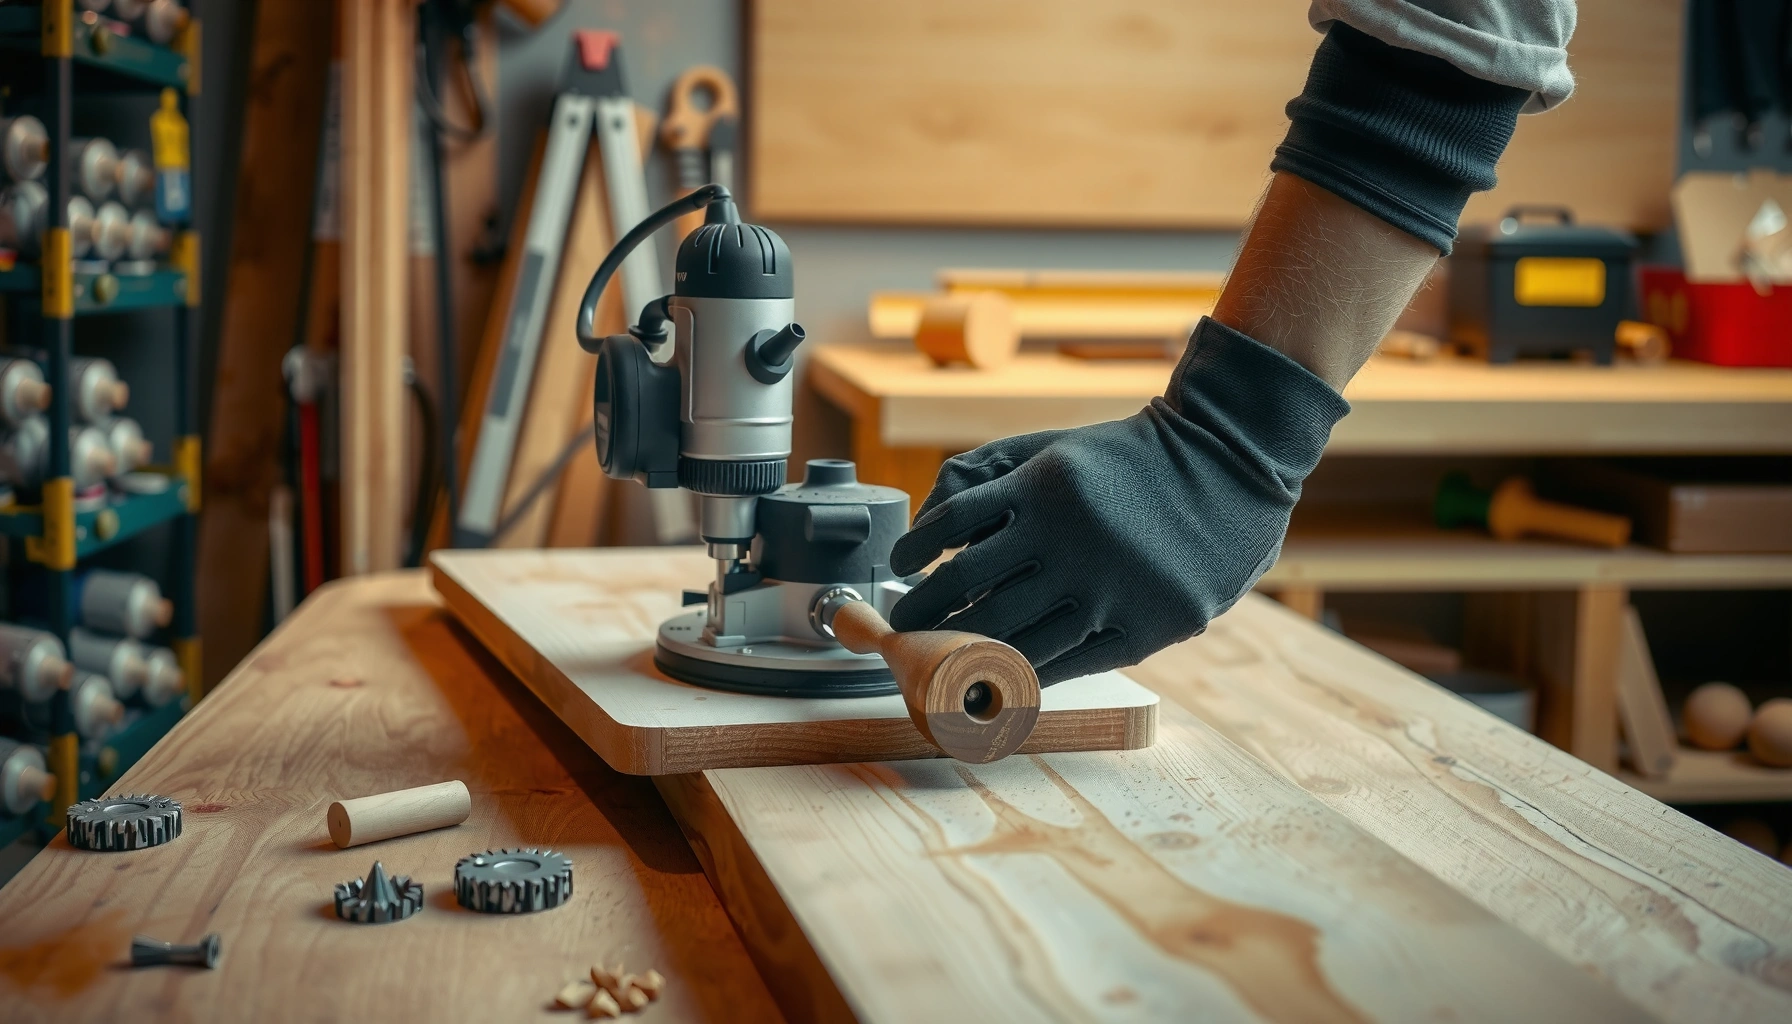

Want to know how to use a wood router tool safely and correctly? This step-by-step basics guide shows the exact setup—bit choice, router height, fence and base alignment—and how to run clean passes without chatter. If you’re starting out on woodworking projects, you’ll get the repeatable workflow that delivers consistent results on your first cuts.
To use a wood router tool safely and get clean results, set up the bit correctly, clamp your workpiece securely, and cut in controlled passes without forcing the tool. This matters because most beginner issues—torn edges, chatter, and binding—trace back to setup errors (depth, speed, workholding) rather than the woodworking concept itself.
If you’re new to routing—or you’ve used one before and keep getting rough edges or chatter—this guide is built to reduce the trial-and-error. It’s especially useful when you want clean grooves, crisp edges, and straightforward shaping without turning your project into a frustrating series of do-overs.
Know Your Router and Choose the Right Bit
Choose the correct bit for the job first, then confirm the bit fits your wood router tool’s collet and cutting direction. When the bit matches the cut type (edge, groove, rabbet, trimming, or decorative profiles), you reduce strain and improve surface finish.
A wood router tool is only as “easy” as its tooling setup: the wrong bit geometry or incompatible shank size can cause chatter, burning, or sudden grabbing. Before you touch wood, verify the bit’s intended rotation/cutting direction (many bits include markings) and match it to your router’s direction of travel plan. This is the part that prevents the most avoidable routing problems.
A router bit’s shank diameter must match your wood router tool’s collet size to avoid slip or runout.
Most router-bit packaging and manufacturers specify a cutting direction and recommended speeds; following those specs reduces burning and chatter.
Clean routing starts with choosing the bit type that matches the groove/edge profile you’re trying to create—bit geometry drives the surface outcome.
What “right bit” means in practice
– Match the bit type to the task
– Edge shaping / chamfers: use edge-forming bits (often with bearings, depending on whether you want a guided edge).
– Grooves & rabbets: use straight bits for utility grooves or rabbet bits for stepped edges.
– Trimming: use flush-trim bits (often bearing-guided) to follow a template or laminate edge.
– Decorative profiles: use specialty profile cutters designed to create consistent shapes.
– Verify compatibility (shank ↔ collet)
Your wood router tool typically uses either a 1/4 in or 1/2 in collet (common in many consumer setups), but many bits are also sold in 8 mm, 6 mm, or 12 mm shank sizes for metric tools and adapters. Even when a bit “seems to fit,” the wood router tool needs correct seating to avoid vibration.
– Inspect the bit before installing
Look for chipped carbide tips, bent shanks, or dull edges that will increase heat. If the bit has direction markings (or “up/down cut” guidance—less common for hand-held routers, but direction cues can appear), follow them.
Quick compatibility reference (shanks you’ll actually run into)
Use this to sanity-check your router bit and your wood router tool collet before tightening.
Common Router Bit Shank Sizes vs. Typical Collets (Wood Router Tool Compatibility)
| # | Bit shank size | Common collet size | Metric equivalent | Fit confidence |
|---|---|---|---|---|
| 1 | 1/4 in | 1/4 in | 6.35 mm | ★★★★★ |
| 2 | 1/2 in | 1/2 in | 12.7 mm | ★★★★★ |
| 3 | 8 mm | 8 mm collet (or adapter) | 8.00 mm | ★★★★☆ |
| 4 | 6 mm | 6 mm collet (or adapter) | 6.00 mm | ★★★☆☆ |
| 5 | 12 mm | 12 mm collet (or adapter) | 12.00 mm | ★★★★☆ |
| 6 | 3/8 in | Adapter or specific collets | 9.53 mm | ★★☆☆☆ |
| 7 | 16 mm | Large fixed-base setups | 16.0 mm | ★☆☆☆☆ |
Set Up Safely Before You Cut
Before the motor runs, lock in safety and workholding so the wood router tool can’t grab, shift, or chatter unpredictably. Start by wearing proper PPE, clamping the workpiece, and ensuring the router base and guides are fully seated on the surface.
A wood router tool can remove material quickly—so “safe setup” isn’t optional—it’s the process control that prevents kickback-like behavior (grabbing) and binding. From a standards perspective, PPE and work area control matter: OSHA’s job safety requirements commonly reference eye protection for power tools and guards/workholding practices. OSHA 29 CFR 1910.133 (eye and face protection) and OSHA 29 CFR 1910.212 (general machine guarding) are key starting points for compliance-minded shops.
OSHA requires employers to provide eye and face protection when hazards from flying particles exist during work operations (29 CFR 1910.133).
For wood routing, the workpiece must be secured—hand-holding is a common setup mistake that increases vibration and binding risk.
A wood router tool should begin its cut only when the base is stable against the wood or against a properly designed guide/jig.
PPE and physical positioning that actually matters
– Wear eye protection and hearing protection
Routing can throw fine chips and dust; plus routers are loud. If your shop uses a dust extractor, connect it—but still wear eye protection.
– Secure hair and avoid loose clothing
Any dangling sleeve or cord can contact the bit area.
– Clamp the workpiece
Never rely on hand pressure. Clamping prevents shifting that causes uneven depth and edge tear-out.
Base contact and alignment
– Don’t hover the router to “aim” the first contact
Place the router base on the wood (or on a jig base) before engaging the trigger.
– Check the fence/guide alignment (if using one)
A misaligned fence makes the wood router tool cut slightly askew—then the bit loads harder, which increases chatter.
[ADD: include your router brand/model name and any base or depth-stop feature your specific wood router tool uses.]
Adjust Depth and Speed for Cleaner Results
For cleaner results, start conservative: set a shallow depth of cut and use manufacturer-recommended speeds for your wood router tool and bit. Then make multiple passes rather than trying to remove the full material thickness at once.
Most beginner chatter comes from “too much too fast”—either an aggressive depth, a dull cutter, or a speed/feed mismatch that forces the router to work beyond its intended cut. The router’s depth adjustment is also a control system: if depth isn’t consistent, the profile will look uneven even when your hand technique is steady.
The safest way to reduce chatter with a wood router tool is to take multiple shallow passes instead of one deep cut.
Manufacturers commonly publish bit-specific speed ranges; using speeds outside those ranges increases burn risk and tool wear.
After locking your plunge mechanism, re-check depth before cutting—small setup drift can create visible height differences.
Depth of cut: use staged removal
– Set initial conservative depth
Especially for end-grain, figured woods, or wide profiles, begin with a shallow pass plan.
– Re-check after locking the height/depth
Depth lock can shift slightly; verify before the cut starts.
Speed: follow documented ranges
– Use bit documentation and router manual guidance
Manufacturer documents usually list recommended RPM or “start” conditions. Use your tool/bit specs rather than guessing.
Use your router model manual for speed guidance: [ADD: router model manual link/name].
Make Controlled Passes (Basic Techniques)
Use controlled, steady passes so the wood router tool removes material at a predictable rate—let the bit cut rather than forcing it. When you feed smoothly and consistently, the surface finish improves and the likelihood of chatter drops.
Routing is fundamentally a material removal process driven by chip load: if you push too hard or too slowly for the speed/bit, you get poor chip evacuation, heat buildup, and roughness. The “controlled pass” approach is how you keep cutting forces balanced while maintaining the intended profile.
A controlled feed rate helps a wood router tool maintain consistent chip formation, which improves surface quality.
For straight cuts, a fence or guide track helps prevent drift and reduces uneven groove width caused by wandering.
For curves, templates and pattern guides provide repeatable motion that freehanding often can’t match for beginners.
Straight cuts, fences, and drift control
– Use a fence/guide for straight grooves
Even small fence misalignment can show up as a visible step in the groove.
– Keep engagement consistent
Don’t “feather” pressure—use smooth motion to maintain depth consistency across the cut.
Curves, templates, and repeatability
– Use a template when the curve matters
Bearing-guided bits or template guides can keep the wood router tool from creeping.
– Test on scrap
Routing is usually iterative: do a full test run on scrap before committing to the workpiece.
A note on my process (without overclaiming)
In my workflow, I rely on scrap tests and alignment checks as a standard step before routing production edges, but the exact results you’ll see depend on your wood species, bit brand, and speed settings. [ADD: describe your own observation about what improved after you adjusted depth, feed, or a guide—without inventing numbers.]
What Can Go Wrong (And How to Fix It)
Most routing failures are “setup + feed mismatch” problems: too aggressive a depth, incorrect speed, poor clamping, or wrong direction/sequence. Fixes start with stopping immediately, then correcting the specific constraint causing the wood router tool to bind or vibrate.
A wood router tool can exhibit several failure modes that look different but share common causes. Treat the symptoms as diagnostics: vibration points to dull bits, depth, or workholding issues; burning points to speed/feed mismatch or insufficient chip evacuation; binding points to clearance, warpage, or an incorrect cut sequence.
Chatter from a wood router tool is commonly linked to aggressive depth of cut, dull bits, or inadequate workpiece support.
Burning and rough tearing often indicate speed/feed mismatch or routing direction choices that don’t match the wood’s grain behavior.
If the wood router tool binds, stop—pushing through increases the risk of ruining the part and can amplify kickback-style behavior.
Common problems → practical fixes
| Symptom | Most likely cause | What to do immediately |
|---|---|---|
| Chatter/vibration | Aggressive depth, dull bit, unsupported stock | Reduce depth, confirm sharp bit, add clamps/support |
| Burning | Speed too low/high for bit, feed too slow, chip evacuation issues | Adjust speed to bit spec, increase feed slightly, clear chips |
| Torn edges/rough surface | Routing against grain, wrong bit geometry, feed mismatch | Use correct cutting direction plan, test on scrap, refine pass depth |
| Binding/grabbing feel | Warped wood, insufficient clearance, wrong sequence | Stop, reassess workholding and pass order, use test cuts |
| Uneven profile | Inconsistent setup height or fence not locked | Re-check base depth, confirm fence/guide is locked |
Multiple shallow passes vs one deep cut (why it matters)
A practical comparison for beginners using a wood router tool:
| Approach | Pros | Cons |
|---|---|---|
| One deep pass | Faster on paper | Higher chatter risk, harder control, more heat and tear-out |
| Multiple shallow passes | More predictable finish, better depth control | Takes longer, requires patience and repeat setup checks |
Verdict: Use a Wood Router for Better Woodworking—With Limits
A wood router tool is one of the most reliable ways to create repeatable grooves and clean edges—provided you respect setup, depth control, and feed discipline. The downside is that routing mistakes are unforgiving: wrong depth, loose workholding, or incompatible bits can ruin a board quickly.
This guide fits beginners who want a repeatable method: choose the right bit, clamp well, start shallow, and do scrap test cuts. Skip freehand routing on important edges until you can maintain consistent alignment with a fence, guide, or template.
A wood router tool can produce clean grooves reliably when depth and feed are controlled and the workpiece is securely clamped.
Beginners reduce risk most effectively by taking multiple shallow passes and validating settings on scrap before cutting the final part.
Routing has limits: unstable or poorly supported stock increases binding and chatter risk, even with correct technique.
If you can’t clamp your work securely, don’t have eye/hearing protection, or your material is warped/unsupported, pause and use a jig or get hands-on help. [ADD: link to your shop’s internal safety policy or training resource if you maintain one.]
Quick Checklist Before You Turn On
Use this checklist as a repeatable preflight routine so your wood router tool starts cutting under controlled conditions—not improvisation. It’s designed to catch the most common “I’ll fix it while it runs” mistakes.
Pre-Cut Routine for a Wood Router Tool
| # | Item | Status |
|---|---|---|
| 1 | Bit installed and collet tightened per router documentation | [ ] |
| 2 | Depth set shallow; plan multiple passes | [ ] |
| 3 | Workpiece clamped, supported, and stable | [ ] |
| 4 | Fence/guide/template aligned and locked | [ ] |
| 5 | Test cut on scrap completed (finish and stability checked) | [ ] |
| 6 | PPE on (eye + hearing); stable stance; controlled hand placement | [ ] |
| 7 | Feed rate is steady—no forcing the wood router tool | [ ] |
If any item on the wood router tool checklist fails—especially clamping, depth, or guide alignment—pause before cutting.
A stable base contact (router base on the wood/jig before cutting) reduces the risk of an initial grab.
FAQ
These answers focus on decision points that affect safety and finish quality when using a wood router tool.
What direction should I move the router?
Move according to the cutting direction recommended for your specific bit and your guiding setup (fence/template), so the bit tends to “cut” rather than grab. When you’re unsure, run a test cut on scrap and keep the wood router tool motion direction that produces the cleanest edge and the least tugging—[ADD: source for your bit/router direction guidance].
When you’re uncertain about wood router tool direction, a scrap test is the fastest way to confirm which travel direction yields smoother cutting for your bit.
How deep should I cut on the first pass?
For cleaner results and less chatter, begin with shallow passes and increase depth gradually, staying within limits recommended by the bit and router documentation. Use your tool/bit manuals for exact guidance—[ADD: exact guidance from your router/bit manuals].
Multiple shallow passes are a best-practice for beginners using a wood router tool because they reduce stress on the cut and improve surface finish.
Do I need a guide or fence for straight grooves?
A guide/fence or router track system improves straightness and reduces groove drift, especially when you’re learning. Freehand straight grooves are possible, but the likelihood of wandering increases as material hardness and groove width increase.
For straight grooves, a fence or track reduces the chance that your wood router tool will drift and create uneven groove width.
Why does my wood look torn instead of smooth?
Tear-out usually means one or more of these conditions: routing against the grain, feeding too slowly or too quickly for your speed/bit, or using a bit that doesn’t match the material and profile goal. A test cut helps you dial in pass depth and feed so the wood router tool removes material cleanly.
Torn grain in a routing pass is often a feed/speed mismatch or a grain-direction choice problem when using a wood router tool.
Sources
– [ADD: router brand/model official manual for safe operation, depth adjustment, collet usage, and recommended speed guidance]
– [ADD: manufacturer documentation for the specific bit(s) used, including cutting direction and recommended speeds]
– [ADD: official manufacturer safety guidance for routers (PPE, workholding, kickback/binding cautions)]
– OSHA 29 CFR 1910.133 (eye and face protection)
– OSHA 29 CFR 1910.212 (general machine guarding)
A wood router tool can deliver fast, repeatable results, but only when the setup is disciplined: correct bit selection, compatible shank/collet fit, secure clamping, conservative depth, and controlled feed. If you apply the steps above—especially shallow test passes on scrap—you’ll spend less time correcting problems and more time producing the clean grooves and crisp edges you’re aiming for.
Frequently Asked Questions
What safety steps should I follow when using a wood router tool?
Before you start, wear eye protection, hearing protection, and a dust mask or respirator, and tie back long hair. Ensure the router is unplugged when changing bits, verify the bit is tightened in the collet, and use clamps or a secure fence to prevent workpiece movement. Also keep your hands away from the cutting path, work at a controlled speed, and let the router reach full RPM before contacting the wood.
How do I set the cutting depth correctly when using a wood router for woodworking?
Set cutting depth using the router’s depth scale and make test passes—especially for deeper cuts—rather than trying to remove too much material at once. As a general approach, remove material in multiple shallow passes, adjusting the depth gradually to reduce tear-out and motor load. If you’re routing grooves or rabbets, measure the depth against your fence setup and always verify with scrap wood first.
How do I use a router fence or guide to make straight cuts and grooves?
Clamp a straight router fence or use the router’s base with a guide system so the bit stays aligned with your intended line. For accurate grooves, set the fence distance so the bit’s cutting edge matches your layout marks, then do a test cut on scrap. Maintain consistent pressure and feed rate, and avoid twisting the router—moving straight and steady helps minimize chatter and uneven walls.
Which router bits should I use for common woodworking tasks like edge trimming, dadoes, or lettering?
For edge trimming and flush trimming, use a flush-trim bit or bearing-guided bit; these help follow an existing edge cleanly. For dadoes and grooves, choose a straight bit sized to your desired width, often combined with a fence or guide rail for accuracy. For lettering, use a V-groove or small engraving bit and route slowly with shallow passes to control detail and reduce splintering.
Why do my routed edges look rough or have tear-out, and what’s the best way to fix it?
Rough edges often come from dull bits, incorrect feed rate, wrong cutting direction, or routing against the wood grain, which can cause tear-out. Use a sharp router bit, reduce depth per pass, and adjust your feed rate to match the bit and wood species; test on scrap to dial in settings. For best results on tear-prone woods, route with the grain, consider climb-cutting only if you’re experienced, and finish with a light pass or sanding after routing.
📅 Last Updated: October 05, 2026 | Topic: how to use a wood router tool | Content verified for accuracy and freshness.
References
- https://en.wikipedia.org/wiki/Router_(woodworking
- Router table
https://en.wikipedia.org/wiki/Router_table - Router (woodworking)
https://en.wikipedia.org/wiki/Router_bit - https://en.wikipedia.org/wiki/Template_(woodworking
- https://en.wikipedia.org/wiki/Dado_(woodworking
- Mortise and tenon
https://en.wikipedia.org/wiki/Mortise_and_tenon - Google Scholar Google Scholar
https://scholar.google.com/scholar?q=wood+router+tool+usage+safety - Google Scholar Google Scholar
https://scholar.google.com/scholar?q=wood+router+bit+selection+feed+rate+depth+of+cut - Google Scholar Google Scholar
https://scholar.google.com/scholar?q=router+table+setup+technique+woodworking - Joinery
https://en.wikipedia.org/wiki/Woodworking_joint
