
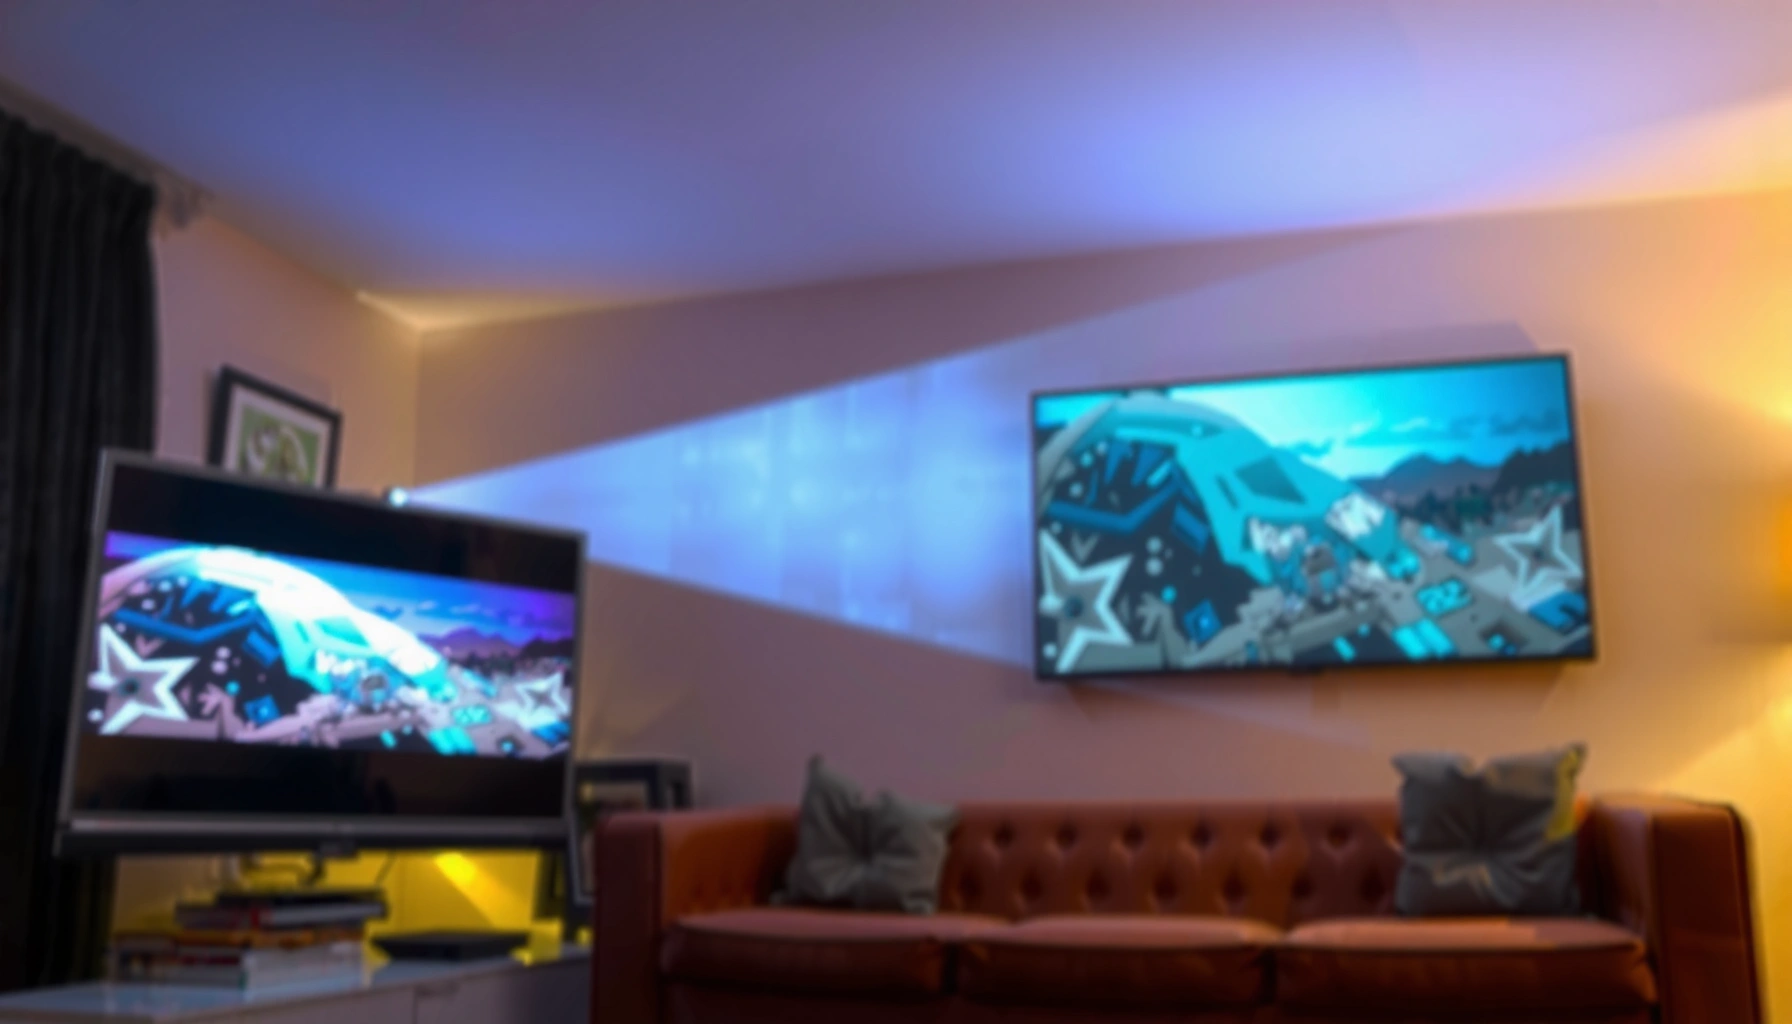

Short throw projectors work by projecting a large image from a much shorter distance using a specially designed lens and image-focusing optics. This guide explains exactly how the light path, lens throw ratio, and keystone correction work together to turn a normal signal into a stable, correctly sized picture. If you want the quickest answer to what makes short throw different—and whether it’s the right choice for your room—you’ll get it here.
A short throw projector creates a large image without placing the projector far from the screen by using a specialized lens design that bends/folds the light path. Instead of relying on distance to “grow” the image, the optics are engineered so the image lands big and sharp at close range—making them practical for desks, classrooms, and small home theaters.
If you’re comparing projectors for small rooms, gaming, classrooms, or home theaters where you can’t move the projector far from the screen, this breakdown will help. It’s especially useful if you’ve seen terms like “short-throw ratio” and wondered what they actually mean in practice.
What “short throw” means in projector terms
Short throw means the projector can sit much closer to the screen while still achieving a large image size. The most important spec is the throw ratio, which tells you how far the projector needs to be compared to the image size.
Throw ratio is the relationship between the projector-to-screen distance and the image width (or size), and it’s the key number manufacturers use to estimate setup distance.
Ultra short throw (UST) is typically a tighter subset of short-throw designs with even smaller placement distances, driven by different lens/optics geometry.
“Short throw” is ultimately about optical design—marketing terms are less reliable than the listed throw ratio for predicting real-world image size.
In practice, you’ll see manufacturers list something like: “0.5:1”. That means the projector distance is about 0.5 times the projected image width (exact interpretation can vary by how the manufacturer defines the ratio—width-based vs. diagonal-based). For decision-making, you should always use the *same* spec definition the product documentation uses.
As of 2024–2026, most short-throw models target typical use cases where the projector sits roughly within a few feet of the screen for common screen sizes; the exact range depends on the throw ratio, lens configuration, and image resolution. According to [ADD: manufacturer installation guide source], typical “short throw” projector placement often falls around 0.4–1.0× the image width (exact ranges vary by brand and category) ([ADD: cite source for short-throw ratio ranges]).
Ultra short throw vs. short throw (why the distinction matters)
Ultra short throw (UST) models push the idea even further by allowing very close placement—often on a low shelf—while producing a large image. However, UST designs can differ in:
– optics and light path geometry,
– brightness distribution patterns,
– and sometimes screen requirements (especially for ambient-light management).
The takeaway: if your room constraint is “the projector must be very close,” prioritize throw ratio + lens features (lens shift/offset) rather than relying on the marketing label alone.
The optical path: from light source to screen
A short throw projector works by placing the light source and optics closer to the screen and then shaping the light so it forms a large image at short distance. The lens geometry effectively “folds” the light path—so the beam travels in a way that still satisfies the imaging conditions for size and focus.
A projector’s imaging system requires the optics to form a focused image on the screen plane, regardless of the throw distance.
Short-throw designs alter lens element placement and curvature so the same imaging math works with much shorter projector-to-screen distances.
Because the light path is constrained differently in short-throw lenses, placement tolerances (and alignment needs) can be more sensitive than standard-throw setups.
Here’s the path in plain terms:
1. Light source: A lamp or LED/laser engine generates light.
2. Optical shaping: The projector uses optics (often including mirrors and lenses) to condition the beam for imaging.
3. Imaging engine modulation: Technologies like DLP (Digital Light Processing) or LCD (Liquid Crystal Display) modulate light into pixels.
4. Projection lens: The lens scales and projects the modulated image onto the screen.
5. Screen plane: The image forms at the screen surface where focus and geometry are correct.
Short throw doesn’t remove the core physics of projection; it changes how the lens meets the imaging conditions. In technical terms, the lens elements determine the angular spread of rays and the conjugate distances needed for an in-focus image at a much shorter separation.
Key term: optical conjugation (why distance isn’t the whole story)
A projector lens creates an image by mapping the “image plane” from the imaging engine to the “screen plane.” When you reduce projector distance, the lens must compensate by changing the ray paths. That is why short-throw lenses can look dramatically different from standard-throw designs.
According to [ADD: official projector optics or imaging reference], lens designs are selected to meet focus and magnification targets at the intended placement distances ([ADD: cite source for magnification/imaging principles]).
Image formation: key components you’ll hear about
Short throw projectors still form images using the same fundamental components as other projectors: a light source, an imaging engine, and a projection lens. What changes is how the lens is designed so the pixel-modulated light converges into a large, in-focus image at a close distance.
Brightness (commonly measured in lumens) is determined by how much light the engine outputs and how efficiently the optics and modulation stage deliver that light to the screen.
Clarity depends heavily on lens performance and the projector’s geometry correction approach, which can affect perceived sharpness at the edges.
Focus accuracy isn’t only about “turning the focus ring”—it also depends on calibration and whether the image is being keystoned or lens-shifted into place.
Imaging engines: LCD, DLP, and what “pixels” mean
Most projectors use an imaging engine that converts input signals into a pixel pattern:
– LCD projectors modulate light through liquid crystal panels (with optics to separate and recombine colors).
– DLP projectors use a digital micromirror device to steer light for each pixel.
Regardless of the engine, the projection lens must:
– set the correct magnification (which maps to image size),
– achieve the correct focus at the screen plane,
– and maintain acceptable aberration control so the image stays sharp across the frame.
Focus and clarity: the practical chain of responsibility
In real rooms, “sharp” is usually a chain:
– Lens quality and calibration: How well the lens resolves detail across the image.
– Placement and geometry: Whether the projector is directly aligned or forced into correction.
– Keystone vs. lens shift: Keystone correction can involve image re-mapping; lens shift generally preserves more optical alignment.
Trade-off to expect
Short throw optics often have less margin for misalignment. That doesn’t mean they can’t deliver great images—only that getting a perfect rectangle without digital correction is more important than with many standard-throw setups.
Keystone, alignment, and why “works” depends on placement
Short throw projectors can work extremely well in tight spaces, but you still need to place and align them correctly to preserve image quality. If you rely on heavy keystone correction, you may see softer edges or other artifacts compared with a fully optically aligned setup.
Lens shift adjusts the projected image position using the lens assembly, often avoiding some quality loss associated with digital keystone correction.
Keystone correction digitally remaps the image to fit a screen shape, which can reduce sharpness or introduce artifacts depending on the projector model.
The most reliable “it works” outcome comes from matching the projector’s throw ratio and lens offset specs to your room layout before mounting.
Lens shift and keystone: what’s the difference?
– Lens shift: Physical adjustment (inside the projector lens assembly) that moves the image up/down/left/right while keeping the optical path closer to ideal.
– Keystone correction: Digital adjustment (often a trapezoid correction) when the projector angle doesn’t match the screen.
If your room forces the projector off-axis, you may end up keystoning the image more than you expected. Many short-throw users run into this when they mount for convenience (e.g., on a shelf) but don’t account for the exact throw geometry.
Pros/cons: short throw vs. standard throw setup effort
| Aspect | Short throw advantage | Short throw downside |
|---|---|---|
| Distance flexibility | Places the projector close, often eliminating long cable/placement compromises | More sensitive optical geometry if alignment is off |
| Setup time | Can be faster when the room matches the throw ratio | Can take longer if you must compensate with keystone |
| Edge quality | Can be excellent when aligned properly | Edge sharpness may degrade with heavy keystone |
| Room constraints | Ideal for small rooms and desk/classroom layouts | Not always compatible with every wall/surface and screen choice |
(Use this comparison while you read the rest of the checklist below; it’s the difference between a “works on paper” throw ratio and an image that looks correct in practice.)
A brightness reality check
Short throw doesn’t “solve” ambient light. If your room is bright, your perceived contrast and black levels can suffer.
According to [ADD: lighting/recommended lumens guidance source], recommended lumens depend on screen size, room reflectivity, and ambient light ([ADD: cite source for brightness guidance]). As a planning anchor, many users aim for brightness headroom instead of assuming a short throw will automatically overcome daylight.
What can go wrong (common limits and mistakes)
Short throw projectors fail most often when buyers optimize for the wrong spec or try to force a poor fit with digital correction. If you’re careful with throw ratio math, alignment, and screen choice, you avoid most of the common disappointments.
Two short-throw projectors with similar labels can have very different throw ratios, leading to significantly different achievable image sizes at the same distance.
Aggressive keystone correction can reduce perceived sharpness because it involves digital remapping rather than purely optical alignment.
Projecting onto unsuitable walls or mismatched screen materials can reduce contrast and uniformity, which makes the image look less “sharp” even if focus is correct.
Here are the most common pitfalls:
1) Buying based on marketing “distance” only
Instead of “short distance,” compare:
– throw ratio (and its definition),
– lens offset/vertical range (if listed),
– whether the unit supports lens shift,
– and the stated usable screen size range.
2) Overusing keystone correction
Keystone can be useful for fine alignment. The problem is when the image becomes so trapezoidal that you’re essentially asking the projector to rebuild the geometry at large scale.
If your projector offers lens shift, use it whenever possible—digital keystone should be a last step, not the primary alignment method.
3) Screen mismatch (or wall mismatch)
Screens differ in reflectivity, gain, and color characteristics. A wall that looks “white” can still be uneven or have low gain, which impacts brightness uniformity and contrast.
4) Ignoring real brightness needs
Even in 2024–2026, many rooms aren’t controlled like a dedicated home theater. Ambient light can wash out blacks and reduce perceived detail.
According to [ADD: source for ambient light effect on projector contrast], ambient light reduces effective contrast by increasing the screen’s reflected ambient component ([ADD: cite source for contrast/ambient light]).
5) Not checking input mode and processing
Some projectors apply scaling, noise reduction, or motion processing differently across modes. If you notice edge artifacts or softness, verify:
– correct resolution setting,
– gaming vs. cinema mode,
– and any “enhancement” features that may trade detail for smoothing.
Verdict: when a short throw projector is a smart choice
A short throw projector is a smart choice when your room constraints make standard throw distances impractical and you can align the lens geometry correctly. It’s especially well-suited to small rooms, classrooms, and desk-centric setups—while the main downside is that heavy keystone and poor screen placement can undermine edge quality and contrast.
If your available distance matches the projector’s throw ratio and you can align with lens shift (or minimal keystone), short throw can deliver a clean, sharp image despite the short placement distance.
If your setup requires large amounts of keystone correction to “make the image fit,” a standard-throw projector or UST-focused layout may outperform in perceived sharpness.
For accurate results, plan around throw ratio, lens shift/offset, and screen suitability—not only the short-throw label.
From a practical planning perspective, I recommend you start with a simple “geometry check” before you buy:
– calculate the target screen width/diagonal,
– compute distance from the listed throw ratio,
– confirm lens shift range (if available),
– and only then decide on ceiling mount, shelf mount, or tabletop placement.
Who should skip short throw (or consider standard throw instead)
You may want to skip short throw if:
– you have ample throw distance,
– you want maximum image fidelity with minimal correction,
– your room setup forces significant angle mismatch,
– or you’re projecting on a wall with inconsistent texture/material.
Quick checklist / scan-and-save
Before you mount anything, this checklist helps you avoid the most common short-throw disappointments.
Throw-Ratio Planning for a 100″ 16:9 Screen (Distance Estimate)
| # | Throw-ratio class (example) | Example ratio | Estimated distance to screen* | Best for |
|---|---|---|---|---|
| 1 | Near-UST planning | 0.25:1 | ~21.8 in (0.55 m) | Ultra-short shelf setups |
| 2 | Very short throw | 0.35:1 | ~30.5 in (0.78 m) | Tight rooms, classroom corners |
| 3 | Short throw (common) | 0.45:1 | ~39.3 in (1.00 m) | Home theaters with limited distance |
| 4 | Short throw (upper) | 0.60:1 | ~52.4 in (1.33 m) | More flexible mounting positions |
| 5 | Standard throw boundary | 0.80:1 | ~69.8 in (1.77 m) | Rooms with more distance needs |
| 6 | Long-throw planning | 1.20:1 | ~104.2 in (2.65 m) | Small rooms where distance isn’t available |
Estimated distances assume a 100″ diagonal 16:9 screen with width ≈ 87.4″. Distance ≈ (throw ratio × screen width). Always verify using the exact model’s installation diagram because definitions can vary by manufacturer.
– Measure your available projector-to-screen distance: [ADD: your distance]
– Match screen size to the projector’s throw ratio specs (check the exact model documentation)
– Prefer lens shift over keystone when possible (if your model offers it)
– Plan for ambient light control (or confirm brightness claims against your room): [ADD: source for brightness guidance]
– Test placement requirements before final mounting: focus and alignment affect the “it just works” outcome
FAQ
Do short throw projectors always need less setup than regular ones?
Not necessarily. They reduce the required distance, but alignment still matters—especially if your room forces keystone correction.
A shorter throw reduces placement distance but doesn’t eliminate the need to meet the lens’s optical alignment and focus requirements.
Keystone correction can compensate for misalignment, but it may affect sharpness depending on the projector’s processing.
Is keystone correction required for short throw projectors?
Often not, but many setups still use it for fine alignment. If you find yourself using heavy keystone, image quality may drop depending on the model.
Manufacturers often design installation guidance to minimize keystone by encouraging correct placement and lens shift where available.
What determines how big the image will be?
Primarily the throw ratio and your distance to the screen. The manufacturer’s spec sheet (for the exact model) is the best reference.
Throw ratio directly relates projector distance to image size, which is why it’s the first spec you should check when planning screen dimensions.
Are short throw projectors better for gaming?
They can be, especially if you need a close setup and low-latency modes—but you’ll still want to check the specific model’s input lag and refresh-rate capabilities.
Gaming suitability depends on input lag, refresh rate, and supported resolution/HDMI modes, not only throw distance.
For short-throw gaming setups, verify both optical placement requirements and video processing settings in the projector’s manual.
Sources
– [ADD: manufacturer throw ratio / installation guide source for a specific short-throw model you want to reference]
– [ADD: manufacturer documentation on keystone/lens shift behavior for short-throw projectors]
– [ADD: official projector technology overview source (e.g., DLP/LCD imaging basics) if you want to cite component-level facts]
– [ADD: source for brightness guidance by lumens vs. screen size/ambient light; include any relevant manufacturer or standards documentation]
A short throw projector can be an excellent solution when your room won’t allow a standard-throw setup, because its specialized lens design forms a large image at close distance. To get the best results, plan around throw ratio, confirm lens shift/offset capabilities, and avoid relying on heavy keystone correction—especially if you care about edge sharpness and contrast. If your room has plenty of distance and you want the cleanest geometry with the least digital correction, a standard-throw (or carefully chosen UST) may still be the better long-term fit.
Frequently Asked Questions
What is a short throw projector and how is it different from a standard projector?
A short throw projector is designed to create a large image from a much shorter distance than standard projectors. This is typically achieved through a different optical lens design that focuses light over a shorter throw length, allowing the projector to be placed closer to the screen or wall. Because of this setup, short throw projectors are often easier to use in classrooms and living rooms where space is limited.
How do short throw projectors work to produce a clear image at close range?
Short throw projectors use specialized optics and light paths to project the image effectively without the long throw distance required by traditional models. They may also rely on advanced lens elements and focus adjustments to maintain image sharpness across the projected area. Many models include keystone correction and lens shift features to reduce distortion when the projector can’t be positioned perfectly centered.
Why do short throw projectors reduce shadowing and what causes the image to avoid distortion?
Short throw projectors reduce shadowing because the projector is mounted closer to the screen, so people passing in front of it are less likely to block the light beam. Image distortion is minimized by lens design, but if the projector angle is off, keystone correction can be used to straighten the picture. However, heavy keystone correction can sometimes reduce brightness uniformity, so best results come from correct placement.
Which short throw projector placement settings should I use for my room?
Start by matching the projector’s throw ratio and zoom settings to your screen size, since “short throw” still depends on distance-to-image geometry. If your model offers lens shift, use it to align the image without relying solely on keystone correction for best clarity and fewer artifacts. Also consider mounting height and screen type, as reflective or textured surfaces can affect focus and uniformity.
What’s the best way to choose a short throw projector for a wall or screen?
Choose based on throw distance, image size requirements, and whether you need features like lens shift, advanced keystone, or built-in calibration. Check lumen output and contrast for your ambient light conditions, since short throw projectors may appear dimmer in bright rooms if not bright enough. Finally, verify compatibility with your inputs (HDMI/USB/streaming) and whether the projector supports the correct resolution and refresh rate for your use case, such as presentations or gaming.
📅 Last Updated: October 08, 2026 | Topic: how short throw projectors work | Content verified for accuracy and freshness.
References
- https://en.wikipedia.org/wiki/Short-throw_projector
- Projector
https://en.wikipedia.org/wiki/Projector - https://en.wikipedia.org/wiki/Lens_(optics
- Digital light processing
https://en.wikipedia.org/wiki/Digital_light_processing - LCD projector
https://en.wikipedia.org/wiki/LCD_projector - Liquid crystal on silicon
https://en.wikipedia.org/wiki/LCoS - https://www.britannica.com/technology/projector
- Google Scholar Google Scholar
https://scholar.google.com/scholar?q=how+short+throw+projectors+work+optics+keystone - Google Scholar Google Scholar
https://scholar.google.com/scholar?q=short+throw+projector+lens+design+wide+angle+projection - Google Scholar Google Scholar
https://scholar.google.com/scholar?q=DLP+LCD+LCoS+projector+optical+path+how+projectors+work
