To scan for channels on your Philips Smart TV, start by ensuring your antenna or cable is securely connected. Access the menu by pressing the “Home” button, then navigate to settings and select “Channel Setup.” Choose either digital or analog channels and initiate an auto scan. If channels aren’t found, check your connections and antenna placement. For more detailed troubleshooting tips and best practices, you might want to explore further.
Preparing Your Philips Smart TV for Channel Scanning
Before you start scanning for channels, it’s essential to prepare your Philips Smart TV properly. First, verify your cable connection is secure if you’re using cable TV. If you prefer an antenna setup, connect it to the TV’s antenna input. Make sure the antenna is positioned for ideal reception—higher placements usually yield better results. Check that all cables are firmly connected and free of damage. This preparation helps avoid interruptions during scanning and guarantees you receive the best possible channels. Once you’ve confirmed your setup, you’ll be ready for the next steps to scan for channels effectively, giving you the freedom to explore your viewing options without hassle.
Accessing the Menu Settings
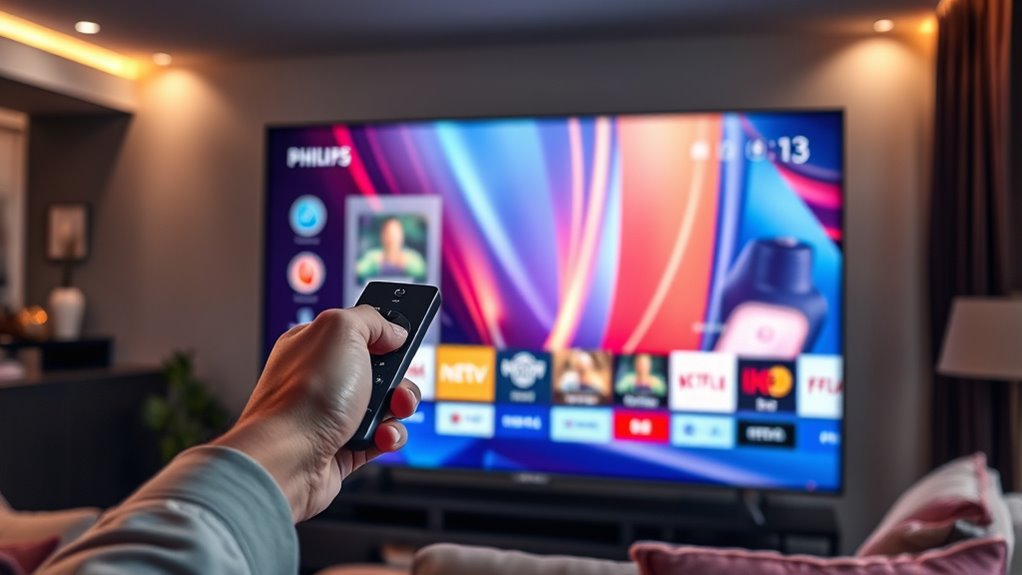
To access the menu settings on your Philips Smart TV, start by pressing the “Home” button on your remote control. This will bring up the main interface, allowing for easy menu navigation. Here, you’ll find a settings overview that makes adjusting your TV’s features straightforward.
You can explore the following options:
- Picture Settings: Adjust brightness, contrast, and more for ideal viewing.
- Audio Settings: Customize sound preferences to suit your listening experience.
- Network Settings: Connect or troubleshoot your internet connection.
Once you’re in the menu, navigate using the arrow keys on your remote. This process guarantees you have the freedom to tailor your TV experience just the way you like it.
Selecting the Channel Setup Option
To set up your channels, you’ll first need to access the TV settings from the main menu. Once there, choose the channel type you want to scan for, whether it’s digital or analog. Finally, initiate the auto scan to let your Philips Smart TV find available channels.
Accessing TV Settings
Once you’ve powered on your Philips Smart TV, maneuvering to the settings is essential for accessing the channel setup option. Using your remote control, follow these simple steps to get to the settings menu and guarantee proper TV connectivity:
- Navigate to the “Home” screen.
- Select the “Settings” icon, usually represented by a gear symbol.
- Scroll down to find the “Channel Setup” option.
Once you’re in the channel setup menu, you’ll be able to configure your channels, making it easier to enjoy your favorite shows. By following these steps, you’ll set the stage to enhance your viewing experience and enjoy seamless TV connectivity. So, grab your remote and let’s get started!
Choosing Channel Type
Before diving into scanning for channels, you’ll need to choose the type of channel setup that suits your viewing preferences. Philips Smart TVs allow you to select between digital channels and analog channels. Digital channels offer better picture quality and sound, while analog channels may provide a few additional options in areas with limited digital coverage.
To make your selection, navigate to the channel setup option in your TV settings. You’ll find a simple prompt that lets you toggle between the two types. Keep in mind that most modern broadcasts are digital, so opting for digital channels is often the best choice for an enhanced viewing experience. Select your preferred channel type, and you’re ready for the next steps in scanning.
Initiating Auto Scan
Initiating the auto scan is a straightforward process that allows your Philips Smart TV to locate available channels. To get started, access the settings menu and select the channel setup option. This will begin the auto scan process. Here are a few scanning tips to enhance your experience:
- Make sure your TV is connected to an antenna or cable.
- Position your antenna for ideal signal reception.
- Keep your TV software updated for the best performance.
Once you’ve configured these settings, the TV will automatically search for channels. Be patient, as this may take a few minutes. After it completes, you’ll have access to all available channels, ready for you to explore and enjoy.
Choosing the Type of Channel Scan
How do you decide which type of channel scan to perform on your Philips Smart TV? It’s important to take into account the antenna types and the nature of digital broadcasting in your area. You’ll typically have options for a full scan or a quick scan. A full scan searches for all available channels, while a quick scan targets only the ones you’ve already set up.
Here’s a quick reference to help you choose:
| Scan Type | Description |
|---|---|
| Full Scan | Searches for all available channels |
| Quick Scan | Finds only previously stored channels |
| Manual Scan | Allows you to enter specific frequencies |
Starting the Channel Scan
To start the channel scan on your Philips Smart TV, first, make sure your antenna is properly connected and your TV is powered on. Then, navigate to the settings menu to begin scanning for channels. You’ll want to select the appropriate channel types based on your preferences.
Here’s what to do next:
- Choose the scan frequency: either automatic or manual, depending on your setup.
- Select the desired channel types you want to include, like digital or analog.
- Initiate the scan process and let your TV search for available channels.
Once the scan completes, you can enjoy the freedom of accessing a variety of channels tailored to your preferences. Happy viewing!
Reviewing and Saving Scanned Channels
After your channel scan finishes, it’s time to review and save the channels you’ve found. Navigate through the list of channels displayed on your Philips Smart TV. Check out each channel, and if you find ones you love, consider saving them as favorites. To do this, select the channel and look for an option to mark it as a favorite. This step helps in channel organization, allowing you to access your preferred channels quickly in the future. Don’t forget to delete any unwanted channels to keep your list tidy. Once you’re satisfied with your selections, make sure to save your changes. Enjoy a streamlined viewing experience that reflects your unique taste!
Troubleshooting Common Channel Scanning Issues
While scanning for channels on your Philips Smart TV usually goes smoothly, there are times when you might encounter issues that can disrupt the process. Here are a few common problems and their solutions:
- Signal Interference: Check for any electronic devices nearby that could be causing interference, like microwaves or routers.
- Antenna Position: Make sure your antenna is positioned correctly and is free of obstructions to improve signal strength.
- Channel Availability: Verify that the channels you’re trying to scan are available in your area, as some may be limited due to location.
Frequently Asked Questions
Can I Scan for Channels Without an Antenna?
You can’t scan for channels without an antenna, as channel reception relies on receiving signals. Without it, you won’t get any quality or access to broadcast channels. An antenna’s essential for ideal signal quality.
How Long Does the Channel Scanning Process Take?
The channel scan duration typically ranges from a few minutes to around 15 minutes, depending on the scanning process efficiency. You’ll get quicker results with a proper setup, ensuring a smooth experience as you explore channels.
Will I Lose My Saved Channels After Scanning?
You won’t lose your saved channels after scanning, as most TVs retain them. However, channel retention may vary based on scanning frequency and settings, so it’s wise to check your preferences before proceeding.
Is It Possible to Manually Add Channels?
Yes, you can manually add channels. Just immerse yourself in your channel settings, select manual tuning, and enter the desired frequency. It’s like crafting your personal playlist, giving you control over your viewing experience. Enjoy!
Can I Schedule Channel Scans on My Philips Smart TV?
No, you can’t schedule scans on your Philips Smart TV. However, you can regularly check and update channel preferences manually to guarantee you’re accessing the latest channels whenever you want.
