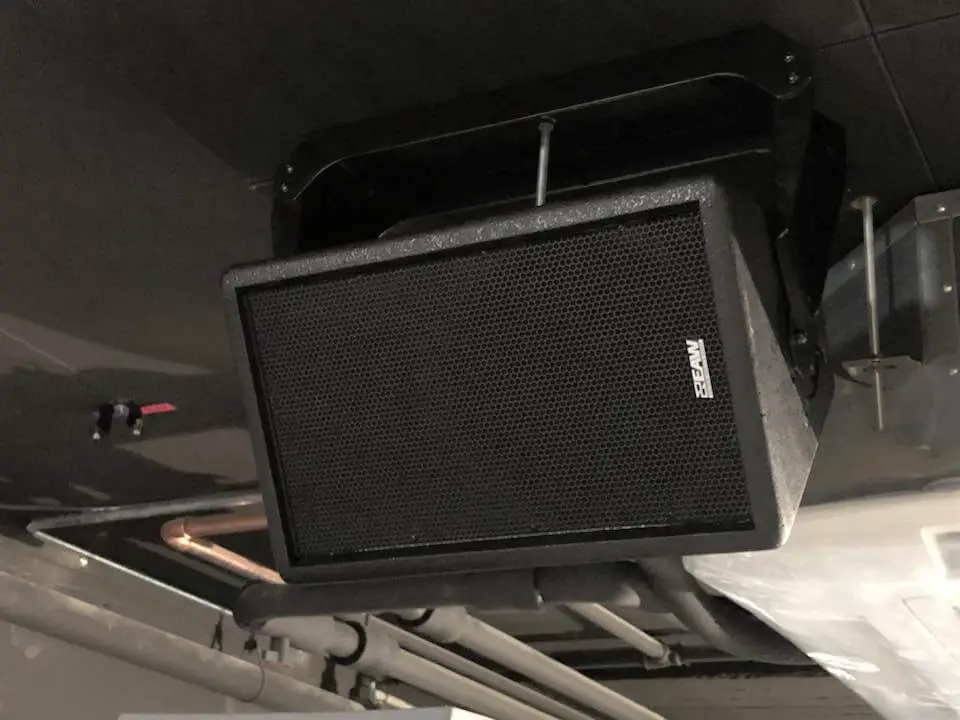
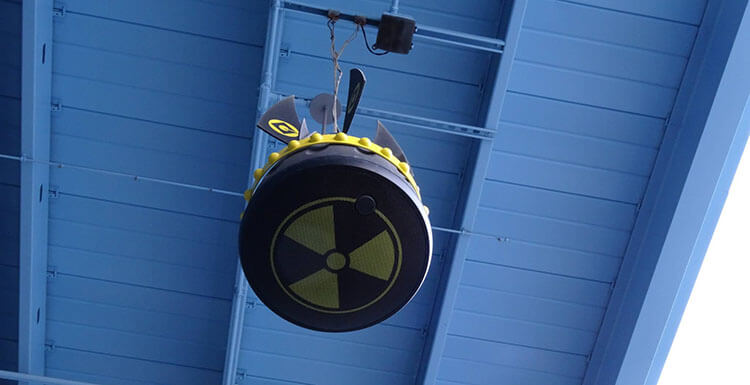
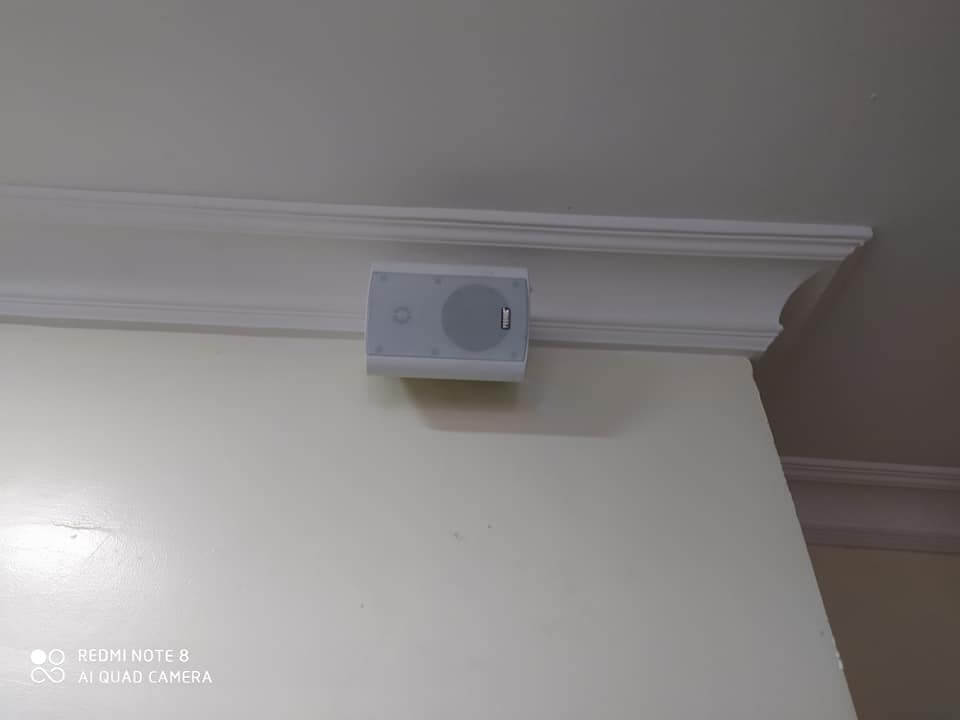
Ceiling speakers are getting more popular day by day. It’s famous for the atmos effect it produces. But there are some problems with the ceiling speaker. It’s only applicable to a board ceiling. You can’t set it on a solid concrete ceiling. Besides, only stereo speakers have in-ceiling facilities. You will hardly find a surround speaker with an in-ceiling facility.
Hanging the surround sound system can solve all these. But it is only possible when you do it in the right ways. So, here are the ways of hanging surround sound speakers from the ceiling.
Hanging surround sound speakers from the ceiling: worth it?

I know you have already decided to hang the speakers from the ceiling. But before you start, it’s good to know the pros and cons of doing it. Who knows, you may rethink your decision. Here you go.
Pros
- Better sound quality: A certain amount of elevation can improve sound quality. It can add an extra dimension to the surround sound system. For example, you can feel the helicopter above your head if the surround sound speaker is hanging from the ceiling. Although it’s only possible when the ceiling is not too high. Also, you must have a complete sound system that includes in-ceiling and in-well surround speakers.
- Aesthetic look: If the speaker is placed in the correct positions, it can create an aesthetic look. You won’t get that look when the speaker is on the floor. The speakers on the ceiling make your home theatre looks like a commercial movie theatre. Besides, you can enhance the look with sound-reactive lights in the speaker.
- Minimalism: If you place wired speakers on the floor, it will be messy. You can stumble on the wire and fall. It can also damage the speaker. You can eliminate all these problems by routing the cables. It is only possible when you hang the speaker on the ceiling. No wire will spread on the floor, and a minimalist look will appear.
Cons
- Costly process: Hanging the surround sound speakers is more cost-effective than buying ceiling speakers. Still, it is expensive because of the installation process. Cable consumption is very high here. Besides, you will need other accessories and equipment. All these will cost you a considerable amount of money.
- Complicated setup: Another problem with hanging surround sound speakers from the ceiling is the process itself. Like you have to install the mount. Then placing the speaker and routing the cable is not easy. Moreover, you won’t get the expected results if the placement is wrong. So the setup is quite complicated.
- Difficult to maintain: You can simply plug the speaker out in the flooring arrangement. But in in-ceiling placement, it’s not possible. You have to uninstall the whole setup to identify and fix the problem. So, maintenance gets difficult when the surround speakers are hanging from the ceiling.
How to hang surround sound speakers from the ceiling
As you are still here, you have decided to do it by any means. But determination is not enough to hang the surround sound speaker from the ceiling. You must do it correctly. Otherwise, the sound effect you get will be dissatisfying.
Method-1: With in-ceiling speaker mount
Using in-ceiling speaker mounts is the best method of hanging the surround sound speakers. Get some compatible mounts before starting the installation job. For that, weigh the speakers you want to hang. Make sure the mounts have the capacity to carry the speaker load. After getting a suitable speaker mount, follow the below steps to install it.
- Marking the position: Before starting the installation, mark the mounting and drilling positions on the speaker and ceiling. While doing it, make sure the speakers are facing toward your ears. To know about precise positioning, jump into the FAQ section. There you will find the positioning in detail.
- Drilling: To attach the mount, you must drill the speaker and the ceiling. Detach the speakers’ back panel to avoid any damage. Then drill the speaker and close the panel again. Also, drill the ceiling on the marked positions. Don’t drill too deep. Do it according to the screw size.
- Attaching: After drilling, attach the mount with the speaker. Tighten the screws with a Screwdriver. Then, attach the setup to the ceiling. Make sure the mount sits in the correct position. I’ve explained it earlier in the previous steps. Do it accordingly.
- Connecting the AVR: Lastly, connect the speakers with your AVR or Amp. For that, you will need Stereo Extension Cables. Connect the female port with the speaker cable and the male port in the AVR. To avoid mess, secure the wires with Routing Clips.
Method-2: DIY speaker cage

Consider DIY if you don’t want to spend 20 to 25 USD on a speaker mount. You can get it at half of the price of a speaker mount. It works almost like a speaker mount if you can make it properly. Moreover, you can put your own customization, which is not possible in a speaker mount. So let’s do it.
- Making the cage: Measure the weight and dimensions of the speaker. Then get some steel tubes and make the cage accordingly by wielding. But the easiest way is to take help from an engineering workshop. Tell them the dimension, weight, and hanging angle of the speaker. They will make it for you.
- Installation: The installation process of a speaker cage is almost similar to the installation process of a speaker mount. But you don’t need to drill the speaker for it. Simply put the speaker inside and hang it. The extra thing you can do is put something soft under the speaker. It will absorb the vibration and reduce noise.
3 mounts for hanging surround sound speakers from the ceiling
While getting an in-ceiling speaker mount, you must have realized that it’s challenging to find one. So, I am making it easy for you. Here are 3 speaker mounts that are suitable for the ceiling.
1. Pyle Speaker Mount
Highlights:
- Material: Steel
- Adjustable angle
- Telescopic arm
Among all three, the Pyle speaker mount is the most versatile. You can use it as both a ceiling mount and a wall mount. It’s possible because of its angle adjustment feature. You can adjust it from 0 to 90 degrees.
However, this speaker fits any flat surface. Tilt adjustments are also possible. That’s why it can easily sit on any ceiling. Moreover, the arm is also adjustable. You can maintain the elevation close to your ear level.
The Pyle speaker mount has a decent build quality. It’s made of reinforced solid steel. Moreover, it features a secure lock that ensures a capacity of 75 pounds. It’s more than enough for surround sound speakers.
Pros:
- Universal fit
- Cheap in price
- High Capacity
Cons:
- Poor finish
2. VideoSecu Speaker Mount
Highlights:
- Material: Steel
- Ball and clamp design
- Adjustable mount
VideoSecu speaker mount is cheap in price. Yet the performance it provides is excellent. So it makes sense why this mount is one of the top-rated in-ceiling speaker mounts. However, let’s talk about the good and bad parts.
Starting with the bad par;. Its arm is too short, and it is not adjustable. That’s it. You can’t find any other limitation of this speaker mount. Look at its built quality. It has a solid steel construction that lasts for years. Moreover, this mount can carry over 10 lbs. This is very good for a 15-dollar speaker mount.
Adjustability is what everyone looks for in a speaker mount. VideoSecu is highly adjustable. It offers a 30-degree tilt, 180-degree pan, and 360-degree rotation. It’s simple in design and easy to install. What else do you want from a speaker mount?
Pros:
- Cheap in price
- High adjustability
- Easy to install
Cons:
- The arm is too short
3. Omnimount 25.0C

Highlights:
- Material: Stainless steel
- Ball, clamp, and jaw design
- Adjustable mount
If you want a better version of the VideoSecu, spend a little more and get the Omnimount 25.0C. It has a longer arm than the VideoSecu.That’s why the speaker stays close to your ear level. So, the sound quality you get is better.
However, it’s better on built quality. So, capacity is also higher. Unlike other cheap options, it has an excellent finish. Moreover, it’s made of stainless steel. So durability is pretty good here.
The clamp and jaw design make it highly flexible. Whereas the clamp and jaw mechanism provides better stability. It doesn’t offer tilt adjustment. But it has a 180-degree pan 360degree rotation adjustment.
Pros:
- High flexibility
- Rust resistance
- Easy to install
Cons:
- The arm is not adjustable
Frequently asked questions
Why you shouldn’t put speakers on the floor?
You shouldn’t put the speaker on the floor for two reasons. Firstly, the sound reflects on the floor. Thus it creates an echo, and the sound quality gets low. Secondly, the sound won’t reach your ears well without a certain amount of elevation.
Should surround speakers be elevated?
Yes, the surround speaker should be elevated. It is necessary for the surround sound effect. If you want the dimension of the sound, you should place the speakers dynamically. That’s why you must elevate the surround sound speakers. However, the speakers can be in the in-ceiling or in-well positions.
Where do you mount ceiling speakers for surround sound?
All ceiling speakers should be placed at an equal distance from each other. Besides, they should also maintain equal distance from both sides of the well. However, this distance should be 18 to 25 inches. Besides, the firing side should make a more than 150-degree angle with the ceiling.
Conclusion
Yes, hanging surround sound speakers from the ceiling is a thing. Like you, many people have thought of it. But in reality, it’s difficult to implement due to its high cost and complicated process. I have tried to reduce these difficulties with this post.
This post includes the most affordable ways to hang surround sound speakers from the ceiling. Besides, I tried to make these complicated processes as simple as possible. I hope it won’t be difficult if you go step by step. So, I wish you all the best.
Cheers!
